Introduction
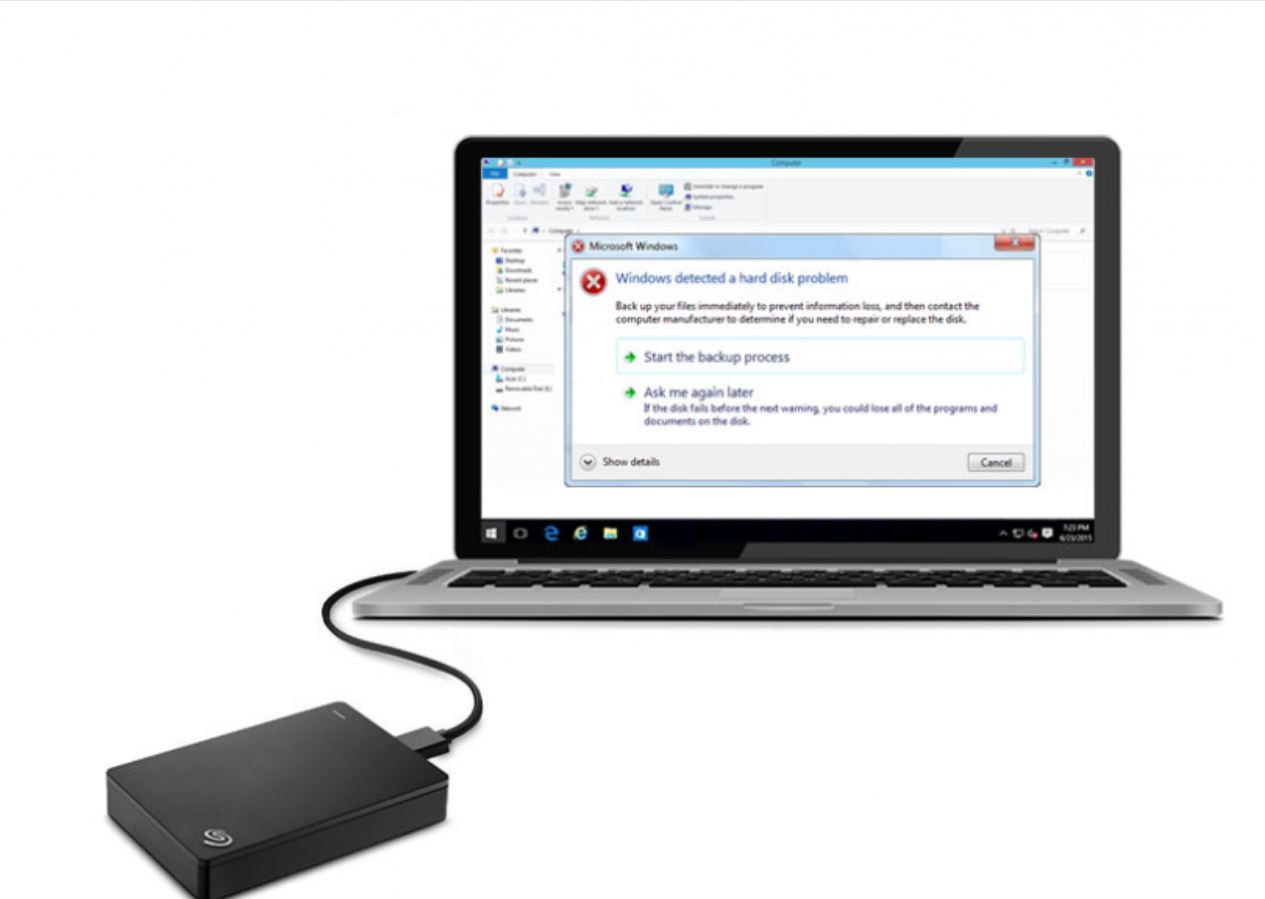
Welcome to this guide on how to recover an external hard drive on a Mac. External hard drives are a convenient storage solution for Mac users, allowing you to store large amounts of data and easily transfer files between devices. However, there may be instances where your external hard drive encounters issues such as corruption or data loss.
Whether your external hard drive has stopped working, is not being recognized by your Mac, or you accidentally deleted important files from it, don’t worry. In this article, we will walk you through the steps to recover your external hard drive and retrieve your precious data.
It’s important to note that data recovery from an external hard drive can be a complex task, depending on the severity of the issue. However, by following the steps outlined in this guide, you will have a higher chance of successfully recovering your data.
Before proceeding, it is recommended to have a backup of your important files to prevent any further data loss. If you don’t have a backup, it’s crucial to stop using the external hard drive immediately to avoid overwriting any deleted files that you wish to recover.
Now, let’s dive into the step-by-step process of recovering an external hard drive on a Mac.
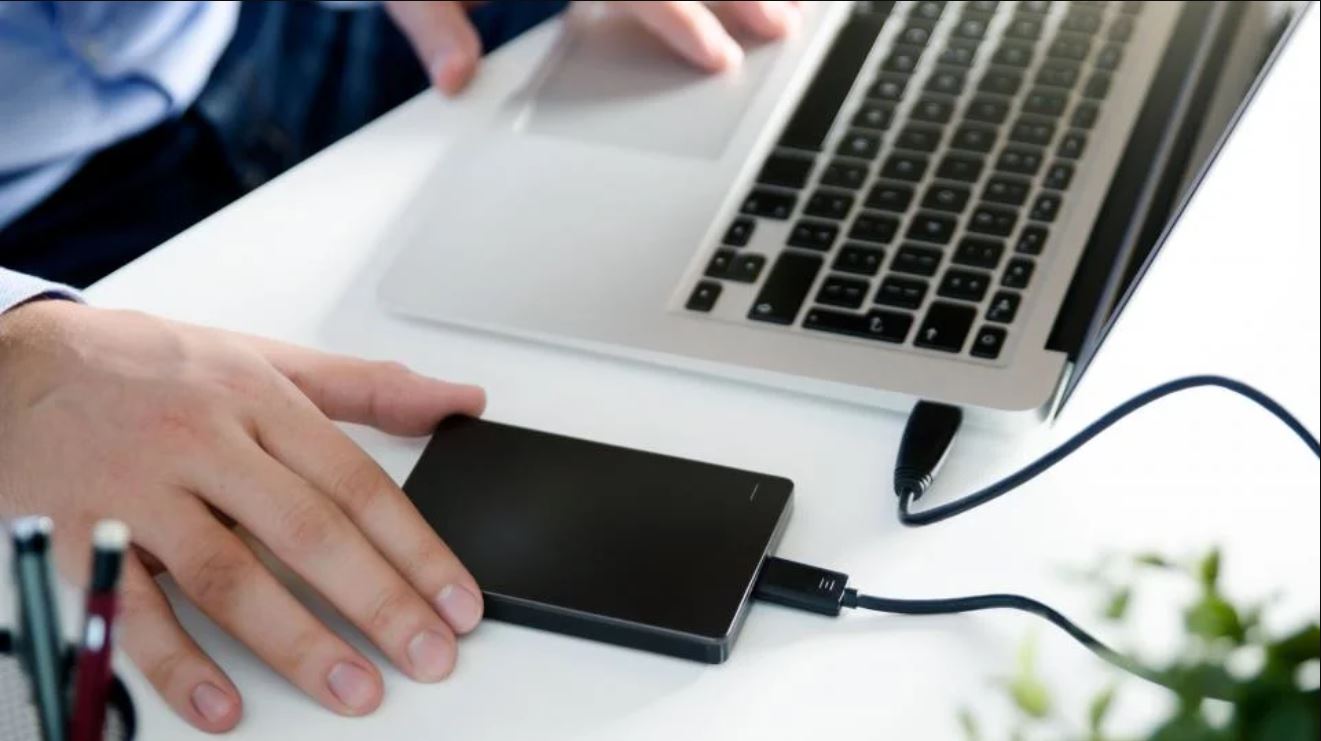
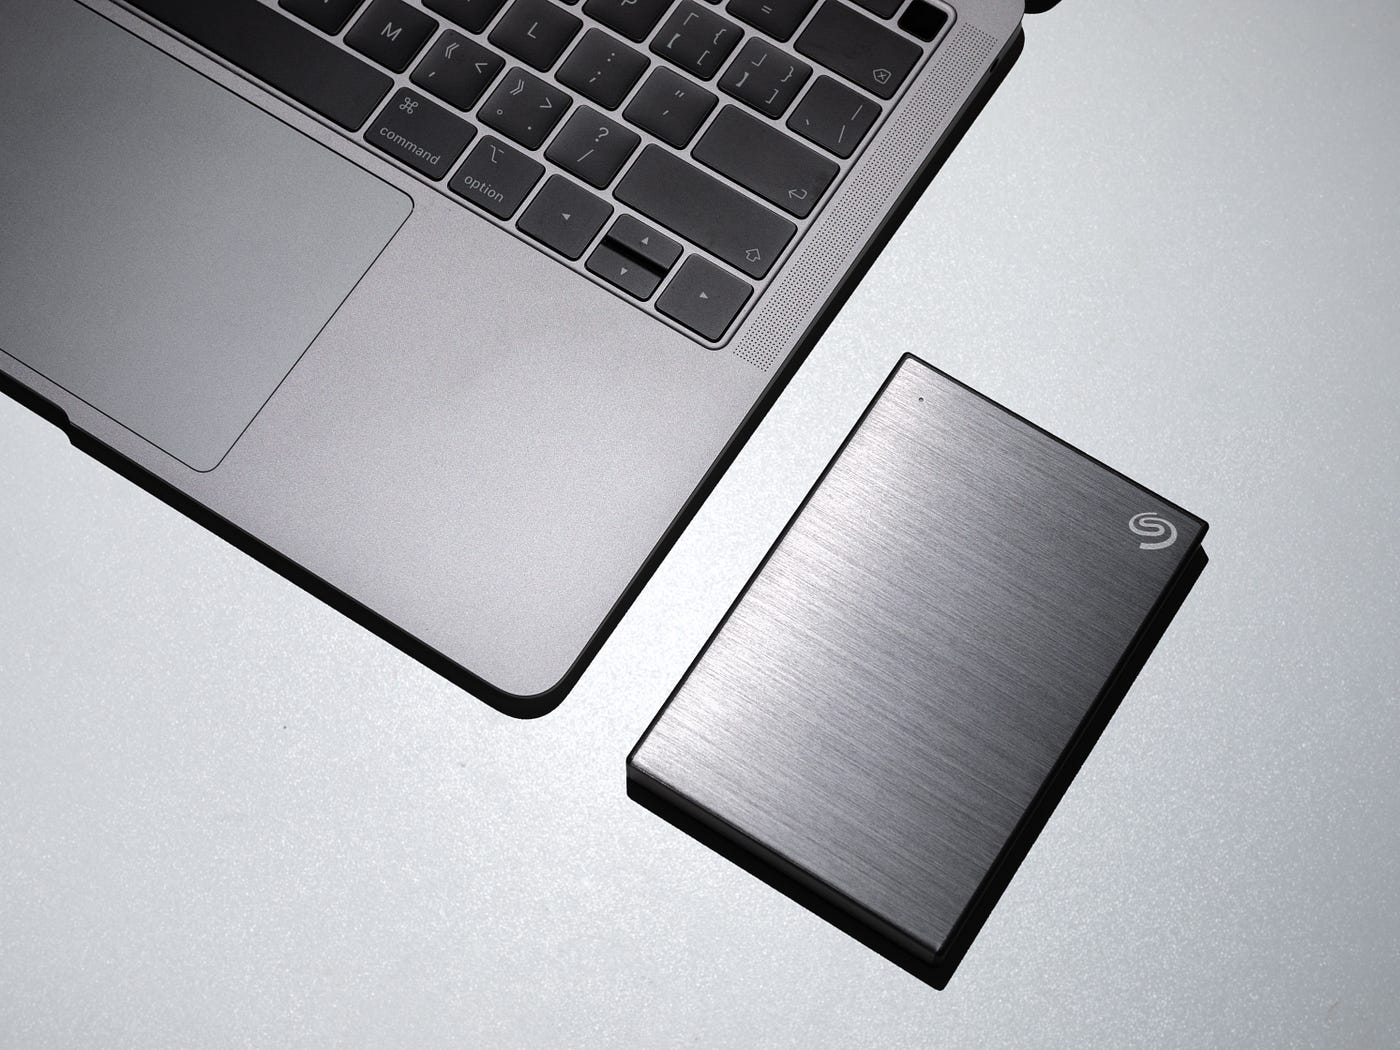
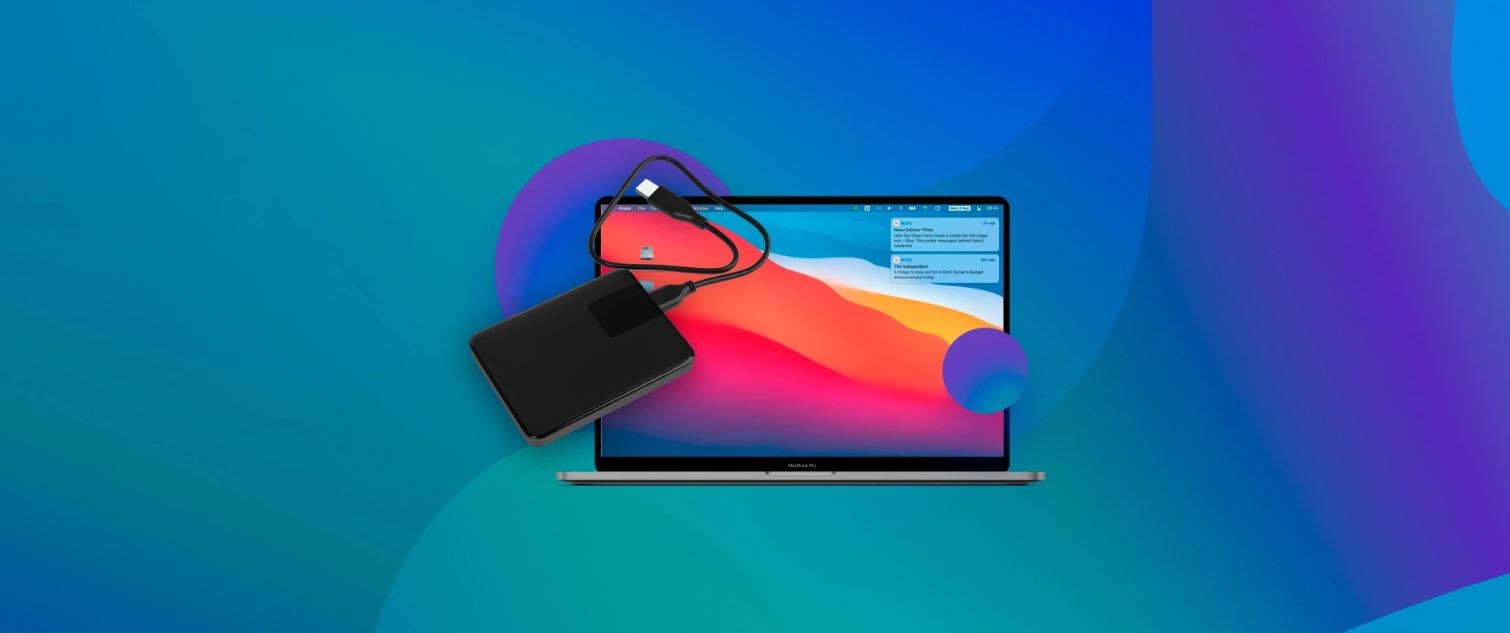
Step 1: Connect the external hard drive to your Mac
The first step in recovering an external hard drive on your Mac is to ensure that it is properly connected to your computer. Follow these simple steps:
- Locate the USB port on your Mac. Depending on the model, it may be located on the side or the back of the computer.
- Plug one end of the USB cable into the external hard drive and the other end into the USB port on your Mac.
- Make sure the connection is secure and the cables are inserted firmly.
- Power on your external hard drive, if it has a separate power source. Some external hard drives draw power directly from the USB port, so there may not be a need for an additional power source.
Once you have connected the external hard drive to your Mac, give it a few moments to be recognized by your operating system. In some cases, the external hard drive may not appear immediately. If this happens, proceed to the next step to troubleshoot the issue.
It is crucial to use a high-quality USB cable and ensure that there are no loose connections. A faulty or loose cable can prevent your Mac from detecting the external hard drive properly. If you suspect an issue with the USB cable, try using a different one to see if it resolves the problem.
With the external hard drive connected to your Mac, you are now ready to proceed to the next step to determine if your Mac recognizes the drive.
Step 2: Check if the external hard drive is recognized by the Mac
Once you have connected your external hard drive to your Mac, it’s important to check if the Mac recognizes the drive. Follow these steps to verify the device’s recognition:
- Click on the Apple menu in the top-left corner of your screen and select “About This Mac.”
- In the window that appears, click on the “System Report” button.
- In the left sidebar of the System Information window, locate and click on “USB” under the “Hardware” section. This will display a list of all connected USB devices.
- Scroll through the list and look for your external hard drive. If it appears in the list, it means that your Mac recognizes the drive.
- If you cannot find your external hard drive in the list, try disconnecting and reconnecting the USB cable. If that doesn’t work, try connecting the external hard drive to a different USB port on your Mac.
- If the external hard drive is still not recognized, it may indicate a problem with the drive itself, the USB cable, or your Mac’s USB ports. You can try connecting the drive to another computer to see if it is recognized there. If it is not, you may need to consider professional data recovery services.
If your Mac successfully recognizes the external hard drive, it means that the issue lies elsewhere, and we can proceed to the next step to use the Disk Utility tool to repair any potential errors on the drive.
It’s important to note that if your external hard drive is recognized but appears as unmounted or inaccessible, it could indicate corruption or file system issues. In such cases, it’s crucial to proceed with caution to avoid any further damage to your data.
Step 3: Use Disk Utility to repair the external hard drive
If your Mac recognizes the external hard drive but it appears to have errors or is not functioning properly, the next step is to use the built-in Disk Utility tool to repair the drive. Follow these steps:
- Open a new Finder window by clicking on the Finder icon in your dock.
- In the left sidebar, click on “Applications” and then open the “Utilities” folder.
- Within the Utilities folder, locate and open the “Disk Utility” application.
- In the Disk Utility window, you will see a list of all connected drives. Click on the external hard drive that you want to repair.
- Click on the “First Aid” button located at the top of the Disk Utility window.
- Click on the “Run” or “Repair Disk” button to initiate the disk repair process.
- Wait for Disk Utility to analyze and repair any errors on the external hard drive. This process may take some time depending on the size and condition of the drive.
- Once the repair process is complete, check if the drive is functioning properly. You can try accessing files on the drive or connecting it to another USB port to ensure it is working as expected.
If Disk Utility successfully repairs the external hard drive, you should be able to access your files and use the drive as usual. However, if Disk Utility is unable to repair the drive or indicates that the drive is beyond repair, it may be necessary to consider professional data recovery services or other alternative methods to recover your data.
Remember to always have a backup of your important files to prevent data loss, as repair processes can sometimes cause further damage. Additionally, if you have successfully restored access to your data, it is recommended to make a backup as soon as possible to avoid future issues.
Step 4: Recover data from the external hard drive
If you have successfully repaired the external hard drive using Disk Utility or if the drive is recognized but you still cannot access your data, you may need to recover the data using specialized data recovery software. Follow these steps to recover your data:
- Research and select a reliable data recovery software that is compatible with Mac operating systems. There are various options available, both free and paid.
- Download and install the selected data recovery software on your Mac.
- Launch the software and select the external hard drive as the target drive for data recovery.
- Follow the software’s instructions to start the scanning process. Depending on the size and condition of the drive, this process may take some time.
- Once the scanning is complete, the software will display a list of recoverable files. Preview the files to ensure they are intact and select the files you wish to recover.
- Choose a location on your Mac or an alternative storage device where you want to save the recovered files. Avoid saving the files to the same external hard drive to prevent overwriting.
- Initiate the data recovery process and wait for the software to recover and save the selected files to the specified location.
- Once the data recovery process is complete, verify that the recovered files are accessible and intact.
It’s important to note that the success of data recovery depends on various factors, including the extent of damage to the drive and the effectiveness of the chosen data recovery software. If the software is unable to recover your desired files or encounters errors during the process, it may be necessary to seek professional data recovery services for further assistance.
Remember to regularly back up your important files to prevent data loss in the future. It’s recommended to create redundant backups on different storage devices or utilize cloud storage solutions to ensure the safety and accessibility of your data.
Step 5: Format the external hard drive (optional)
Formatting the external hard drive is an optional step, but it can be useful in certain situations. Formatting erases all data on the drive and reinstalls a new file system, which can help resolve persistent errors or issues. However, note that formatting will permanently delete all data on the drive, so it is important to proceed with caution and ensure you have backed up any important files.
- Open Disk Utility on your Mac by navigating to “Applications” > “Utilities” > “Disk Utility”.
- In the Disk Utility window, select the external hard drive from the list of available drives.
- Click on the “Erase” or “Reformat” button.
- Choose the file system format you prefer, such as APFS, Mac OS Extended (Journaled), or exFAT. If you plan to use the drive exclusively with a Mac, it is recommended to select APFS or Mac OS Extended.
- Enter a name for the newly formatted drive.
- Double-check that you have selected the correct drive and click on the “Erase” or “Format” button to begin the formatting process.
- Wait for the formatting process to complete. This may take some time depending on the size of the drive.
- Once the formatting is finished, the external hard drive will be ready for use.
Formatting the external hard drive can help resolve file system errors or compatibility issues, but it is important to note that it will erase all data on the drive. Therefore, make sure you have backed up any important files before proceeding with the formatting.
If you have successfully recovered your data, you can choose to format the external hard drive as a precautionary measure to prevent future issues. It is also recommended to regularly format and maintain your storage devices to ensure optimal performance and longevity.
Conclusion
Recovering an external hard drive on a Mac can be a challenging and time-consuming process, but with the right steps and tools, you can increase the chances of successfully retrieving your data. In this guide, we walked you through the essential steps to recover an external hard drive on your Mac.
Remember to always prioritize the safety of your data by regularly backing up important files to prevent any potential loss. If you encounter any issues with your external hard drive, it is crucial to act quickly and follow the steps outlined in this guide.
Connecting the external hard drive properly to your Mac and verifying its recognition are fundamental initial steps. Repairing any potential errors using the built-in Disk Utility tool can often resolve common issues. If needed, utilizing data recovery software can help retrieve lost or inaccessible files from the external drive. Optionally, formatting the external hard drive can provide a fresh start and alleviate persistent problems.
However, it’s worth noting that some situations may require professional data recovery services when DIY methods cannot fully restore your data. It is always wise to seek expert assistance if you are unsure or if the drive contains critical data that is absolutely irreplaceable.
We hope this guide has been helpful in assisting you with the external hard drive recovery process on your Mac. Remember to exercise caution and patience throughout the process to maximize your chances of successfully recovering your important files. Stay vigilant in maintaining backups and implementing good data storage practices to avoid future data loss.