Introduction
Welcome to our guide on how to restore files from an external hard drive on your Mac. Whether you accidentally deleted important files, experienced a system crash, or simply want to retrieve an older version of a document, don’t panic – we’ve got you covered. In this comprehensive tutorial, we’ll walk you through various methods to recover your lost files and get your important data back.
Backing up your files regularly is crucial to prevent data loss, but sometimes unforeseen circumstances can still occur. That’s why it’s essential to know the steps for restoring files from an external hard drive. Mac users have several options available, including using Time Machine, a built-in application designed for Mac backups, and third-party data recovery software.
In this guide, we’ll start by preparing to restore files, ensuring you have everything you need to recover your data effectively. Next, we’ll cover the process of connecting an external hard drive to your Mac. Then, we’ll dive into using Time Machine, which provides a convenient way to restore files from a previously created backup. If you don’t have a Time Machine backup or need additional options, we’ll also explore using data recovery software.
For those who prefer a more hands-on approach, we’ll explain how to restore files manually, which can be useful when dealing with specific file types or cases where other methods are unsuccessful. By the end of this guide, you’ll have a comprehensive understanding of how to restore files from an external hard drive on your Mac and be well-equipped to recover your valuable data.
So, let’s get started with the first step – preparing to restore your files.
Part 1: Preparing to Restore Files
Before diving into the process of restoring files from your external hard drive, it’s important to make sure you have everything you need. Follow these steps to adequately prepare for the file restoration process:
1. Assess your needs: Determine which files you need to restore from your external hard drive. Are they important documents, cherished photos, or critical work files? Understanding what you’re looking for will help streamline the restoration process.
2. Create a backup: It’s always a good idea to back up your current data before attempting any file restoration. This way, you’ll have a failsafe in case something goes wrong during the recovery process. Use an external hard drive or cloud storage service to create a backup of your existing files.
3. Gather necessary equipment: Ensure you have the required equipment to connect your external hard drive to your Mac. This may include a USB cable, FireWire adapter, or Thunderbolt cable, depending on the type of external hard drive you’re using.
4. Check available space: Verify that you have sufficient space on your Mac’s internal storage to accommodate the restored files. If you’re running low on space, consider freeing up some by deleting unnecessary files or transferring them to an external storage device.
5. Familiarize yourself with Time Machine (optional): If you’ve been regularly using Time Machine to back up your Mac, you’ll have an easier time restoring files. Take some time to familiarize yourself with Time Machine’s interface and functions if you plan on utilizing it for file recovery.
6. Keep your external hard drive on hand: Ensure your external hard drive is easily accessible and in good working condition. Take precautionary measures to protect it from physical damage, such as keeping it in a sturdy case or away from excessive heat or moisture.
By completing these preparation steps, you’ll have a clear understanding of the files you need to restore, a backup of your current data, and the necessary equipment to facilitate the restoration process. With everything in place, you’re now ready to move on to the next step: connecting your external hard drive to your Mac.
Part 2: Connecting the External Hard Drive
Before you can start restoring files from your external hard drive, you need to establish a connection between the drive and your Mac. Follow these steps to ensure a smooth and successful connection:
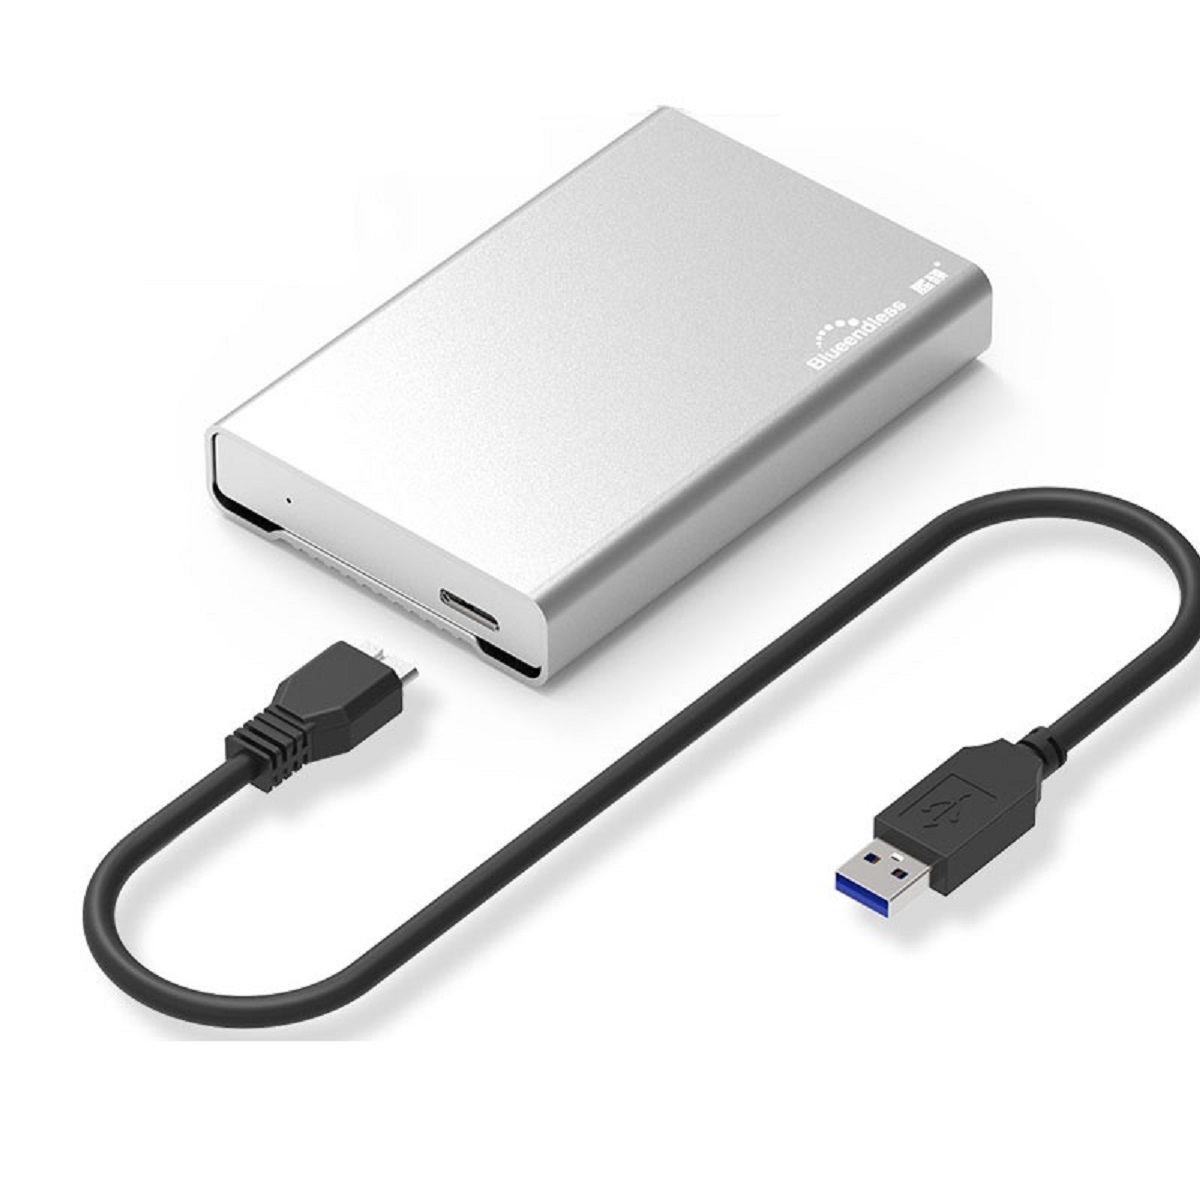
1. Choose the appropriate cable: Identify the type of cable needed to connect your external hard drive to your Mac. This can vary depending on the model and interface of your external hard drive. Common connection options include USB, FireWire, and Thunderbolt.
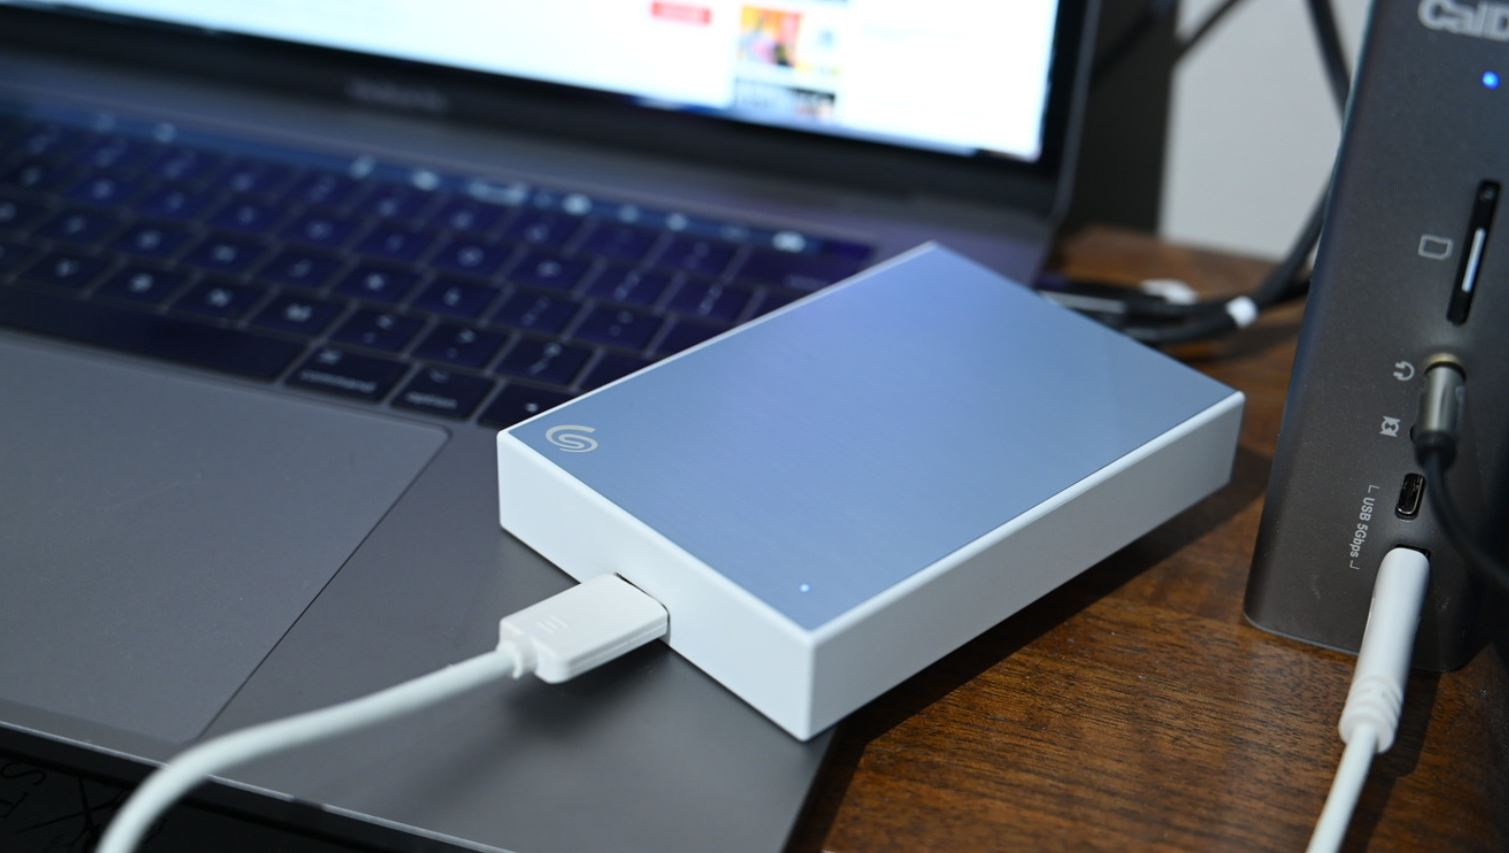
2. Plug in the cable: Connect one end of the cable to the appropriate port on your Mac and the other end to your external hard drive. Ensure that the connection is secure and properly fitted to avoid any data transfer issues.
3. Power on the external hard drive: If your external hard drive has a standalone power source, make sure it’s plugged in and turned on. Some external hard drives draw power directly from your Mac, so they may start up automatically once connected.
4. Verify the connection: Once the cable is connected, check if your Mac recognizes the external hard drive. You can do this by going to Finder and looking for the external drive listed under “Devices” or “External Drives.” If it appears, then the connection is successful.
5. Troubleshooting: If your Mac doesn’t recognize the external hard drive, try the following troubleshooting steps:
– Verify that the cable is functioning properly by using a different cable or port.
– Restart your Mac and try connecting the external hard drive again.
– Check if the external hard drive is formatted correctly. In some cases, you may need to reformat the drive to be compatible with your Mac’s file system.
By successfully establishing the connection between your external hard drive and your Mac, you’re now ready to proceed with the file restoration process. In the next part, we’ll explore how to use Time Machine to restore files from your backed-up data.
Part 3: Using Time Machine to Restore Files
If you have been using Time Machine to regularly back up your Mac, you can easily restore files using its intuitive interface. Follow these steps to retrieve your files:
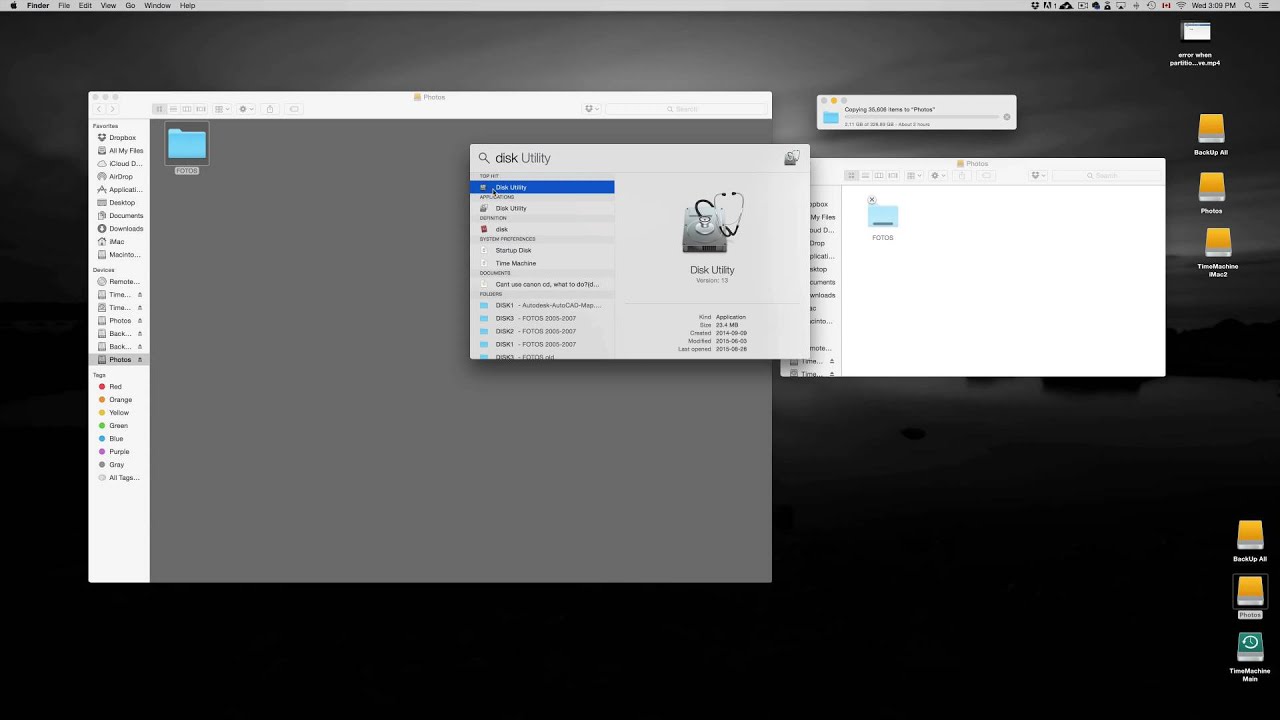
1. Activate Time Machine: Click on the Time Machine icon in the menu bar or go to System Preferences and select Time Machine. Ensure that Time Machine is turned on and the external hard drive containing your backup is connected to your Mac.
2. Launch Time Machine: With Time Machine activated, click on the Time Machine icon again and select “Enter Time Machine” from the drop-down menu. Alternatively, you can open a Finder window and click on the Time Machine icon in the sidebar.
3. Navigate through backups: Once inside Time Machine, you’ll see a visual timeline on the right side of your screen, displaying your backups. Use the arrows or scroll to navigate to the specific time period when the files you want to restore were present.
4. Locate and preview files: As you browse through the timeline, you’ll see a preview of your files and folders. Use the timeline to find the specific files you want to restore. You can preview them by selecting and pressing the spacebar to get a Quick Look.
5. Restore selected files: Once you’ve located the desired files, select them and click on the “Restore” button. Time Machine will begin restoring the selected files to their original location on your Mac. You may be prompted to overwrite any existing files with the same name.
6. Monitor the restoration process: Time Machine will display a progress bar as it restores your files. Depending on the size and number of files, the restoration process may take some time. Ensure that your Mac remains connected to the external hard drive during this process.
7. Verify the restored files: Once the restoration is complete, navigate to the original location of the restored files on your Mac. Double-check that the files are successfully restored and accessible. Take a moment to review and ensure that nothing important is missing.
Using Time Machine provides a convenient way to restore files from your backup, especially if you’ve been diligent with regular backups. However, if you don’t have a Time Machine backup or are looking for alternative methods, don’t worry. In the next part, we’ll explore using data recovery software to retrieve your lost files.
Part 4: Using a Data Recovery Software
If you don’t have a Time Machine backup or if you’re facing more complex data loss scenarios, using a data recovery software can be a viable solution to retrieve your lost files. Follow these steps to use data recovery software on your Mac:
1. Research and choose a reliable software: There are several data recovery software options available for Mac, so take some time to research and select one that suits your needs. Look for software that has positive reviews, a user-friendly interface, and supports the file types you need to recover.
2. Install and launch the software: Download the chosen data recovery software from the official website and follow the installation instructions. Once installed, launch the software on your Mac.
3. Select the external hard drive: Connect your external hard drive to your Mac and ensure that it is recognized by your system. In the data recovery software’s interface, select the external hard drive as the location to scan for lost files.
4. Start the scanning process: Depending on the software, you’ll have different scanning options such as quick scan or deep scan. Start with a quick scan to retrieve recently deleted or lost files. If the quick scan doesn’t return satisfactory results, proceed with a deep scan for more comprehensive file recovery.
5. Preview and select files for restoration: Once the scanning process is complete, the software will display a list of recoverable files. Take advantage of the preview feature to verify the integrity of the found files. Select the files you wish to restore and specify the location on your Mac where you want them saved.
6. Perform the file recovery: With the files selected and the restore location specified, initiate the file recovery process. The software will proceed to restore the selected files from the external hard drive to the designated location on your Mac. Be patient as this process may take some time, depending on the size and number of files.
7. Verify the restored files: Once the recovery process is complete, navigate to the specified restore location on your Mac. Double-check that the restored files are intact and accessible. Take the time to go through the files to ensure that everything you needed is successfully recovered.
Using a reliable data recovery software offers an alternative approach to restore your lost files, making it a valuable option. However, if you prefer a more manual approach or have specific file restoration requirements, in the next part, we’ll explore how to restore files manually.
Part 5: Restoring Files Manually
If you prefer a more hands-on approach or find yourself in a situation where other methods are unsuccessful, you can restore files manually on your Mac. Here are some steps to help you with the manual file restoration process:
1. Identify the file location: Start by determining the location where the original file was stored on your Mac. This could be in specific folders, such as Documents, Pictures, or Downloads, or in custom directories that you have created.
2. Search for the file: Use the search functionality in Finder to look for the file by its name or any relevant keywords. Make sure to select “This Mac” as the search location to search your entire system.
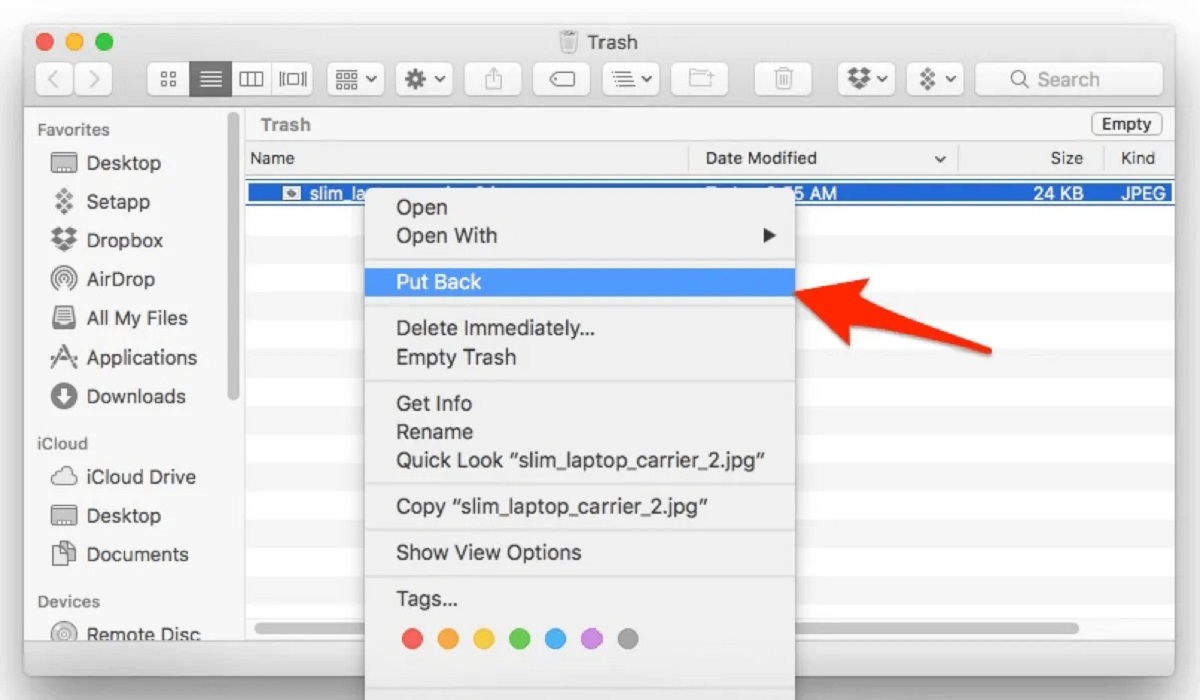
3. Check Trash: If you accidentally deleted the file, check the Trash bin first. Open the Trash and search for the file. If you find it, drag it out of the Trash and onto your Desktop or other desired location to restore it.
4. Look for backups: If you have backups of your files stored on other devices or cloud services, navigate to those locations and search for the file. Restore it by downloading or copying it back to your Mac.
5. Check Time Machine backups: If you have been using Time Machine, you can manually browse through your backups to find and restore specific files. Follow the steps mentioned in Part 3 to access Time Machine and locate your desired files.
6. Seek professional help: If you’re unable to locate the files manually or if they have been permanently deleted, consider contacting professional data recovery services. These specialists may be able to retrieve your files in more complex scenarios.
Restoring files manually gives you more control and flexibility in locating and recovering your lost data. However, it may require more time and effort, especially when dealing with a large number of files or when the files have been deeply fragmented or overwritten.
Once you have completed the manual file restoration process, double-check that the files are successfully restored and accessible in their original locations. Take the time to review and ensure that nothing important is missing.
Now that you have explored multiple methods to restore files from an external hard drive on your Mac, you are well-equipped to recover your valuable data in various scenarios. Remember to back up your files regularly to prevent data loss in the future.
Conclusion
Restoring files from an external hard drive on your Mac is a crucial skill to have, as it can help you recover lost or deleted data. In this comprehensive guide, we explored different methods to restore files, including using Time Machine, data recovery software, and manual file restoration. Let’s recap what we have covered:
In Part 1, we discussed the importance of preparing for file restoration, including assessing your needs, creating backups, and ensuring you have the necessary equipment. This step is essential in ensuring a smooth restoration process.
In Part 2, we focused on connecting the external hard drive to your Mac. We provided steps to choose the appropriate cable, plug it in securely, and troubleshoot any connection issues that may arise.
In Part 3, we explored using Time Machine, a built-in application on Mac, to restore files. We explained how to activate Time Machine, navigate through backups, preview and select files for restoration, and monitor the recovery process.
In Part 4, we discussed using data recovery software as an alternative method. We outlined the steps to research, choose, and install a reliable data recovery software, as well as how to select the external hard drive, start the scanning process, and perform file recovery.
In Part 5, we covered the manual file restoration process. We explained how to identify the file location, search for the file through Finder, check the Trash bin, look for backups, and consider seeking professional help when necessary.
By following these methods, you will have a range of options to restore files from an external hard drive on your Mac, whether you have a Time Machine backup, need to use data recovery software, or prefer a manual approach.
Remember, data loss can be distressing, but with the right knowledge and tools, you can recover your valuable files. Always prioritize regular backups to minimize the risk of data loss and stay proactive in protecting your important data.
With these techniques at your disposal, you can confidently restore files from an external hard drive on your Mac and regain access to your valuable data.