Introduction
Welcome to this comprehensive guide on how to backup to a Seagate external hard drive on a Mac. In today’s digital age, it is essential to safeguard your important files and documents from accidental loss or data corruption. By regularly backing up your data, you can ensure its accessibility and protect against any unforeseen disasters.
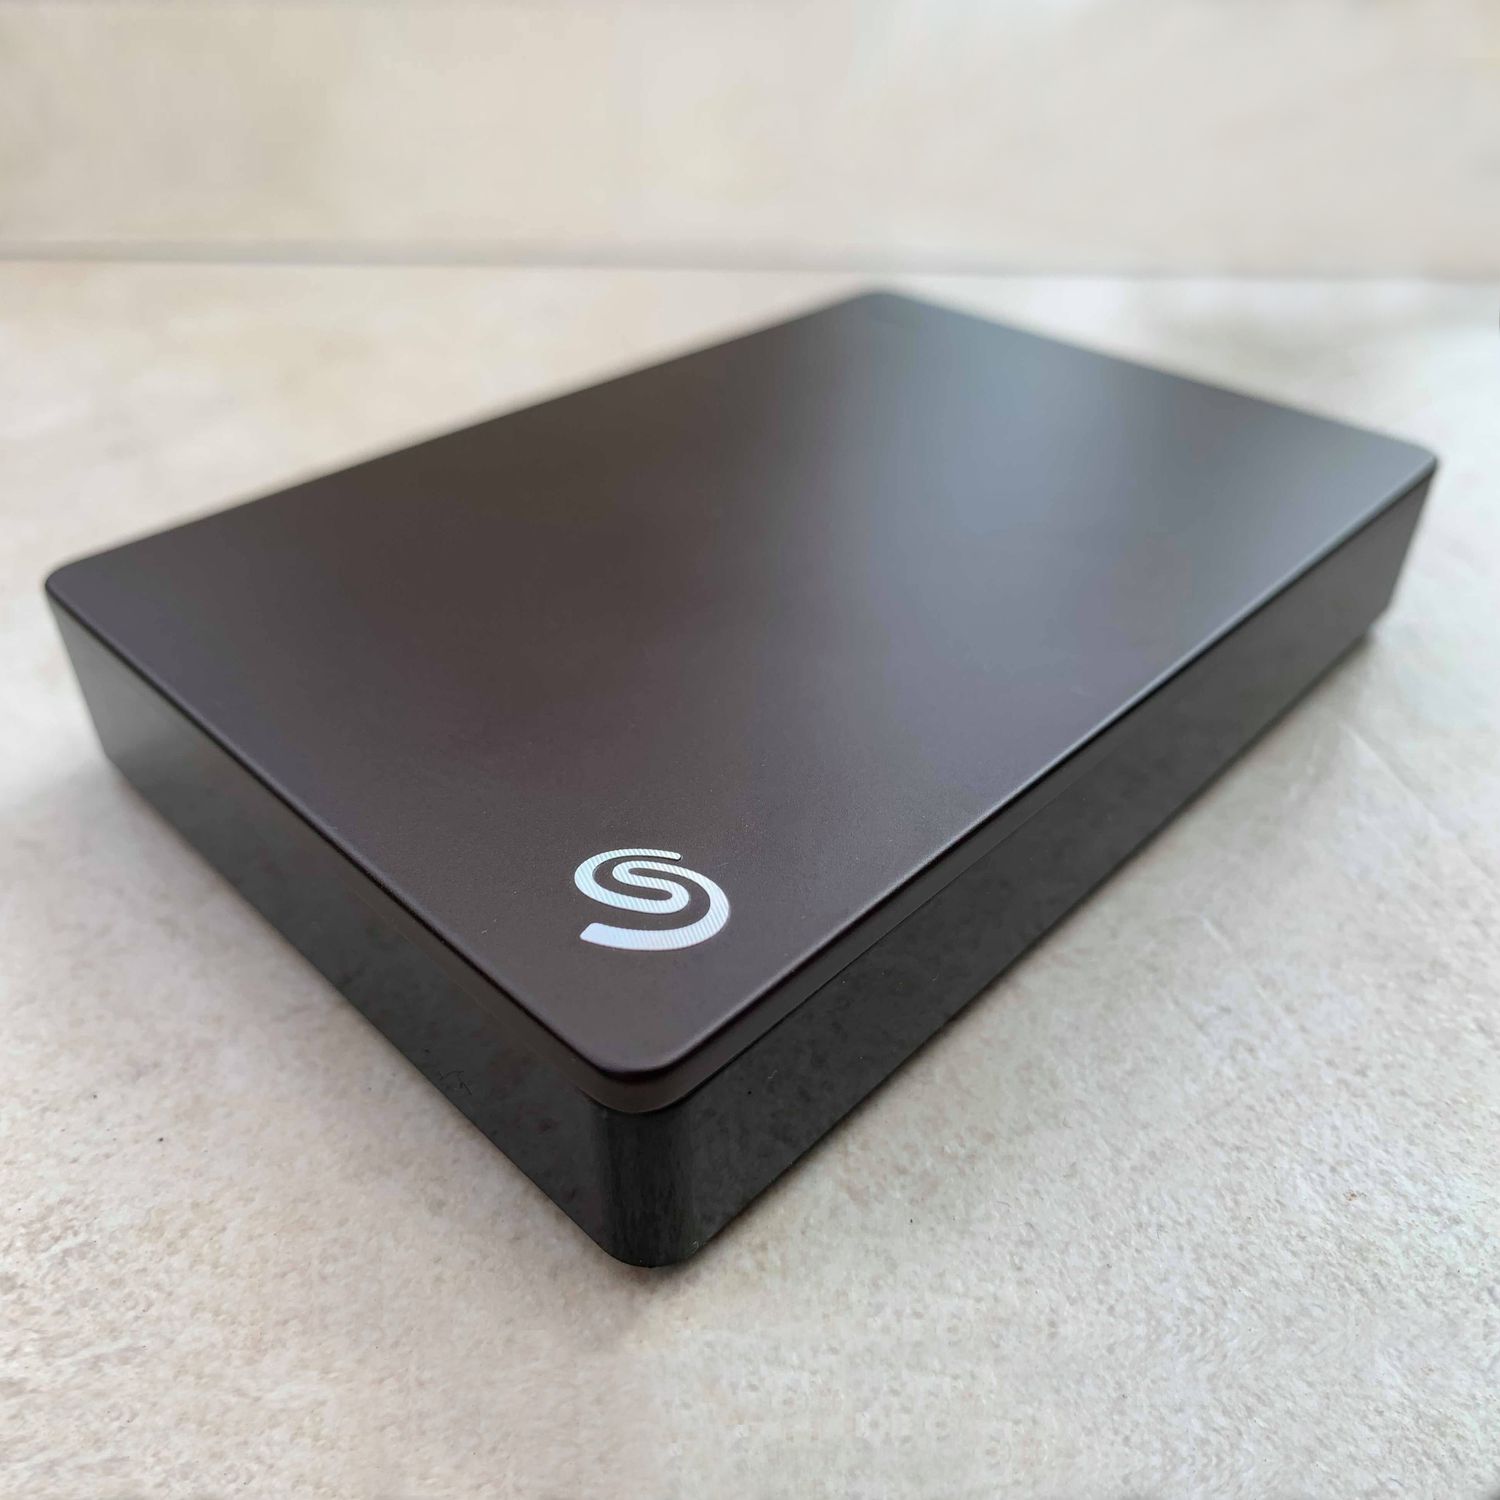
Seagate external hard drives are a popular choice among Mac users due to their reliability, storage capacity, and compatibility with Apple’s Time Machine backup software. Whether you want to back up your personal photos, documents, or multimedia files, using a Seagate external hard drive provides a convenient and secure solution.
In this guide, we will walk you through the step-by-step process of setting up and using a Seagate external hard drive for backups on your Mac. We will cover the necessary steps to connect the drive, format it for Mac usage, configure Time Machine, choose the Seagate drive as the backup destination, and start the backup process. Additionally, you will learn how to monitor and manage your backups, as well as perform file restoration from the Seagate external hard drive.
Whether you are a novice or an experienced Mac user, this guide will provide you with the knowledge and tools necessary to ensure that your important data is securely backed up. By following these steps, you can have peace of mind knowing that your critical files are protected and easily recoverable in the event of a mishap or system failure.
Let’s dive in and explore how you can backup to a Seagate external hard drive on your Mac and safeguard your valuable data for the long term.
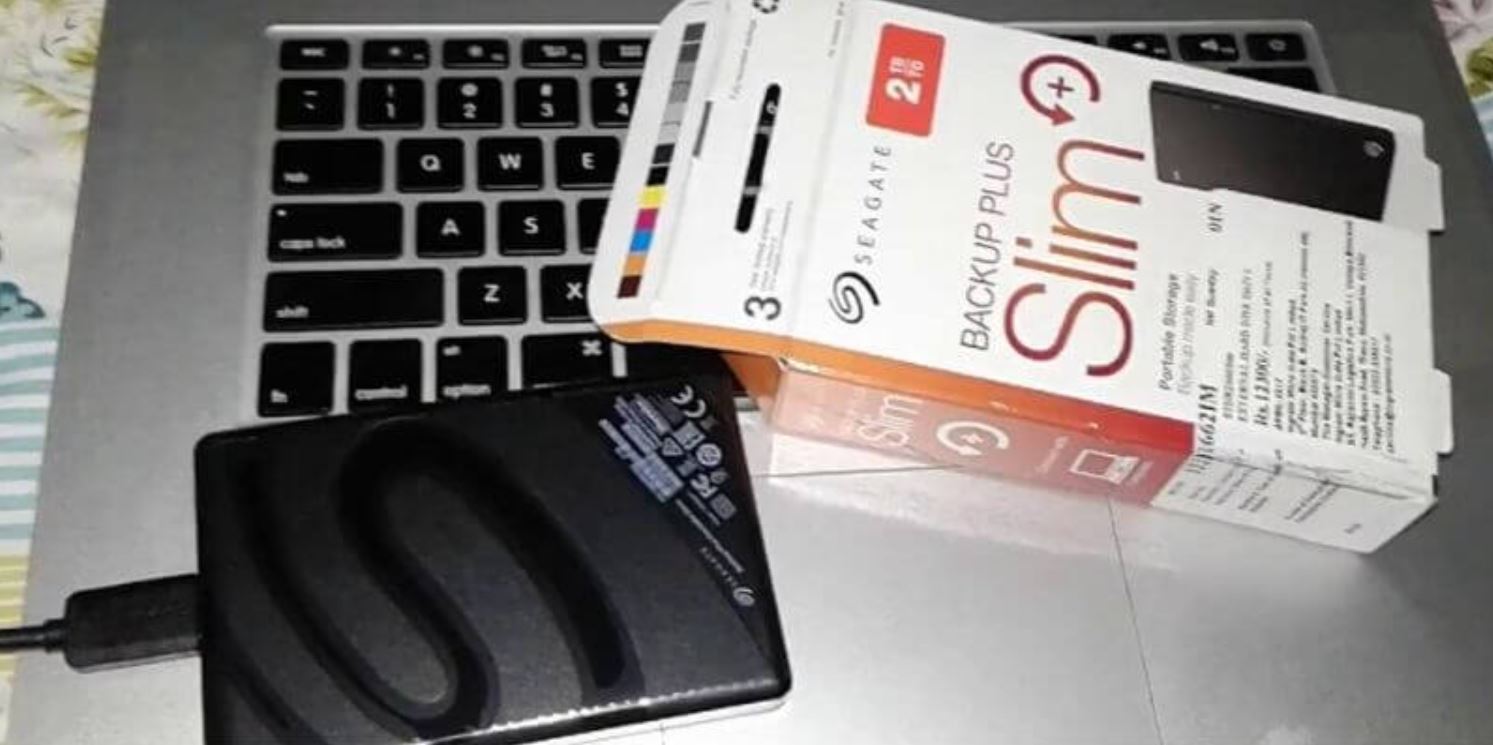
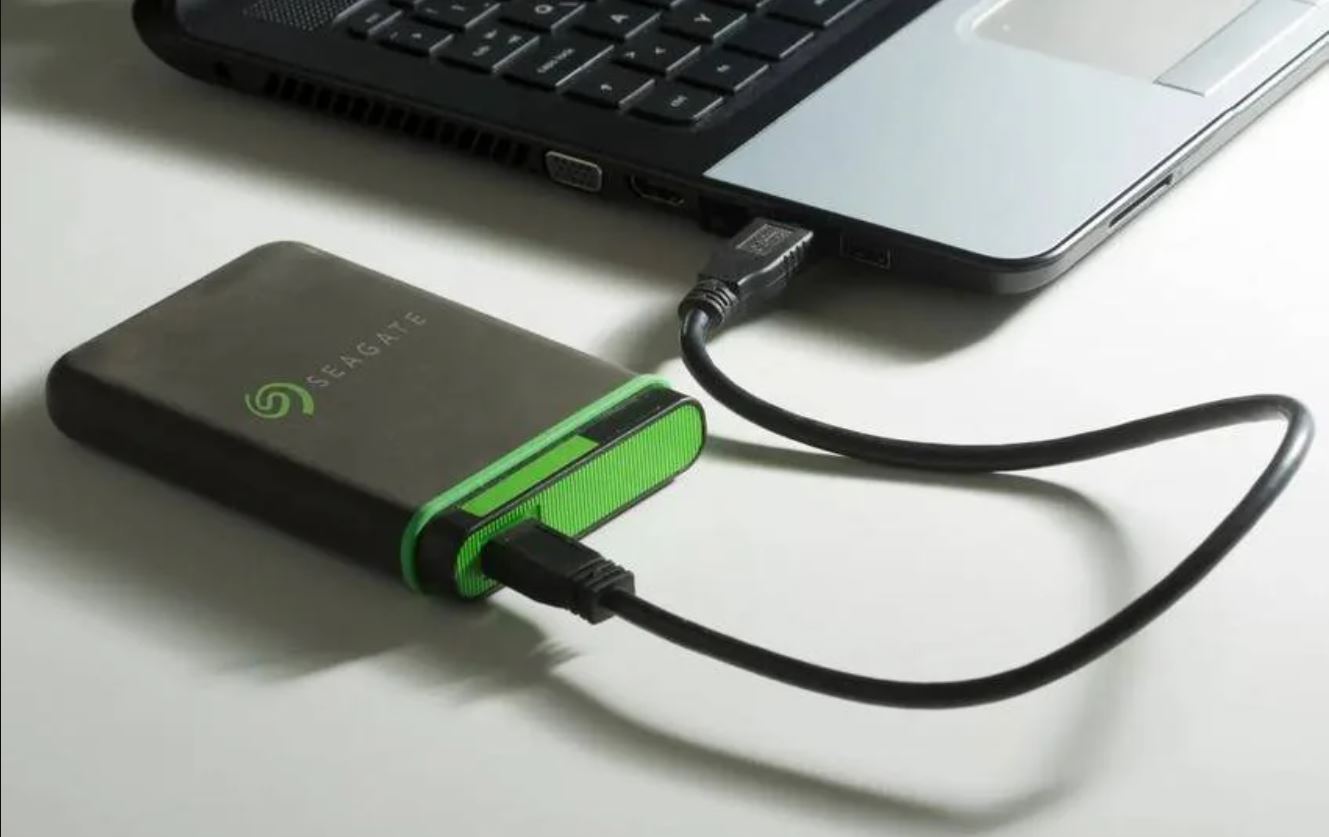
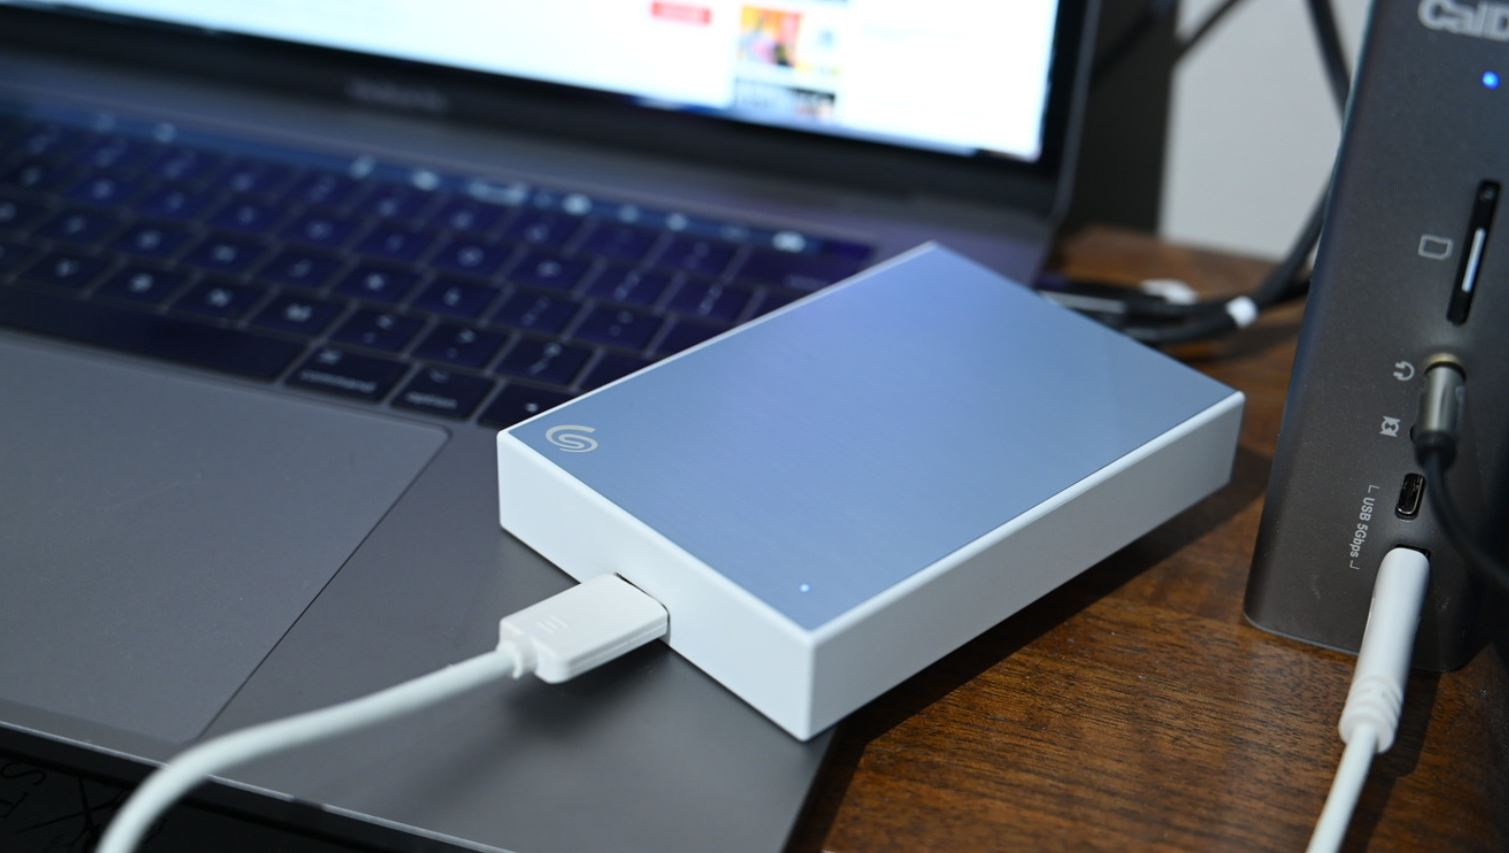
Step 1: Connect the Seagate External Hard Drive to Your Mac
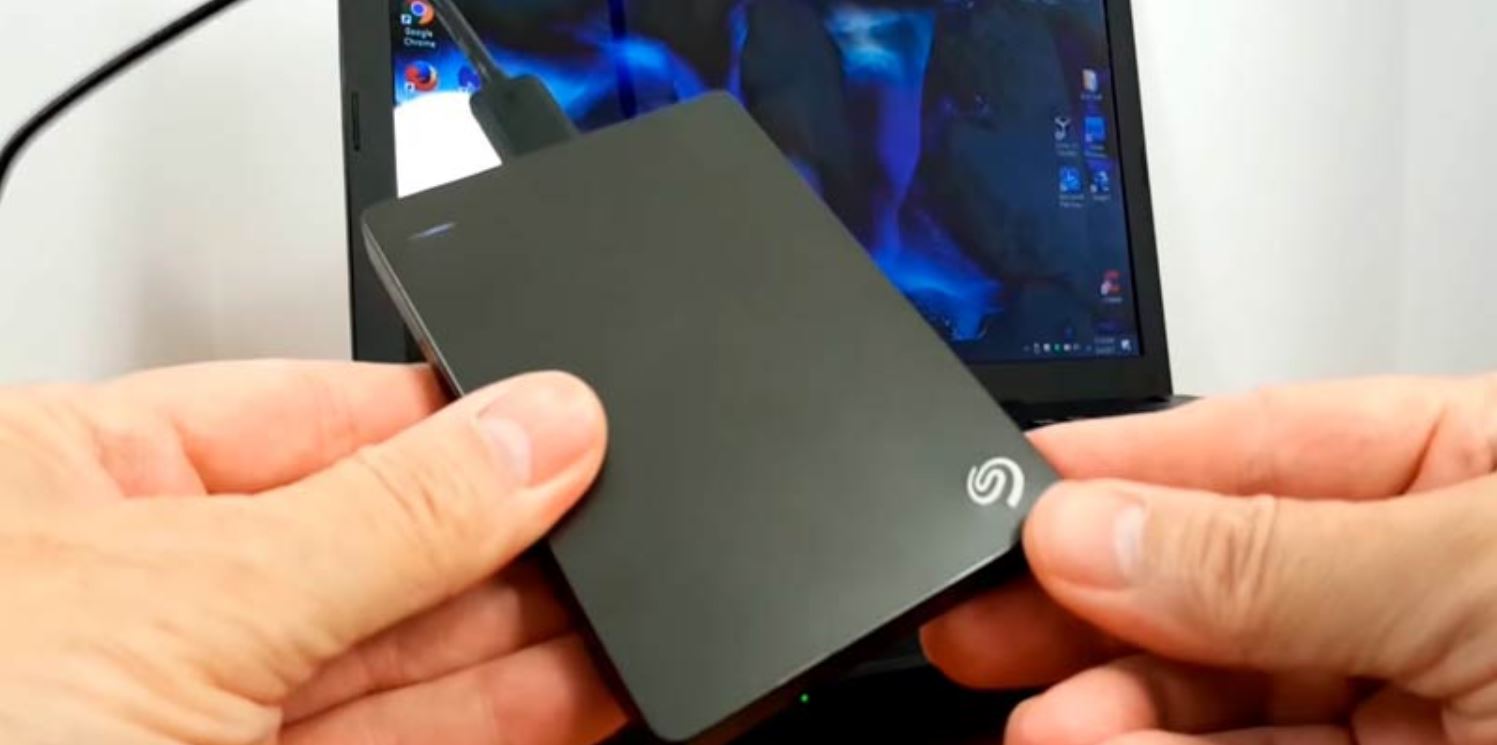
The first step in setting up your Seagate external hard drive for backups on your Mac is to establish a physical connection between the drive and your computer. Follow these easy steps:
- Locate the USB or Thunderbolt port on your Mac. Depending on the model, you may have USB-A, USB-C, or Thunderbolt 3 ports.
- Take the USB or Thunderbolt cable that came with your Seagate external hard drive and connect one end to the drive itself.
- Connect the other end of the cable to the corresponding port on your Mac. Ensure a secure connection is established.
- If your Seagate external hard drive requires external power, connect the power adapter to an electrical outlet and then connect it to the drive. Verify that the drive is receiving power and powered on.
- Your Mac should recognize the connected Seagate external hard drive automatically and show it as a new device.
Once you have successfully connected the Seagate external hard drive to your Mac, it will be ready for the next step of the backup process. Ensure that the drive is securely attached and powered on to proceed with the setup.
It is important to note that some newer Mac models rely solely on USB-C or Thunderbolt 3 ports. In such cases, you may need a compatible adapter or a USB-C to USB-A cable to connect the Seagate external hard drive. Ensure that you have the necessary connectors before proceeding.
Now that you have established a physical connection between your Seagate external hard drive and your Mac, you are ready to move on to the next step: formatting the drive to make it compatible with your Mac’s file system.
Step 2: Format the Seagate External Hard Drive for Mac
Before you can start using your Seagate external hard drive for backups on your Mac, it needs to be formatted in a file system that is compatible with macOS. By formatting the drive, you ensure that it can efficiently store and retrieve data on your Mac. Follow these steps to format the Seagate external hard drive:
- Open “Finder” on your Mac by clicking on the Finder icon in the Dock, or by pressing “Command + Space” and typing “Finder”.
- Ensure that the Seagate external hard drive is connected and recognized by your Mac.
- In the Finder menu at the top of the screen, click on “Go” and then select “Utilities”.
- In the Utilities folder, double-click on the “Disk Utility” application to launch it.
- In the left-hand sidebar of Disk Utility, you should see a list of connected drives. Locate and select your Seagate external hard drive.
- Click on the “Erase” button at the top of the Disk Utility window.
- A new window will appear. Provide a name for your Seagate external hard drive in the “Name” field.
- Choose the desired format for your Seagate external hard drive. For compatibility with macOS, select “Mac OS Extended (Journaled)”.
- Optionally, you can choose a scheme for the drive. If you plan to use the Seagate external hard drive exclusively with your Mac, select “GUID Partition Map”.
- Double-check your settings and click on the “Erase” button to begin the formatting process.
- Wait for Disk Utility to format the Seagate external hard drive. The process may take a few minutes.
- Once the formatting is complete, you will see a confirmation message. Close the Disk Utility application.
Congratulations! You have successfully formatted your Seagate external hard drive for use with your Mac. It is now ready to be configured as a backup destination using Apple’s built-in backup software, Time Machine.
In the next step, we will guide you through the process of setting up Time Machine on your Mac to start regular backups to your Seagate external hard drive. Stay tuned!
Step 3: Set up Time Machine on Your Mac
Time Machine is Apple’s built-in backup software that simplifies the process of backing up your Mac to an external hard drive. By using Time Machine, you can create automatic and regular backups of your important files, ensuring that you can easily recover them in case of data loss or system failure. Follow these steps to set up Time Machine on your Mac:
- Click on the Apple menu in the top-left corner of your screen and select “System Preferences” from the dropdown menu.
- In the System Preferences window, click on “Time Machine.”
- Make sure that your Seagate external hard drive is connected and formatted correctly.
- In the Time Machine preferences window, click on the “Select Disk” button.
- A list of available disks will appear. Select your Seagate external hard drive from the list and click on the “Use Disk” button.
- If desired, you can optionally check the box next to “Encrypt backups” to secure your backup with a password. This provides an extra layer of protection for your sensitive files.
- After selecting the disk and choosing encryption settings (if desired), Time Machine will start the initial backup process. This may take some time depending on the size of your data.
- Once the initial backup is complete, Time Machine will automatically create incremental backups of your files at regular intervals.
- Make sure the Time Machine slider is set to “On” to enable automatic backups.
- At this stage, you have successfully set up Time Machine to use your Seagate external hard drive as the backup destination.
To ensure a smooth and uninterrupted backup experience, make sure your Mac is connected to the power source and the Seagate external hard drive is plugged in whenever you want the backups to occur. Time Machine will handle the rest, backing up your files seamlessly in the background.
Now that Time Machine is properly configured, you can proceed to the next step where we will guide you on how to choose the Seagate external hard drive as the target for your backups.
Step 4: Choose the Seagate External Hard Drive as the Backup Destination
Now that you have set up Time Machine on your Mac, it’s time to select the Seagate external hard drive as the destination for your backups. By designating your Seagate drive as the backup destination, Time Machine will automatically store your files and create incremental backups for easy recovery. Follow these steps to choose the Seagate external hard drive as the backup destination:
- Click on the Apple menu in the top-left corner of your screen and select “System Preferences” from the dropdown menu.
- In the System Preferences window, click on “Time Machine.”
- In the Time Machine preferences window, ensure that the Time Machine slider is set to “On.”
- Click on the “Options” button.
- A new window will appear. In the list of excluded items, make sure the Seagate external hard drive is not listed. If it is, select it and click on the minus (“-“) button to remove it from the exclusion list.
- Close the options window.
- From this point onwards, Time Machine will automatically back up your Mac to the Seagate external hard drive. You can monitor the backup progress and manage your backups through the Time Machine preferences window.
By selecting the Seagate external hard drive as the backup destination in Time Machine, you can be confident that your valuable data will be securely stored and easily recoverable in case of accidental deletion, computer failure, or other data loss situations. Time Machine will continuously update your backups, ensuring that you have the most recent versions of your files available for restoration.
Now that you have designated the Seagate external hard drive as the backup destination, it’s time to move on to the next step: starting the backup process. In the following section, we will walk you through how to initiate the backup and ensure a smooth backup experience.
Step 5: Start the Backup Process
With Time Machine configured and the Seagate external hard drive selected as the backup destination, it’s time to initiate the backup process. Time Machine will start automatically backing up your Mac to the Seagate drive according to the schedule you set. However, you can also manually start a backup at any time. Follow these steps to begin the backup process:
- Ensure that your Seagate external hard drive is connected and powered on.
- Click on the Time Machine icon in the menu bar at the top of your screen. It looks like a clock with an arrow circling it.
- In the dropdown menu, click on “Back Up Now.” This will immediately start the backup process.
- You can monitor the progress of the backup in the Time Machine preferences window or by clicking on the Time Machine icon and selecting “Enter Time Machine.”
- During the backup, Time Machine will copy all the selected files and folders from your Mac to the Seagate external hard drive.
- The speed and duration of the backup process will depend on the size of your data and the connection speed between your Mac and the Seagate drive.
- Time Machine will continue creating incremental backups in the background, even if you’re performing other tasks on your Mac.
It’s important to note that the initial backup can take a significant amount of time, especially if you have a large amount of data to be backed up. Subsequent backups will only include changes and additions to your files, resulting in faster backup times.
Once the backup process is complete, Time Machine will inform you and continue to periodically backup your Mac to the Seagate external hard drive. The frequency of these backups will depend on your Time Machine settings.
Congratulations! You have successfully started the backup process using Time Machine and the Seagate external hard drive. Your valuable data is now being regularly backed up and protected.
In the next step, we will explain how to monitor and manage your backups to ensure a smooth backup experience and easy recovery of your files.
Step 6: Monitor and Manage Your Backups
Once you have set up Time Machine and initiated the backup process to your Seagate external hard drive, it’s important to monitor and manage your backups to ensure they are running smoothly and to have easy access to your backed-up files. Follow these steps to monitor and manage your backups:
- Click on the Time Machine icon in the menu bar at the top of your screen. It looks like a clock with an arrow circling it.
- In the dropdown menu, select “Open Time Machine Preferences.”
- The Time Machine preferences window will open, showing you the status of your backups and information about your Seagate external hard drive.
- Here, you can see the date and time of your last successful backup, as well as the size of the backup and available space on your Seagate drive.
- You can also exclude specific files or folders from backups by clicking on the “Options” button and adding them to the exclusion list.
- If you need to restore a file from a specific backup, click on the Time Machine icon again and select “Enter Time Machine.”
- You will be taken to the Time Machine interface, where you can navigate through your backed-up files and folders using the timeline on the right side of the screen.
- Locate the file or folder you want to restore, select it, and click on the “Restore” button to retrieve it to its original location on your Mac.
- In addition to restoring individual files, you can also perform a full system restore using Time Machine if necessary.
- Regularly check the Time Machine preferences to ensure that backups are running as scheduled and that there are no errors or issues with your Seagate external hard drive.
By monitoring and managing your backups, you can ensure the integrity and availability of your data. Regularly check the backup status and update any preferences or exclusions as needed to maintain an efficient backup process.
Remember to keep your Seagate external hard drive connected and powered on during scheduled backup times to ensure that Time Machine can perform backups without any interruptions.
In the next step, we will explore how to restore files from the Seagate external hard drive to your Mac, providing you with peace of mind knowing that you can retrieve your important data whenever needed.
Step 7: Restore Files from the Seagate External Hard Drive
In the event that you need to retrieve specific files from your backups, Time Machine makes it easy to restore them from your Seagate external hard drive. Follow these steps to restore files from your Seagate external hard drive using Time Machine:
- Ensure that your Seagate external hard drive is connected and powered on.
- Click on the Time Machine icon in the menu bar at the top of your screen. Select “Enter Time Machine.”
- You will be taken to the Time Machine interface, which displays a visual representation of your backups along a timeline on the right side of the screen.
- Navigate through the timeline to locate the specific backup date and time when the file you want to restore was still available on your Mac.
- Once you have located the desired backup snapshot, use the on-screen controls or the arrow keys to browse through the backed-up files and folders.
- When you find the file you want to restore, select it and click on the “Restore” button.
- Time Machine will begin the restoration process and retrieve the selected file from the Seagate external hard drive.
- The restored file will be placed in its original location on your Mac, overwriting any existing version if necessary.
- Alternatively, you can choose to restore the file to a different location by using the “Restore To” option.
- Repeat the process to restore additional files or folders as needed.
Time Machine allows you to restore not only individual files but also entire folders and directories from specific backups. This flexibility gives you the ability to retrieve exactly what you need from your Seagate external hard drive, ensuring a smooth and effective file restoration process.
Remember to regularly back up your Mac using Time Machine to keep your Seagate external hard drive up to date with the latest changes to your files. By maintaining consistent backups, you will have peace of mind knowing that you can easily restore your important data in the event of accidental deletions, system failures, or other data loss scenarios.
Congratulations! You have successfully learned how to restore files from your Seagate external hard drive using Time Machine. Keep this knowledge handy, and don’t hesitate to utilize it whenever you need to recover important files.
Now that you are familiar with the entire backup process, you can confidently leverage Time Machine and the Seagate external hard drive for seamless data protection and secure file recovery.
Tips for a Successful Backup Experience
Ensuring a successful backup experience is crucial to safeguarding your valuable data and ensuring its availability when you need it. Follow these tips to optimize your backup process with Time Machine and your Seagate external hard drive:
- Regularly check the status: Keep an eye on the Time Machine preferences to ensure that backups are running as scheduled and that there are no errors or issues. Address any problems promptly to maintain uninterrupted backups.
- Keep your Seagate drive connected: For automated backups, make sure that your Seagate external hard drive remains connected and powered on during scheduled backup times. This ensures that Time Machine can perform backups without any interruptions.
- Monitor available storage: Regularly check the available storage space on your Seagate external hard drive to ensure that it doesn’t become full. If space becomes limited, Time Machine will start deleting older backups to make room for new ones.
- Exclude unnecessary files: Use the Time Machine options to exclude files or folders that you don’t need to back up. This helps save storage space and reduces the backup time.
- Create a backup schedule: Consider setting up a regular backup schedule that suits your needs. Whether it’s daily, weekly, or monthly, having a consistent backup routine ensures that your data is regularly protected.
- Encrypt sensitive backups: If your Seagate external hard drive supports it, consider enabling encryption for your backups. This adds an extra layer of security and ensures that your sensitive files remain protected even if the drive is lost or stolen.
- Test your backups: From time to time, restore a file or two from your backups to ensure that the restoration process works smoothly. This will give you confidence in the integrity and accessibility of your backed-up data.
- Keep multiple backups: For added protection, consider using multiple backup drives or utilizing cloud storage services in addition to your Seagate external hard drive. This redundancy ensures that you have multiple copies of your important data in case of hardware failure or other unexpected events.
- Update your backup system: Periodically check for updates to Time Machine and your Seagate external hard drive’s software. Keeping your backup system up to date ensures compatibility, performance improvements, and security enhancements.
- Regularly review your backup needs: As your data evolves, periodically review your backup needs and adjust your backup strategies accordingly. Add new files and folders to your backup routine and remove any no longer required.
By following these tips, you can ensure a successful backup experience, providing you with peace of mind and protection for your valuable data. Remember that regular backups are key to minimizing the risk of data loss and ensuring that your files are easily recoverable.
Now that you’re equipped with these valuable tips, go ahead and apply them to maximize the effectiveness and reliability of your backup process.
Conclusion
Backing up your data is essential in today’s digital age, and using a Seagate external hard drive with Time Machine on your Mac offers a reliable and convenient solution. Throughout this guide, we have walked you through the process of setting up and using a Seagate external hard drive for backups on your Mac.
We started by connecting the Seagate external hard drive to your Mac and formatting it to ensure compatibility. Then, we moved on to setting up Time Machine, choosing the Seagate drive as the backup destination, and starting the backup process. We also discussed how to monitor and manage your backups, restore files from the Seagate drive using Time Machine, and provided valuable tips for a successful backup experience.
By following these steps and implementing the tips provided, you can ensure that your important files and data are consistently backed up and protected. In the event of accidental deletion, data corruption, or system failure, you can confidently restore your files from your Seagate external hard drive, knowing that your data is secure and easily accessible.
Remember to regularly check the status of your backups, keep the Seagate drive connected during scheduled backup times, and monitor available storage. Additionally, consider encrypting sensitive backups, testing your restoration process, and keeping multiple backups for added redundancy.
Now that you have the knowledge and tools necessary to effectively backup to a Seagate external hard drive on your Mac, it’s time to put this information into practice. Safeguard your valuable data and enjoy the peace of mind that comes with having a robust backup system at your disposal.
Thank you for following this guide, and happy backing up!