Introduction
Welcome to this guide on how to perform a factory reset on your Seagate external hard drive. If you’re experiencing issues with your hard drive or you simply want to start fresh, a factory reset can help restore your device to its original state. Whether you’re using a Windows or Mac computer, this guide will provide step-by-step instructions to walk you through the process.
Before we delve into the details, let’s take a moment to understand what a factory reset entails. When you perform a factory reset, all the data and settings on your Seagate external hard drive will be erased and returned to the original factory settings. This means that any files, folders, or customized configurations on the drive will be permanently deleted. It can be a helpful solution for resolving software issues, removing malware, or preparing the drive for resale.
However, it is important to note that a factory reset will erase all data on the drive. Therefore, it is crucial to back up your important files and folders before proceeding with the reset. This guide will also provide instructions on how to properly back up your data to ensure nothing is lost during the process.
Whether you’re an experienced tech enthusiast or a beginner, this guide will provide you with the necessary steps to perform a factory reset on your Seagate external hard drive. So, let’s get started by backing up your data to safeguard your important files before proceeding with the reset.
Understanding Factory Reset
Before diving into the process of performing a factory reset on your Seagate external hard drive, it’s important to have a clear understanding of what exactly a factory reset entails. Essentially, a factory reset is a procedure that restores the device to its original factory settings. This means that all your data, settings, and configurations will be erased, and the device will be returned to its initial state when you first purchased it.
There are various reasons why you may choose to perform a factory reset. It can be a useful solution if you’re experiencing software issues, such as frequent crashes or slow performance. It can also be an effective method to remove malware or viruses that may have infected your hard drive. In addition, performing a factory reset is often recommended when preparing to sell or give away your Seagate external hard drive, as it ensures that all your personal data is permanently erased.
It’s important to note that a factory reset only affects the internal software and settings of your Seagate external hard drive. It does not physically alter the hardware components or the physical storage of your data. However, it is crucial to back up your data before proceeding with a factory reset, as all data on the drive will be permanently deleted.
Once you have performed a factory reset, your Seagate external hard drive will be restored to its original state. This means that any software or security updates that were installed after the initial purchase will be erased. Therefore, it’s important to ensure that your device is connected to the internet after the reset to download and install any necessary updates.
Now that you have a better understanding of what a factory reset involves, let’s move on to the next section, where we will explore how to back up your data before performing the reset. Remember, it’s always better to be safe than sorry, so take the time to safeguard your important files before proceeding with the reset.
Backing Up Your Data
Before you proceed with a factory reset on your Seagate external hard drive, it is crucial to back up your data to ensure that none of your important files are lost during the process. The factory reset will erase all the data on the drive, so taking the time to create a backup is essential.
There are several methods you can use to back up your data. One of the most common and convenient ways is to use cloud storage services such as Google Drive, Dropbox, or Microsoft OneDrive. These services allow you to upload your files to the cloud, where they will be safely stored and accessible from any device with an internet connection. Simply create an account, install the necessary software or apps on your computer, and follow the instructions to upload your files.
If you prefer to have physical copies of your data, you can also back up your files to an external hard drive or USB flash drive. Connect your backup device to your computer and simply copy and paste the files and folders you want to save onto the external drive. It’s important to ensure that you have enough storage space on your backup device to accommodate all your files.
In addition to cloud storage and external devices, you can also consider using backup software or applications designed specifically for this purpose. These programs often provide more advanced features, such as automatic scheduled backups or the ability to create system image backups. Explore different options, read reviews, and choose a backup solution that best suits your needs.
Remember to include all your important files, such as documents, photos, videos, and any other data that you want to preserve. It’s better to be safe than sorry, so take the time to double-check your backup to ensure that nothing is missing.
Once you have successfully backed up your data, you’re ready to proceed with the factory reset on your Seagate external hard drive. In the next sections, we will provide detailed instructions for performing a factory reset on both Windows and Mac operating systems to restore your device to its original settings.
Disconnecting and Preparing Your Seagate External Hard Drive
Before you begin the process of performing a factory reset on your Seagate external hard drive, it’s important to properly disconnect the device from your computer and ensure that it is safely prepared for the reset.
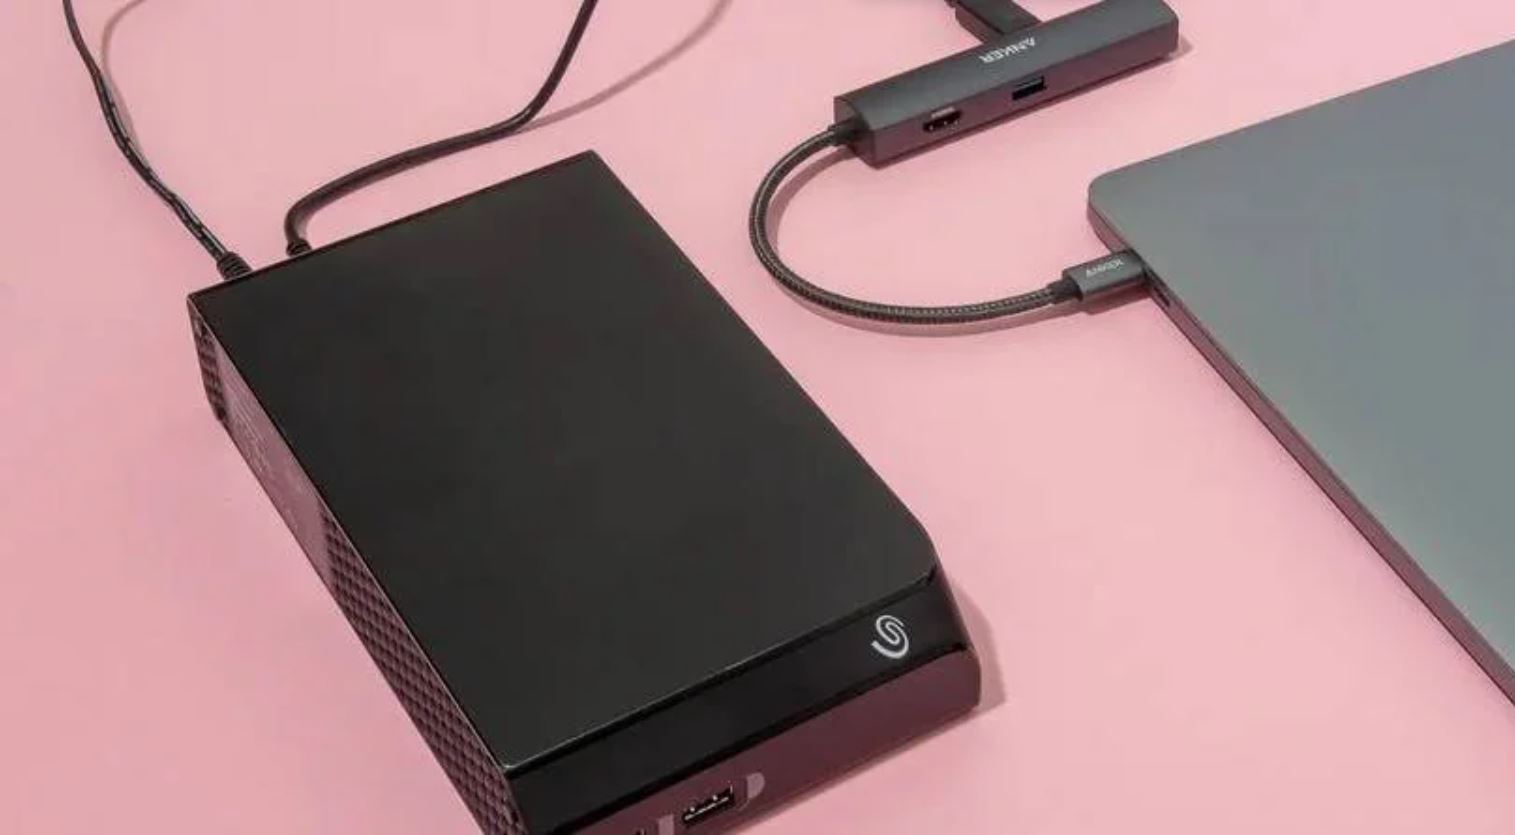
First, make sure that all the data transfers or file operations involving your Seagate external hard drive are completed. This could include copying or moving files to or from the device. Safely eject the drive from your computer by following the appropriate steps for your operating system. This process helps prevent data corruption and ensures that the drive is ready for the reset.
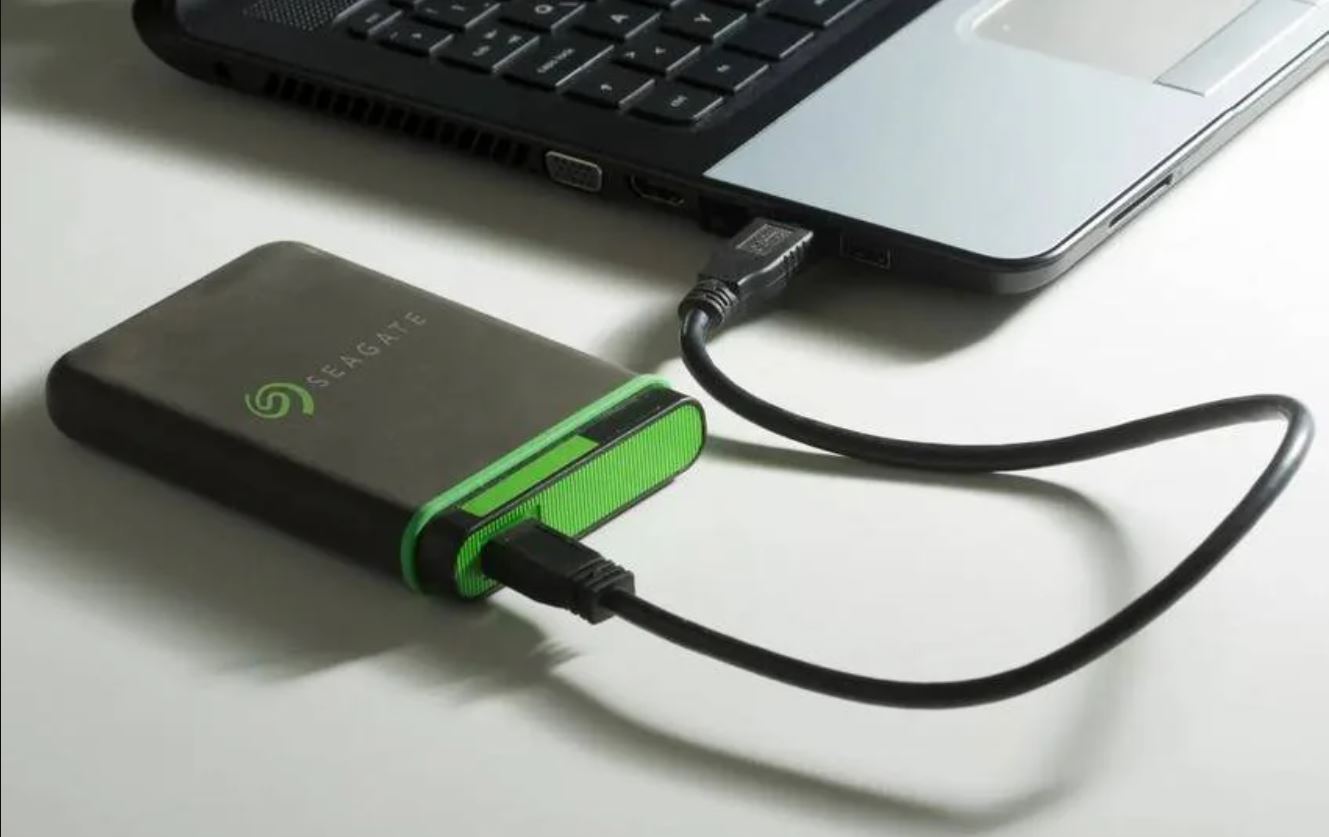
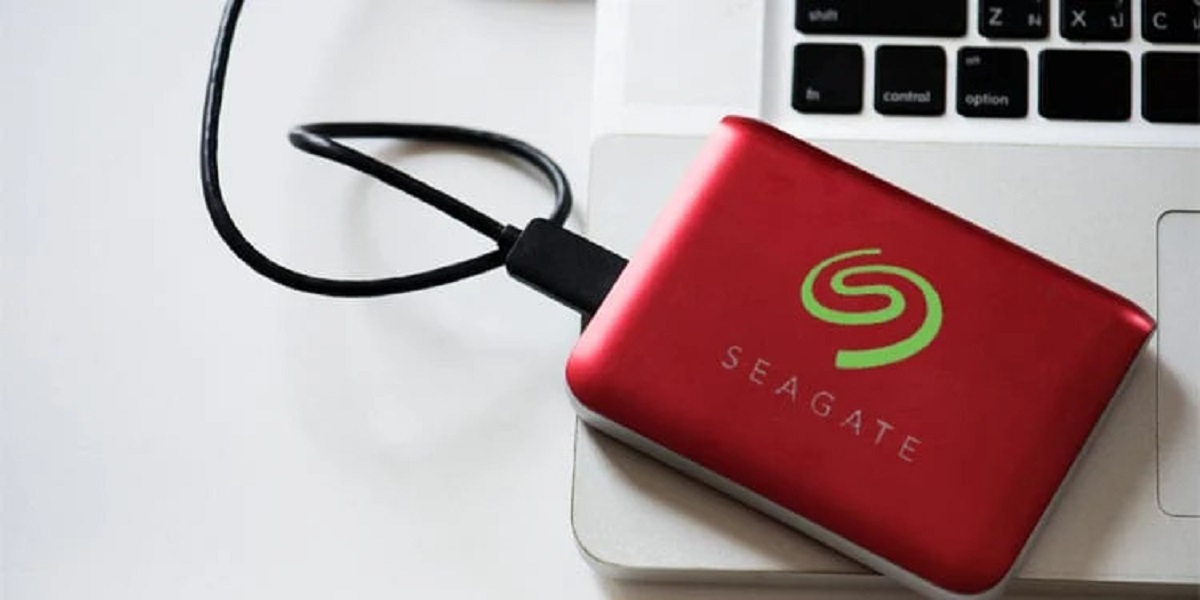
Once the external hard drive is disconnected from your computer, double-check that there are no physical connections between the drive and your device. Ensure that the USB or Thunderbolt cable is disconnected from both the computer and the drive itself. If there are any other cables or accessories connected to the hard drive, remove them as well.
To further prepare your Seagate external hard drive, locate the power source for the device and disconnect it. This could involve unplugging the power adapter from the wall socket or disconnecting the drive from a power strip. The goal is to completely cut off the power supply to the external hard drive.
Now that your Seagate external hard drive is disconnected and the power source is removed, take a moment to inspect the drive for any physical damage or signs of wear and tear. Ensure that the drive is clean and free from debris, as this can impact its performance and reliability. If you notice any issues with the drive, such as physical damage or unusual noises, it’s best to consult a professional technician for assistance before proceeding with the factory reset.
By properly disconnecting your Seagate external hard drive and ensuring that it is safely prepared for the reset, you minimize the risk of data loss or damage during the process. In the following sections, we will provide step-by-step instructions for performing a factory reset on both Windows and Mac operating systems, so you can restore your device to its original factory settings.
Performing a Factory Reset on Windows
If you’re using a Windows computer, follow these step-by-step instructions to perform a factory reset on your Seagate external hard drive.
- Backup your data: Before proceeding with the factory reset, ensure that you’ve backed up all your important files and folders to avoid data loss.
- Connect the drive: Connect your Seagate external hard drive to your Windows computer using the USB or Thunderbolt cable provided.
- Open “Disk Management”: Press the Windows key + R to open the Run dialog box. Type “diskmgmt.msc” and press Enter to open the Disk Management tool.
- Select the external hard drive: In the Disk Management window, locate your Seagate external hard drive. It should be listed as a disk with a capacity label. Right-click on the drive and select “Format…” from the context menu.
- Choose the formatting options: In the Format window, select the desired file system (such as NTFS or exFAT) and leave the allocation unit size as default. You can also provide a new volume label if desired.
- Begin the formatting process: Click on the “OK” button to start the formatting process. A warning message will appear, stating that all data on the drive will be erased. Double-check that you’ve backed up your data, and then click “OK” to proceed.
- Wait for the formatting to complete: The formatting process may take a few minutes, depending on the size and speed of your hard drive. Once it’s completed, a notification will appear.
- Verify the factory reset: To ensure that the factory reset was successful, you can disconnect the Seagate external hard drive and reconnect it to your computer. It should appear as a completely empty drive, indicating that the reset was successful.
By following these steps, you can easily perform a factory reset on your Seagate external hard drive using a Windows computer. Now, let’s move on to the next section where we’ll explore the process of performing a factory reset on a Mac.
Performing a Factory Reset on Mac
If you’re using a Mac computer, follow these step-by-step instructions to perform a factory reset on your Seagate external hard drive.
- Backup your data: Before proceeding with the factory reset, ensure that you’ve backed up all your important files and folders to avoid data loss.
- Connect the drive: Connect your Seagate external hard drive to your Mac using the USB or Thunderbolt cable provided.
- Open “Disk Utility”: Go to the Applications folder, then open the Utilities folder, and finally click on “Disk Utility” to launch the Disk Utility application.
- Select the external hard drive: In the Disk Utility window, locate your Seagate external hard drive in the left sidebar. It should be listed as a device with its capacity label.
- Erase the drive: Click on the “Erase” tab at the top of the Disk Utility window. Choose the desired format (such as Mac OS Extended or exFAT) and provide a new name for the drive if desired.
- Confirm the erasure: Double-check that you’ve backed up your data, as erasing the drive will permanently remove all data. Click on the “Erase” button to confirm and start the erasure process.
- Wait for the erasure to complete: The erasure process may take some time, depending on the size and speed of your hard drive. Once it’s completed, a notification will appear.
- Verify the factory reset: To ensure that the factory reset was successful, you can disconnect the Seagate external hard drive and reconnect it to your Mac. It should appear as a completely empty drive, indicating that the reset was successful.
By following these steps, you can easily perform a factory reset on your Seagate external hard drive using a Mac computer. It’s important to note that the steps may vary slightly depending on the version of macOS you’re using, but the general process remains the same.
Now that you’re familiar with both the Windows and Mac methods of performing a factory reset on your Seagate external hard drive, you have the knowledge to restore your device to its original factory settings. However, if you encounter any issues or have further questions, refer to the troubleshooting section next for some helpful tips.
Troubleshooting Tips
While performing a factory reset on your Seagate external hard drive is generally a straightforward process, there may be instances where you encounter some difficulties. Here are some troubleshooting tips to help you overcome common issues that may arise during the reset:
- Ensure proper connections: Double-check that all connections between your Seagate external hard drive and your computer are secure. Loose cables or faulty ports can prevent the reset process from starting.
- Try a different USB port or cable: If you’re having trouble connecting your hard drive to your computer, try using a different USB port or a different USB cable. Sometimes, the issue can be related to a faulty cable or port.
- Restart your computer: If your computer is not recognizing your Seagate external hard drive, try restarting your computer and reconnecting the drive. This can refresh the system and help establish the connection.
- Update your operating system: Ensure that your computer’s operating system is up to date. Outdated software can sometimes cause compatibility issues with external devices. Check for any available updates and install them before proceeding with the reset.
- Use Disk Utility or Disk Management: If your Seagate external hard drive is not appearing in the Disk Utility (Mac) or Disk Management (Windows) tool, try running the utility as an administrator or try using a different computer. Sometimes, certain system settings or permissions can prevent the drive from being recognized.
- Consult Seagate support: If you’ve tried all the troubleshooting tips and are still experiencing issues with your Seagate external hard drive, it’s recommended to reach out to Seagate customer support. They can provide additional guidance and assistance tailored to your specific situation.
Remember, troubleshooting is a normal part of any technical process, and it’s important not to get discouraged. Patience and perseverance will help you overcome any obstacles you may encounter during the factory reset process.
Now that you’re equipped with these troubleshooting tips, you can confidently proceed with performing a factory reset on your Seagate external hard drive. Follow the instructions provided for your specific operating system, and in no time, your device will be restored to its original factory settings.
Conclusion
Congratulations! You have successfully learned how to perform a factory reset on your Seagate external hard drive. Whether you are using a Windows or Mac computer, following the step-by-step instructions outlined in this guide will allow you to restore your device to its original factory settings.
Before initiating the factory reset, it is crucial to back up your important data to ensure that nothing is lost during the process. Taking the time to safeguard your files using cloud storage services, external devices, or specialized backup software will give you peace of mind.
Remember to properly disconnect and prepare your Seagate external hard drive before proceeding. This involves safely ejecting the drive, removing any physical connections, and inspecting the drive for any signs of damage or wear and tear.
For Windows users, the process involves formatting the drive using the Disk Management tool. Simply select the Seagate external hard drive, choose the desired formatting options, and wait for the process to complete.
Mac users, on the other hand, can use the Disk Utility application to erase the drive. Select the drive, choose the desired format, and initiate the erasure process.
If you encounter any issues during the reset, refer to the troubleshooting tips section for possible solutions. Ensuring proper connections, trying different ports or cables, and updating your operating system can often resolve common problems.
Now that you have completed the factory reset, your Seagate external hard drive will be restored to its original state. Feel free to reconnect it to your computer and start using it with a clean slate.
We hope this guide has been helpful in assisting you with performing a factory reset on your Seagate external hard drive. Remember, taking the time to back up your data and properly prepare your device are essential steps to ensure a smooth and successful reset. If you have any further questions or require additional support, don’t hesitate to reach out to Seagate customer support for assistance.
Good luck with your Seagate external hard drive and happy computing!