Introduction
Welcome to the comprehensive guide on how to reset your Seagate external hard drive. Whether you are facing technical issues with your device or wanting to start afresh, resetting your Seagate external hard drive can often be the solution to your problems. Resetting allows you to restore the drive to its original state, eliminating any errors or glitches that may have occurred.
A Seagate external hard drive is a reliable and convenient storage solution for all your files, documents, photos, and videos. However, over time, these drives can encounter issues such as slow performance, unrecognized device errors, or corrupted data. Resetting your Seagate external hard drive can help resolve these issues and ensure optimal performance once again.
In this guide, we will explore various methods to reset your Seagate external hard drive, depending on your operating system. Whether you are using Windows or Mac, we have you covered with step-by-step instructions to simplify the process. However, it is important to note that resetting your Seagate external hard drive will erase all the data stored on it, so it’s imperative to back up your files before proceeding.
Before we delve into the methods of resetting your Seagate external hard drive, let’s take a quick look at some of the reasons why you might want to reset it. If you are experiencing frequent crashes or freezes, encountering error messages when trying to access files, or noticing a significant decline in performance, a reset might be the solution to restore your drive’s functionality. Additionally, resetting can also help resolve compatibility issues with different operating systems or resolve any conflicts that may have arisen.
Now that we have established the importance of resetting your Seagate external hard drive and understood the reasons why you might need to do it, let’s move on to the next section, where we will discuss the crucial step of backing up your data before proceeding with the reset.
Reasons to Reset Your Seagate External Hard Drive
There are several reasons why you might want to reset your Seagate external hard drive. Let’s explore some of the common scenarios where a reset can be beneficial:
- Performance Issues: Over time, your Seagate external hard drive may start to exhibit slow performance, lagging response times, or frequent crashes. These problems can be caused by fragmented data, corrupted files, or software conflicts. Resetting your device can help eliminate these issues and restore its original performance.
- Data Corruption: If you notice that certain files or folders on your Seagate external hard drive become inaccessible or display errors, it could indicate data corruption. Resetting the drive can remove corrupted files and fix any underlying issues, allowing you to regain access to your data.
- Compatibility Problems: Sometimes, your Seagate external hard drive may encounter compatibility issues with different operating systems or devices. This can lead to problems such as the drive not being recognized or the inability to transfer files. Resetting your device can often resolve these compatibility problems and ensure seamless connectivity.
- Security Concerns: If you plan to sell or donate your Seagate external hard drive or if it has been compromised, resetting it is essential to ensure your privacy and protect your data. By resetting the drive, you can securely erase all the data stored on it and prevent unauthorized access.
- Error Messages: If you frequently encounter error messages when attempting to access or use your Seagate external hard drive, resetting it can be an effective troubleshooting step. This can help clear any temporary issues or conflicts that may be causing the error messages to appear.
By understanding the reasons why you might need to reset your Seagate external hard drive, you can determine the appropriate course of action to address the specific issues you are facing. However, it is important to note that resetting your device will permanently delete all the data stored on it, so make sure to back up your files before proceeding.
Backup Your Data
Before you proceed with resetting your Seagate external hard drive, it’s crucial to backup your data to prevent any loss or permanent deletion. Resetting the drive will erase all the files and settings on it, so taking the time to create a backup ensures that you have a copy of your important files and documents.
Here are some important steps to follow when backing up your data:
- Organize and Prioritize: Start by organizing your files and identifying the data that you want to backup. Sort through your documents, photos, videos, and other files to distinguish between essential and non-essential data. This will help you prioritize the backup process and ensure that you don’t miss any crucial files.
- Choose a Backup Method: There are several ways to backup your data, depending on your preferences and available resources. You can use external storage devices such as another hard drive or USB flash drive, utilize cloud storage services, or opt for a combination of both for added security.
- External Hard Drive Backup: If you have access to another external hard drive, connect it to your computer and transfer your important files to the backup drive. Make sure to create separate folders or categories to keep your data organized. This method allows for quick and easy access to your backup files.
- Cloud Storage Backup: Cloud storage services like Google Drive, Dropbox, or Microsoft OneDrive offer convenient and accessible storage options. Upload your files to the cloud, ensuring that you have enough storage space to accommodate your data. This method provides the advantage of accessing your files from any device with an internet connection.
- Verify and Test: Once your backup is complete, it’s crucial to verify the integrity of your files. Check that all your important data has been successfully backed up and that you can easily access and open the files. Performing a test restore on a small portion of your backup can help ensure that the backup process was successful.
Backing up your data gives you peace of mind and ensures that even if something goes wrong during the reset process or if you accidentally delete any files, you will have a secure backup to rely on. Take the time to complete this crucial step before proceeding with resetting your Seagate external hard drive.
Method 1: Resetting via Seagate Dashboard Software
If you have installed the Seagate Dashboard software on your computer, you can easily reset your Seagate external hard drive using the software’s built-in functionality. Follow these steps to reset your device:
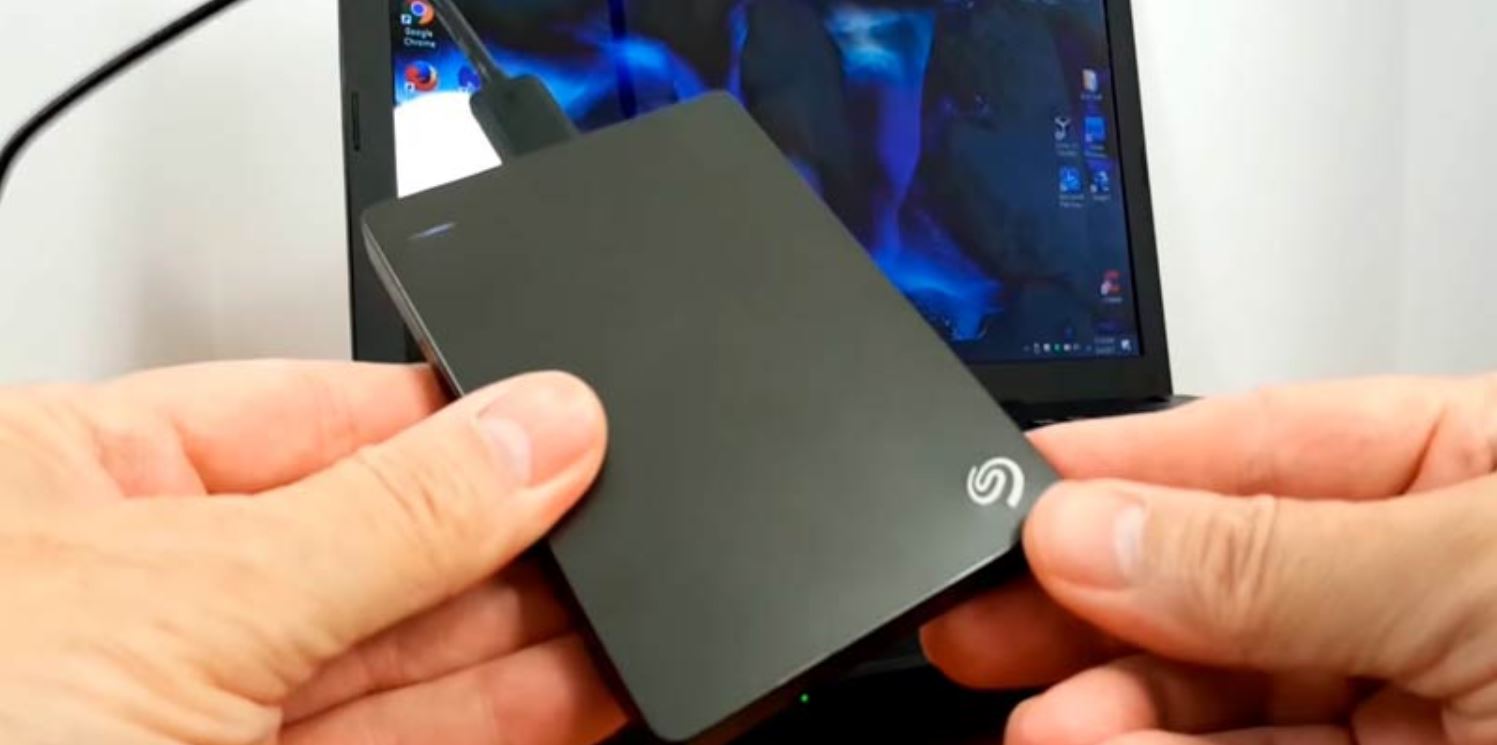
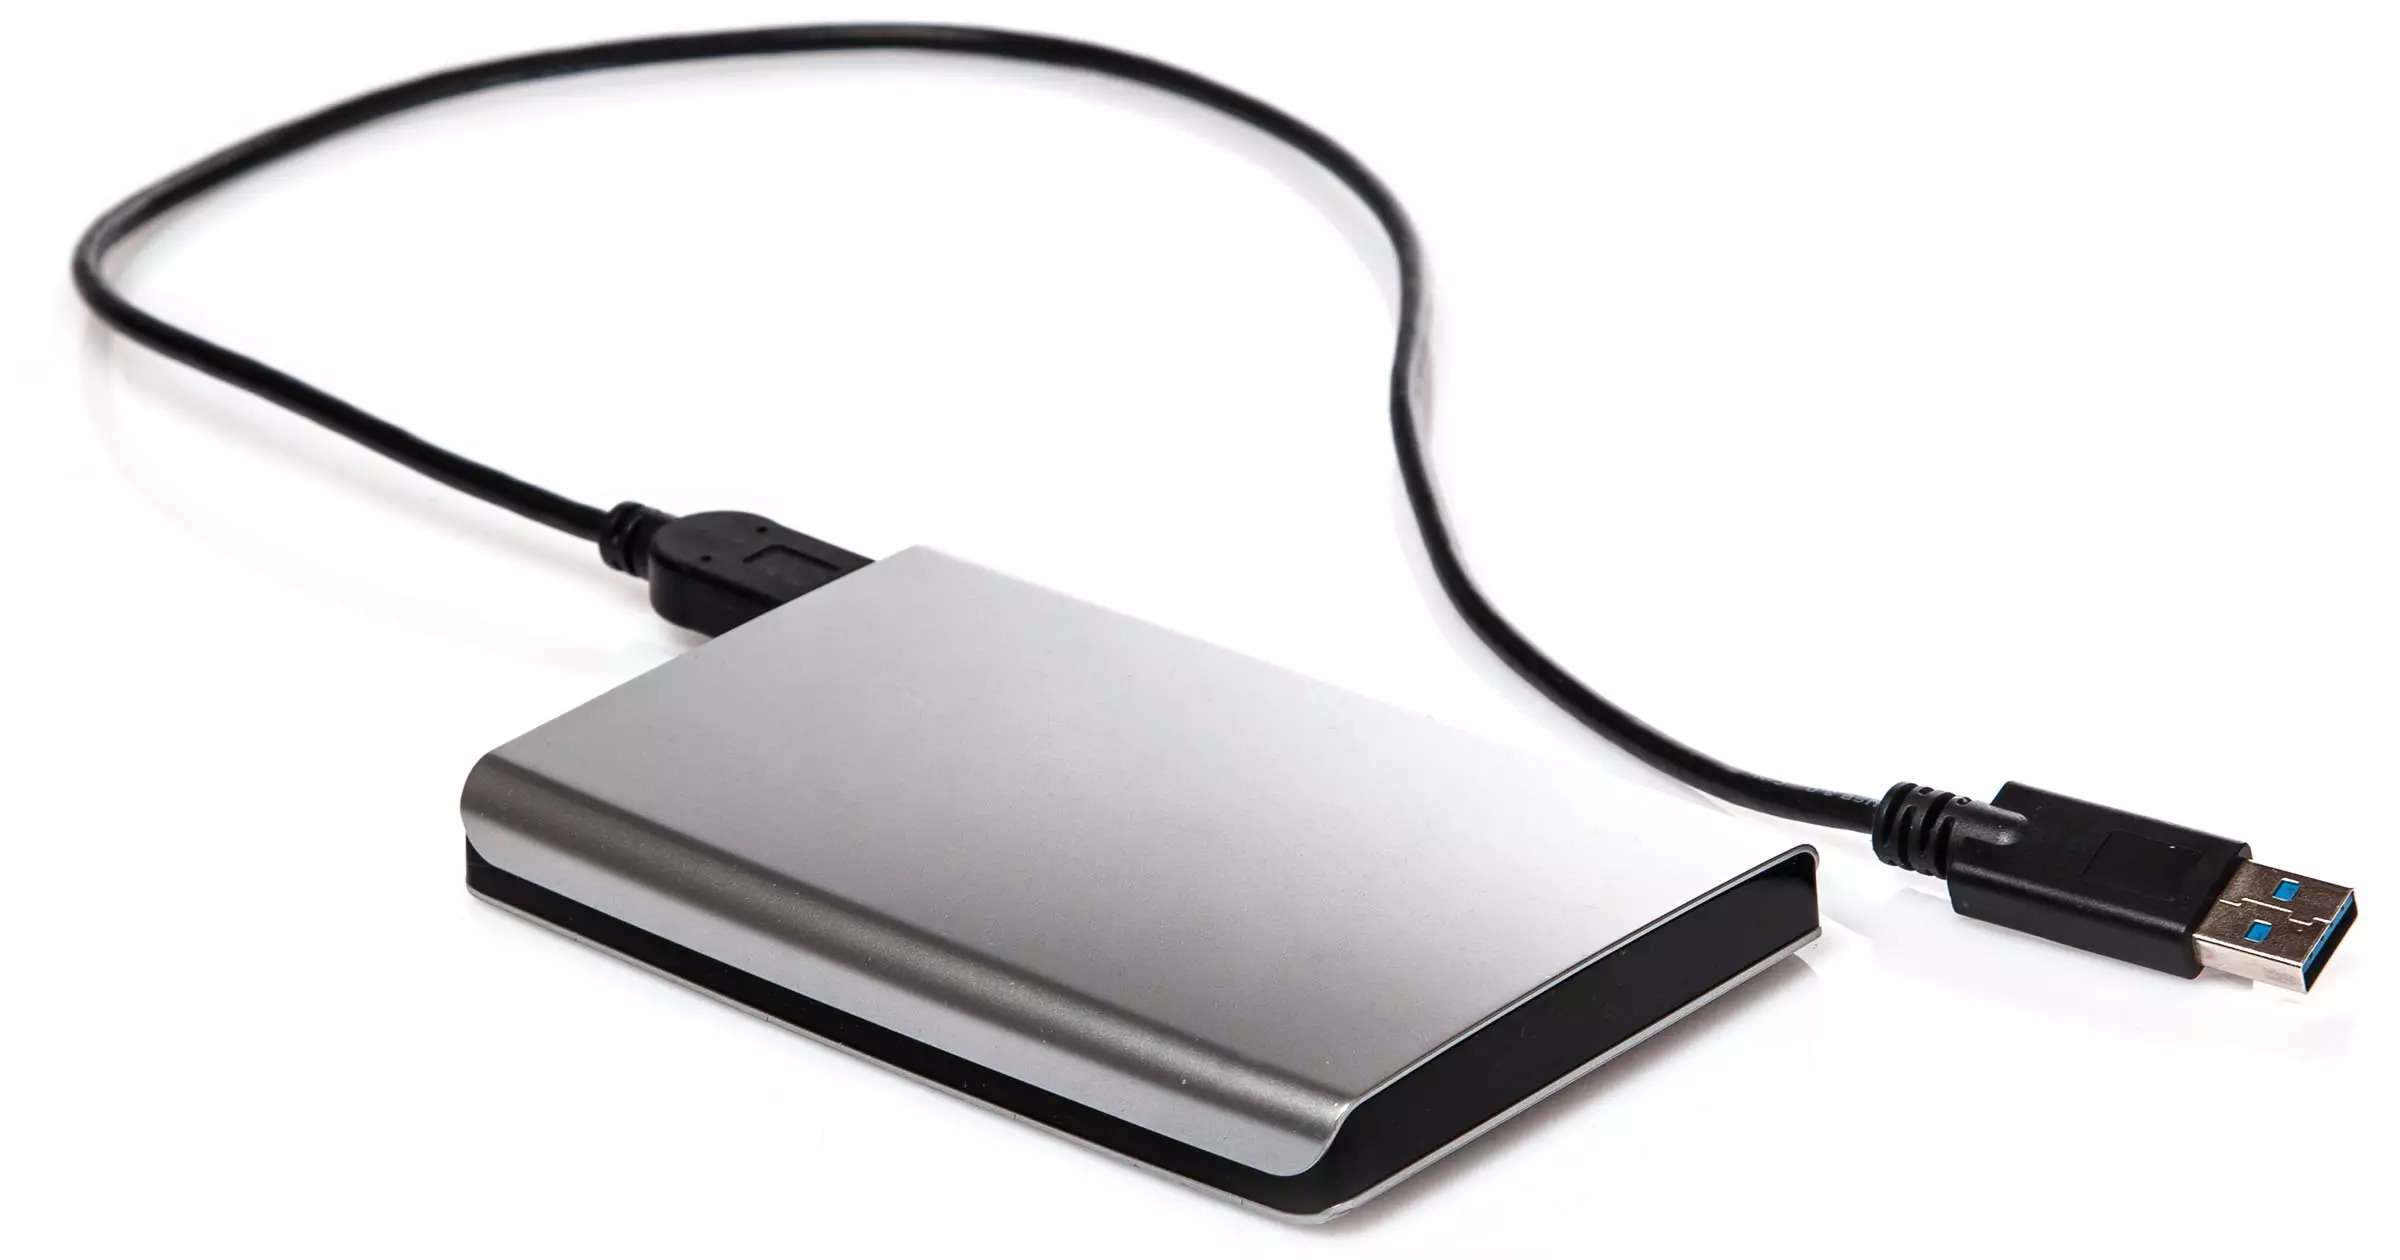
- Connect your Seagate external hard drive: Make sure your Seagate external hard drive is properly connected to your computer via a USB cable. Ensure that the drive is recognized by your computer before proceeding.
- Launch Seagate Dashboard: Open the Seagate Dashboard software on your computer. If you don’t have it installed, you can download it from the Seagate website and follow the installation instructions.
- Select your Seagate external hard drive: In the Seagate Dashboard software, locate and select your Seagate external hard drive from the list of devices. This will open the drive’s settings and options.
- Access the Reset option: Within the settings menu, look for the option to reset or restore your Seagate external hard drive. The exact location and naming may vary depending on the version of the Seagate Dashboard software you are using.
- Confirm the reset: Once you have located the reset option, you will typically be prompted to confirm the reset action. Read any warning messages or prompts and ensure that you have backed up your data before proceeding. Confirm your decision to proceed with the reset.
- Wait for the reset to complete: The Seagate Dashboard software will now initiate the reset process. This may take some time to complete, depending on the size of your Seagate external hard drive and the amount of data stored on it. It is essential that you do not disconnect the drive during the reset process.
- Verify the reset: Once the reset process is complete, the Seagate Dashboard software will notify you. You can now close the software and disconnect your Seagate external hard drive from your computer.
The reset via Seagate Dashboard software allows for a convenient and straightforward method to reset your Seagate external hard drive. It leverages the software’s built-in functionalities to ensure a smooth reset process, eliminating any errors or issues that may have occurred on the drive.
Now that you are familiar with resetting your device via the Seagate Dashboard software, let’s explore another method in the next section: resetting using Disk Management (Windows).
Method 2: Resetting using Disk Management (Windows)
If you’re using a Windows operating system, you can reset your Seagate external hard drive using the Disk Management utility. The Disk Management tool allows you to manage your disk drives, including formatting and resetting them. Here’s how you can reset your Seagate external hard drive using Disk Management:
- Connect your Seagate external hard drive: Make sure your Seagate external hard drive is properly connected to your computer via a USB cable. Ensure that the drive is recognized by your computer before proceeding.
- Open Disk Management: To open the Disk Management utility, right-click on the “Start” button and select “Disk Management” from the context menu. Alternatively, you can search for “Disk Management” in the Windows search bar and click on the matching result.
- Select your Seagate external hard drive: In the Disk Management window, look for your Seagate external hard drive. The drives will be listed under the “Volume” or “Disk” section. Identify your Seagate drive based on its size and assigned drive letter.
- Initialize the disk (if necessary): If your Seagate external hard drive is marked as “Not Initialized” in Disk Management, you will need to initialize it first. Right-click on the drive and select “Initialize Disk.” Choose the desired disk initialization option (MBR or GPT) and follow the on-screen prompts.
- Delete existing partitions: Right-click on each partition on your Seagate external hard drive and select “Delete Volume” or “Delete Partition.” Confirm the deletion when prompted. Repeat this step for all partitions on the drive until it becomes unallocated space.
- Create a new partition: Right-click on the unallocated space and select “New Simple Volume.” Follow the instructions in the New Simple Volume Wizard to create a new partition on your Seagate external hard drive. Assign a drive letter, choose the desired file system (such as NTFS), and complete the wizard.
- Format the new partition: Once the partition is created, right-click on it and select “Format.” Choose the desired file system (such as NTFS) and customize other formatting options if needed. Click “OK” to start the formatting process.
- Confirm the reset: After formatting, your Seagate external hard drive will be reset to its default state. The data on the drive will be permanently deleted, so make sure you have backed up any important files.
Using Disk Management to reset your Seagate external hard drive provides a straightforward and effective method for Windows users. It allows you to delete existing partitions, create new ones, and format the drive to restore it to its original state.
Now that you know how to reset your Seagate external hard drive using Disk Management on Windows, let’s move on to the next method: resetting using Disk Utility for Mac users.
Method 3: Resetting using Disk Utility (Mac)
If you’re using a Mac, you can reset your Seagate external hard drive using the Disk Utility. Disk Utility is a built-in utility that allows you to manage and manipulate disks and volumes on macOS. Follow these steps to reset your Seagate external hard drive using Disk Utility:
- Connect your Seagate external hard drive: Ensure your Seagate external hard drive is properly connected to your Mac via a USB cable. Make sure that the drive is recognized by your computer.
- Open Disk Utility: To open Disk Utility, go to the “Applications” folder, then open the “Utilities” folder, and finally click on “Disk Utility.”
- Select your Seagate external hard drive: In Disk Utility, you will see a list of drives and volumes on the left-hand side. Locate and select your Seagate external hard drive from the list.
- Erase the drive: Once you have selected your Seagate external hard drive, click on the “Erase” button at the top of the Disk Utility window. A dialog box will appear.
- Customize the erase options: In the erase dialog box, you can customize various options. Choose a name for your drive, select the desired format (e.g., Mac OS Extended (Journaled)), and choose the scheme (GUID Partition Map for Intel-based Macs). Ensure that the “Erase Volume Group” option is selected.
- Confirm the erase: Double-check the settings and then click on the “Erase” button to begin the erase process. Confirm your decision when prompted.
- Wait for the erase to complete: Disk Utility will now format and reset your Seagate external hard drive. The time it takes to complete the process depends on the size of the drive and the amount of data stored on it. Avoid disconnecting the drive during this process.
- Verify the reset: Once the erase process is finished, you will see a notification confirming the successful reset of your Seagate external hard drive. You can now close Disk Utility and safely disconnect your drive.
Using Disk Utility to reset your Seagate external hard drive on a Mac provides a convenient and reliable method. It allows you to erase and reformat the drive, ensuring a clean and fresh start.
Now that you have learned how to reset your Seagate external hard drive using Disk Utility for Mac, let’s move on to the next method: resetting via Command Prompt on Windows.
Method 4: Resetting via Command Prompt (Windows)
For Windows users, another method to reset your Seagate external hard drive is by utilizing the Command Prompt. The Command Prompt is a powerful tool that allows you to execute various commands to perform specific tasks. Here’s how you can reset your Seagate external hard drive using the Command Prompt:
- Connect your Seagate external hard drive: Ensure that your Seagate external hard drive is properly connected to your Windows computer via a USB cable. Make sure that the drive is recognized and assigned a drive letter.
- Open Command Prompt: To open the Command Prompt, press the Windows key on your keyboard, type “Command Prompt” in the search bar, and then click on the Command Prompt application from the search results.
- Run Command Prompt as an administrator: Right-click on the Command Prompt icon and select “Run as administrator” from the context menu. This will give you elevated privileges, allowing you to execute commands that modify your system.
- Input diskpart command: In the Command Prompt window, type “diskpart” and press Enter. This will launch the diskpart utility, which allows you to manage disks and volumes.
- List and select your Seagate external hard drive: Type “list disk” and press Enter to display a list of connected disks. Identify your Seagate external hard drive based on its size and note its disk number. Then, type “select disk X” (replace X with the disk number of your Seagate drive) and press Enter to select the drive.
- Clean the drive: To wipe the drive clean, type “clean” and press Enter. This will erase all the data on your Seagate external hard drive. Be cautious as this action cannot be undone.
- Create a new primary partition: Type “create partition primary” and press Enter to create a new primary partition on the drive.
- Format the partition: Type “format fs=ntfs quick” and press Enter to format the partition with the NTFS file system. The “quick” parameter speeds up the formatting process.
- Assign a drive letter: Type “assign letter=X” (replace X with the desired drive letter) and press Enter to assign a drive letter to the newly created partition.
- Exit diskpart and Command Prompt: To exit the diskpart utility, type “exit” and press Enter. Repeat the same step to exit the Command Prompt.
Using the Command Prompt to reset your Seagate external hard drive provides a command-line approach to managing and resetting your disk drive. It allows you to clean the drive, create a new partition, and format it for a fresh start.
Now that you have learned how to reset your Seagate external hard drive using the Command Prompt on Windows, let’s move on to the next method: resetting via Terminal on Mac.
Method 5: Resetting via Terminal (Mac)
If you’re using a Mac, you can reset your Seagate external hard drive using the Terminal, a command-line interface tool. The Terminal allows you to interact with your Mac’s operating system by executing commands. Here’s how you can reset your Seagate external hard drive using Terminal:
- Connect your Seagate external hard drive: Ensure that your Seagate external hard drive is properly connected to your Mac via a USB cable. Make sure that the drive is recognized by your computer.
- Open Terminal: To open Terminal, go to the “Applications” folder, then open the “Utilities” folder, and finally click on “Terminal.”
- List connected drives: In the Terminal window, type “diskutil list” and press Enter. This will display a list of connected drives, including your Seagate external hard drive.
- Unmount the drive: To prepare the drive for resetting, type “diskutil unmountDisk /dev/diskX” (replace X with the disk number of your Seagate drive) in the Terminal and press Enter. This will unmount the drive.
- Erase the drive: To erase and reset the drive, type “diskutil eraseDisk JHFS+ MyDrive /dev/diskX” (replace X with the disk number of your Seagate drive) in the Terminal and press Enter. This will erase all data on the drive and reset it to its default state.
- Confirm the erase: Terminal will prompt you to confirm the erase process. Type “y” and press Enter to proceed. Ensure that you have backed up any important files on the drive as this action cannot be undone.
- Wait for the reset to complete: Terminal will now format and reset your Seagate external hard drive. The duration of the reset process depends on the size of the drive and the amount of data stored on it. Do not disconnect the drive during this process.
- Verify the reset: After the reset process is complete, Terminal will display a confirmation message. You can now close Terminal and safely disconnect your drive.
Using Terminal to reset your Seagate external hard drive on a Mac provides a powerful and efficient method. Using commands, you can unmount, erase, and reset the drive to restore it to its factory settings.
Now that you have learned how to reset your Seagate external hard drive using Terminal on a Mac, let’s move on to the next section to discuss what steps should be taken after resetting your device.
What to Do After Resetting Your Seagate External Hard Drive
After successfully resetting your Seagate external hard drive, there are a few important steps you should take to ensure optimal performance and data security:
- Install necessary software: If your Seagate external hard drive came with specific software or drivers, make sure to reinstall them. These tools can provide additional features and functionality to enhance your experience with the drive.
- Update firmware: Check if there are any firmware updates available for your Seagate external hard drive. Firmware updates often fix bugs, improve compatibility, and introduce new features. Visit the Seagate website or use the manufacturer’s software to update the firmware if necessary.
- Restore your data: If you backed up your data before resetting the drive, now is the time to restore it. Copy your files back onto the Seagate external hard drive, ensuring that you maintain an organized file structure for easy access and management.
- Set up security measures: If privacy and security are a concern, consider encrypting your Seagate external hard drive. Encryption protects your data from unauthorized access, providing an added layer of security. Consult the user manual or manufacturer’s website for instructions on encrypting your specific model.
- Regularly back up your data: To prevent data loss in the future, develop a habit of regularly backing up your files. Create a schedule or use automated backup software to ensure that your important data is consistently copied to a secondary storage location.
- Maintain proper storage and handling: Treat your Seagate external hard drive with care to prolong its lifespan. Avoid exposing it to extreme temperatures, physical shocks, or moisture. Safely eject the drive from your computer before disconnecting it to prevent data corruption.
- Monitor drive health: Keep an eye on the health of your Seagate external hard drive. Utilize S.M.A.R.T (Self-Monitoring, Analysis, and Reporting Technology) tools or manufacturer-provided software to monitor the drive’s condition, detect any errors or failures, and take appropriate action if needed.
- Update your antivirus software: Ensure that your computer’s antivirus software is up to date. Scanning your Seagate external hard drive regularly can help detect and remove any potential threats to your data.
By following these post-reset steps, you can maximize the performance, security, and longevity of your Seagate external hard drive. Regular backups, proper handling, and up-to-date software will help safeguard your data and ensure a seamless experience with your device.
Now that you know what to do after resetting your Seagate external hard drive, you can confidently utilize your device while maintaining data integrity and security.
Conclusion
Resetting your Seagate external hard drive can be a valuable troubleshooting step to resolve performance issues, data corruption, compatibility problems, and security concerns. Whether you choose to reset using the Seagate Dashboard software, Disk Management or Command Prompt on Windows, or Disk Utility or Terminal on Mac, each method provides a reliable way to restore your drive to its original state.
Before you proceed with resetting your Seagate external hard drive, it’s crucial to back up your data to prevent any loss or permanent deletion. Take the time to organize and prioritize your files, choose a backup method that suits your needs (such as external drives or cloud storage), and verify the integrity of your backup. This ensures that your important files and documents are protected.
After resetting your Seagate external hard drive, make sure to install necessary software, update firmware, restore your data, and implement security measures if desired. Regularly backing up your data, maintaining proper storage and handling, monitoring drive health, and updating antivirus software are essential practices to maintain the performance and security of your device.
By following the appropriate reset method and taking the necessary precautions, you can effectively resolve issues and ensure optimal performance from your Seagate external hard drive. Remember to refer to the user manual or Seagate’s support resources for any specific instructions or guidance related to your device.
Now that you have successfully reset your Seagate external hard drive and are equipped with the knowledge to maintain its functionality, enjoy the reliability and convenience of this powerful storage solution.