Introduction
Welcome to our guide on how to copy files onto your Seagate external hard drive! Seagate external hard drives are a popular choice for users looking to expand their storage capacity and securely back up their important data. Whether you need to transfer files from your computer to the external hard drive for safekeeping or to create a portable storage solution, this article will walk you through the process step by step.
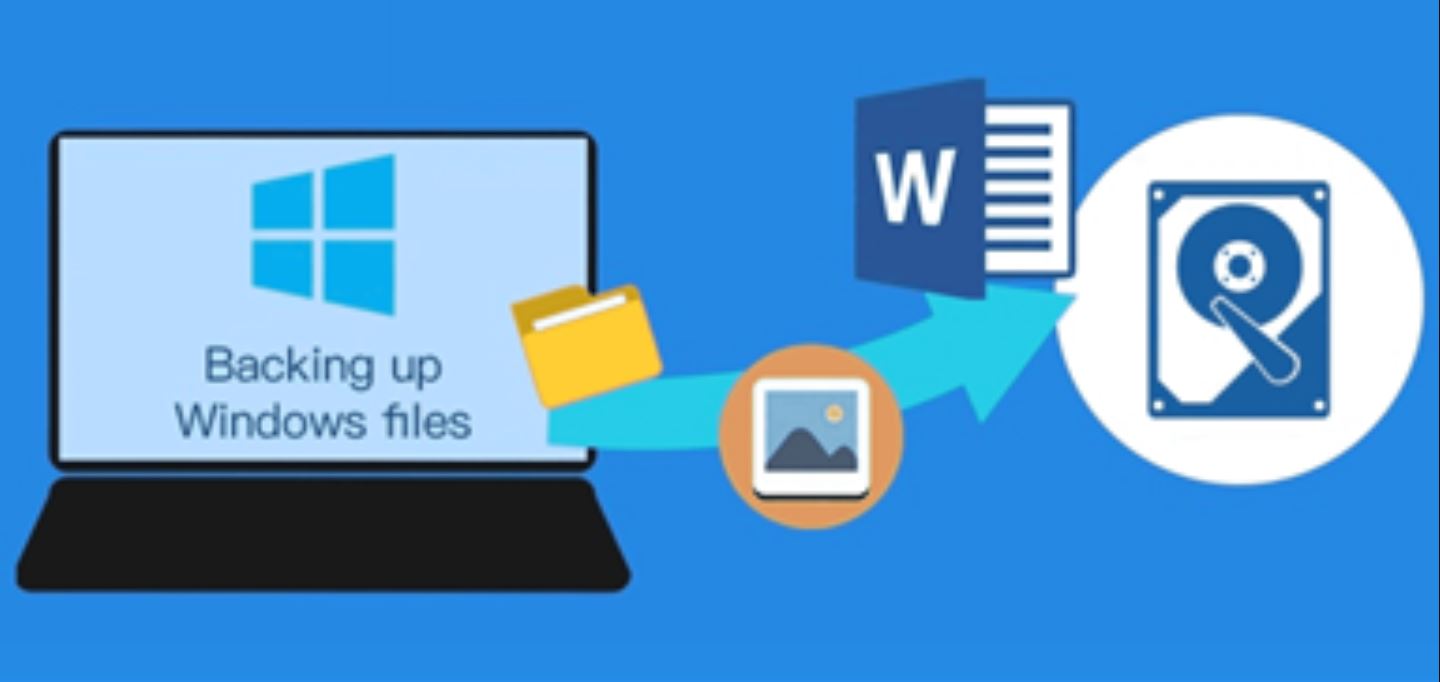
Having an external hard drive is an excellent way to ensure your files are protected in case of computer malfunctions, accidental deletions, or even theft. It provides you with a convenient and reliable backup solution, allowing you to easily access your files when needed.
In this guide, we will cover the process of connecting your Seagate external hard drive to your computer, opening the File Explorer, selecting and copying files, navigating to the external hard drive, pasting the files onto it, and verifying the successful copy process. By following these steps, you will be able to copy your files onto your Seagate external hard drive in no time.
Please note that the instructions provided in this article are tailored for Windows operating systems. However, the overall process remains similar for Mac users, with minor differences in the names of applications and file management utilities.
Now, let’s get started with the first step – connecting your Seagate external hard drive!
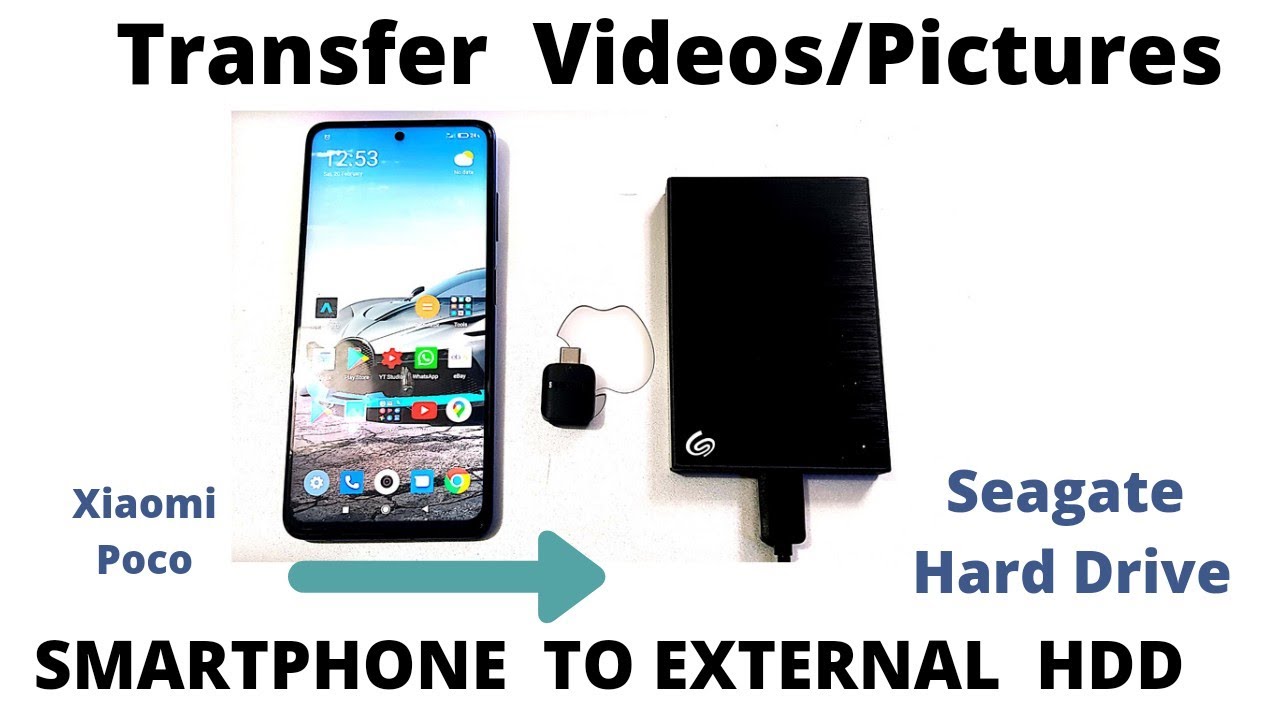
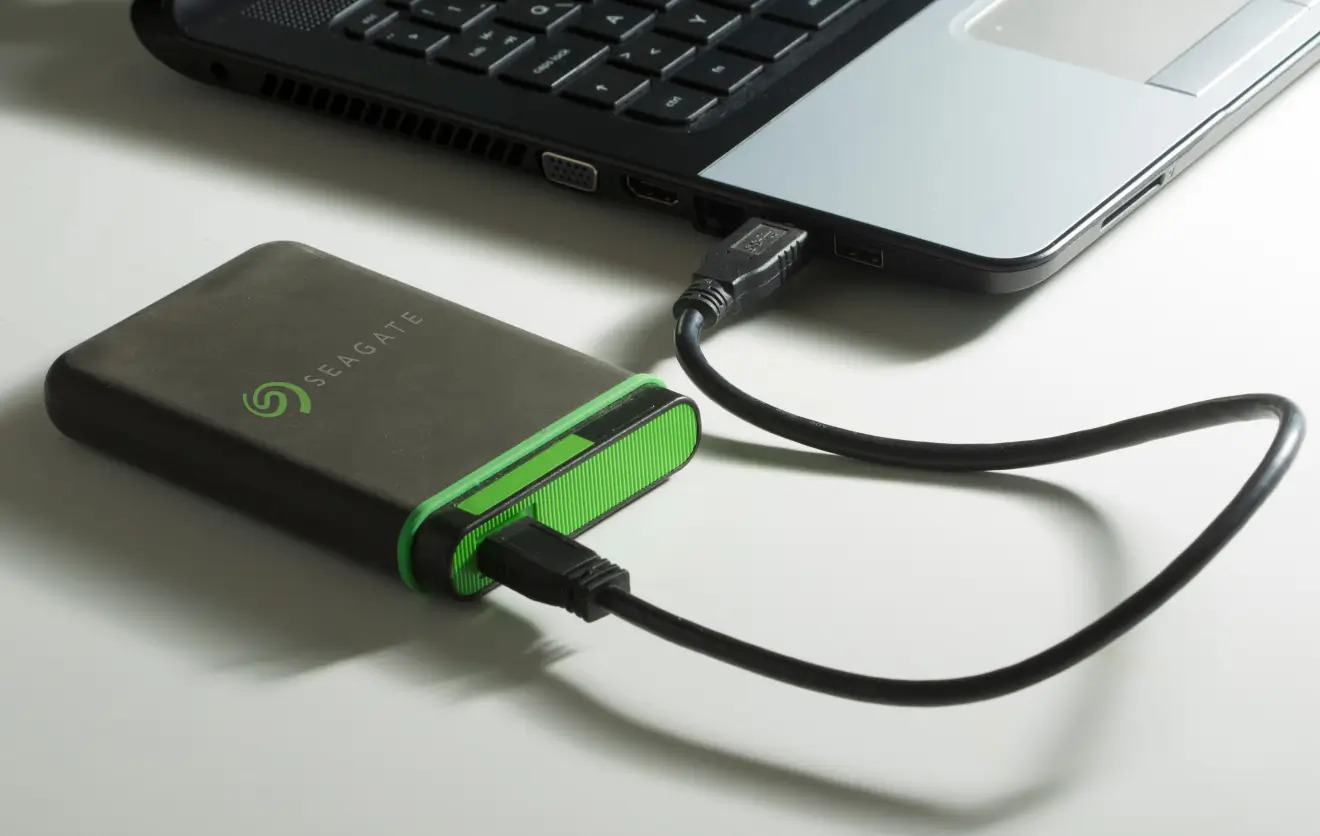
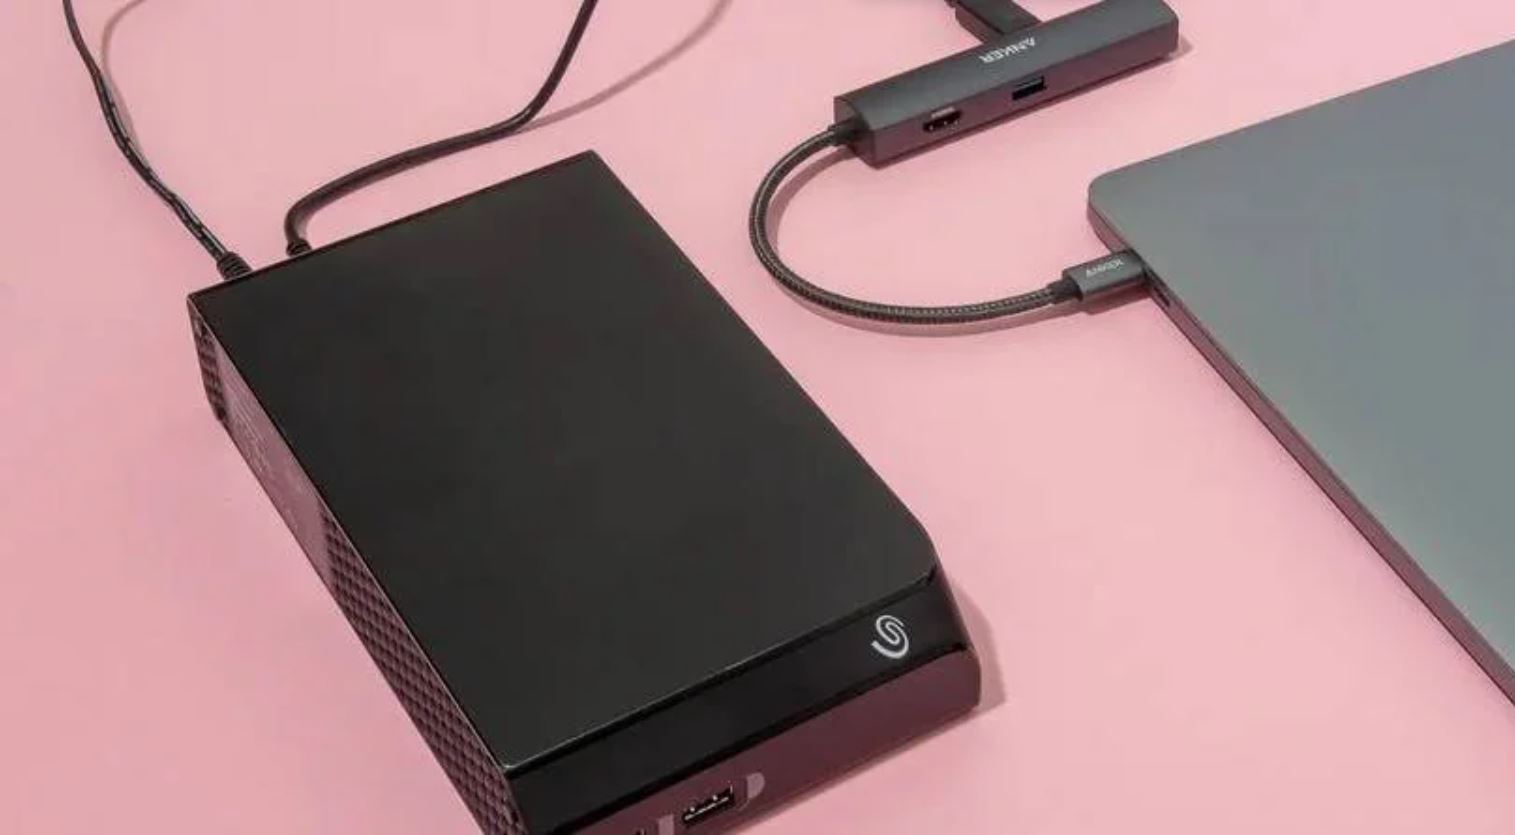
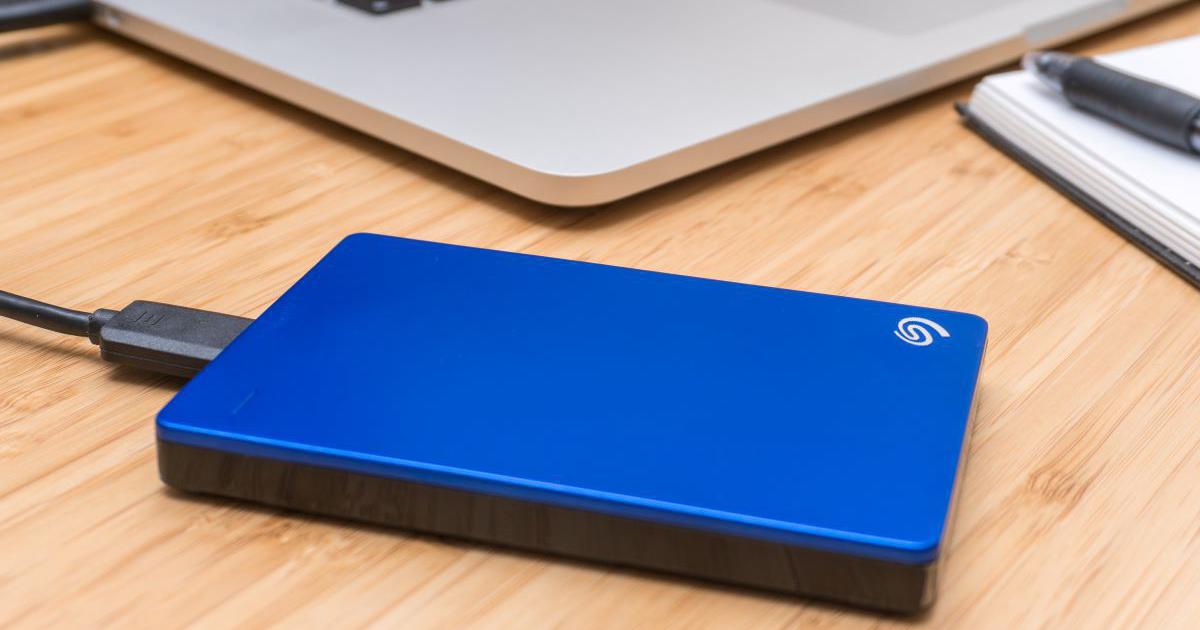
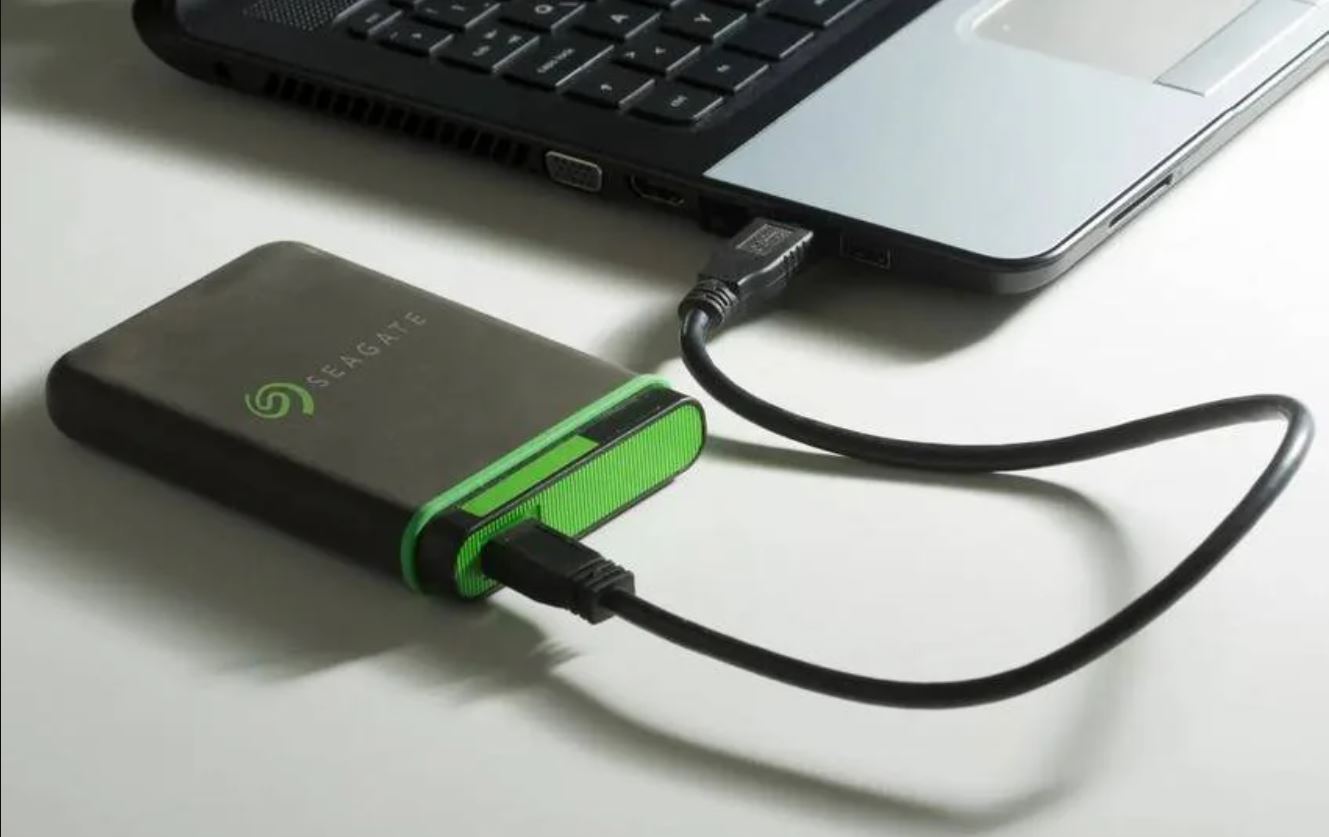
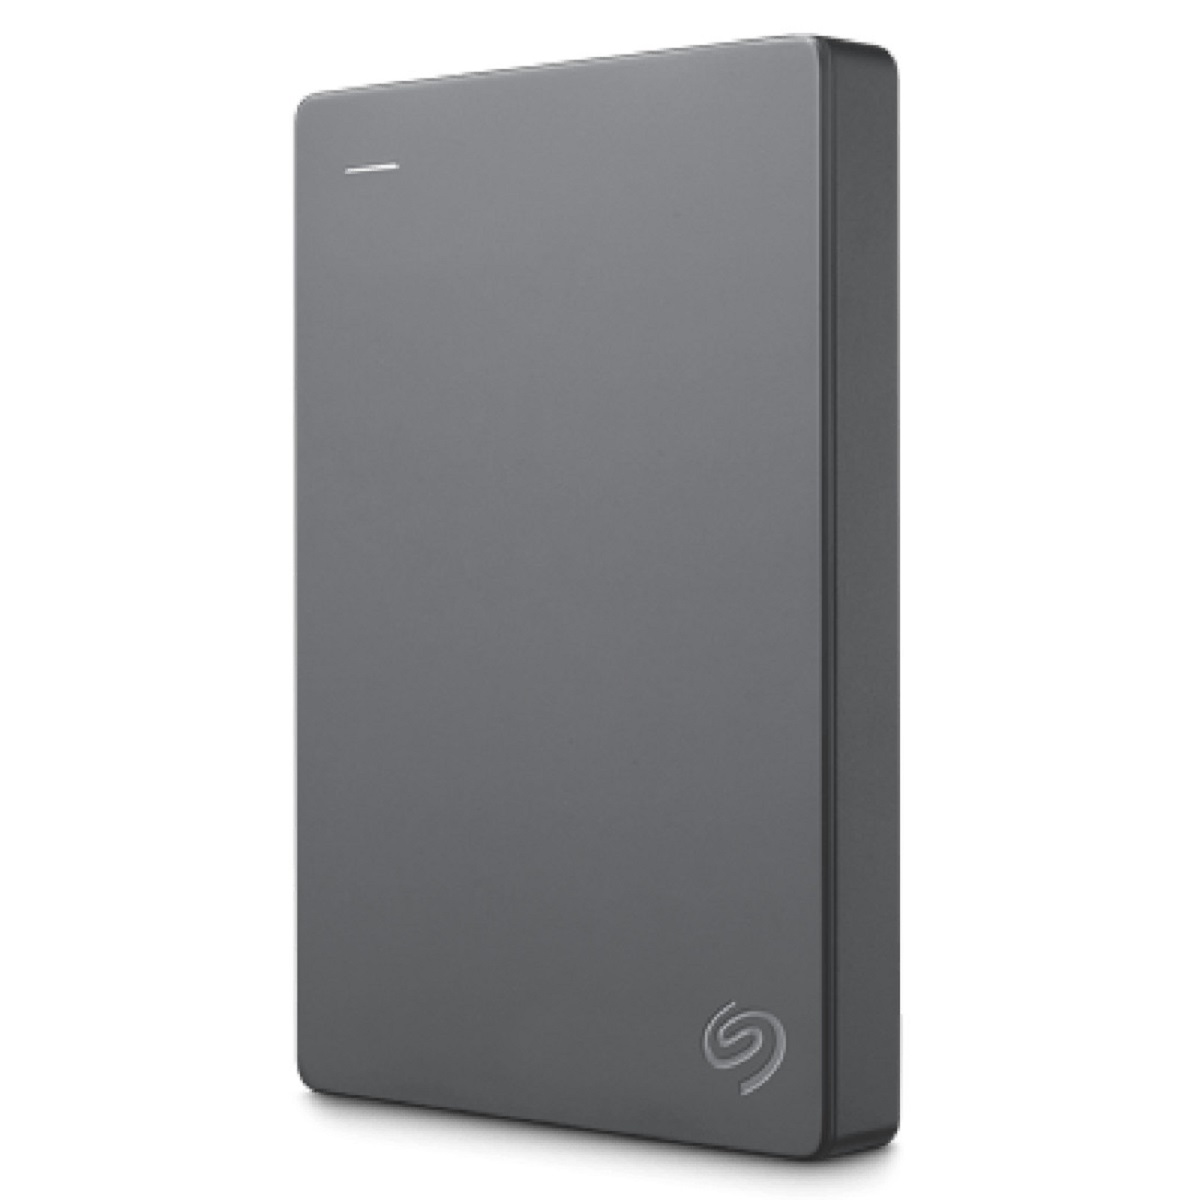
Step 1: Connecting the Seagate External Hard Drive
The first step in copying files onto your Seagate external hard drive is to connect it to your computer. Follow these simple instructions to ensure a successful connection:
- Locate the appropriate cable for your Seagate external hard drive. Most Seagate external hard drives use a USB cable for connection, so make sure you have one handy.
- Plug one end of the USB cable into the USB port on your computer.
- Take the other end of the USB cable and connect it to the USB port on your Seagate external hard drive. The USB port is usually found on the back or side of the device, depending on the model.
- Once the cable is securely connected to both your computer and the external hard drive, you should hear a confirmation sound or see a notification indicating that a new device has been detected.
After following these steps, your Seagate external hard drive should be successfully connected to your computer. It will now appear as a new drive in your File Explorer or Finder, depending on your operating system.
If your Seagate external hard drive does not appear in File Explorer or Finder, double-check the cable connections and ensure that the external hard drive is powered on. If the issue persists, try using a different USB port or cable to rule out any potential connectivity problems.
Now that you have successfully connected your Seagate external hard drive to your computer, you are ready to move on to the next step – opening the File Explorer.
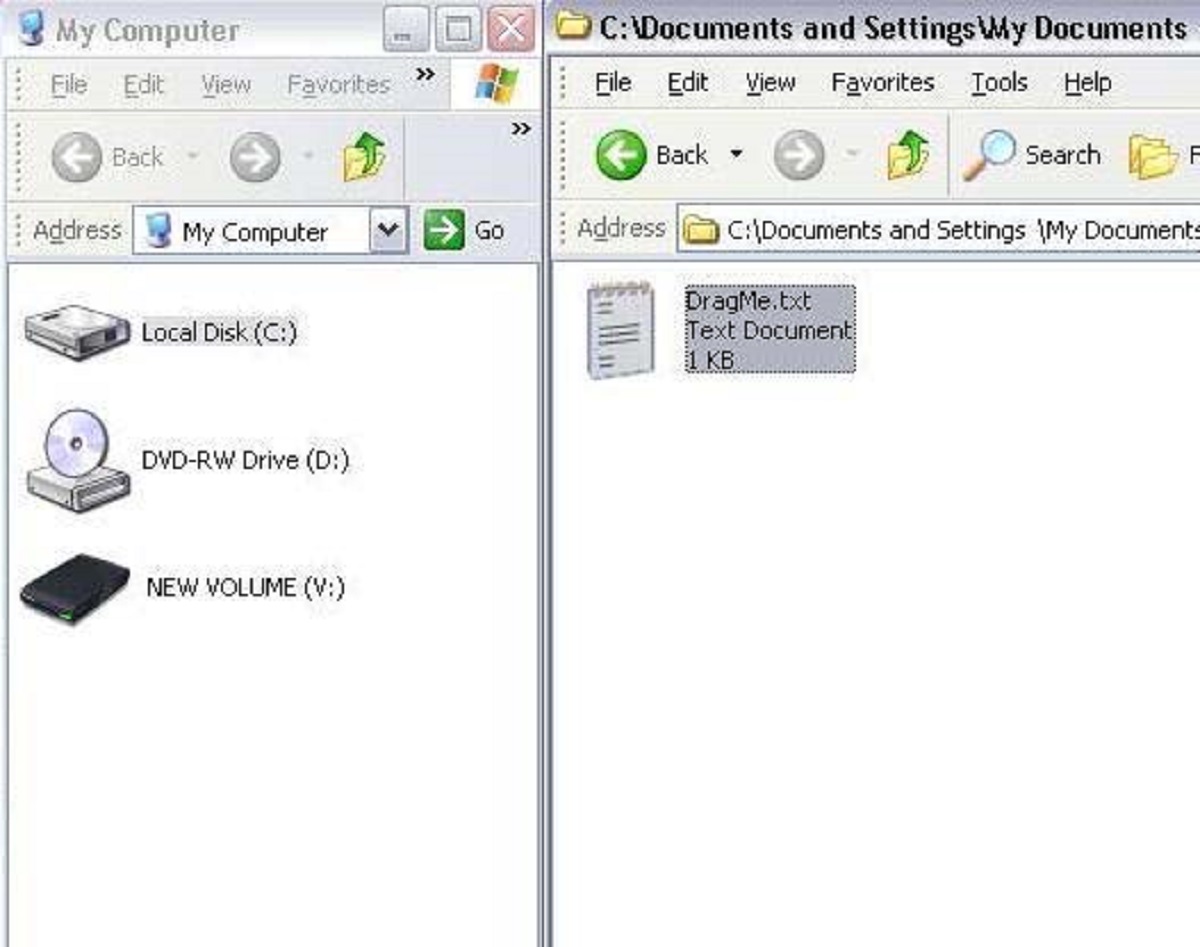
Step 2: Opening the File Explorer
Now that your Seagate external hard drive is connected to your computer, you need to open the File Explorer (also known as Windows Explorer) to access your files. Here’s how you can do that:
- Click on the “Start” button located at the bottom-left corner of your screen. Alternatively, you can press the Windows key on your keyboard.
- In the search box, type “File Explorer” and press Enter. The File Explorer window will open.
Alternatively, you can also open the File Explorer by double-clicking on the “This PC” or “My Computer” icon on your desktop.
Once the File Explorer window is open, you will see a list of drives and folders on the left-hand side. Your Seagate external hard drive should be listed under the “Devices and drives” section. The name of the drive may vary depending on the specific model and how it was formatted.
If you cannot find your Seagate external hard drive listed in the File Explorer, make sure it is connected properly and powered on. You may also need to refresh the File Explorer window by pressing F5 on your keyboard or clicking on the refresh icon.
Now that you have successfully opened the File Explorer and located your Seagate external hard drive, you are ready to proceed to the next step – selecting and copying the files you want to transfer.
Step 3: Selecting and Copying the Files
Now that you have opened the File Explorer and located your Seagate external hard drive, it’s time to select and copy the files you want to transfer. Follow these steps to proceed:
- Navigate to the folder or location on your computer where the files you want to copy are stored. You can do this by clicking on the folder names in the left-hand pane of the File Explorer.
- Once you have located the files you want to copy, click on the first file you wish to transfer. To select multiple files, hold down the Ctrl key on your keyboard while clicking on each file individually.
- If you want to select a range of files, click on the first file in the range, hold down the Shift key on your keyboard, and then click on the last file in the range. This will select all the files in between.
- Once you have selected the desired files, right-click on any of the selected files and choose the “Copy” option from the context menu. Alternatively, you can press Ctrl+C on your keyboard as a shortcut to copy the files.
After following these steps, the selected files will be copied to the clipboard, ready to be transferred to your Seagate external hard drive. Please note that the actual files are not removed from their original location on your computer during the copy process – only copies of the files are made.
Now that you have successfully selected and copied the files you want to transfer, it’s time to navigate to your Seagate external hard drive in the File Explorer and paste the copied files onto it. This will be covered in the next step.
Step 4: Navigating to the Seagate External Hard Drive
After selecting and copying the files you want to transfer, it’s time to navigate to your Seagate external hard drive in the File Explorer. This will allow you to paste the copied files onto your external hard drive. Follow these simple steps:
- In the File Explorer window, look for the section labeled “Devices and drives.” This section should display a list of all the drives connected to your computer, including your Seagate external hard drive.
- Locate your Seagate external hard drive in the list. It is usually labeled with a letter assigned to the drive, such as “D:” or “E:”.
- Click on your Seagate external hard drive to select it. This will change the File Explorer window to display the contents of your external hard drive.
Once you have successfully navigated to your Seagate external hard drive in the File Explorer, you are ready to proceed to the next step – pasting the copied files onto your external hard drive.
Step 5: Pasting the Files onto the Seagate External Hard Drive
Now that you have navigated to your Seagate external hard drive in the File Explorer, it’s time to paste the files you previously copied onto the external hard drive. Follow these steps to complete this process:
- In the File Explorer window, ensure that your Seagate external hard drive is selected in the left-hand pane. The contents of the external hard drive should be displayed in the main window of the File Explorer.
- Right-click anywhere in the main window of the File Explorer and select the “Paste” option from the context menu. Alternatively, you can press Ctrl+V on your keyboard as a shortcut to paste the files.
After following these steps, the files you previously copied to the clipboard will be pasted onto your Seagate external hard drive. The time it takes to complete the paste process will depend on the size of the files and the transfer speed of your computer and external hard drive.
It’s important to note that if there are any existing files with the same names on your external hard drive, you will be prompted to choose whether to overwrite them or rename the copied files. Make sure to review the prompt and make a selection based on your preferences and requirements.
Congratulations! You have successfully pasted the copied files onto your Seagate external hard drive. Now it’s time to verify the copy process to ensure that all the files were transferred correctly. This will be covered in the next step.
Step 6: Verifying the Copy Process
After pasting the files onto your Seagate external hard drive, it is important to verify that the copy process was successful. This will ensure that all your files are safely transferred and can be accessed on your external hard drive. Follow these steps to verify the copy process:
- Navigate back to the location of the original files on your computer using the File Explorer.
- Double-check that the files you previously copied and pasted onto your Seagate external hard drive are no longer present in the original location on your computer. This confirms that the files were indeed copied and moved to the external hard drive.
- Now, go back to the File Explorer and click on your Seagate external hard drive in the left-hand pane to select it.
- In the main window of the File Explorer, you should see the copied files listed, indicating that they have been successfully transferred to your external hard drive.
- Open a few of the copied files to ensure that they are intact and functioning as expected. This will give you reassurance that the files were copied without any errors or issues.
If you encounter any file transfer errors or inconsistencies during the verification process, it is advisable to repeat the copy and paste process for those specific files. This will ensure that all your files are safely stored on your Seagate external hard drive.
By completing these verification steps, you can have peace of mind knowing that your files have been successfully copied onto your Seagate external hard drive and are ready to be accessed whenever you need them.
With the copy process successfully verified, you have completed all the necessary steps to copy files onto your Seagate external hard drive. Enjoy the increased storage capacity and the added security of having your important files backed up on your external hard drive!
Conclusion
Congratulations on successfully copying files onto your Seagate external hard drive! By following the steps outlined in this guide, you have learned how to connect your Seagate external hard drive, open the File Explorer, select and copy files, navigate to the external hard drive, paste the files onto it, and verify the copy process.
Having a Seagate external hard drive offers you a reliable and convenient solution for expanding your storage capacity and backing up your important files. It provides peace of mind knowing that your files are protected in case of computer malfunctions, accidental deletions, or other unforeseen events.
Remember to keep your Seagate external hard drive safely stored and handle it with care to ensure its longevity and the integrity of your stored files. Regularly backing up your important files onto your external hard drive is an excellent practice to prevent the loss of valuable data.
Whether you’re looking to create a portable storage solution, keep a backup of your files, or simply free up space on your computer, your Seagate external hard drive is ready to meet your storage needs.
We hope that this guide has been helpful in assisting you with the process of copying files onto your Seagate external hard drive. Feel free to refer back to this guide whenever you need a reminder or share it with others who may find it useful.
Thank you for choosing Seagate and happy file storage!