Introduction
Welcome to this guide on how to clear a Seagate external hard drive. If you own a Seagate external hard drive and are looking to wipe it clean, this article will provide you with step-by-step instructions on how to do so. Clearing your external hard drive is essential for data protection, privacy, and preparing it for reuse or sale.
Seagate is a reputable manufacturer of high-quality external hard drives, known for their reliability and performance. Whether you have a Seagate Backup Plus, Expansion, or any other model, the process of clearing it is similar and can be easily accomplished.
It’s important to note that clearing your Seagate external hard drive will permanently remove all data stored on it. Therefore, before proceeding with the steps mentioned in this guide, make sure to back up any important files or documents that you wish to keep. Once you’ve completed the clearing process, you won’t be able to recover the data unless you have a backup.
This guide will walk you through the necessary steps to clear your Seagate external hard drive effectively. From disconnecting the drive to formatting it and using third-party software for secure erasure, we’ve got you covered. By following these steps, you can ensure that all sensitive information is permanently removed from your Seagate external hard drive.
So, grab your Seagate external hard drive and let’s get started on the journey to securely clear it and protect your data!
Why do you need to clear a Seagate external hard drive?
There are several reasons why you may need to clear a Seagate external hard drive. Let’s explore some of the common scenarios where clearing the drive becomes necessary:
1. Data Privacy: As you use your Seagate external hard drive to store personal or sensitive data, such as financial information, personal documents, or confidential work files, it’s crucial to ensure that this data remains secure. Clearing the drive helps protect your privacy by permanently removing all traces of your personal information.
2. Prepare for Resale or Donation: If you plan to sell or donate your Seagate external hard drive, clearing it is essential to safeguard your data and prevent it from falling into the wrong hands. Clearing the drive erases all the existing data, making it like new for its future owner.
3. Remove Malware or Viruses: In some cases, your Seagate external hard drive may become infected with malware or viruses. Clearing the drive ensures that these malicious programs are completely eradicated, protecting your computer from potential threats.
4. Resolve Performance Issues: Over time, your Seagate external hard drive may accumulate temporary files, system files, and other unnecessary data that can affect its performance. By clearing the drive, you can free up storage space and improve its overall speed and responsiveness.
5. Reuse for a Different Purpose: If you no longer need your Seagate external hard drive for its current use, clearing it allows you to repurpose it for other needs. Whether you want to use it as a backup drive, store media files, or any other purpose, clearing the drive is essential to start afresh.
Regardless of the reason, clearing your Seagate external hard drive is a necessary step to protect your privacy, ensure data security, and optimize its performance. By following the steps outlined in this guide, you can confidently clear your Seagate external hard drive and enjoy peace of mind knowing your data is safe and your drive is ready for its next adventure.
Back up your data before clearing the drive
Before you begin the process of clearing your Seagate external hard drive, it’s crucial to back up any important data or files that you want to keep. Clearing the drive will permanently delete all data stored on it, so ensuring you have a backup is essential for peace of mind. Here are some steps to follow to back up your data:
1. Determine what data needs to be backed up: Take some time to assess the data on your Seagate external hard drive and identify what files, documents, or folders you want to keep. This may include personal photos, important documents, music, videos, or any other files that you consider valuable.
2. Choose a backup method: There are several backup methods you can choose from, such as using cloud storage services, external hard drives, or network-attached storage (NAS) devices. Select the method that best suits your needs and ensures the safety and accessibility of your backed-up data.
3. Copy your data to the backup location: Depending on the backup method you choose, follow the appropriate steps to copy your data to the backup location. If you’re using cloud storage services, upload your files to the cloud. If you’re using an external hard drive or NAS, transfer your files to the designated storage device. Be patient and allow sufficient time for the data transfer process to complete.
4. Verify your backup: Once the data transfer is complete, it’s important to verify the integrity of your backup. Check that all the files and folders you intended to back up have been successfully copied and are accessible from the backup location. This step ensures that you have a complete and reliable backup of your data.
By backing up your data before clearing your Seagate external hard drive, you can have the peace of mind knowing that your important files are safely stored elsewhere. In the event of accidental deletion or any unforeseen circumstances, you can easily restore your data from the backup. Once you have successfully completed the backup process and ensured the integrity of your files, you can proceed with confidence to clear your Seagate external hard drive following the steps outlined in the subsequent sections.
Step 1: Disconnect the Seagate external hard drive from your computer
The first step in clearing your Seagate external hard drive is to disconnect it from your computer. When you disconnect the drive, you ensure that there is no active connection or data transfer between your computer and the external hard drive. Follow these steps to disconnect your Seagate external hard drive:
1. Save and close any open files: Before disconnecting the drive, make sure to save and close any files or applications that are currently open and being accessed from the external hard drive. This is important to prevent any data loss or corruption.
2. Eject the drive using the proper method: On your computer, locate the icon representing your Seagate external hard drive. It may be displayed in the sidebar of your file explorer or on your desktop. Right-click on the icon or use the appropriate method to safely eject or unmount the drive. This step ensures that all ongoing read or write operations are completed before disconnecting the drive.
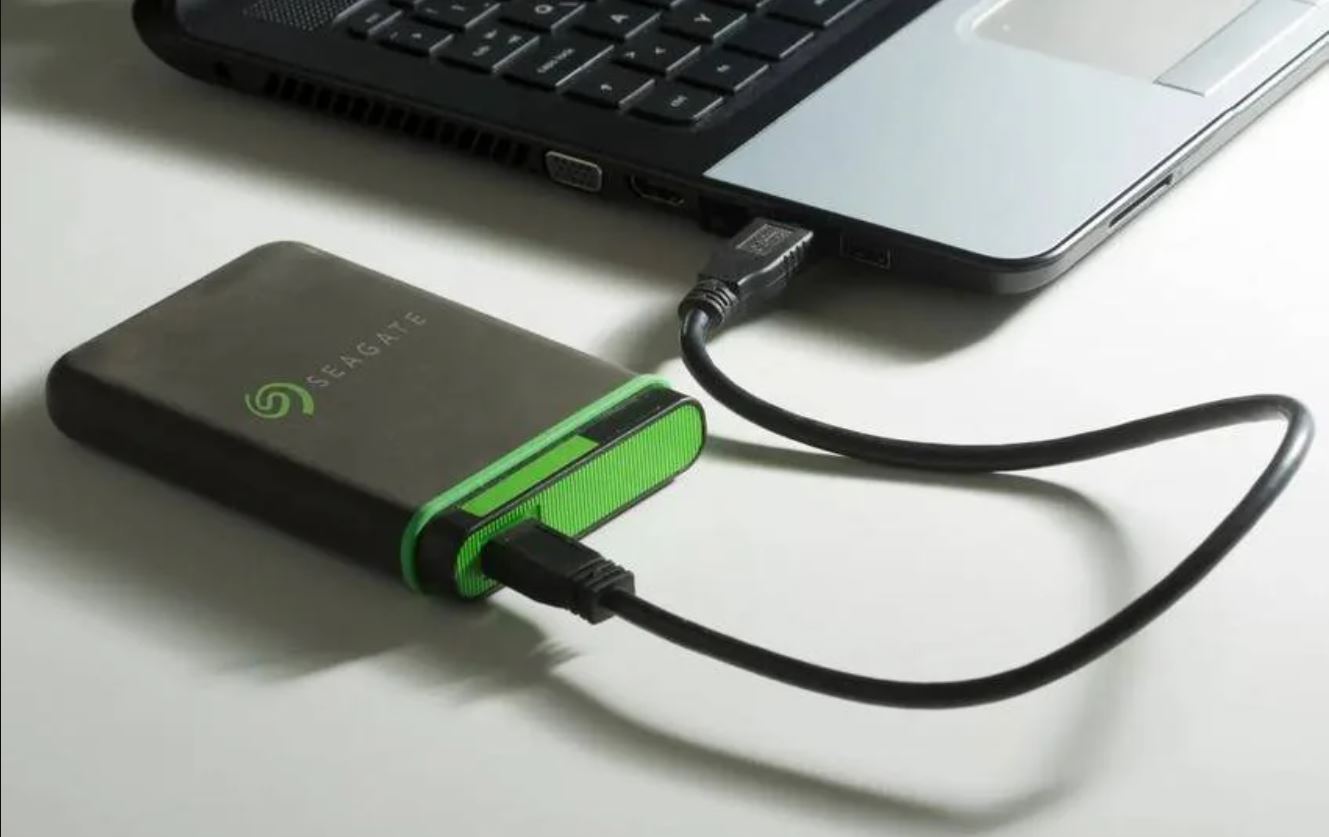
3. Physically disconnect the drive: Once you have safely ejected the Seagate external hard drive, you can proceed to physically disconnect it. Carefully unplug the USB or Thunderbolt cable that connects the drive to your computer. If your drive has an external power source, make sure to unplug it as well.
4. Store the drive in a safe place: After disconnecting the drive, it’s important to store it in a safe and dry place, away from dust, heat, or potential physical damage. Consider using a protective case or storage container to safeguard the drive from any potential harm.
By following these steps, you can safely disconnect your Seagate external hard drive from your computer. This ensures that there are no active connections or ongoing data transfers that could interfere with the clearing process. Now that your drive is disconnected, you can proceed to the next step of checking for hidden partitions on the drive.
Step 2: Check for hidden partitions on the drive
Before proceeding with clearing your Seagate external hard drive, it’s important to check for any hidden partitions on the drive. Hidden partitions are sections of the hard drive that are not visible or accessible through regular file explorers, but they may contain important system or recovery files. Follow these steps to check for hidden partitions on your Seagate external hard drive:
1. Open Disk Management: On your Windows computer, right-click on the “Start” button and select “Disk Management” from the context menu. This will open the Disk Management utility, which displays a list of all connected drives.
2. Locate your Seagate external hard drive: In the Disk Management window, look for your Seagate external hard drive. It should be listed along with the other connected drives, usually labeled with its size and assigned drive letter.
3. Check for hidden partitions: Right-click on the Seagate external hard drive and select “Properties” from the context menu. In the Properties window, navigate to the “Volumes” tab, and click on the “Populate” button. This will show a detailed breakdown of the drive’s partitions.
4. Identify hidden partitions: Look through the listed partitions and identify any that are labeled as “Hidden,” “System,” or “EFI.” These partitions are essential for the drive’s functionality and should not be deleted during the clearing process.
5. Take note of the hidden partitions: Make a note of the details of the hidden partitions, such as their sizes and file system types. This information will help ensure that you do not accidentally delete them during the formatting process.
Checking for hidden partitions on your Seagate external hard drive is crucial to avoid accidentally deleting important system or recovery files. By following these steps, you can verify the presence of hidden partitions and take note of their details before proceeding to the next step of formatting the drive. Remember to exercise caution and only delete partitions that you are certain do not contain essential system or recovery files.
Step 3: Format the Seagate external hard drive
Once you have checked for hidden partitions on your Seagate external hard drive, the next step is to format the drive. Formatting the drive will erase all existing data and prepare it for future use. Follow these steps to format your Seagate external hard drive:
1. Open Disk Management: On your Windows computer, right-click on the “Start” button and select “Disk Management” from the context menu. This will open the Disk Management utility.
2. Locate your Seagate external hard drive: In the Disk Management window, find your Seagate external hard drive. It should be listed along with the other drives, labeled with its size and assigned drive letter.
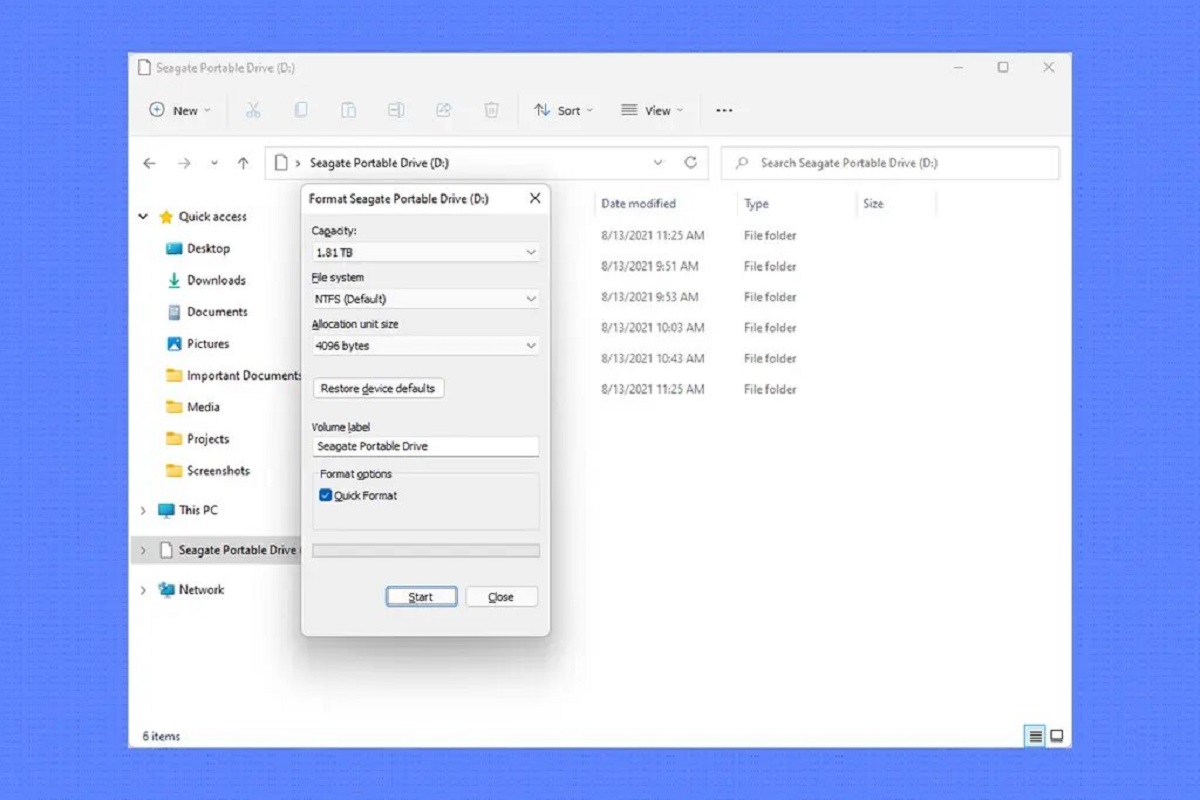
3. Right-click and select “Format”: Right-click on the Seagate external hard drive and select the “Format” option from the context menu.
4. Configure the formatting options: In the Format window, you can configure the formatting options according to your preferences. Choose a file system (such as NTFS, exFAT, or FAT32) and provide a descriptive volume label for the drive. You can also select the allocation unit size, which affects how the data is stored on the drive.
5. Start the formatting process: After configuring the formatting options, click on the “OK” button to begin the formatting process. A warning message will appear, notifying you that all data on the drive will be erased. Make sure you have backed up any important data before proceeding.
6. Wait for the formatting to complete: The formatting process may take some time, depending on the size of your Seagate external hard drive. Be patient and avoid interrupting the process. Once the formatting is complete, you will see a confirmation message.
By following these steps, you can successfully format your Seagate external hard drive. Formatting prepares the drive for future use, ensuring that all existing data is erased. Now that your Seagate external hard drive is formatted, you can proceed to the next step of using third-party software for secure erasure for an added layer of data protection if desired.
Step 4: Use third-party software to securely erase the drive
While formatting your Seagate external hard drive effectively removes all existing data, there are instances where you may want to go a step further and ensure the secure erasure of the drive. By using third-party software specifically designed for secure data wiping, you can have added confidence that your data is irrecoverable. Follow these steps to use third-party software to securely erase your Seagate external hard drive:
1. Research and choose a reliable data wiping software: There are several reputable third-party software options available for secure data erasure. Research and choose a software that suits your needs and offers the level of data wiping and security that you require.
2. Download and install the chosen software: Visit the official website of the software you have chosen and download the appropriate version for your operating system. Follow the installation instructions provided by the software vendor to install it on your computer.
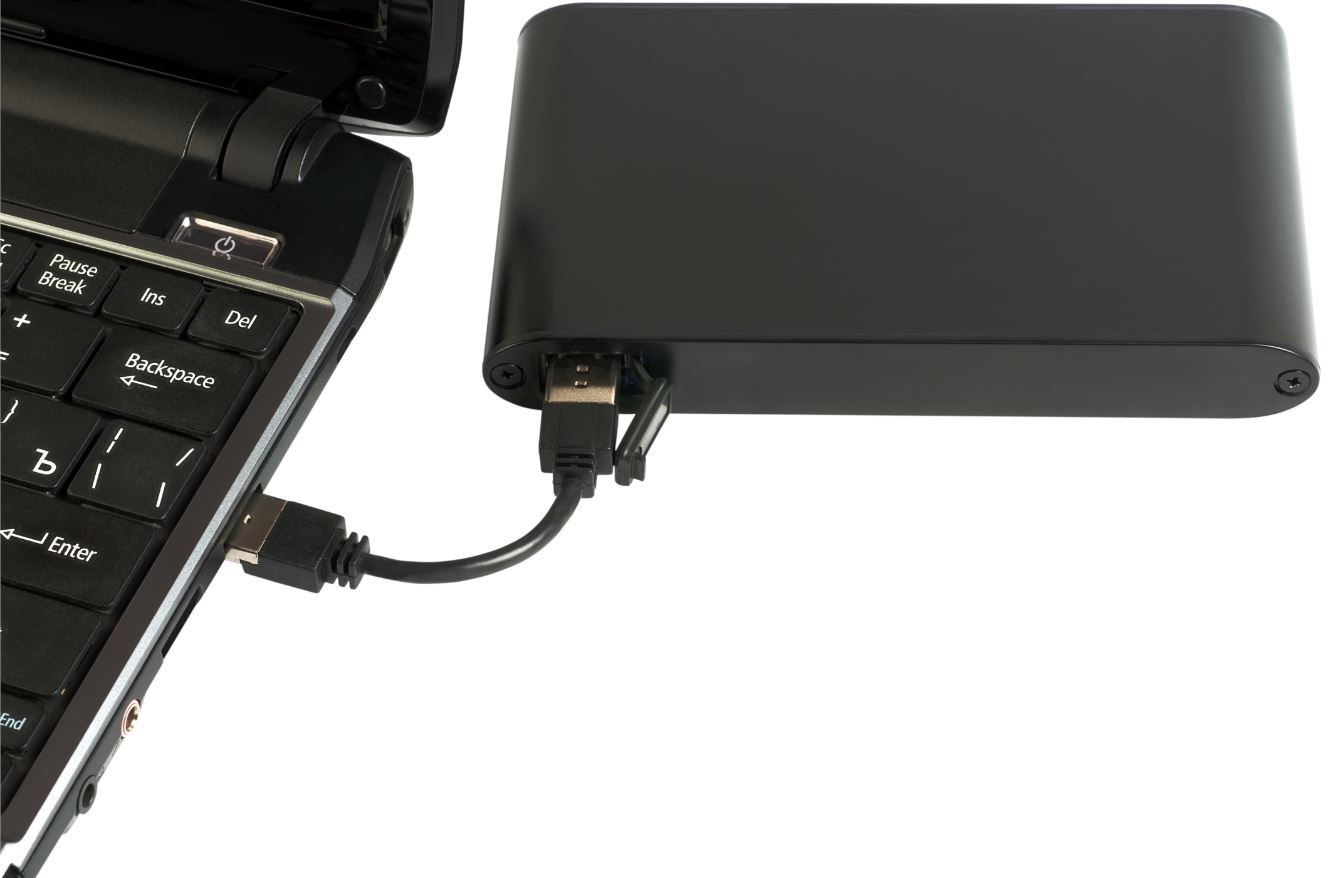
3. Connect your Seagate external hard drive: Plug your Seagate external hard drive into your computer using the appropriate USB or Thunderbolt cable. Ensure that it is recognized and accessible by your computer before proceeding.
4. Open the data wiping software: Launch the installed third-party software on your computer. Allow it to detect and display the connected drives.
5. Select your Seagate external hard drive for wiping: In the software interface, choose your Seagate external hard drive from the list of available drives. Make sure to double-check and select the correct drive to avoid accidentally wiping the wrong drive.
6. Configure the data wiping settings: The third-party software will provide various data wiping algorithms and options. Choose the desired settings according to your preferences and the level of security you require. Some software may offer multiple passes or Department of Defense (DoD) compliant algorithms for maximum data destruction.
7. Start the secure data wiping process: Once you have configured the settings, verify that you have selected the correct drive, and click on the “Start” or “Wipe” button to initiate the secure erasure process. Take note that this process may take some time, as it thoroughly overwrites the entire drive with random data to make recovery impossible.
8. Complete the wiping process and verify: After the secure data wiping process is complete, the software will display a confirmation message. Disconnect your Seagate external hard drive from your computer and verify that all data has been securely erased.
By using third-party software specifically designed for secure data wiping, you can go beyond formatting and ensure that your Seagate external hard drive is thoroughly and irrecoverably cleared of any previously stored data. This step enhances your data privacy and security, particularly if sensitive information was stored on the drive. Now that you have securely erased your Seagate external hard drive, you can proceed to the final step of verifying that the drive has been cleared successfully.
Step 5: Verify the drive has been cleared
After clearing your Seagate external hard drive, it’s important to verify that all data has been successfully removed. Verifying the drive ensures that no residual traces of your previous data are left behind. Follow these steps to verify that your Seagate external hard drive has been cleared:
1. Connect the Seagate external hard drive to your computer: Plug in your Seagate external hard drive using the appropriate cable and ensure that it is recognized and accessible by your computer.
2. Open your file explorer: Open the file explorer or file manager on your computer and navigate to the connected drives.
3. Check for any remaining files: Open the Seagate external hard drive and carefully inspect the contents. Look for any files or folders that may have been left behind after the clearing process. Pay close attention to hidden files and folders as well.
4. Use search functions: If you suspect that some files may still be present but are not easily visible, use the search function in your file explorer to search for specific file types, names, or extensions on the Seagate external hard drive.
5. Verify the absence of sensitive information: If your Seagate external hard drive contained sensitive or confidential information, double-check that no remnants of this data are present. Check specific folders or file locations where you stored such information.
6. Perform a test transfer or data write: As an additional step, you can perform a test transfer or write operation to the cleared Seagate external hard drive. Copy a small file onto the drive and confirm that it is the only file present. This ensures that there are no hidden partitions or residual data that might interfere with storing new data.
7. Repeat the steps, if necessary: If you discover any remaining files or data on the Seagate external hard drive, repeat the clearing process from Step 1 and ensure that all data is thoroughly removed.
By verifying that your Seagate external hard drive has been cleared, you can have confidence in its data privacy and security. This step ensures that no remnants of previous data remain, giving you peace of mind when reusing, selling, or donating the drive. Once you have completed the verification process and are satisfied that the drive has been successfully cleared, you can consider it ready for its next use or purpose.
Conclusion
Clearing a Seagate external hard drive is a crucial step to safeguard your data, maintain privacy, and prepare the drive for reuse or sale. Throughout this guide, we have provided step-by-step instructions on how to effectively clear your Seagate external hard drive.
From disconnecting the drive and checking for hidden partitions to formatting the drive, using third-party software for secure erasure, and verifying that the drive has been cleared, each step is essential for a thorough data clearance process.
Remember, before clearing the drive, it’s crucial to back up any important data you want to keep to prevent data loss. Additionally, make sure to choose a reliable third-party software for secure erasure if you require an extra layer of data protection.
By following the steps outlined in this guide, you can confidently clear your Seagate external hard drive, ensuring that all sensitive information is permanently removed and protecting your privacy. Whether you are preparing the drive for resale, addressing performance issues, or simply repurposing it, clearing the drive is an important step in maintaining data security and peace of mind.
Always exercise caution throughout the process and double-check your actions to avoid deleting important files or partitions accidentally. It’s essential to have a clear understanding of the steps involved and, if necessary, seek professional assistance or guidance.
Now that you have successfully cleared your Seagate external hard drive, take some time to ensure proper storage and maintenance of the drive to prolong its lifespan and maintain its performance for future use.
We hope this guide has been helpful in guiding you through the process of clearing your Seagate external hard drive. Enjoy the peace of mind that comes with knowing your data is secure and your drive is ready for its next adventure!