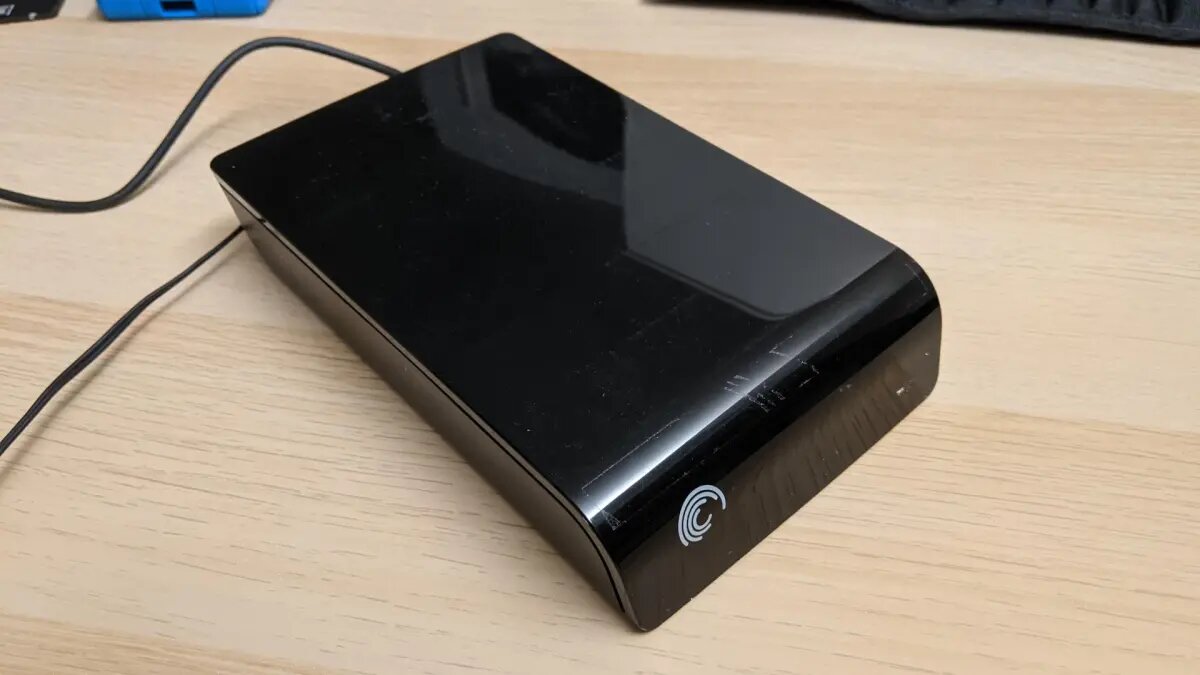
To delete files on a Seagate external hard drive, connect the drive to your computer, open File Explorer (Windows) or Finder (Mac), select the files, and press Delete or drag them to the Trash. If your drive isn't showing up at all, you may need to fix seagate external hard drive not detected in Windows before you can access your files. Remember that deletion is permanent once you empty the Recycle Bin or Trash, so double-check your selections first. If you want to erase everything and start fresh, you can factory reset a external hard drive instead of deleting files one by one. The process takes less than a minute for both Windows and Mac users, and the same steps work whether you're clearing a few documents or an entire folder of old projects.
Connect and locate your Seagate drive
Plug your Seagate external hard drive into an available USB port on your computer using the cable that came with it. On Windows, open File Explorer and look under "This PC" in the left navigation pane, your drive will appear as a removable disk labeled "Seagate" or its model name. On a Mac, the drive icon appears on your desktop by default, or you can find it under "Devices" in Finder's sidebar. If you don't see it immediately, unplug and reconnect the USB cable, or try a different port. If the drive appears but seems read-only or unresponsive, your external hard drive won't create folders until you fix its permissions or file system.
Select and delete the files
Once you can see your drive's contents, browse through the folders to locate the files you want to remove. To delete a single file, click it once to highlight it. For multiple files, hold down the Ctrl key (Windows) or Command key (Mac) while clicking each file. To select everything inside a folder, click any file within it and press Ctrl+A (Windows) or Command+A (Mac).
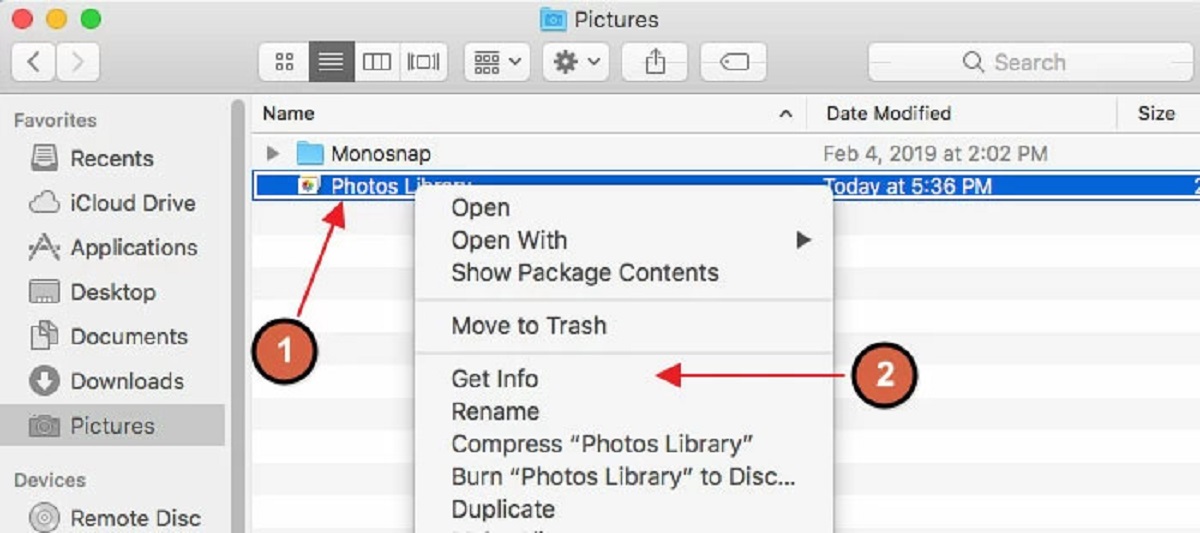
- Right-click any selected file.
- Choose "Delete" (Windows) or "Move to Trash" (Mac) from the dropdown menu.
- Confirm the action when the prompt appears, the files are now moved to the Recycle Bin or Trash.
If you prefer keyboard shortcuts, press Delete on Windows or Command+Delete on Mac after selecting the files. This achieves the same result without using the right-click menu.
Permanently remove the files
Deleted files still occupy space on your Seagate drive until you empty the Recycle Bin or Trash. This final step is what actually frees up storage capacity.
- On Windows, double-click the Recycle Bin icon on your desktop, review the contents, then click "Empty Recycle Bin" at the top of the window. Confirm when asked.
- On Mac, click the Trash icon in your dock, review the files, then select "Empty Trash" from the Finder menu at the top of your screen. Confirm the action.
After emptying, navigate back to your Seagate drive to verify the files are gone. If you can't find them, the deletion was successful.
Troubleshooting: cannot delete files
If you get an error when trying to delete files from your Seagate drive, the most common cause on a Mac is NTFS formatting. Many Seagate drives come pre-formatted with NTFS, which macOS can read but not write to natively, so you'll see a "read-only" message and deletion will fail. To fix this, you have two options: reformat the drive to exFAT or APFS (which erases all data, so back up first), or use third-party NTFS driver software to enable write access on Mac.
Another frequent issue is drive locking. If your Seagate drive is protected by Seagate Secure or Toolkit software, you must unlock it before you can delete anything. Open the Seagate Toolkit app or use the unlock file that came with your drive, enter your password, and then retry the deletion. A locked drive will reject all write operations, including file removal.
Secure deletion for sensitive data
For files that must be unrecoverable, like financial records or personal documents, standard deletion isn't enough because data can be recovered with specialized software. Seagate offers two secure erase methods depending on your drive model. If you have a Self-Encrypting Drive (SED), use "Instant Secure Erase" (ISE), which cryptographically destroys data by changing the encryption key, this takes seconds and makes all data permanently inaccessible. For non-SED drives, Seagate's SeaTools software provides an "Overwrite Erase" option that writes zeros across the entire drive, though this can take several hours depending on drive capacity. Both methods are explained in Seagate's official secure erase guide, and they completely eliminate any possibility of file recovery. If you also own a Lacie drive, you can use lacie external hard drive with the same deletion steps described here, but for secure erasure you'll need to check Lacie's separate utility software.