Common Causes for Seagate External Hard Drive Not Detected in Windows
Having your Seagate external hard drive not detected in Windows can be a frustrating experience. There are several common causes that may lead to this issue. Understanding these causes can help you troubleshoot and resolve the problem effectively:
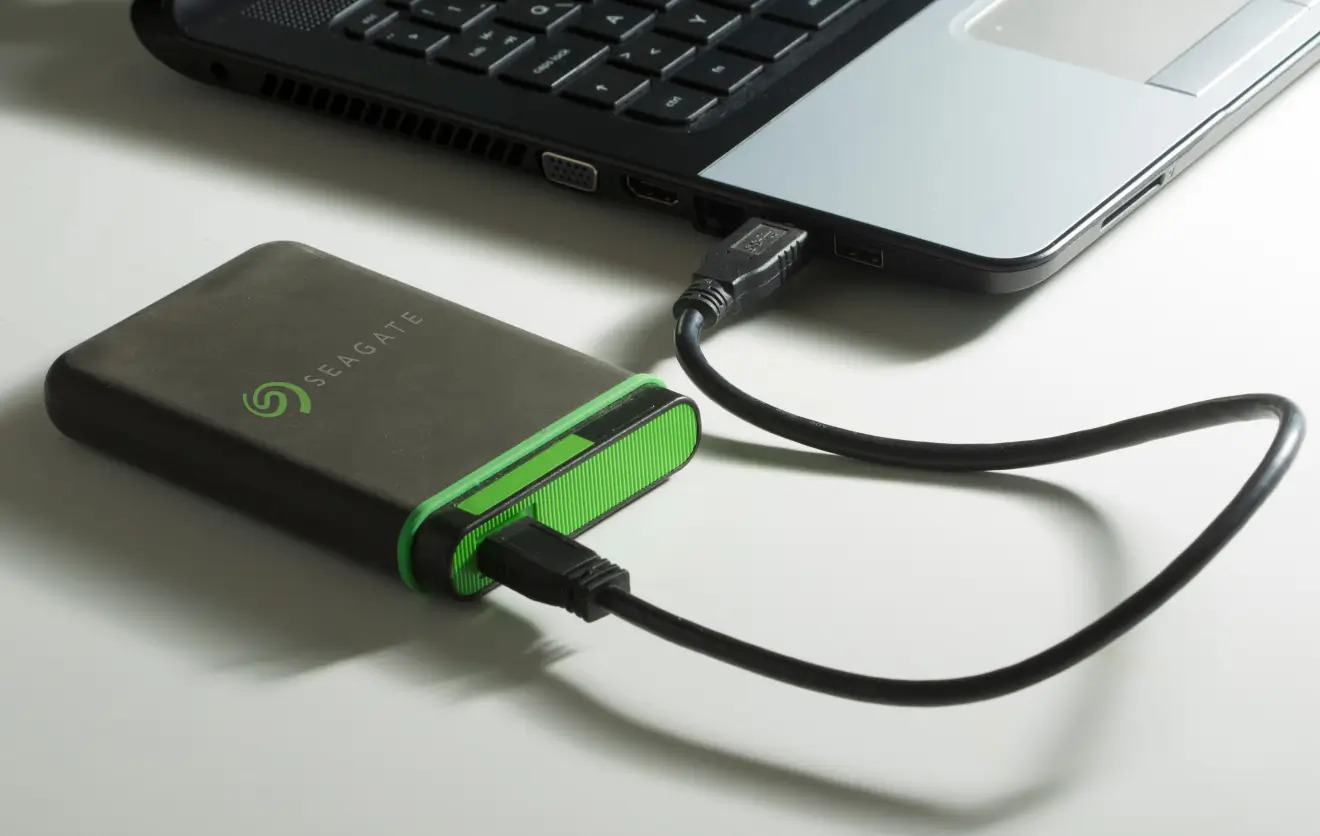
- Loose or Faulty Connection: One of the most common causes is a loose or faulty connection between the hard drive and the computer. Ensure that the USB cable is securely plugged in on both ends and try connecting the drive to a different USB port.
- Power Supply Issues: Insufficient power supply can also prevent Windows from detecting the external hard drive. Make sure the drive is connected to a functioning power source or try using a different power cable.
- Outdated or Missing Device Drivers: If the drivers for your Seagate external hard drive are outdated or missing, Windows may not be able to recognize it. Update the drivers using the Device Manager or reinstall them from the Seagate website.
- Drive Letter Conflict: Sometimes, the drive letter assigned to the external hard drive conflicts with existing drives, causing it to go undetected. In Disk Management, you can assign a new drive letter to resolve the conflict.
- Disabled Drive: It is possible that the drive is disabled in Disk Management, causing it to be invisible in Windows Explorer. Enable the drive in Disk Management and check if it is detected.
- Unformatted Drive: If the drive is unformatted or has an incompatible file system, Windows will not be able to recognize it. Format the drive using Disk Management, but keep in mind that this will erase all data on the drive.
- Troubleshooters: Windows provides built-in troubleshooters that can diagnose and fix common hardware and device issues. Run the Hardware and Devices troubleshooter from the Control Panel to see if it can detect and resolve the problem.
- USB Port or Cable Issues: Faulty USB ports or cables can prevent proper communication between the external hard drive and the computer. Try using a different USB port or cable to rule out any connectivity problems.
- Compatibility Issues: In some cases, compatibility issues between the Seagate external hard drive and the Windows operating system may be the root cause. Test the drive on another computer to determine if it works correctly.
If you have tried all of the above steps and your Seagate external hard drive is still not detected in Windows, it may indicate a more serious hardware problem. In such cases, it is advisable to seek professional assistance from a data recovery specialist or contact Seagate support for further guidance.
Check Connection and Power Supply
When your Seagate external hard drive is not being detected by Windows, the first step is to check the connection and power supply. Here’s what you can do:
1. Inspect the USB Cable: Ensure that the USB cable connecting the external hard drive to the computer is securely plugged in. Sometimes, a loose or faulty cable can cause connection issues. Try using a different USB cable to rule out any cable-related problems.
2. Try Different USB Ports: Plug the external hard drive into different USB ports on your computer. It is possible that the USB port you’re using is not functioning properly. Testing the drive with different ports can help determine if it is a port-specific issue.
3. Use a Powered USB Hub: If your external hard drive does not have its own power source, it might not be getting enough power from the computer. Connecting the drive through a powered USB hub can provide it with sufficient power and improve detection.
4. Check the Power Supply: If your external hard drive requires a separate power supply, ensure that it is connected and functioning correctly. A faulty power supply can cause the drive to go undetected by Windows.
5. Restart the Computer: Sometimes, a simple restart can fix connectivity issues. Restart your computer and reconnect the external hard drive to see if it is detected by Windows.
Checking the connection and power supply is an essential first step in troubleshooting a Seagate external hard drive not being detected in Windows. By ensuring that the cables are securely connected and providing sufficient power, you can eliminate these common causes and move on to other troubleshooting steps if necessary.
Update or Reinstall Device Drivers
In some cases, outdated or missing device drivers can prevent Windows from detecting your Seagate external hard drive. To resolve this issue, you can update or reinstall the device drivers as follows:
1. Update Drivers via Device Manager: Press the Windows key + X and select “Device Manager”. In the Device Manager window, expand the “Disk drives” category. Right-click on your Seagate external hard drive and select “Update driver”. Choose the option to search automatically for updated driver software. Windows will search online for any available updates and install them if found. Restart your computer and check if the drive is now detected.
2. Visit Seagate Website: Go to the official Seagate website and navigate to the support section. Look for the drivers or downloads page and search for the appropriate driver for your specific model of Seagate external hard drive. Download and install the latest driver available. Restart your computer and see if the drive is recognized by Windows.
3. Reinstall Drivers: If updating the drivers did not solve the problem, you can try uninstalling the existing drivers and then reinstalling them. Go to Device Manager, expand the “Disk drives” category, right-click on your Seagate external hard drive, and select “Uninstall device”. Restart your computer and Windows will automatically reinstall the drivers for the drive. Check if the drive is now detected.
It is important to keep your device drivers up to date, as they greatly affect the functionality and compatibility of your hardware with the operating system. By updating or reinstalling the device drivers for your Seagate external hard drive, you can ensure that Windows recognizes and interacts with the drive correctly.
Assign a New Drive Letter
If your Seagate external hard drive is not detected in Windows, an issue with the assigned drive letter could be the culprit. Follow these steps to assign a new drive letter and potentially resolve the problem:
1. Open Disk Management: Press the Windows key + X and select “Disk Management” from the menu. Alternatively, you can search for “Disk Management” in the Windows search bar and open it from there.
2. Locate the External Hard Drive: In the Disk Management window, look for your Seagate external hard drive. It might be labeled as “Disk X” or have a name related to Seagate. Identify the correct disk based on its size and ensure it is not labeled as “Unallocated” or “Not Initialized”.
3. Right-Click and Select “Change Drive Letter and Paths”: Right-click on the Seagate drive and choose “Change Drive Letter and Paths” from the context menu.
4. Click on “Change”: In the Change Drive Letter and Paths window, click on the “Change” button.
5. Select a New Drive Letter: Choose a new drive letter from the drop-down menu. Ensure the letter is not already in use by another drive. Click “OK” to confirm the selection.
6. Restart Your Computer: Restart your computer to apply the changes. After the restart, check if your Seagate external hard drive is now detected in Windows.
By assigning a new drive letter to your Seagate external hard drive, you can eliminate conflicts with existing drive letters and potentially resolve the detection issue. However, if changing the drive letter does not solve the problem, there might be other underlying causes that require further troubleshooting.
Enable the Drive in Disk Management
If your Seagate external hard drive is not being detected in Windows, it’s possible that the drive has been disabled in Disk Management. Here’s how you can enable the drive to make it visible:
1. Access Disk Management: Press the Windows key + X and select “Disk Management” from the menu. Alternatively, you can search for “Disk Management” in the Windows search bar and open it.
2. Locate the External Hard Drive: In the Disk Management window, look for your Seagate external hard drive. It should be listed with its corresponding disk number and drive letter (if assigned).
3. Check the Status: Look at the Status column for your Seagate drive. If it displays “Offline” or “Disabled,” right-click on the disk and select “Online” or “Enable.”
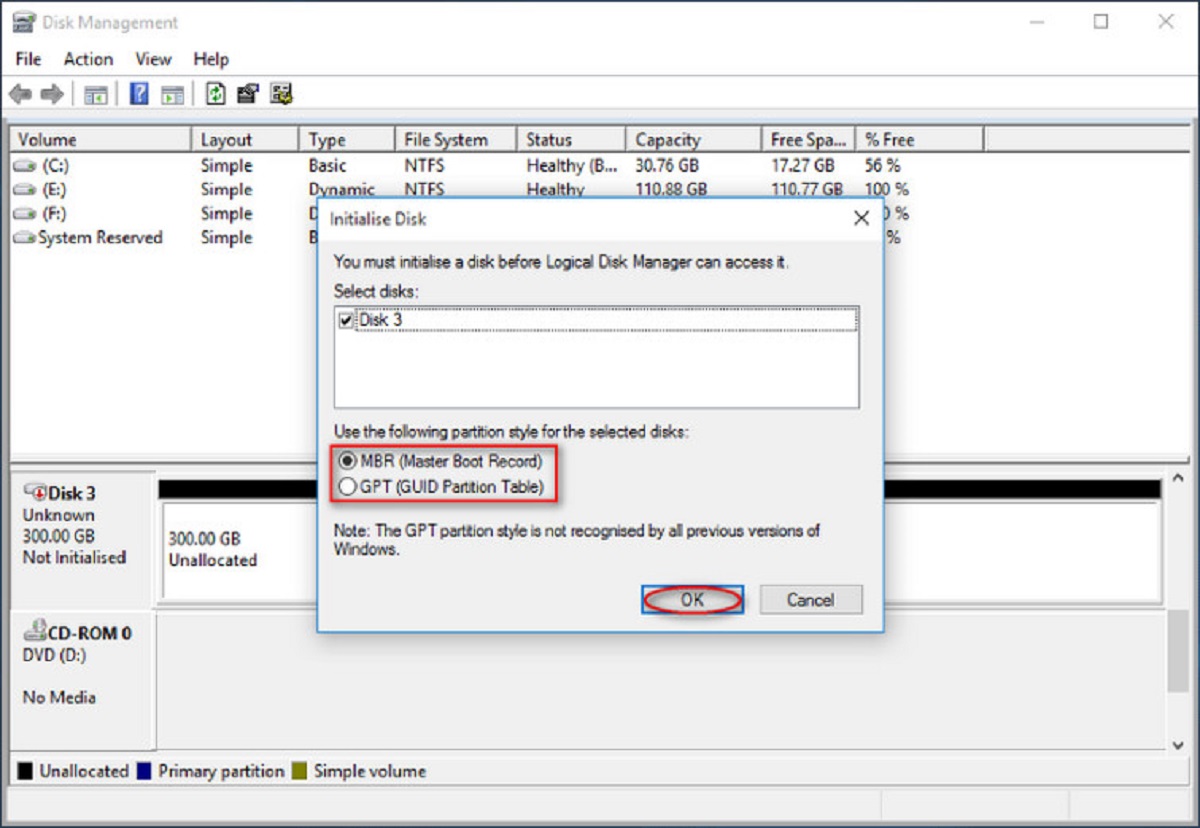
4. Initialize the Drive (if necessary): If the drive is listed as “Not Initialized,” right-click on the disk and select “Initialize Disk.” Choose the appropriate disk partition style (MBR or GPT) and click “OK” to continue. Once the disk has been initialized, right-click on the unallocated space and select “New Simple Volume” to create a new partition.
5. Assign a Drive Letter: If the drive doesn’t have a drive letter assigned, right-click on the partition and select “Change Drive Letter and Paths.” Click on “Add,” choose a drive letter from the dropdown menu, and click “OK.”
6. Restart Your Computer: Restart your computer to apply the changes. After the restart, check if your Seagate external hard drive is now detected in Windows.
Enabling the drive in Disk Management can resolve the issue of a Seagate external hard drive not being detected. By ensuring that the drive is enabled and has a proper drive letter assigned, Windows can recognize and access the drive correctly.
Format the Drive
If your Seagate external hard drive is not detected in Windows, it may need to be formatted. Formatting the drive can resolve any compatibility or file system issues that are preventing Windows from recognizing it. However, please note that formatting the drive will erase all data on it. Follow these steps to format your Seagate external hard drive:
1. Open Disk Management: Press the Windows key + X and select “Disk Management” from the menu. Alternatively, you can search for “Disk Management” in the Windows search bar and open it.
2. Locate the External Hard Drive: In the Disk Management window, find your Seagate external hard drive. Make sure you have identified the correct disk based on its size and drive letter (if assigned).
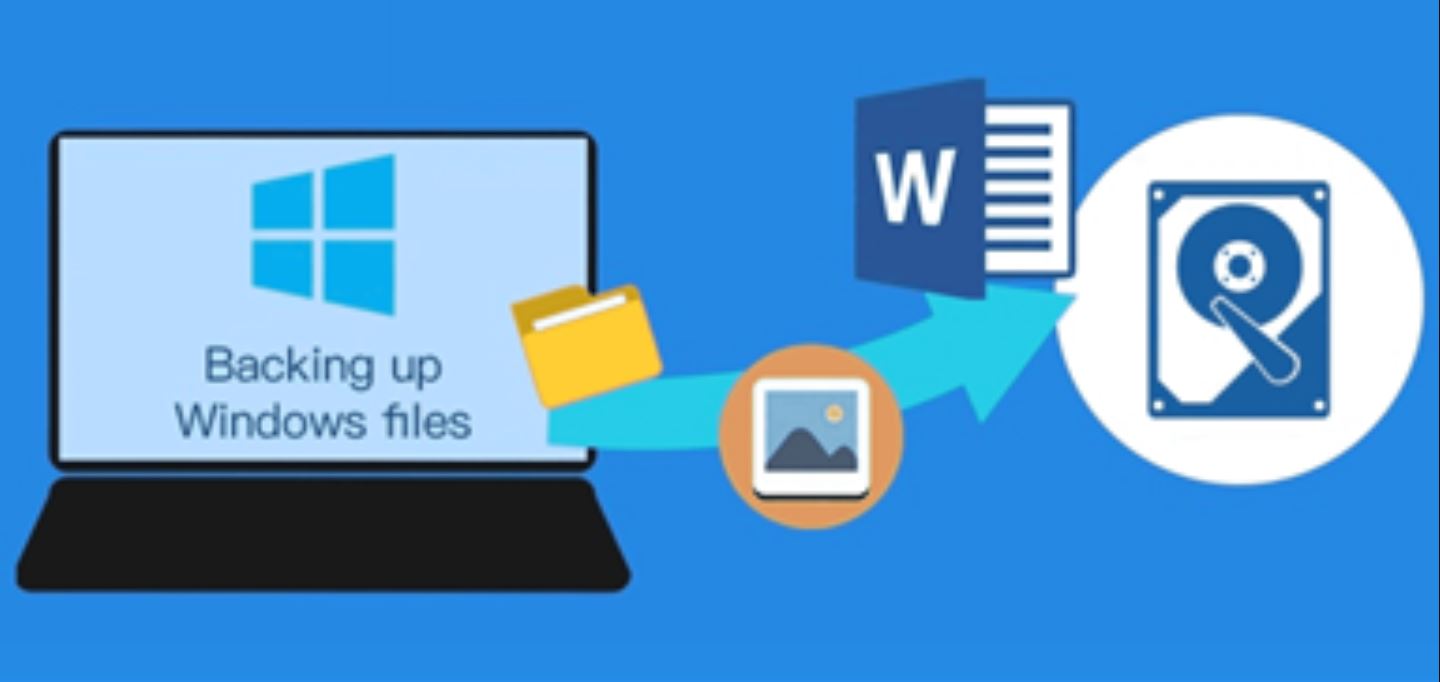
3. Backup Your Data: Before formatting the drive, it is crucial to back up any important data. Formatting will erase everything on the drive, so make sure you have a copy of your files in another location.
4. Right-Click and Select “Format”: Right-click on the disk and select “Format” from the context menu.
5. Configure Format Settings: In the Format window, you can choose the file system (such as NTFS, FAT32, or exFAT) and assign a volume label to the drive. Select the desired options and click “OK” to start the formatting process.
6. Confirm the Warning: A warning message will appear, informing you that all data on the drive will be erased. Double-check if you have backed up your files, and then click “OK” to proceed with the formatting.
7. Wait for Formatting: The formatting process may take some time, depending on the size of the drive and the selected options. Be patient and do not interrupt the process.
8. Restart Your Computer: After the formatting is complete, restart your computer. Once your computer has restarted, check if your Seagate external hard drive is now detected by Windows.
By formatting the drive, you can eliminate any file system or compatibility issues that were preventing Windows from recognizing your Seagate external hard drive. However, remember to perform regular backups to avoid data loss in the future.
Run Troubleshooters
When your Seagate external hard drive is not detected in Windows, running troubleshooters can help identify and fix any common hardware or device issues. Windows provides built-in troubleshooters that can assist in diagnosing and resolving such problems. Here’s how you can run troubleshooters:
1. Open the Control Panel: Press the Windows key + X and select “Control Panel” from the menu. Alternatively, you can search for “Control Panel” in the Windows search bar and open it.
2. Go to the Troubleshooting Settings: In the Control Panel, click on “Troubleshooting” to access the troubleshooting settings.
3. Select Hardware and Sound: Under the System and Security section, click on “Hardware and Sound”.
4. Click on Hardware and Devices: In the Hardware and Sound window, click “Hardware and Devices” to open the troubleshooter for hardware devices.
5. Follow the On-Screen Instructions: The Hardware and Devices troubleshooter will now run and scan for any hardware issues, including your Seagate external hard drive. Follow the on-screen instructions provided by the troubleshooter to complete the process.
6. Run Other Relevant Troubleshooters: Depending on the issue you are facing, you can also consider running other relevant troubleshooters, such as the USB troubleshooter or the Device troubleshooter.
7. Follow Additional Recommendations: After running the troubleshooters, Windows will provide recommendations based on the results. Follow any additional instructions or suggestions provided to resolve the issue.
Running the troubleshooters can help identify and fix common hardware or device-related issues that might be hindering the detection of your Seagate external hard drive in Windows. It is a convenient and built-in method to diagnose and rectify the problem without extensive manual troubleshooting.
Use a Different USB Port or Cable
When your Seagate external hard drive is not detected in Windows, using a different USB port or cable can help troubleshoot and resolve the issue. Here’s what you can do:
1. Try a Different USB Port: Plug your Seagate external hard drive into a different USB port on your computer. Sometimes, the USB port you’re using may be faulty or not providing sufficient power. By using a different port, you can eliminate any potential issues with the specific USB port.
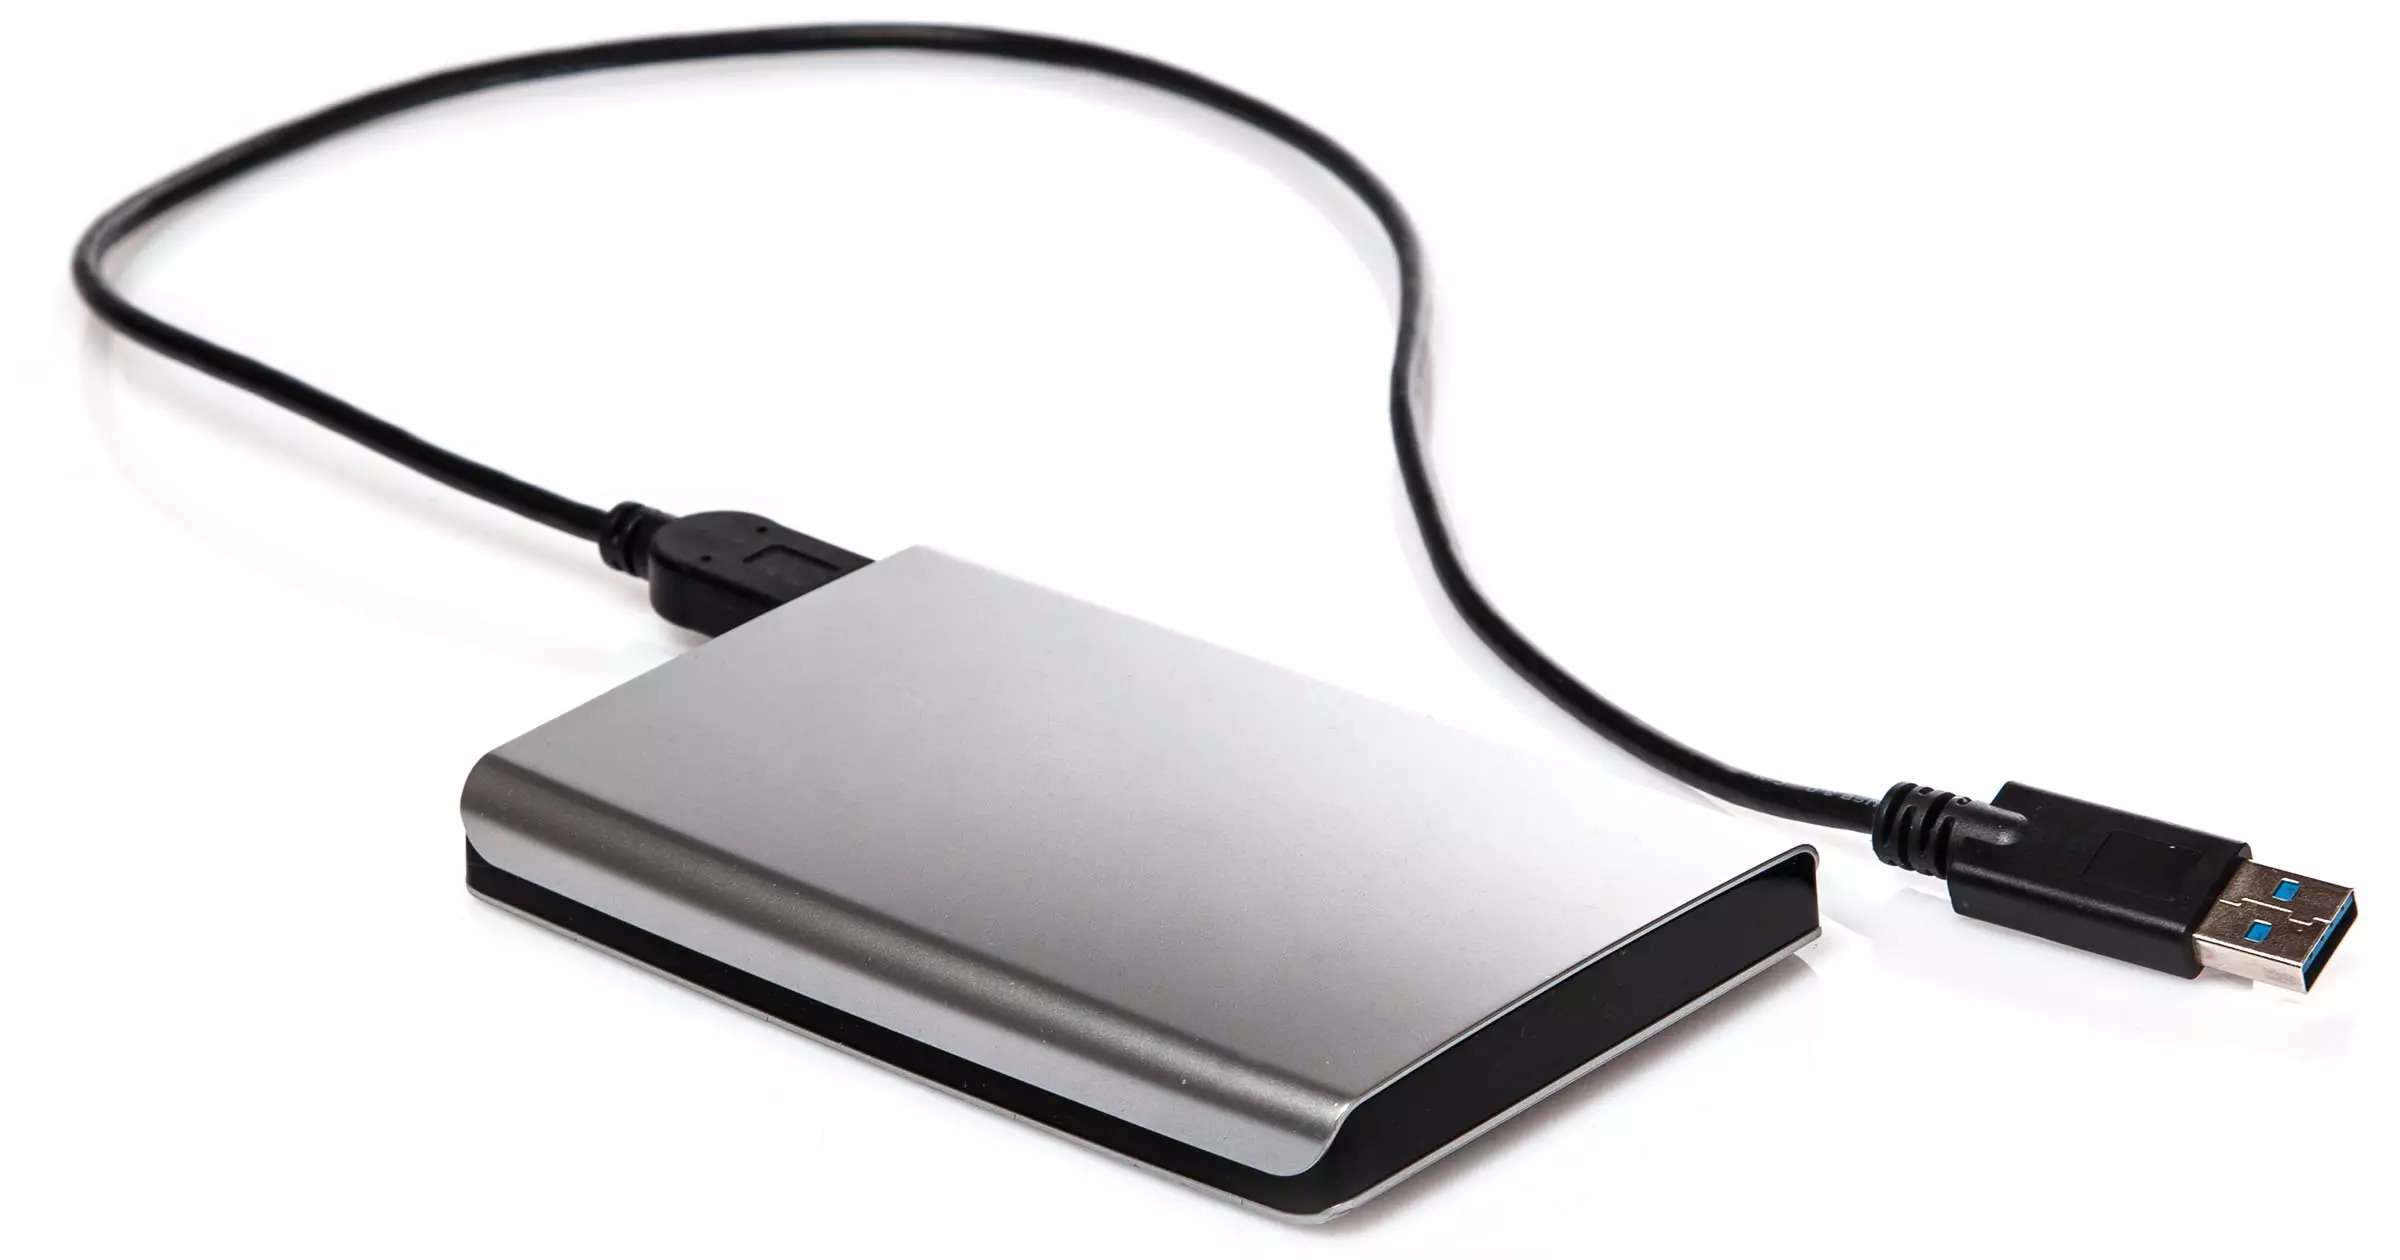
2. Check the USB Cable: Inspect the USB cable that came with your Seagate external hard drive. Look for any signs of damage or wear, such as frayed wires or bent connectors. If you notice any issues, try using a different USB cable that is compatible with your drive.
3. Use a Powered USB Hub: If your Seagate external hard drive requires more power than your computer’s USB ports can provide, consider using a powered USB hub. A powered USB hub has its own power source, which can ensure that the drive receives enough power for proper functioning and detection.
4. Avoid Using USB Extension Cables: If you are currently using a USB extension cable to connect your Seagate external hard drive, remove it and try connecting the drive directly to your computer’s USB ports. USB extension cables can sometimes cause connectivity issues or power fluctuations that may affect the drive’s detection.
5. Test with a Different Computer: If possible, connect your Seagate external hard drive to a different computer. This will help determine if the issue lies with the drive or with your specific computer’s USB ports or cables. If the drive works on a different computer, it indicates a problem with your computer’s USB ports.
By using a different USB port or cable, you can troubleshoot and potentially resolve any connectivity or power-related issues that may be causing your Seagate external hard drive to not be detected in Windows. If the issue persists, you can move on to other troubleshooting steps to further narrow down the problem.
Test the Drive on Another Computer
If your Seagate external hard drive is not being detected in Windows, testing the drive on another computer can help determine if the issue is with the drive itself or with your computer’s settings. Here’s what you can do:
1. Find Another Computer: Locate another computer to test the Seagate external hard drive on. It could be a friend’s computer, a family member’s computer, or even a public computer in a library or internet café.
2. Connect the Drive to the Other Computer: Plug the Seagate external hard drive into an available USB port on the other computer. Ensure that the drive is properly connected and securely plugged in.
3. Wait for Detection: Give the other computer some time to recognize and detect the Seagate external hard drive. The drive should show up in the File Explorer or Disk Management, just like any other connected storage device.
4. Access and Test the Drive: Once the drive is detected on the other computer, try accessing and testing it. Open some files, transfer data, or perform any relevant actions to ensure that the drive is functioning properly.
5. Observe the Results: If the Seagate external hard drive is detected and functions properly on the other computer, it suggests that the issue may lie with your computer’s settings, USB ports, or drivers. In this case, you can focus on troubleshooting your computer to resolve the problem.
6. Seek Further Assistance: On the other hand, if the drive is still not detected or has issues on the other computer as well, it indicates a potential problem with the drive itself. It is recommended to contact Seagate support or seek professional assistance for further troubleshooting or data recovery.
Testing the Seagate external hard drive on another computer can help determine whether the issue is specific to your computer or if there is a problem with the drive itself. This step can provide valuable insights for troubleshooting and finding the appropriate solution to get your drive recognized in Windows.
Seek Professional Assistance if All Else Fails
If you have tried all the previous troubleshooting steps and your Seagate external hard drive is still not detected in Windows, it may be time to seek professional assistance. While the majority of detection issues can be resolved with basic troubleshooting, there are instances where more complex issues require specialized knowledge and equipment. Here’s what you can do:
1. Contact Seagate Support: Reach out to Seagate’s customer support for guidance and assistance. They have a team of experts who can provide further troubleshooting steps or recommend specific solutions based on the nature of the issue.
2. Data Recovery Specialist: If your Seagate external hard drive contains valuable data that you cannot afford to lose, consider consulting a professional data recovery specialist. They have advanced tools and techniques to recover data from faulty or inaccessible drives.
3. Computer Repair Services: If the problem is suspected to be with your computer’s hardware, USB ports, or drivers, seeking help from a professional computer repair service might be necessary. They can diagnose any underlying hardware issues and provide the required repairs or replacements.
4. Manufacturer Warranty: If your Seagate external hard drive is still under warranty, check the warranty terms and conditions. In such cases, it is recommended to contact Seagate Support or the authorized service center to explore options for repair or replacement.
It is essential to remember that seeking professional assistance, especially for data recovery, can be costly. Therefore, it is crucial to consider the value of the data stored on the drive against the potential costs of professional services.
If all else fails, reaching out to professionals is the best course of action. They have the expertise to diagnose and resolve complex issues and can provide the necessary support to recover your data or repair the drive.