Introduction
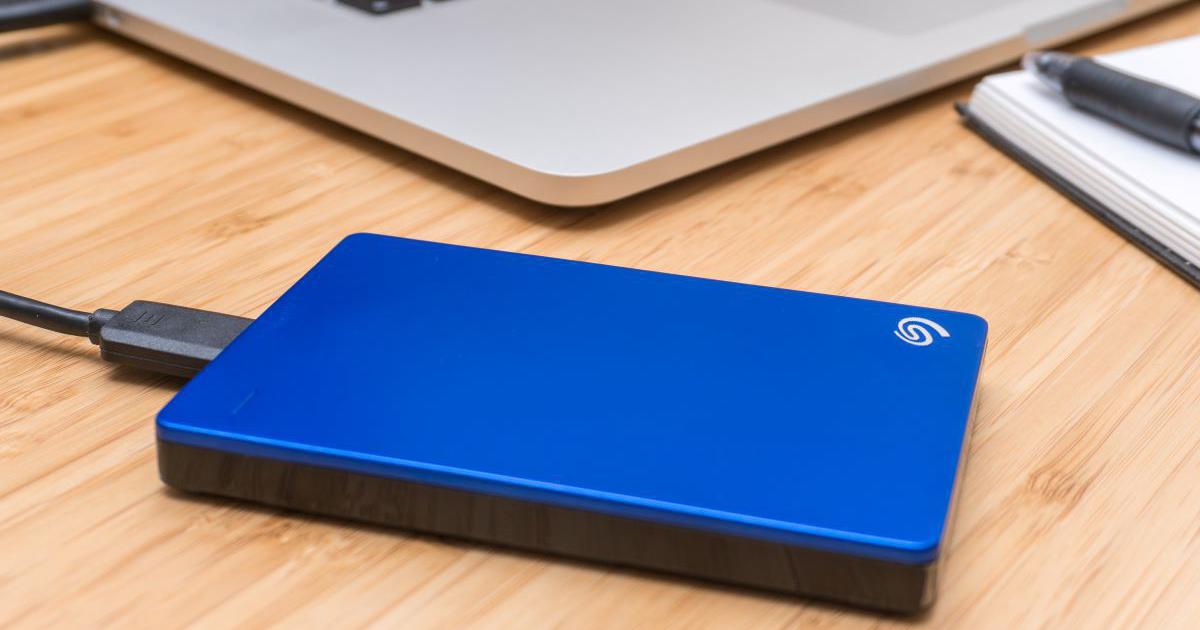
Welcome to the guide on how to set up a Seagate External Hard Drive! In today’s digital world, where data storage needs are growing rapidly, external hard drives have become an essential tool for individuals and businesses alike. Seagate, known for its reliability and performance, offers a wide range of external hard drives that cater to various storage needs.
In this article, we will walk you through the step-by-step process of setting up your Seagate External Hard Drive, ensuring that you can start utilizing its storage capacity effectively. Whether you’re using it for backing up important documents, storing multimedia files, or expanding your computer’s storage space, this guide will help you get your Seagate External Hard Drive up and running.
Before we dive into the setup process, it’s important to note that Seagate External Hard Drives are compatible with both Windows and Mac operating systems. This compatibility ensures that you can seamlessly connect and transfer files between different devices.
So, without further ado, let’s get started with the setup process and unleash the full potential of your Seagate External Hard Drive!
Checking System Requirements
Before you begin setting up your Seagate External Hard Drive, it is essential to check the system requirements to ensure compatibility and smooth functioning. By doing so, you can avoid any potential issues and make the most of your external storage device.
The system requirements for using a Seagate External Hard Drive vary depending on your operating system. Here are the general guidelines to follow:
- For Windows Users:
- Your computer must have a USB 2.0 or higher port. Ideally, a USB 3.0 or 3.1 port is recommended for faster data transfer speeds.
- Ensure that your operating system is Windows 7 or later. Seagate External Hard Drives are compatible with Windows 10, Windows 8, and Windows 7.
- Make sure that you have sufficient available storage space on your computer to accommodate the necessary software and files.
- For Mac Users:
- Your Mac should have a USB 2.0 or higher port. It is advisable to use a USB 3.0 or 3.1 port for optimal performance.
- Check that your operating system is OS X 10.11 or later. Seagate External Hard Drives are compatible with macOS Catalina, Mojave, High Sierra, and Sierra versions.
- Ensure that you have enough free space on your Mac to install any required software and store the files you want to transfer.
It is always recommended to keep your operating system up to date to avoid any compatibility issues. Additionally, check if there are any specific requirements mentioned in the manual or on Seagate’s website for your particular model of external hard drive.
By verifying these system requirements, you can proceed confidently with the setup process, knowing that your computer is compatible with your Seagate External Hard Drive.
Connecting the Seagate External Hard Drive
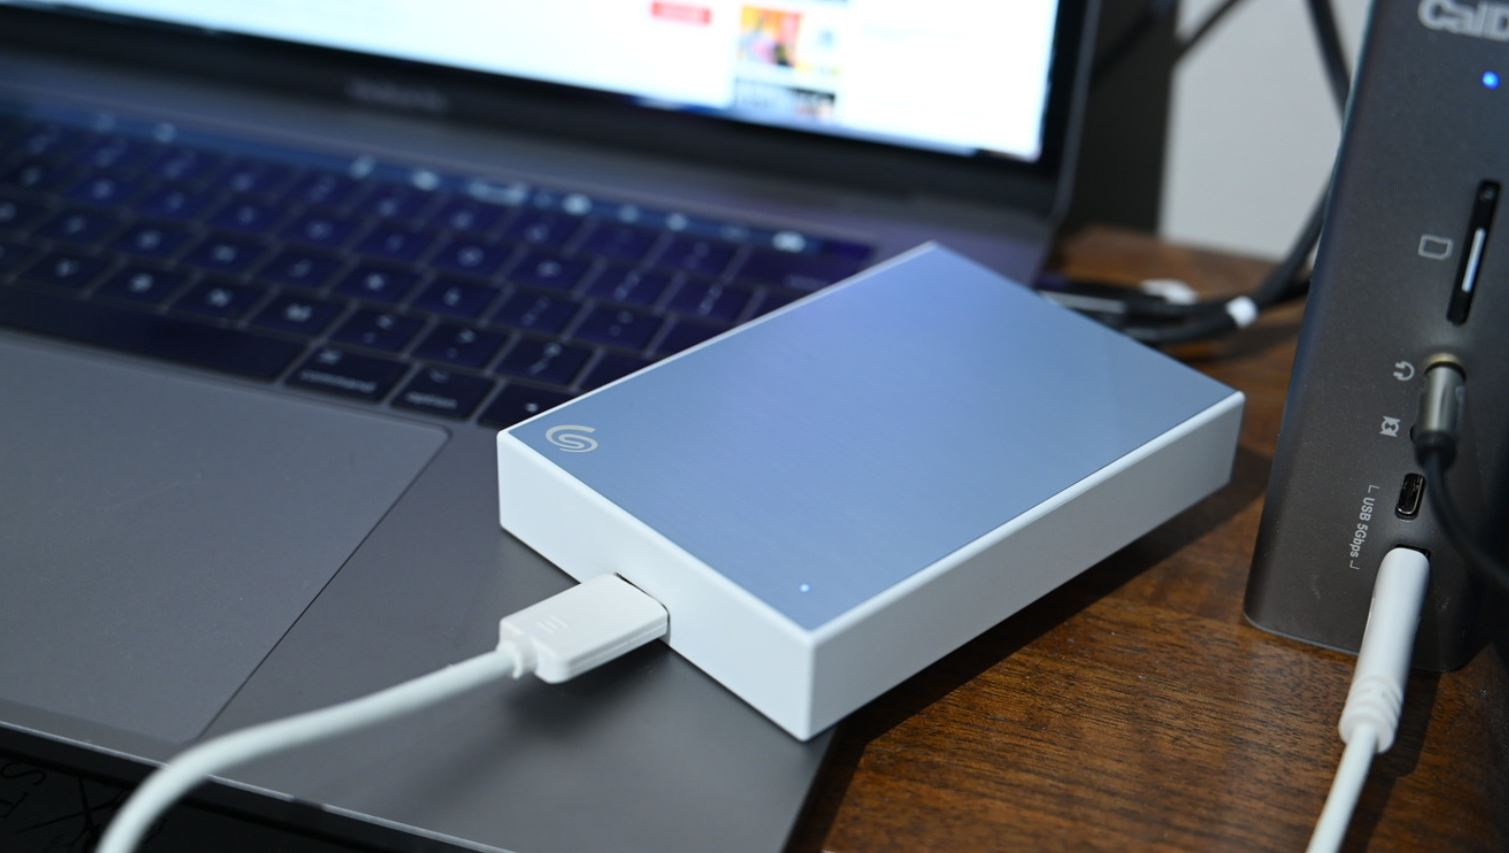
Now that you have confirmed your system meets the requirements, it’s time to connect your Seagate External Hard Drive to your computer. Follow these simple steps:
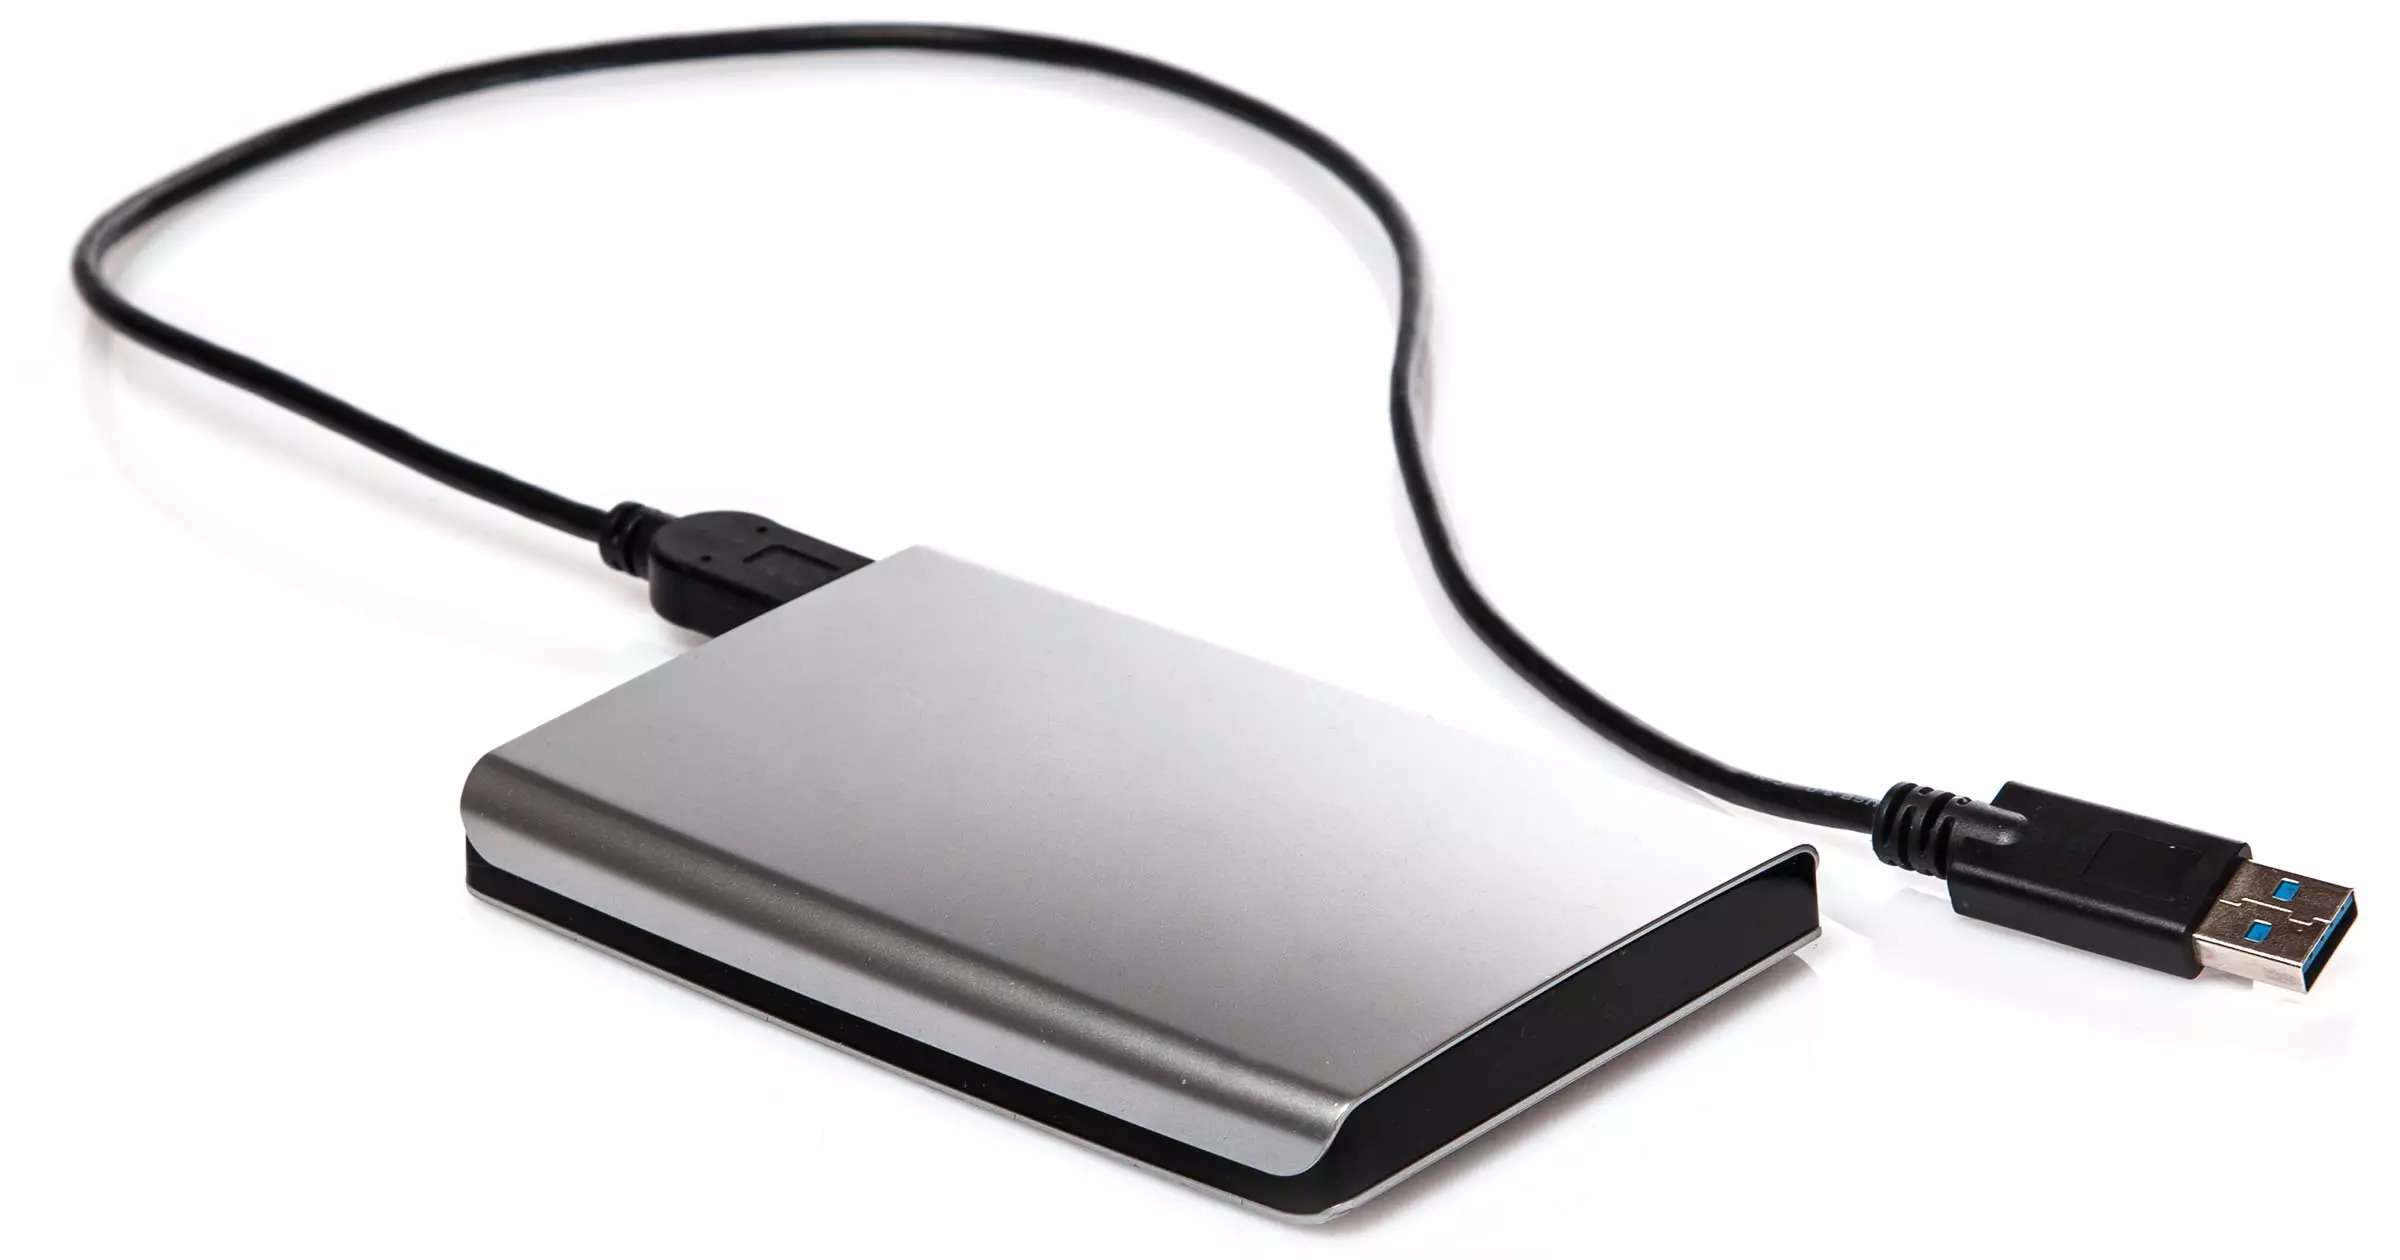
- Locate the USB cable: Find the USB cable that came with your Seagate External Hard Drive. It typically has a USB Type-A connector on one end and a USB Type-B or Type-C connector on the other end, depending on the model.
- Connect the cable: Take the USB cable and insert the appropriate end into the corresponding USB port on your Seagate External Hard Drive.
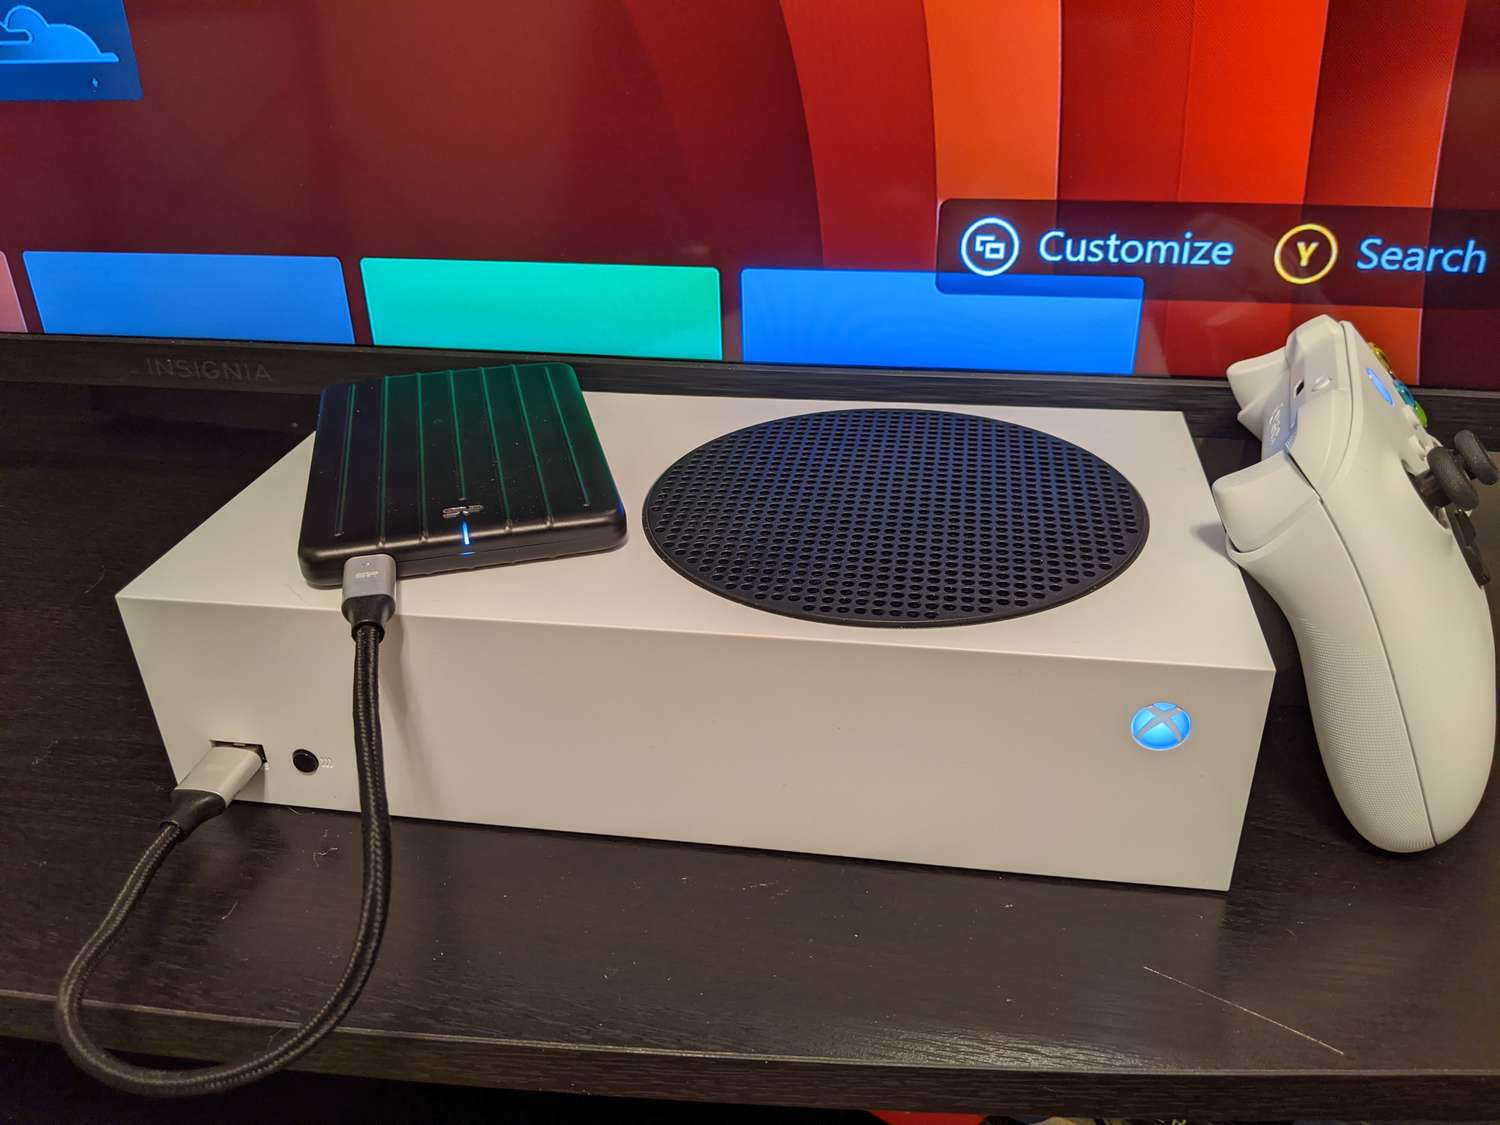
- Connect to your computer: Plug the other end of the USB cable into an available USB port on your computer. Make sure the connection is secure.
- Power up the drive: Many Seagate External Hard Drives are bus-powered, meaning they draw power from your computer through the USB connection. In this case, as soon as you connect the drive, it should power up automatically. If your drive requires external power, plug it into a power outlet.
- Wait for the computer to detect the drive: Once the Seagate External Hard Drive is connected, your computer will automatically detect it. Depending on your operating system and settings, a notification or prompt may appear indicating that a new device has been connected.
It’s important to note that if you are connecting the drive for the first time, your computer may prompt you to install drivers or software. If that happens, refer to the next section for instructions on installing the necessary software and drivers.
Once your Seagate External Hard Drive is successfully connected, you can proceed with the setup process and start using it to store, backup, or transfer your valuable data.
Formatting the Seagate External Hard Drive
After connecting your Seagate External Hard Drive to your computer, the next step is to format it. Formatting prepares the drive for use, allowing your operating system to recognize and interact with it properly. Here’s how you can format your Seagate External Hard Drive:
- Open Disk Management (Windows) or Disk Utility (Mac): On Windows, right-click on the Start button and select “Disk Management” from the menu. On Mac, go to the “Applications” folder, then click on “Utilities,” and select “Disk Utility.”
- Locate your Seagate External Hard Drive: In Disk Management (Windows) or Disk Utility (Mac), you should see a list of connected drives. Look for your Seagate External Hard Drive in the list and select it.
- Initialize the drive (Windows only): If you are using a brand new Seagate External Hard Drive on Windows, you may need to initialize it first. Right-click on the drive and select “Initialize Disk.” Choose the desired disk type (MBR or GPT) and click “OK” to initialize the drive.
- Format the drive: Right-click on the Seagate External Hard Drive (Windows) or click on the “Erase” tab (Mac), then follow the prompts to select the file system and assign a volume name. For Windows, it is recommended to select the NTFS file system, and for Mac, choose the APFS or Mac OS Extended (Journaled) file system. Click “OK” or “Erase” to begin the formatting process.
- Wait for the formatting to complete: The formatting process may take a few minutes, depending on the size of your Seagate External Hard Drive. During this time, do not disconnect the drive or perform any other actions that may interrupt the process.
Once the formatting is complete, your Seagate External Hard Drive is ready to be used. It will now appear as a new drive on your computer, ready to store or transfer your files.
Note that formatting erases all data on the drive, so make sure you have backed up any important files before proceeding with the formatting process.
Installing Required Software and Drivers
When connecting a Seagate External Hard Drive to your computer for the first time, you may need to install specific software or drivers to ensure proper functionality and compatibility. Follow these steps to install the necessary software and drivers:
- Check the packaging and manual: Before proceeding, check the packaging or manual that came with your Seagate External Hard Drive. Look for any instructions or included software CDs or download links.
- Visit the Seagate website: Open your web browser and visit the official Seagate website (www.seagate.com). Navigate to the support or downloads section of the site.
- Locate your product: Search for your specific model of Seagate External Hard Drive on the website. You can typically find the model name or number on the drive itself or in the product documentation.
- Download the software/drivers: Once you have located your product on the Seagate website, look for the appropriate software or driver download for your operating system. Ensure that you download the latest version available to ensure compatibility and optimal performance.
- Run the installer: Once the download is complete, locate the downloaded file and run the installer. Follow the on-screen prompts to install the software or drivers. In some cases, you may need to restart your computer after the installation is complete.
- Verify installation: After the installation, check if the required software or drivers appear in your system or device settings. This step ensures that the Seagate External Hard Drive is properly recognized by your computer.
It is important to keep the software and drivers up to date to ensure the best performance and compatibility with your Seagate External Hard Drive. Periodically check the Seagate website or utilize any installed software to check for updates.
By following these steps and installing the necessary software and drivers, you can ensure that your Seagate External Hard Drive functions seamlessly with your computer, providing you with a smooth and efficient data storage experience.
Transferring Files to the Seagate External Hard Drive
Now that your Seagate External Hard Drive is connected and set up on your computer, it’s time to transfer your files to it. Follow these steps to start moving your data:
- Open File Explorer (Windows) or Finder (Mac): On Windows, open File Explorer by pressing the Windows key + E or by clicking on the File Explorer icon on the taskbar. On Mac, open Finder by clicking on the Finder icon in the dock.
- Locate the files you want to transfer: Navigate to the location on your computer where the files you want to transfer are stored. This can be your desktop, documents folder, or any other file location.
- Select the files to transfer: Click and drag to select multiple files or use the Ctrl (Windows) or Command (Mac) key to select specific files. You can also use the Ctrl+A (Windows) or Command+A (Mac) keyboard shortcut to select all files in a folder.
- Copy the selected files: Right-click on the selected files and choose “Copy” from the context menu (Windows) or use the Ctrl+C (Windows) or Command+C (Mac) keyboard shortcut to copy the files.
- Navigate to the Seagate External Hard Drive: In File Explorer (Windows) or Finder (Mac), locate and open the Seagate External Hard Drive. It should appear as a new drive or volume.
- Paste the files: Right-click inside the Seagate External Hard Drive window and choose “Paste” from the context menu (Windows) or use the Ctrl+V (Windows) or Command+V (Mac) keyboard shortcut to paste the copied files.
- Wait for the file transfer to complete: The time taken to transfer files depends on the size and number of files being copied. Ensure that you wait until the transfer is complete and all files are safely copied to the Seagate External Hard Drive before disconnecting it.
By following these steps, you can effortlessly transfer your files to the Seagate External Hard Drive, effectively freeing up space on your computer and creating a backup of your valuable data.
Remember to safely eject the Seagate External Hard Drive from your computer before physically unplugging the USB cable to avoid potential data corruption.
Safely Ejecting the Seagate External Hard Drive
Once you have finished transferring files or using your Seagate External Hard Drive, it is important to safely eject it from your computer to avoid data corruption or loss. Ejecting the drive ensures that all pending read/write operations are completed before disconnecting it. Follow these steps to safely eject your Seagate External Hard Drive:
- Save and close any open files: Before ejecting the drive, make sure you have saved any open files or documents that you were working on. Closing any applications or programs that are accessing the drive is also recommended.
- Locate the drive icon: In File Explorer (Windows) or Finder (Mac), locate the icon representing your Seagate External Hard Drive. It will typically be listed as a removable device or volume.
- Safely eject the drive (Windows): Right-click on the drive icon and select “Eject” from the context menu. Alternatively, you can also click on the “Safely Remove Hardware and Eject Media” icon in the system tray and choose your Seagate External Hard Drive from the list to eject it.
- Eject the drive (Mac): Click and hold on the drive icon and drag it to the trash or the eject symbol located on the desktop or in the Finder sidebar. Release the mouse button to safely eject the Seagate External Hard Drive.
- Wait for the confirmation: After initiating the ejection process, wait for the confirmation message that it is safe to disconnect the drive. This message ensures that all read/write operations are completed, and it is safe to physically unplug the USB cable.
- Physically disconnect the drive: Once you receive the confirmation, you can safely unplug the USB cable from your computer and detach the Seagate External Hard Drive.
Ejecting the Seagate External Hard Drive properly helps prevent any potential data corruption and ensures that your files remain intact and accessible for future use. Remember to follow these steps every time you want to disconnect the drive from your computer.
By safely ejecting your Seagate External Hard Drive, you maintain the integrity of your data and prolong the lifespan of the drive, ensuring it continues to serve as a reliable storage solution.
Troubleshooting Common Issues
While setting up and using your Seagate External Hard Drive, you may encounter some common issues. Here are a few troubleshooting tips to help resolve these problems:
- Check the cable and connections: Ensure that the USB cable is securely connected to both your Seagate External Hard Drive and your computer. Try using a different USB port or cable to rule out any potential connectivity issues.
- Restart your computer: Sometimes, a simple restart can resolve minor software or driver conflicts. Restart your computer and then reconnect the Seagate External Hard Drive to see if it is recognized.
- Update software and drivers: Visit the official Seagate website and check for any firmware updates or driver downloads for your specific model. Keeping your software and drivers up to date can often resolve compatibility issues.
- Run a diagnostic tool: Seagate provides diagnostic tools like SeaTools that can help identify issues with your external hard drive. Download and run the appropriate diagnostic tool from the Seagate website to perform troubleshooting tests and identify any potential hardware problems.
- Scan for viruses or malware: Run a full system scan with your preferred antivirus software to check for any viruses or malware that could be affecting the functionality of your Seagate External Hard Drive.
- Reformat the drive: If you are experiencing persistent issues or errors, reformatting the drive might solve the problem. However, keep in mind that reformatting erases all data on the drive, so make sure you have backed up your files before proceeding.
- Contact Seagate support: If the above steps do not resolve the issue, it’s best to contact Seagate customer support for further assistance. They can provide personalized guidance and troubleshooting steps specific to your situation.
Remember to provide as much detail as possible when seeking assistance to help the support team diagnose the issue more accurately.
By following these troubleshooting tips, you can address common issues and ensure a smooth experience with your Seagate External Hard Drive.
Conclusion
Congratulations! You have successfully set up your Seagate External Hard Drive and learned how to overcome common issues that may arise during the process. Now, you can enjoy the benefits of expanded storage capacity, reliable data backup, and convenient file transfers.
In this guide, we covered the essential steps, from checking system requirements and connecting the Seagate External Hard Drive to formatting it, installing necessary software, transferring files, and safely ejecting the drive. By following these steps, you can make the most of your external storage device and ensure its optimal performance.
Remember to periodically update the software and drivers for your Seagate External Hard Drive to benefit from the latest features, improvements, and compatibility updates. Additionally, maintaining a regular backup routine will safeguard your important files and prevent data loss.
If you encounter any difficulties or have specific questions related to your Seagate External Hard Drive, don’t hesitate to seek assistance from Seagate’s customer support. They are there to help you and provide the necessary guidance to resolve any issues you may encounter.
With your Seagate External Hard Drive up and running, you can store your treasured memories, important documents, and multimedia files with ease. Take full advantage of the storage capacity and enjoy the peace of mind that comes with reliable data storage.
Thank you for following this guide, and we hope it has been helpful in setting up your Seagate External Hard Drive. Happy storing!