Overview
Setting up a Seagate external hard drive on your Xbox One can significantly expand your gaming storage capacity. With the increasing size of modern games, having additional storage can help prevent running out of space on your console. In this guide, we will walk you through the steps to set up a Seagate external hard drive on your Xbox One, allowing you to store and play your favorite games without worrying about limited storage.
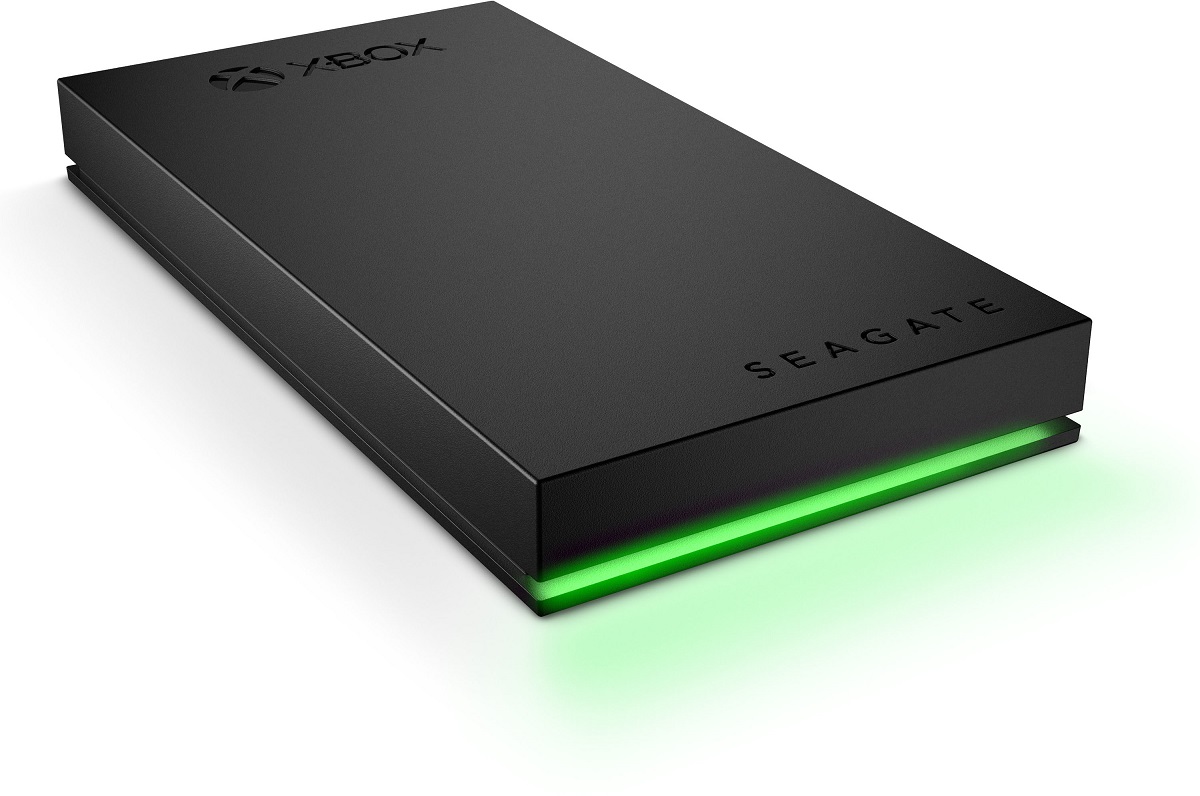
Before you begin, it’s important to note that not all external hard drives are compatible with the Xbox One. However, Seagate external hard drives are among the most reliable and widely used options. These drives offer a seamless experience and are designed specifically for gaming consoles.
The process of setting up a Seagate external hard drive on your Xbox One involves formatting the drive, connecting it to the console, configuring it, and transferring games and apps. This guide will provide you with detailed instructions to ensure a smooth and successful setup, allowing you to get back to gaming in no time.
It’s worth mentioning that using an external hard drive doesn’t only increase your storage capacity, but it can also help improve the overall performance of your Xbox One. By transferring games and apps to the external drive, you can free up space on your console’s internal storage, resulting in faster load times and smoother gameplay.
Whether you’re a casual gamer looking to expand your library or a hardcore player with a vast collection of games, setting up a Seagate external hard drive on your Xbox One is a simple yet effective solution. So, let’s dive into the step-by-step process and get your external hard drive up and running on your console.
Step 1: Format the Seagate External Hard Drive
The first step to setting up your Seagate external hard drive on your Xbox One is to format the drive specifically for use with the console. This process will erase any existing data on the drive, so be sure to back up any important files before proceeding.
Here’s how to format your Seagate external hard drive:
- Connect the Seagate external hard drive to your computer using the provided USB cable.
- Open the File Explorer (Windows) or Finder (Mac) on your computer and locate the external hard drive.
- Right-click (or Control-click on Mac) on the external hard drive and select “Format” from the drop-down menu.
- In the format settings, choose “exFAT” as the file system. This is the recommended format for Xbox One compatibility.
- Give the drive a desired name (optional).
- Click “Format” to begin the formatting process. This may take a few minutes.
- Once the formatting is complete, safely eject the Seagate external hard drive from your computer.
With your Seagate external hard drive now formatted and ready for use, you can proceed to the next step: connecting it to your Xbox One.
Note: It’s important to format the external hard drive using the exFAT file system, as the Xbox One doesn’t support other file systems like NTFS or FAT32. Formatting the drive to exFAT ensures compatibility and allows for seamless use between your computer and Xbox One.
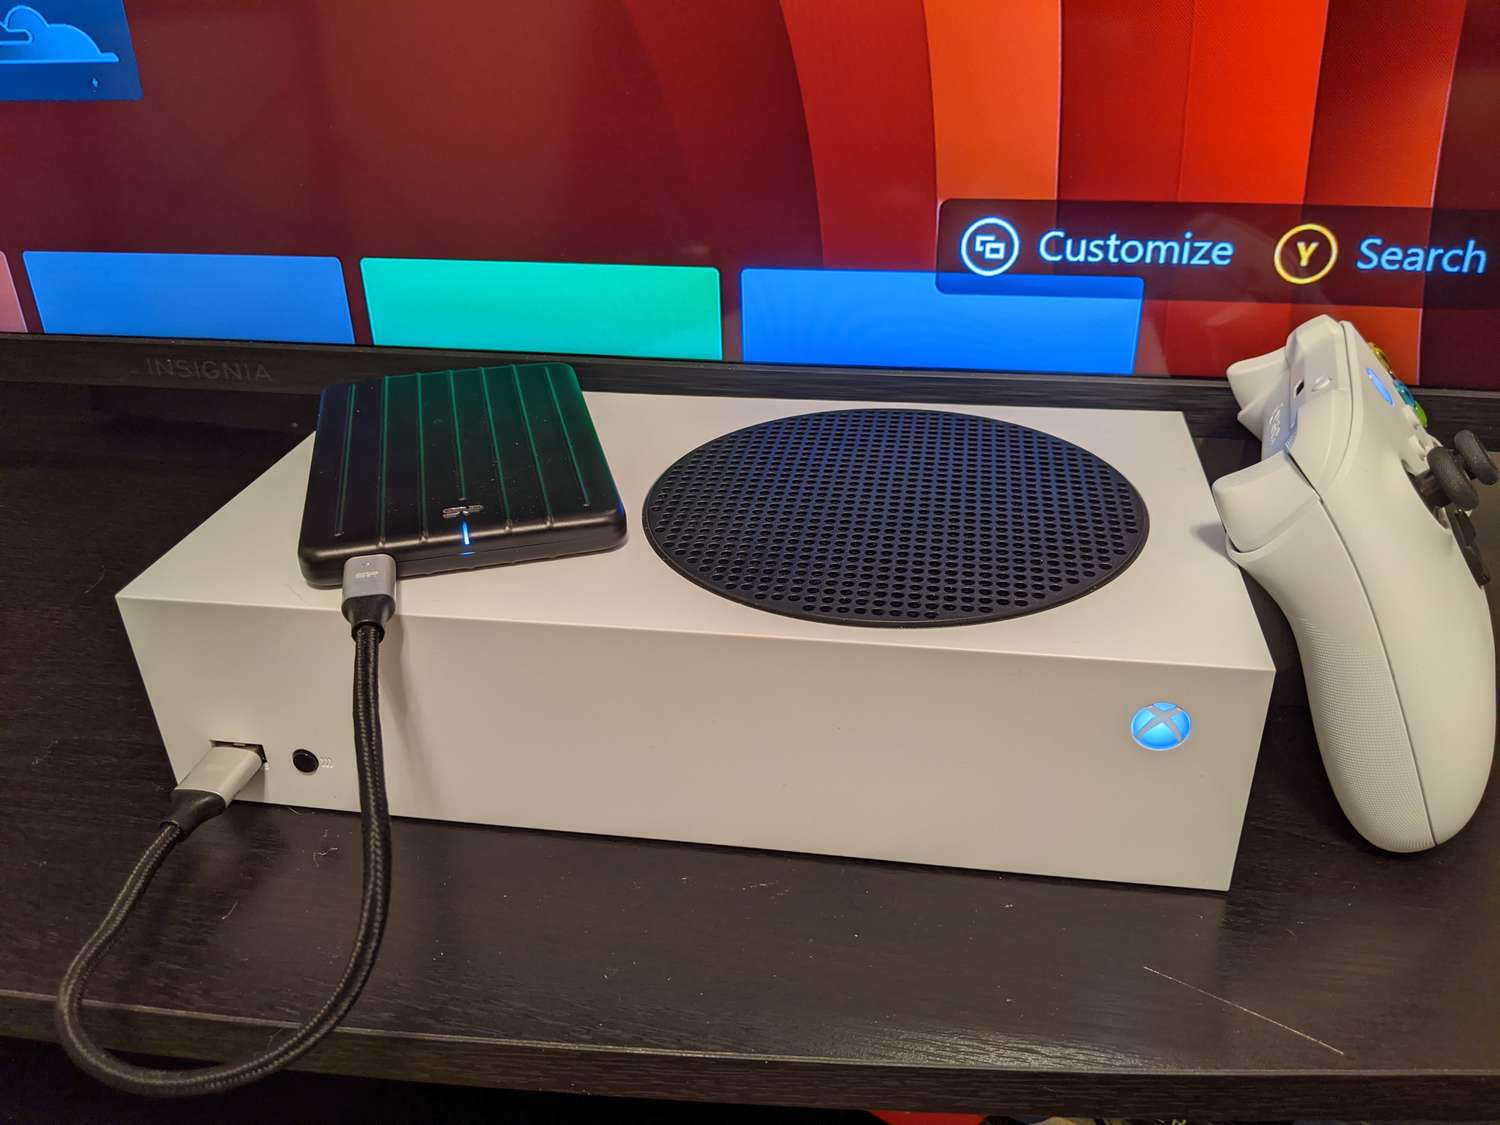
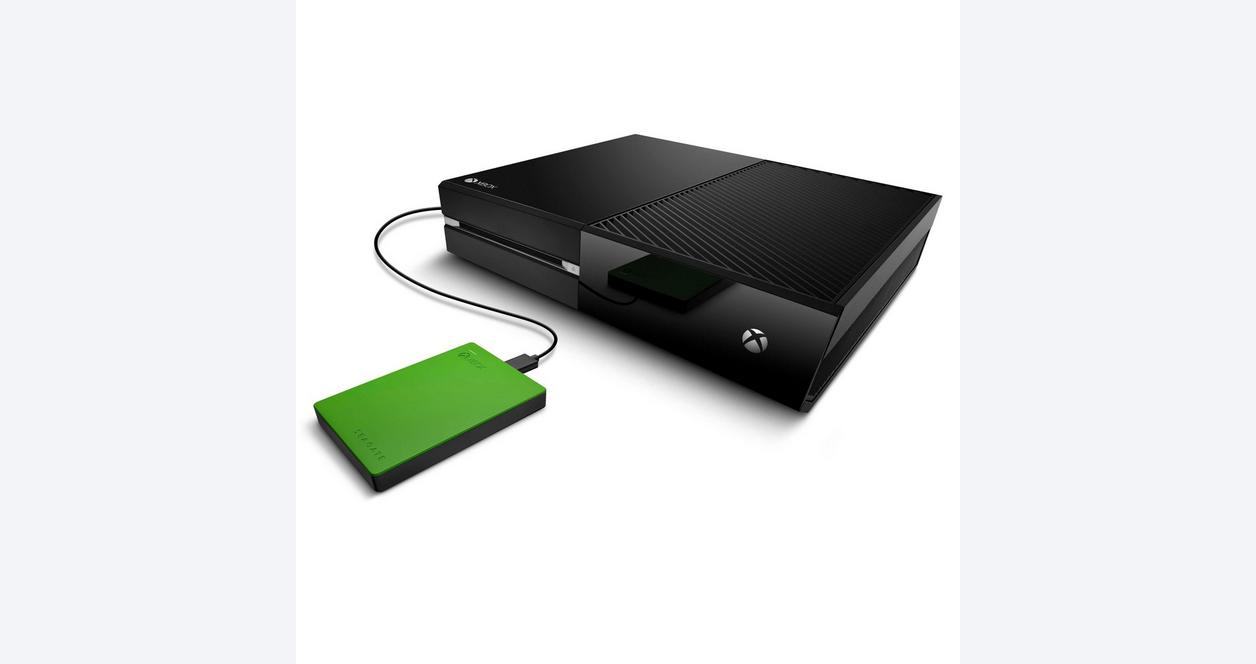
Step 2: Connect the Seagate External Hard Drive to the Xbox One
Now that you have formatted your Seagate external hard drive, the next step is to connect it to your Xbox One console. Follow these steps to establish the connection:
- Locate the USB port(s) on your Xbox One console. Depending on your console model, you may have USB ports on the front and/or back.
- Plug one end of the USB cable that came with your Seagate external hard drive into the USB port on the console.
- Connect the other end of the USB cable to the USB port on the Seagate external hard drive.
- Power on your Xbox One console if it isn’t already turned on.
- Your Xbox One will detect the external hard drive and prompt you to configure it. Follow the on-screen instructions to proceed with the configuration.
Once the connection is established and the configuration process is completed, your Seagate external hard drive will be recognized by your Xbox One and ready to use. It’s important to note that the console will only recognize one external hard drive at a time.
If you encounter any issues during the connection process, make sure to check the USB cable and ports for any physical damage. Additionally, ensure that your Xbox One is running the latest system software updates, as outdated software can sometimes cause compatibility problems. If problems persist, you may need to try a different USB port on your console or troubleshoot further by referring to the troubleshooting tips section at the end of this guide.
Now that your Seagate external hard drive is successfully connected to your Xbox One, let’s move on to the next step: configuring the drive on your console.
Step 3: Configure the Seagate External Hard Drive on Xbox One
After connecting your Seagate external hard drive to your Xbox One, the next step is to configure it on your console. This involves assigning the drive a specific name and selecting the storage location for new content. Follow the steps below to configure the external hard drive:
- Turn on your Xbox One console and sign in to your account.
- Press the Xbox button on your controller to open the guide.
- Navigate to the “System” tab and select “Settings”.
- In the Settings menu, choose “Storage”.
- Under the “Manage storage” section, you will see your Seagate external hard drive listed along with your internal storage.
- Select the external hard drive to access the configuration options.
- Choose a name for your external hard drive. This can be anything you prefer.
- Decide where you want to store new content. You can select the external hard drive as the default storage location for games and apps.
- Once you have made your selections, save the changes.
By configuring the Seagate external hard drive on your Xbox One, you ensure that all new content, such as games and apps, will be saved to the external storage by default. This helps to manage your storage space effectively and keep your console’s internal storage free for system updates and other essential files.
Remember to periodically check your storage usage and manage the content on your external hard drive to avoid running out of space. Now that your Seagate external hard drive is configured on your Xbox One, let’s move on to the next step: transferring games and apps to the external hard drive.
Step 4: Transfer Games and Apps to the Seagate External Hard Drive
With your Seagate external hard drive set up and configured on your Xbox One, it’s time to transfer games and apps to the external storage. This step is crucial for freeing up space on your console’s internal storage and ensuring optimal performance. Follow these steps to transfer your games and apps:
- Turn on your Xbox One console and sign in to your account.
- Press the Xbox button on your controller to open the guide.
- Navigate to the “My games & apps” tab and select “See all” to access your library.
- Select the game or app you want to move to the external hard drive.
- Press the “Menu” button on your controller.
- In the context menu that appears, select “Manage game & add-ons”.
- In the management options, choose “Move all” or “Move” to transfer the selected content to the external hard drive.
- Follow the prompts to confirm the transfer and wait for the process to complete. This may take some time, depending on the size of the game or app.
- Repeat the above steps for each game or app you want to transfer to the external hard drive.
- Once the transfers are complete, the games and apps will be accessible from the external storage.
Transferring games and apps to the Seagate external hard drive not only frees up space on your console but also allows you to carry your library with you and easily switch between different consoles. By keeping your most-played games on the external storage, you can prioritize loading times and overall gaming experience.
It’s important to note that while the games and apps are stored on the external hard drive, you will still need to connect it to the Xbox One to play them. Also, if you decide to remove a game or app from the external storage, you can simply follow the same steps and choose “Copy” instead of “Move” to transfer it back to the internal storage.
Now that you have successfully transferred your games and apps to the Seagate external hard drive, let’s move on to the next step: managing storage on the external hard drive.
Step 5: Manage Storage on the Seagate External Hard Drive
Once your games and apps are safely transferred to the Seagate external hard drive, it’s important to effectively manage the storage to ensure optimal performance and organization. Follow these tips to manage storage on your external hard drive:
- Regularly check the storage capacity of your external hard drive. You can find this information in the “Storage” section of the Xbox One settings.
- If you are running low on space, consider deleting or moving less frequently played games or apps to free up storage.
- Review your game library periodically and uninstall any games that you no longer play. You can always reinstall them in the future if desired.
- Consider organizing your games and apps into folders on the external hard drive. This can help you quickly locate and access specific content.
- Be mindful of game updates and patches. These can take up significant storage space over time. Delete outdated patches to save storage.
- If you want to transfer games or apps back to the internal storage, follow the steps outlined in Step 4, but select the internal storage as the destination.
- Always safely eject the external hard drive from your Xbox One before physically disconnecting it to avoid any data corruption.
By actively managing the storage on your Seagate external hard drive, you can ensure that you have sufficient space for new games and apps, while keeping your console and external storage organized. Regularly assessing your storage capacity and making necessary adjustments will help you maintain an efficient gaming system.
Should you encounter any issues with the storage or performance of your external hard drive, refer to the troubleshooting tips section below. And don’t forget to periodically check for firmware updates for your Seagate external hard drive to ensure you have the latest features and compatibility.
Congratulations! You have successfully set up, configured, and managed storage on your Seagate external hard drive on Xbox One. Enjoy the expanded storage and enhanced gaming experience!
Troubleshooting Tips
While setting up and using a Seagate external hard drive on your Xbox One is generally a smooth process, you may encounter occasional issues. Here are some troubleshooting tips to help you resolve common problems:
1. Ensure that your Seagate external hard drive meets the requirements of connectivity and compatibility with the Xbox One.
2. Check that your Xbox One console is running the latest system software updates. Outdated software can sometimes cause compatibility issues.
3. If the console doesn’t recognize the external hard drive, try connecting it to a different USB port on the Xbox One.
4. Restart your Xbox One console. Performing a restart can help resolve minor software glitches.
5. Verify that the USB cable and ports are not physically damaged. Test with a different cable if necessary.
6. If the external hard drive is not being detected or is experiencing slow performance, try connecting it to a computer and running diagnostics or formatting it again.
7. Disable any power-saving settings that may put the external hard drive into sleep mode or cause it to disconnect after a certain period of inactivity.
8. If you encounter constant disconnections or intermittent connectivity issues, try using a powered USB hub to ensure a stable power supply.
9. If you’re experiencing slow loading times or performance, consider freeing up space on the external hard drive or uninstalling large games that may be affecting performance.
10. If none of the above steps resolve the issue, consult the Seagate support website or contact their customer support for further assistance.
Remember, troubleshooting steps may vary depending on the specific issue you’re facing. It’s always a good idea to consult the official documentation of your Seagate external hard drive or seek support from their customer service if necessary.
By following these troubleshooting tips, you should be able to overcome common issues and enjoy a seamless gaming experience with your Seagate external hard drive on Xbox One.
Conclusion
Setting up a Seagate external hard drive on your Xbox One is a practical and effective solution to expand your gaming storage capacity. With the step-by-step instructions provided in this guide, you can format, connect, configure, transfer games and apps, and manage storage on your external hard drive with ease.
By utilizing a Seagate external hard drive, you not only increase your storage but also improve the overall performance of your Xbox One. With more space available, you can store and play a larger collection of games without worrying about limited storage.
Remember to regularly monitor the storage capacity of your external hard drive and manage the content to ensure optimal performance. As your gaming library grows, organizing your games and apps in folders can help you quickly locate specific content.
If you encounter any issues during the setup or usage of your Seagate external hard drive, refer to the troubleshooting tips section to address common problems. Seagate offers reliable customer support should you need further assistance.
With your Seagate external hard drive successfully configured on your Xbox One, you are now ready to enjoy an expanded storage capacity, faster load times, and an improved gaming experience. Whether you’re a casual gamer or a dedicated player, the added storage space will allow you to explore numerous games without worrying about storage limitations.
So go ahead, set up your Seagate external hard drive on your Xbox One, and unlock the full potential of your gaming console!