Introduction
Welcome to this comprehensive guide on how to reset your Seagate external hard drive on Xbox One. If you’re experiencing issues with your hard drive or simply want to start fresh, resetting your Seagate external hard drive can be a effective solution. In this article, we’ll walk you through the steps to reset your Seagate external hard drive on Xbox One and provide you with some troubleshooting tips for common issues you may encounter during the process.
An external hard drive is a valuable accessory for Xbox One users, as it provides additional storage space for games, apps, and media. However, over time, you may encounter problems such as slow performance, corrupted data, or compatibility issues. Resetting your Seagate external hard drive can help resolve these issues and restore it to its factory settings.
Before we dive into the steps of resetting your Seagate external hard drive, it’s important to note that this process will delete all the data stored on the drive. Therefore, it’s crucial to backup any important files or data before proceeding with the reset. Once you’ve made sure all your valuable data is safely stored elsewhere, you can continue with the reset process.
In this guide, we’ll cover everything you need to know about resetting your Seagate external hard drive on Xbox One. We’ll provide detailed instructions, tips for troubleshooting common issues, and some final recommendations to ensure a successful reset. So, let’s get started and learn how to reset your Seagate external hard drive on Xbox One.
Part 1: Reasons to Reset Your Seagate External Hard Drive on Xbox One
Resetting your Seagate external hard drive on Xbox One can provide several benefits and help resolve various issues you may encounter. Let’s take a look at some common reasons why you might consider resetting your Seagate external hard drive:
1. Performance Issues: Over time, your Seagate external hard drive may accumulate temporary files, fragmented data, or corrupted files, which can lead to a decrease in performance. Resetting the hard drive can refresh the system and improve its overall speed and responsiveness.
2. Compatibility Problems: In some cases, your Seagate external hard drive may encounter compatibility issues with your Xbox One console or specific games. Resetting the hard drive can eliminate any conflicting configurations or settings, allowing for a smoother experience.
3. Data Corruption: If you notice that certain files or games are not working properly, it could be a result of data corruption on your Seagate external hard drive. Resetting the hard drive can help resolve these issues and restore the data to its original state.
4. Storage Optimization: Resetting your Seagate external hard drive can help optimize storage space by clearing unnecessary files, temporary data, and old installations. This can free up valuable disk space and allow for more efficient storage management.
5. Software Updates: When you reset your Seagate external hard drive, it ensures that you are starting with a clean slate and can effectively install any necessary software updates or patches for your games or applications. This can improve compatibility and performance.
6. Selling or Donating: If you plan on selling or donating your Xbox One console or your Seagate external hard drive, resetting it is essential to ensure that all your personal data and information are permanently removed. This protects your privacy and prevents any unauthorized access to your files.
Remember, resetting your Seagate external hard drive should be a last resort if troubleshooting steps fail to resolve the issue. Make sure to back up any important data before proceeding with the reset to avoid permanent loss.
Now that we’ve gone over the reasons to reset your Seagate external hard drive, let’s move on to the preparation steps before initiating the reset process.
Part 2: Preparation Before Resetting Your Seagate External Hard Drive
Before you start the process of resetting your Seagate external hard drive on Xbox One, it’s important to take a few necessary steps to ensure a smooth and successful reset. Follow these preparation steps to make sure you are ready:
1. Backup Your Data: As mentioned earlier, resetting your Seagate external hard drive will erase all the data stored on it. Therefore, it’s crucial to backup any important files or data before proceeding. You can use cloud storage, external storage devices, or transfer the data to your Xbox One’s internal storage.
2. Disconnect From Xbox One: Before you start the reset process, make sure to disconnect the Seagate external hard drive from your Xbox One console. This can prevent any potential errors or conflicts during the reset process.
3. Verify Power Supply: Ensure that your Seagate external hard drive has sufficient power supply throughout the reset process. Connect it to a reliable power source or make sure the battery is fully charged if it’s a portable hard drive. A sudden loss of power during the reset can cause data corruption or other issues.
4. Check Internet Connection: Having a stable and reliable internet connection is essential during the reset process. Ensure that your Xbox One is connected to the internet, as some configurations or updates may be required during the reset.
5. Gather the Necessary Equipment: Make sure you have all the required equipment for the reset process, such as the Seagate external hard drive, Xbox One console, and necessary cables. Having everything ready beforehand will save you time and ensure a smooth reset.
6. Familiarize Yourself with the User Manual: Refer to the user manual or online resources provided by Seagate for detailed information on resetting their specific model of external hard drive. This will help you understand any specific procedures or precautions unique to your device.
By following these preparation steps, you’ll be well-equipped and ready to proceed with the process of resetting your Seagate external hard drive on Xbox One. Taking the time to backup your data and ensure a stable environment will help minimize the risk of data loss or any complications during the reset. Now, let’s move on to the next section to learn how to reset your Seagate external hard drive on Xbox One.
Part 3: How to Reset Seagate External Hard Drive on Xbox One
Resetting your Seagate external hard drive on Xbox One is a straightforward process. Follow these step-by-step instructions to reset your Seagate external hard drive:
1. Power off Your Xbox One: Start by turning off your Xbox One console completely. You can do this by holding down the power button on the front of the console until it shuts down. Make sure the console is fully powered off before proceeding.
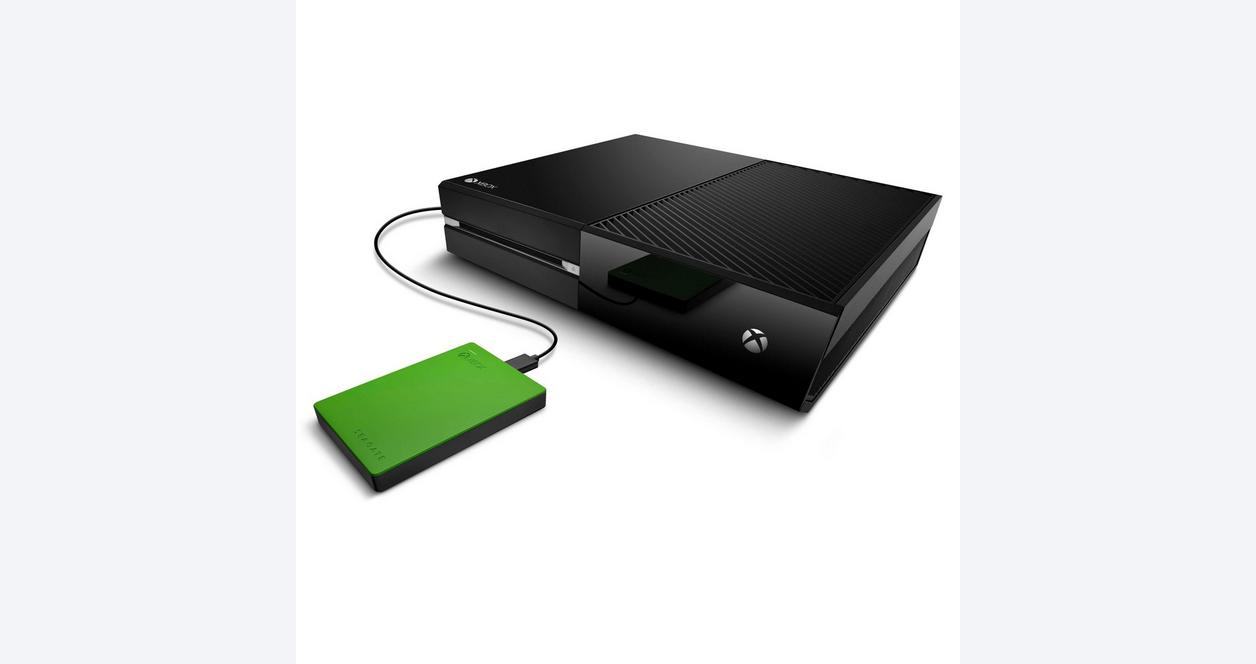
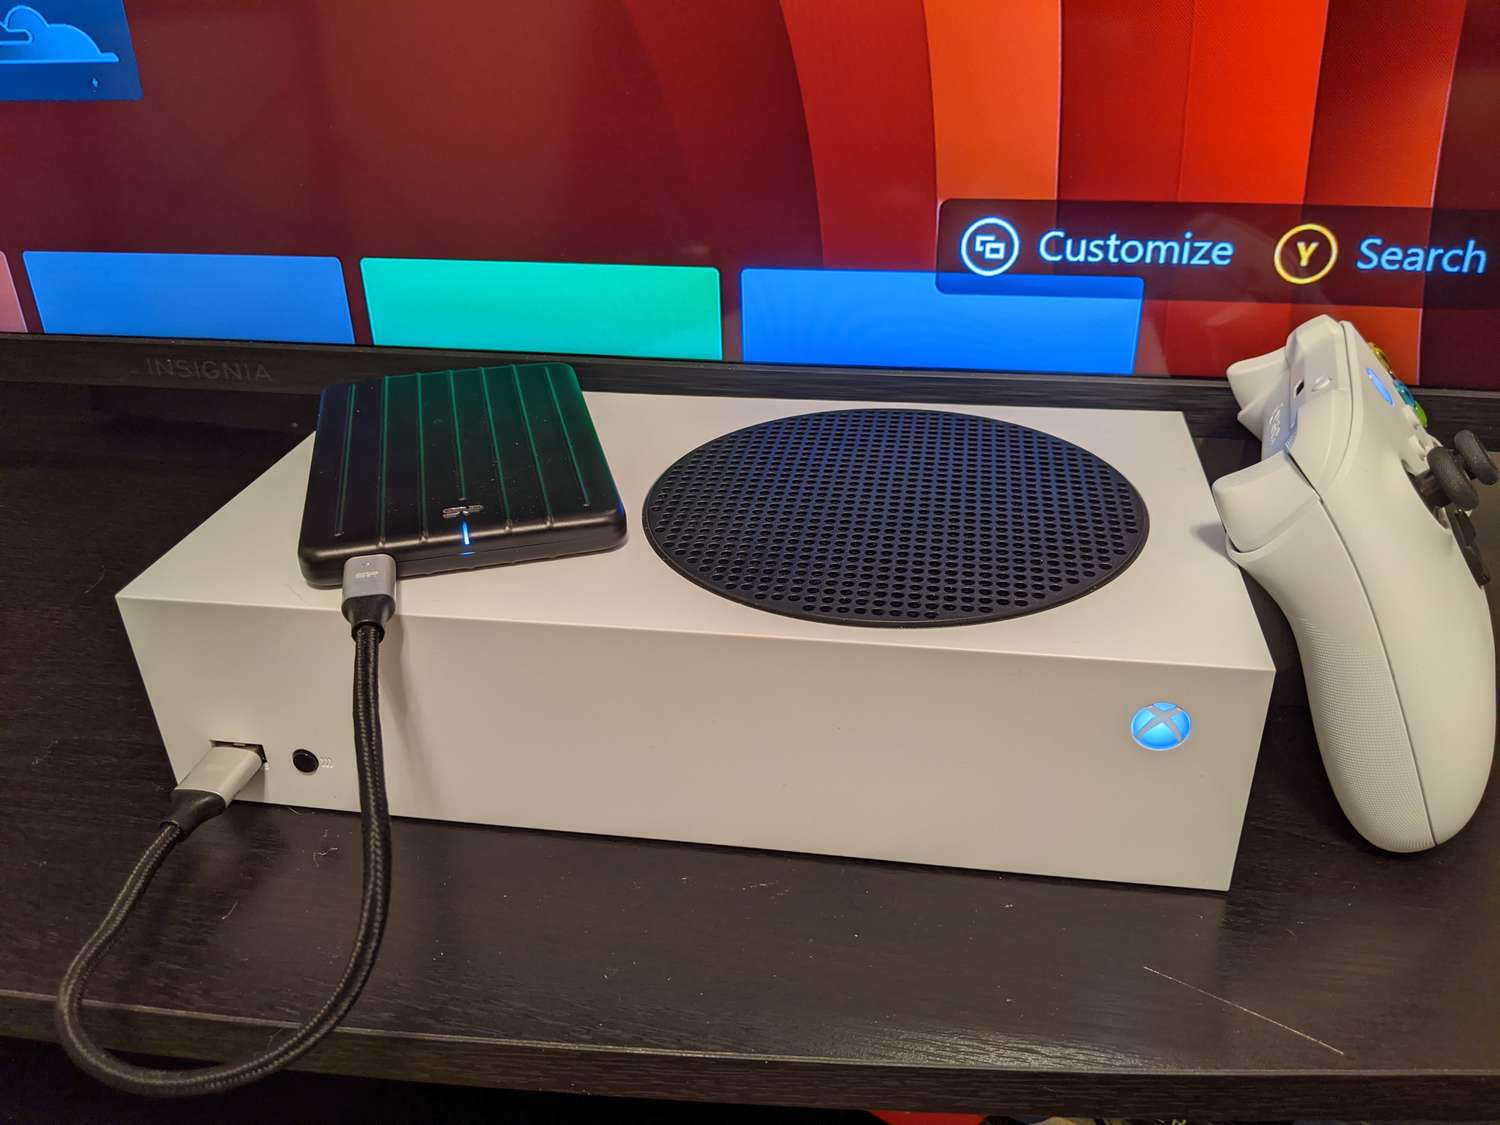
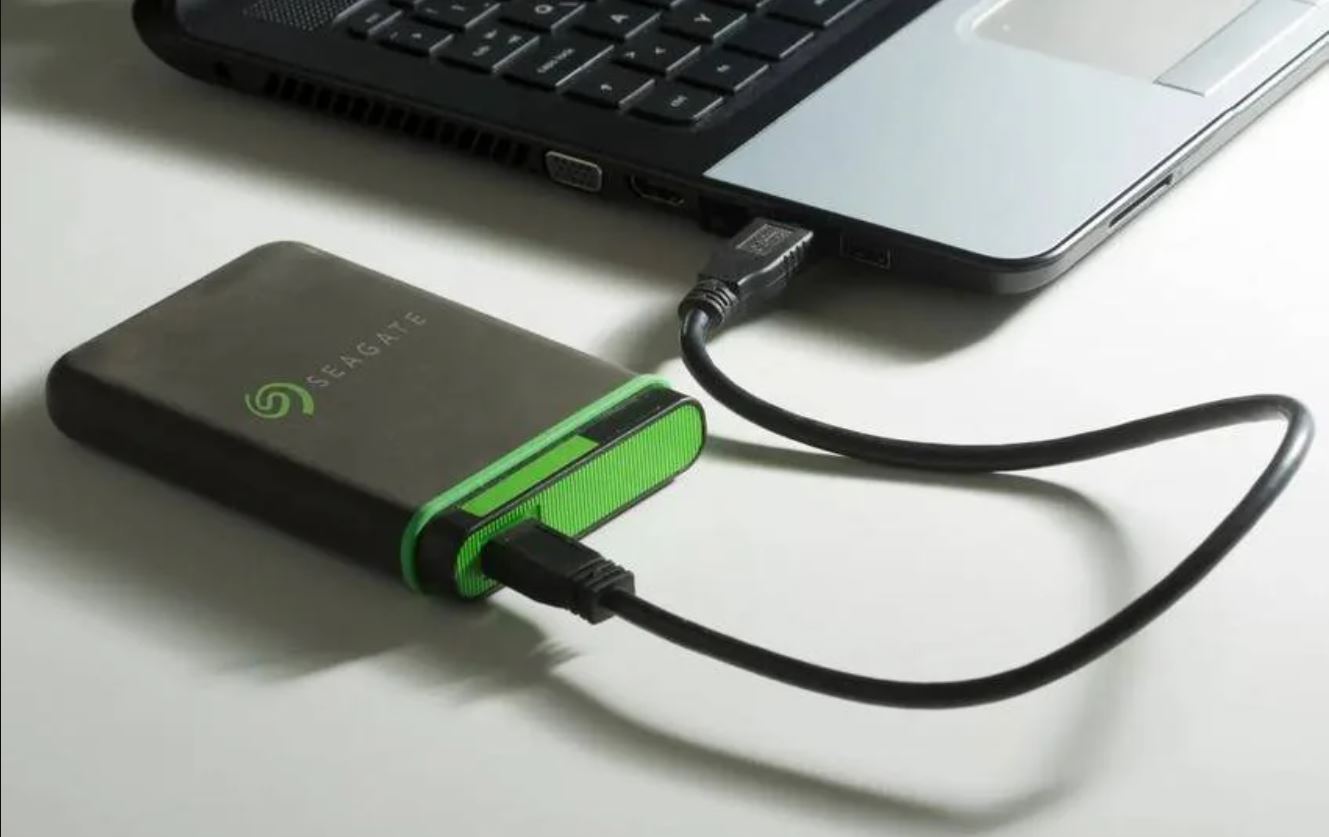
2. Disconnect the Seagate External Hard Drive: Once your Xbox One is powered off, disconnect the Seagate external hard drive from the console. Unplug the USB cable that connects the hard drive to the Xbox One. Ensure that the connection is completely detached.
3. Perform a Power Cycle: To ensure a fresh start, perform a power cycle on your Xbox One console. This can help clear any temporary data or cache that may affect the reset process. Simply unplug the power cord from the back of the console and wait for at least 10 seconds. Then, plug the power cord back in and turn on the console.
4. Factory Reset the Seagate External Hard Drive: With the Xbox One powered on, navigate to the console’s settings. Go to the “System” tab and select “Storage”. Find and select the Seagate external hard drive from the list of storage devices. Choose the option to “Format for games & apps”. This will initiate the factory reset process for the Seagate external hard drive.
5. Follow On-Screen Prompts: The Xbox One console will now guide you through the process of formatting and resetting the Seagate external hard drive. Follow the on-screen prompts and confirm any necessary actions to proceed with the reset. Be aware that this will permanently delete all data on the hard drive.
6. Complete the Reset Process: Once the formatting and reset process is complete, your Seagate external hard drive will be restored to its factory settings. You can now reconnect the hard drive to your Xbox One console and use it as desired.
It’s important to note that the reset process may take some time to complete, depending on the size of your Seagate external hard drive and the amount of data stored on it. Patience is key during this process, and it’s recommended to let the console finish the reset without interruption.
Now that you know how to reset your Seagate external hard drive on Xbox One, let’s move on to the next section, where we’ll provide some troubleshooting tips for common issues that may arise during the reset process.
Part 4: Troubleshooting Common Issues During Resetting Seagate External Hard Drive
While resetting your Seagate external hard drive on Xbox One is usually a smooth process, you may encounter some common issues along the way. Here are a few troubleshooting tips to help you resolve these issues:
1. Connection Problems: If your Xbox One console is not recognizing the Seagate external hard drive or if the connection is unstable, try the following steps:
– Ensure that the USB cable is securely connected to both the console and the hard drive.
– Use a different USB port on your console to rule out any potential issues with the port.
– Try using a different USB cable to see if the cable itself is causing the problem.
– Restart your console and try reconnecting the hard drive.
2. Freezing or Crashing: If your Xbox One freezes or crashes during the reset process, try these troubleshooting steps:
– Perform a power cycle on your Xbox One console by unplugging the power cord, waiting for 10 seconds, and plugging it back in.
– Make sure your console is updated with the latest system software. You can check for updates in the console’s settings.
– Clear the cache on your Xbox One console by holding the power button for 10 seconds until it fully shuts down. Then, unplug the power cord for 10 seconds and plug it back in.
– If the issue persists, try resetting your Xbox One console to its factory settings before attempting to reset the Seagate external hard drive again.
3. Slow Reset Process: If the reset process is taking an unusually long time, consider the following troubleshooting steps:
– Be patient and allow the reset process to complete. The time required can vary depending on the size of your hard drive and the amount of data stored on it.
– Ensure that your Xbox One console has a stable and reliable internet connection during the reset process. An unstable connection can cause delays or interruptions in the reset.
4. Error Messages: If you encounter any error messages during the reset process, note down the error code or message and use that information to search for specific solutions online. The Xbox Support website or community forums can be helpful resources for troubleshooting specific error messages.
If you have tried the troubleshooting steps above and are still experiencing issues with resetting your Seagate external hard drive on Xbox One, it might be helpful to reach out to Xbox Support or Seagate customer support for further assistance. They can provide personalized guidance and solutions based on your specific situation. Remember, it’s always a good idea to backup your data before attempting any troubleshooting steps or resets to avoid data loss.
In the next section, we’ll wrap up this guide with some final thoughts and recommendations.
Part 5: Final Thoughts and Recommendations
Resetting your Seagate external hard drive on Xbox One can be a helpful solution to various issues you may encounter. By following the steps outlined in this guide and troubleshooting any common problems, you can successfully reset your hard drive and restore it to its factory settings.
Here are a few final thoughts and recommendations to keep in mind:
1. Backup Your Data: Before proceeding with the reset, always backup your important data to avoid permanent loss. It’s better to be safe than sorry.
2. Follow the Steps Carefully: Take the time to read and follow the instructions provided in this guide. Double-check each step to ensure proper execution.
3. Patience is Key: The reset process may take some time, especially if you have a large amount of data on your Seagate external hard drive. Be patient and let the console complete the reset without interruptions.
4. Refer to Official Resources: If you encounter any specific issues or error messages, refer to the official documentation or reach out to Xbox Support or Seagate customer support for help. They can provide the most accurate and relevant solutions for your situation.
5. Keep Your System Updated: It’s always a good practice to keep your Xbox One console, as well as your Seagate external hard drive, updated with the latest software and firmware. Regular updates can improve performance and compatibility.
6. Consider Maintenance: After resetting your Seagate external hard drive, periodic maintenance can help keep it running smoothly. This includes regular cleaning, organizing files, and optimizing storage space.
By following these recommendations and guidelines, you can ensure a successful resetting of your Seagate external hard drive on Xbox One. Remember that resetting the drive should only be done as a last resort and after exhausting all troubleshooting efforts. If in doubt, it’s always advisable to seek professional assistance.
We hope this guide has been helpful to you. Now, you’re ready to reset your Seagate external hard drive and enjoy a refreshed and optimized storage experience on your Xbox One console. Good luck!


