Introduction
The Xbox One is a popular gaming console that allows users to expand their storage capacity by connecting an external hard drive. However, there may come a time when you need to reformat your Xbox One external hard drive, whether it’s due to compatibility issues, performance problems, or the need to switch to a different file system. Reformatting the hard drive can help resolve these issues and ensure optimal performance.
In this article, we will guide you through the process of reformatting your Xbox One external hard drive. We will provide step-by-step instructions on how to backup your data, disconnect the hard drive from your Xbox One, connect it to a computer, format the drive, and then reconnect it to your Xbox One. Additionally, we will discuss the importance of preparing for the reformatting process and offer tips to ensure a smooth transition.
Before we dive into the steps, it’s essential to understand the reasons why you might need to reformat your Xbox One external hard drive. Compatibility issues can arise when the specific file system format of your hard drive is not supported by the Xbox One console. Performance problems can occur when the hard drive becomes fragmented or corrupted, impacting the gaming experience. Additionally, if you want to switch to a different file system, such as from NTFS to exFAT or vice versa, you will need to reformat the hard drive to ensure compatibility.
Now that we have a clear understanding of why reformatting might be necessary, let’s move on to the preparations you should make before starting the process.
Reasons to Reformat Xbox One External Hard Drive
There are several reasons why you might need to reformat your Xbox One external hard drive. Understanding these reasons will help you determine if reformatting is the right solution for you. Here are the main reasons:
1. Compatibility issues: One of the primary reasons for reformatting an Xbox One external hard drive is compatibility. Xbox One supports specific file system formats, such as NTFS and exFAT. If your hard drive is formatted in a different file system, it may not be recognized by the console. Reformatting the hard drive to the supported file system format will ensure that it is compatible with the Xbox One.
2. Performance problems: Over time, the performance of your Xbox One external hard drive may start to deteriorate. Fragmentation, corruption, or other issues can slow down data transfer speeds and impact game loading times. Reformatting the hard drive can help resolve these performance issues by starting fresh and optimizing the file system.
3. Switching to a different file system: Sometimes, you may want to switch from one file system to another. For example, if your hard drive is currently formatted in NTFS, but you want to use it on a different device that only supports exFAT, you will need to reformat the hard drive to the desired file system. This allows you to ensure compatibility and seamless data transfer between devices.
It is important to note that reformatting your Xbox One external hard drive will erase all data stored on it. Therefore, it is crucial to back up any important files before proceeding with the reformatting process. By understanding the reasons behind reformatting and being aware of the potential consequences, you can make an informed decision and take the necessary precautions to safeguard your data.
Preparing for Reformatting
Before you embark on the process of reformatting your Xbox One external hard drive, it’s important to make a few preparations. Taking the time to prepare will help ensure a smooth and successful reformatting experience. Here are the steps you should follow:
1. Backup your data: Reformatting your external hard drive will erase all the data stored on it. Therefore, it’s crucial to create a backup of your important files before proceeding. You can make a copy of the files on another storage device or use cloud storage services to store your data securely. This step is essential to prevent any data loss during the reformatting process.
2. Ensure sufficient power supply: Make sure that both your Xbox One console and your computer have a stable power supply during the reformatting process. Sudden power outages or fluctuations can interrupt the process and potentially cause data corruption or other issues. It’s recommended to plug your devices into an uninterruptible power supply (UPS) or use surge protectors to safeguard against power interruptions.
3. Gather necessary cables and adapters: To connect your Xbox One external hard drive to your computer, you may need additional cables or adapters. Check the connectivity options of your hard drive and ensure that you have the appropriate cables or adapters ready. This will help you establish a reliable connection between your hard drive and the computer.
4. Verify sufficient free space: Ensure that your computer has enough free space to accommodate the data from your Xbox One external hard drive during the backup and reformatting process. If your computer’s storage is limited, consider freeing up space by deleting unnecessary files or transferring data to another storage device.
By following these preparatory steps, you will minimize the risk of data loss and ensure a smoother reformatting process. Take the time to back up your data, ensure a stable power supply, gather the necessary cables and adapters, and verify sufficient free space on your computer. With these preparations in place, you will be ready to proceed with reformatting your Xbox One external hard drive.
Step 1: Backup Your Data
Before you start the reformatting process for your Xbox One external hard drive, it’s crucial to create a backup of all your data. This step ensures that you won’t lose any important files or game saves during the reformatting process. Follow these steps to back up your data:
1. Connect your Xbox One external hard drive to your Xbox console.
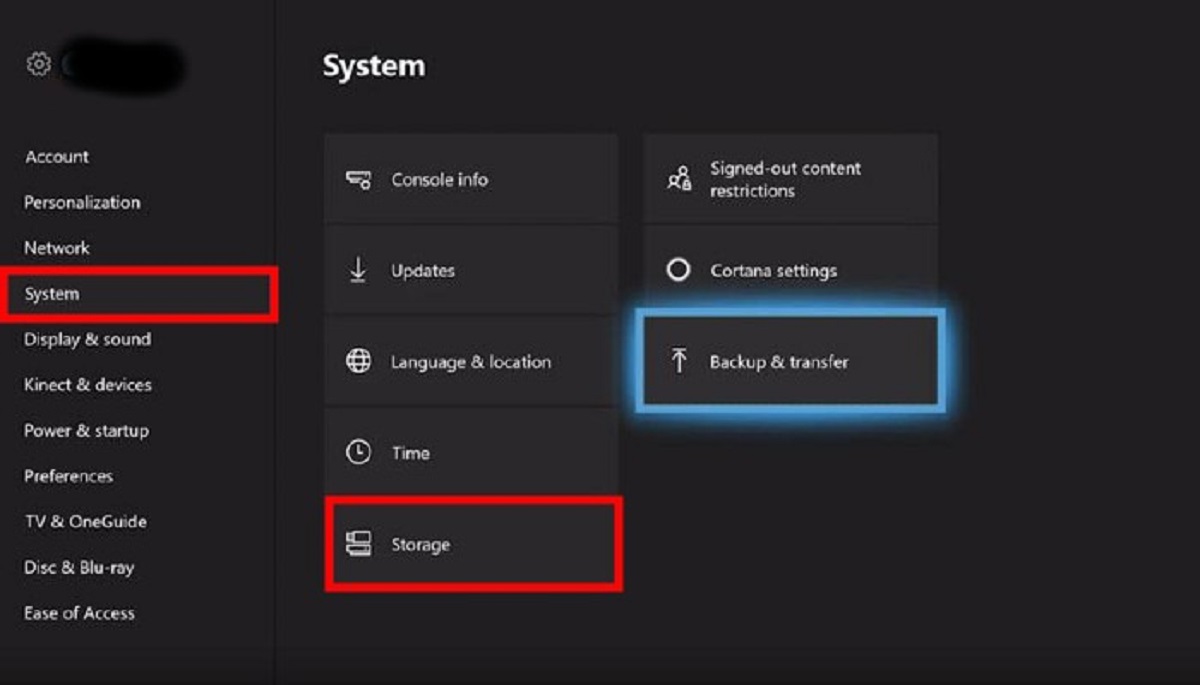
2. Navigate to the “Settings” menu on your Xbox One. Select “System”, then “Storage”.
3. From the Storage menu, choose the external hard drive. You will see a list of options for managing the storage device.
4. Select “Transfer” and then choose “Transfer All” to copy all the data from your external hard drive to the internal storage of your Xbox One console.
5. Wait for the transfer process to complete. The time it takes will depend on the amount of data being transferred.
6. Once the transfer is finished, double-check to ensure that all your data has been successfully copied to the internal storage of your Xbox One console. You can do this by navigating to the appropriate menus and confirming that your games, save files, and other data are present.
7. Disconnect the external hard drive from your Xbox One console. This ensures that your data is safely stored on the internal storage of your console and can be accessed later.
8. It is recommended to create an additional backup of your important files by transferring them to another storage device, such as a computer or a cloud storage service. This extra step provides an additional layer of protection for your data.
By following these steps, you can securely backup all your data from your Xbox One external hard drive. It is important not to skip this step to avoid any loss of data during the reformatting process. Once your backup is complete, you can proceed to the next step of disconnecting the hard drive from your Xbox One console.
Step 2: Disconnecting the Hard Drive from Xbox One
Once you have backed up your data, it’s time to disconnect the Xbox One external hard drive from your console. Follow these steps to safely disconnect the hard drive:
1. Make sure your Xbox One console is turned off. You can do this by pressing and holding the power button on the front of the console until it powers down completely.
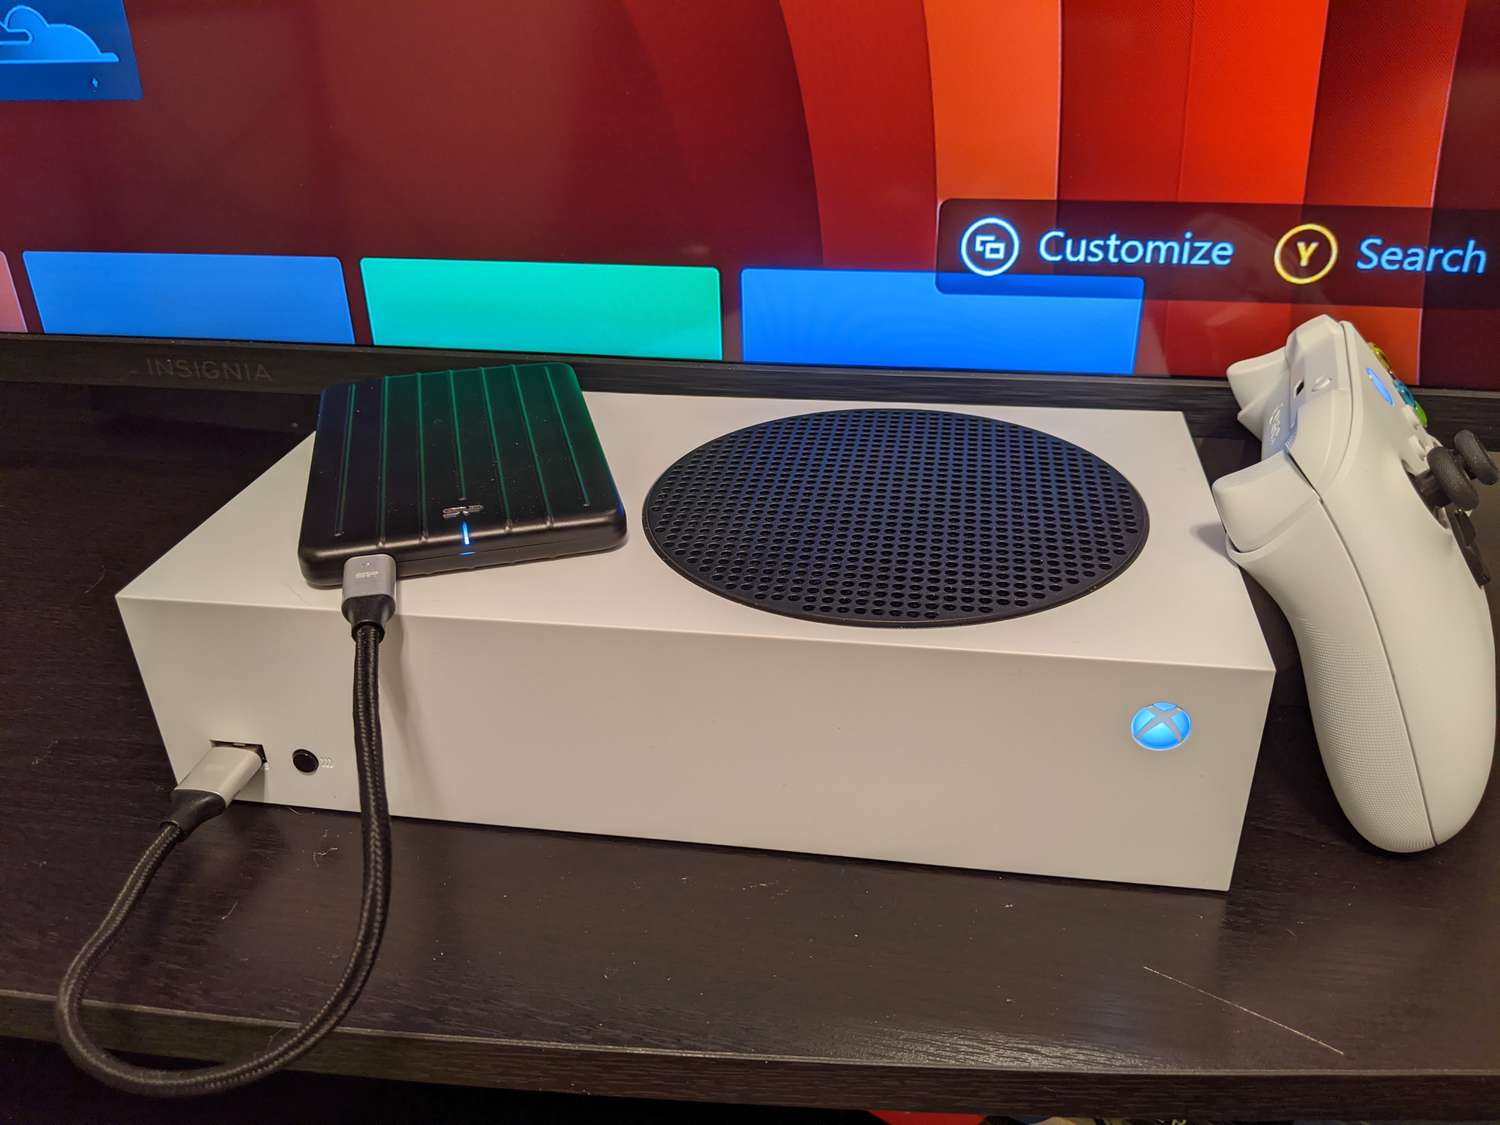
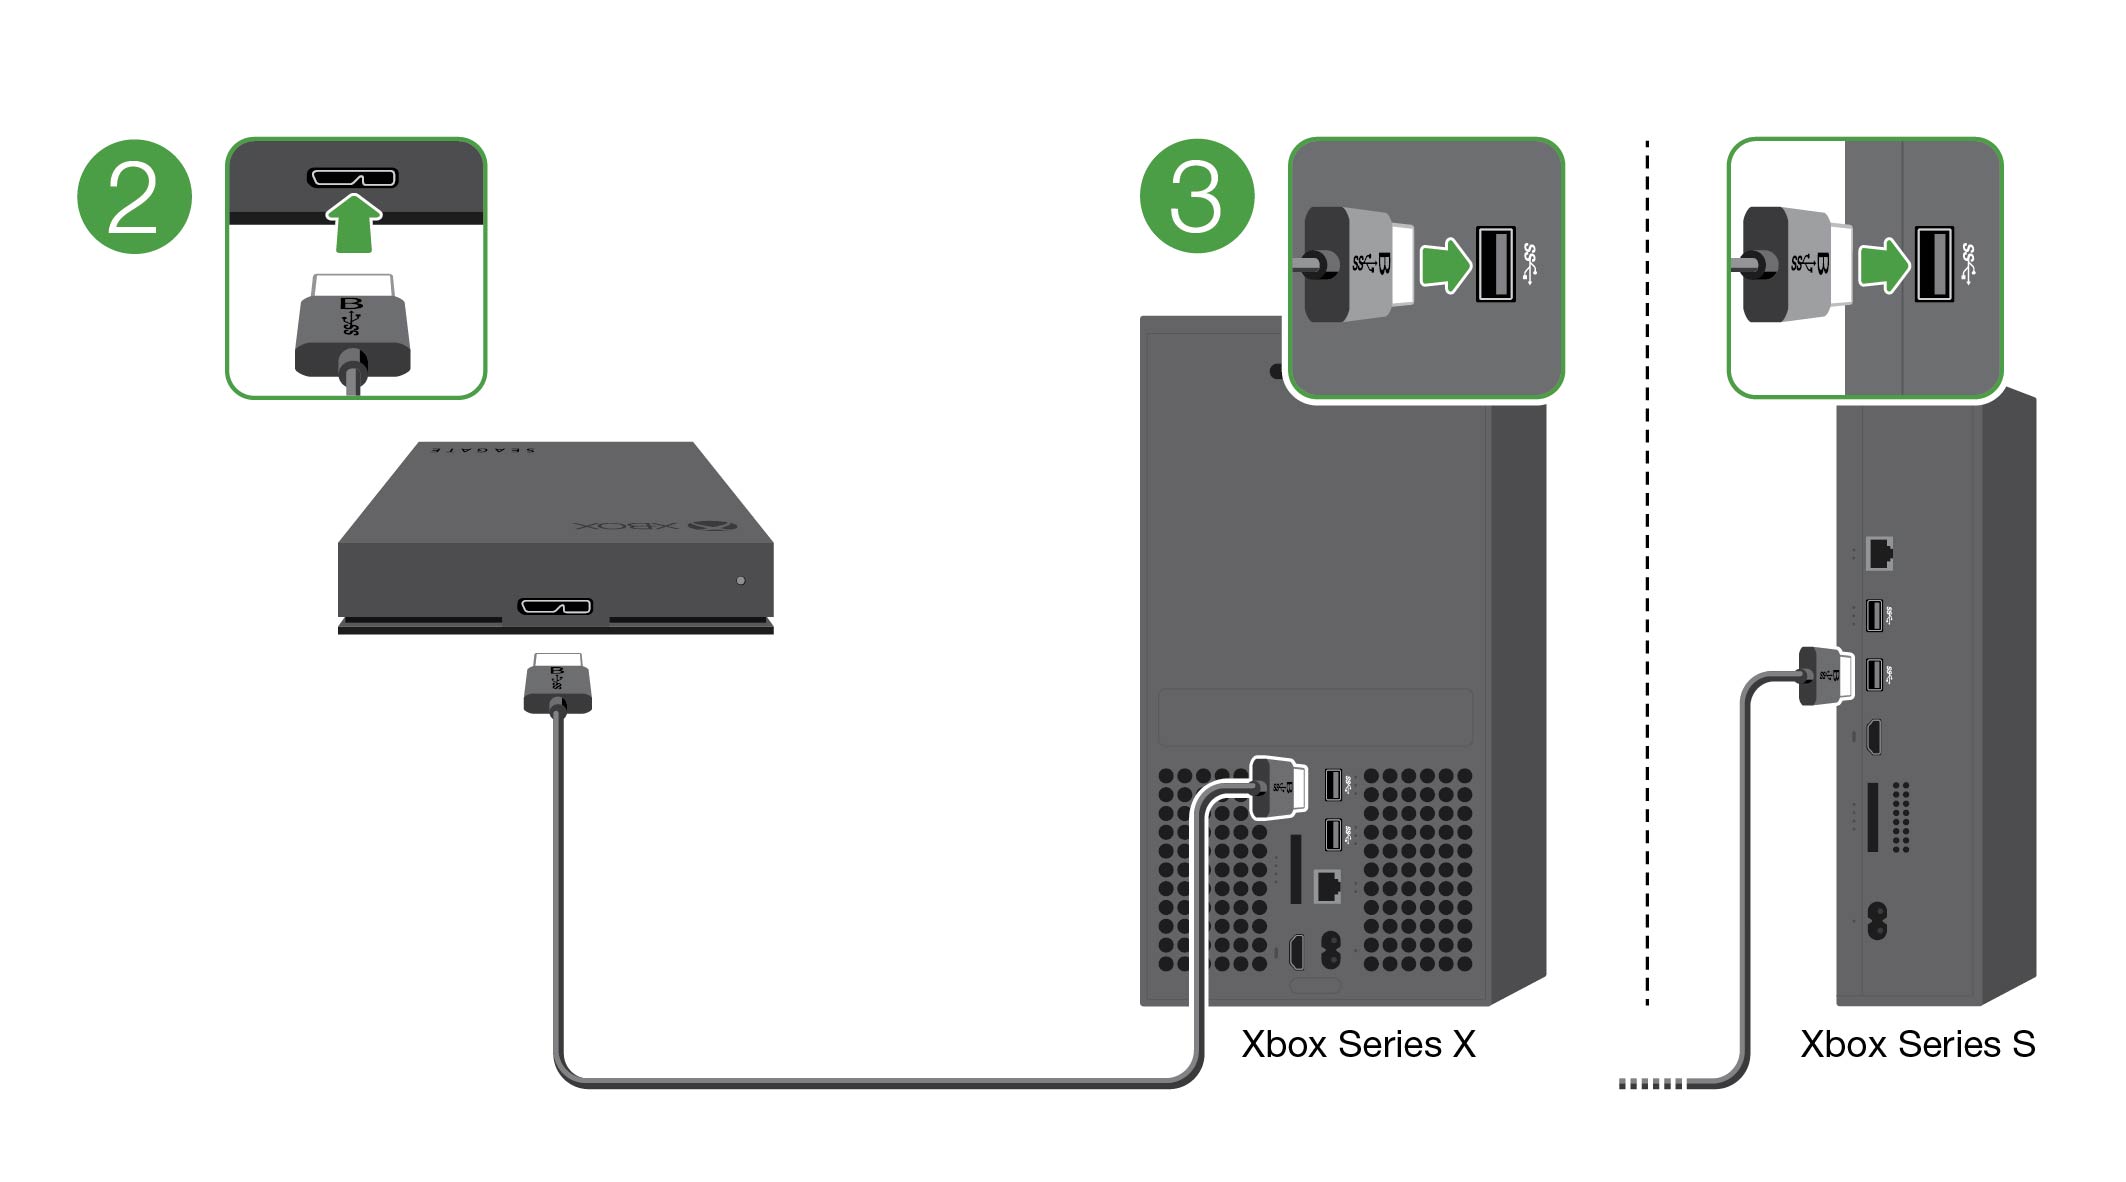
2. Locate the USB port on the Xbox One console where your external hard drive is connected. This port is typically found on the back or side of the console.
3. Carefully grasp the USB cable connected to the external hard drive and gently pull it out from the USB port of the Xbox One console. Make sure to avoid applying excessive force or damaging the cable or console in the process.
4. Once the hard drive is disconnected, double-check to ensure that there is no data transfer or other activity happening on the device. It’s important to wait for any ongoing operations to complete before disconnecting the hard drive to prevent data corruption or loss.
5. Store the disconnected external hard drive in a safe place where it will be protected from physical damage or exposure to moisture or extreme temperatures. This will help ensure the longevity and reliability of the device.
By following these steps, you can safely disconnect the Xbox One external hard drive from your console. It is essential to handle the hard drive with care during this process to avoid any damage. Now, you are ready to proceed to the next step, which involves connecting the hard drive to a computer for reformatting.
Step 3: Connecting the Hard Drive to a Computer
After disconnecting the Xbox One external hard drive from your console, the next step is to connect it to a computer for the reformatting process. Follow these steps to connect the hard drive to your computer:
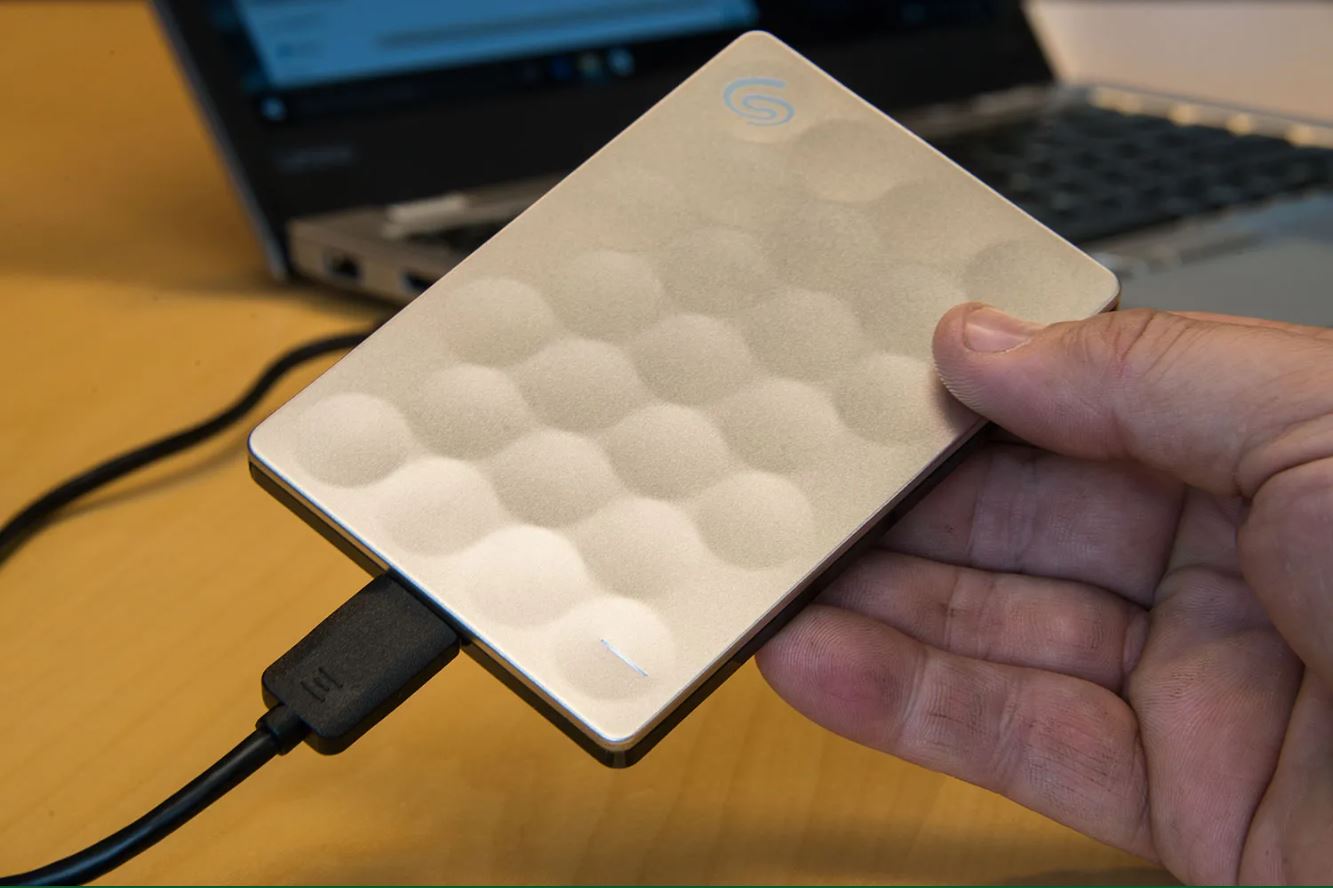
1. Locate the USB cable that came with your Xbox One external hard drive. It typically has a USB-A connector on one end (the standard USB port) and a USB-B or USB-C connector on the other end (depending on the model of your hard drive).
2. Plug the USB-B or USB-C end of the cable into the appropriate port on your external hard drive.
3. Connect the USB-A end of the cable to an available USB port on your computer. Make sure to choose a USB port that supports USB 3.0 or higher to ensure faster data transfer speeds.
4. Once the hard drive is connected, your computer should detect it automatically. Depending on your operating system, you may see a notification or an icon on your desktop indicating the presence of the external hard drive.
5. If the hard drive doesn’t appear automatically, you can manually check for its presence. On Windows, open File Explorer and look for the hard drive under “This PC” or “My Computer”. On macOS, you can find it in the Finder sidebar or on the desktop.
6. Take note of the drive letter or name assigned to the external hard drive. This information will be needed during the formatting process.
Now that your Xbox One external hard drive is successfully connected to your computer, you are ready to proceed to the next step: formatting the hard drive. It’s important to ensure a stable connection between the hard drive and the computer to avoid any interruptions during the reformatting process. In the next step, we will guide you through the process of formatting the external hard drive.
Step 4: Formatting the External Hard Drive
With the Xbox One external hard drive connected to your computer, it’s time to proceed with the formatting process. Follow these steps to format the hard drive:
1. Open the File Explorer on Windows or Finder on macOS to access the connected external hard drive.
2. Right-click on the external hard drive’s icon or name and choose “Format” from the context menu. This will open the formatting options for the hard drive.
3. In the formatting options window, select the file system format you want to use for the hard drive. Xbox One supports the NTFS and exFAT file systems.
4. Give the formatted hard drive a desired name or leave it as the default assigned name.
5. Ensure that the other formatting options, such as allocation unit size and volume label, are set to their default values unless you have specific requirements that necessitate changes.
6. Double-check that you have selected the correct external hard drive to format. Formatting will irreversibly erase all data on the chosen drive.
7. Once you have reviewed all the formatting options, click on the “Start” or “Format” button to begin the formatting process.
8. Wait for the formatting process to complete. This may take some time depending on the size and speed of the external hard drive.
9. Once the formatting is finished, you will see a notification indicating the successful completion of the process. The external hard drive is now ready to be used in the new file system format.
It’s important to note that formatting the external hard drive will erase all the data stored on it. Ensure that you have backed up any crucial files before proceeding with the formatting process. Additionally, be cautious when selecting the file system format, as it needs to be compatible with Xbox One. Once the formatting is complete, you can proceed to the next step of reconnecting the hard drive to your Xbox One console.
Step 5: Reconnecting the Hard Drive to Xbox One
After formatting your Xbox One external hard drive on your computer, the next step is to reconnect it to your console. Follow these steps to safely reconnect the hard drive to your Xbox One:
1. Turn on your Xbox One console by pressing the power button. Wait for it to fully boot up.
2. Locate the USB port on your Xbox One console where you initially connected the external hard drive.
3. Take the USB cable connected to your external hard drive and insert it into the USB port on your Xbox One console. Ensure that the connection is secure.
4. Wait for a few seconds to allow the console to detect the reconnected external hard drive. You may see a notification on your screen indicating the successful connection.
5. Once the external hard drive is recognized by the Xbox One console, you can start using it to store games, apps, and other data. Follow the on-screen instructions to set the default storage location for new downloads and installations.
6. To verify that the reconnection was successful, navigate to the “Settings” menu on your Xbox One console, select “System”, and then choose “Storage”. From there, you should see the external hard drive listed as an available storage device.
By following these steps, you have successfully reconnected your Xbox One external hard drive to your console. The games, apps, and other data stored on the hard drive should now be accessible and ready to use. Ensure that the connection is secure to avoid any potential interruptions or data transfer issues. Now, you can proceed to the final step of transferring back your data from the backup.
Step 6: Transferring Back Your Data
After successfully reconnecting your Xbox One external hard drive to your console, it’s time to transfer back the data that you previously backed up. Follow these steps to transfer your data back from the backup:
1. Connect the storage device that contains your backup to one of the USB ports on your Xbox One console. Make sure the storage device is recognized by the console.
2. Go to the “Settings” menu on your Xbox One console, select “System”, and then choose “Storage”.
3. From the Storage menu, locate your external hard drive and select it.
4. Choose the option to transfer data from the storage device to your external hard drive. This might be labeled as “Copy” or “Transfer” depending on your console’s software version.
5. Select the files, games, apps, or other data that you want to transfer back to your external hard drive. You can choose individual items or select all to transfer everything.
6. Confirm the transfer and wait for the process to complete. The time it takes will depend on the amount of data being transferred.
7. Once the transfer is finished, verify that all the data has been successfully copied to your Xbox One external hard drive. You can do this by navigating through your console’s menus and checking that your games, save files, and other data are present.
8. Remove the storage device containing the backup from the Xbox One console. This ensures that you have a separate copy of the backup for future use.
By following these steps, you can seamlessly transfer your data back to your Xbox One external hard drive from the backup storage device. It’s important to double-check that all your files, games, and other data have been successfully transferred before proceeding. Once the transfer is complete, you can enjoy using your Xbox One with the reformatted external hard drive, ensuring optimal performance and compatibility.
Conclusion
Reformatting your Xbox One external hard drive may become necessary for various reasons, including compatibility issues, performance problems, or the need to switch to a different file system. By following the step-by-step guide outlined in this article, you can safely and effectively reformat your hard drive.
We started by discussing the reasons why you might need to reformat your external hard drive. These reasons include compatibility issues, performance problems, and the desire to switch to a different file system. Understanding these reasons will help you assess whether reformatting is the right solution for you.
We then covered the necessary preparations before starting the reformatting process. It’s crucial to backup your data to prevent any loss during the reformatting. We also emphasized the importance of ensuring a stable power supply, gathering the necessary cables and adapters, and verifying sufficient free space on your computer.
The step-by-step instructions provided in this article guide you through the entire reformatting process. We covered backing up your data, disconnecting the hard drive from your Xbox One console, connecting it to a computer, formatting the hard drive, reconnecting it to your console, and transferring back your data from the backup.
By following these steps carefully, you can ensure a smooth and successful reformatting process for your Xbox One external hard drive. However, it’s important to remember that reformatting will erase all data on the hard drive. Always be cautious and make sure to back up your data before proceeding.
With your reformatted external hard drive connected to your Xbox One console, you can now enjoy improved compatibility and performance. Having a properly formatted and functioning external hard drive enhances your gaming experience and provides ample storage for your favorite games, apps, and media.
Remember, if you encounter any issues during the reformatting process or have any concerns, it’s always wise to consult the manufacturer’s instructions or seek assistance from Xbox support to ensure you have the most accurate information and guidance.
So, take the necessary precautions, follow the steps outlined in this guide, and get ready to reformat your Xbox One external hard drive for an enhanced gaming experience!