Introduction
Are you an avid gamer who has expanded your Xbox One’s storage capacity with an external hard drive? While it’s convenient to have extra space for all your games and media, there may come a time when you need to remove the external hard drive from your Xbox One. Whether you’re looking to upgrade to a larger hard drive or you need to use the external storage for another purpose, it’s important to know how to remove it safely.
In this article, we’ll guide you through the process of safely removing an external hard drive from your Xbox One. We’ll provide you with step-by-step instructions and important precautions to ensure you don’t lose any data or cause any damage while removing the device.
Before we dive into the details, let’s quickly discuss why you might need to remove an external hard drive from your Xbox One. One common reason is that you’ve outgrown the current storage capacity and want to upgrade to a larger external hard drive. Another reason could be that you need to use the external storage device for other purposes, such as transferring files to a computer or using it with a different gaming console. Whatever the reason may be, it’s crucial to follow the correct procedure to avoid any issues.
Why Remove an External Hard Drive from Xbox One?
There are several reasons why you might need to remove an external hard drive from your Xbox One. Let’s take a closer look at some of the common scenarios:
1. Upgrading Storage Capacity: One of the primary reasons for removing an external hard drive from your Xbox One is to upgrade to a higher-capacity drive. As you accumulate more games, save files, and media content, you may find that your current external storage is running out of space. Upgrading to a larger hard drive allows you to continue enjoying your gaming experience without worrying about limited storage.
2. Reallocating Storage: Another reason to remove an external hard drive is to reallocate the storage for different purposes. For instance, you may want to use the drive for storing files on your computer or transferring data to another device. By removing the hard drive from your Xbox One, you can repurpose it based on your changing storage needs.
3. Changing Gaming Platforms: If you decide to switch to a different gaming platform or console, you may need to remove the external hard drive from your Xbox One. Since external hard drives are typically formatted to work with a specific device, you’ll need to remove it from your Xbox One before connecting it to a different system.
4. Troubleshooting Issues: In some cases, you might experience technical issues with your Xbox One that require you to remove the external hard drive for troubleshooting purposes. Removing the drive can help determine if the issue stems from the console or the external storage device.
It’s important to note that removing an external hard drive should be done carefully to avoid data loss or any damage. Following the proper procedures ensures that your valuable data remains intact and ready to be transferred or used in another capacity. Now that we understand why you might need to remove an external hard drive from your Xbox One let’s explore some precautions you should take before proceeding with the removal process.
Precautions to Take When Removing the External Hard Drive
Before you remove the external hard drive from your Xbox One, it’s important to take some precautions to ensure the safety of your data and the device itself. Here are some key steps to follow:
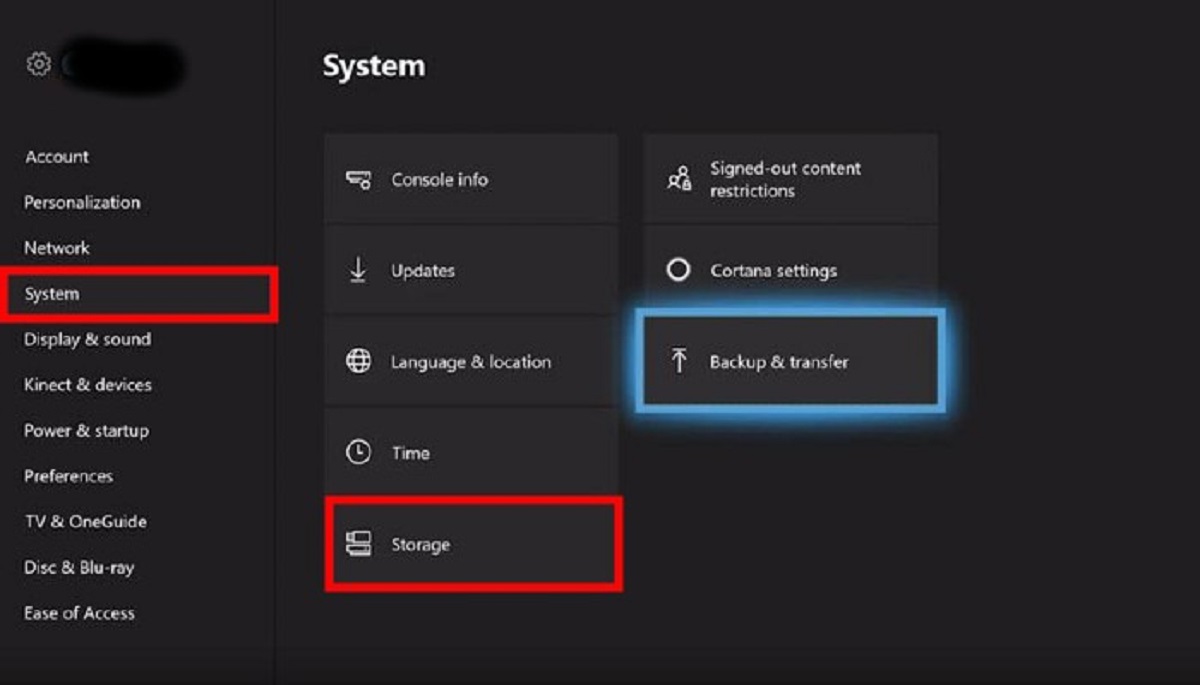
1. Save and Backup Data: Make sure to save and back up any important data or game progress stored on the external hard drive. This ensures you don’t lose any valuable information during the removal process. You can either transfer the data to another storage device or consider cloud storage solutions for added security.
2. Exit Games and Applications: Before removing the external hard drive, ensure that all games, applications, and media files stored on the drive are properly closed or exited. This helps prevent any corruption or data loss that could occur if files were left open during removal.
3. Power Off the Xbox One: Turn off your Xbox One console completely before removing the external hard drive. This ensures that there is no active data transfer or processing happening between the console and the drive, reducing the risk of data loss or damage.
4. Disconnect Power Sources: If your external hard drive is powered separately, make sure to disconnect the power source from the drive before removing it from the Xbox One. This step ensures a safe and clean removal without the risk of any power surges or electrical damage.
5. Handle with Care: When removing the external hard drive, handle it with care to avoid any physical damage. Avoid pulling forcefully or using excessive pressure. Gently disconnect the cable or remove the drive from its enclosure, depending on the setup you have.
By following these precautions, you can ensure a smooth and safe removal process for your external hard drive from your Xbox One. Now that you’re aware of the precautions, let’s move on to the step-by-step guide on how to safely remove an external hard drive from your Xbox One.
Step-by-Step Guide: How to Safely Remove an External Hard Drive from Xbox One
Follow these step-by-step instructions to safely remove an external hard drive from your Xbox One:
1. Save and Exit: Before starting the removal process, save and exit any games or applications that are currently running from the external hard drive. This ensures that all data is properly closed and prevents any potential data loss or corruption.
2. Power Off Your Xbox One: Turn off your Xbox One console by holding down the power button for a few seconds until it fully shuts down. This step ensures that there is no active data transfer or processing happening between the console and the external hard drive.
3. Disconnect Power Source (if applicable): If your external hard drive has a separate power source, disconnect it from the drive. This prevents any power surges or electrical issues during the removal process.
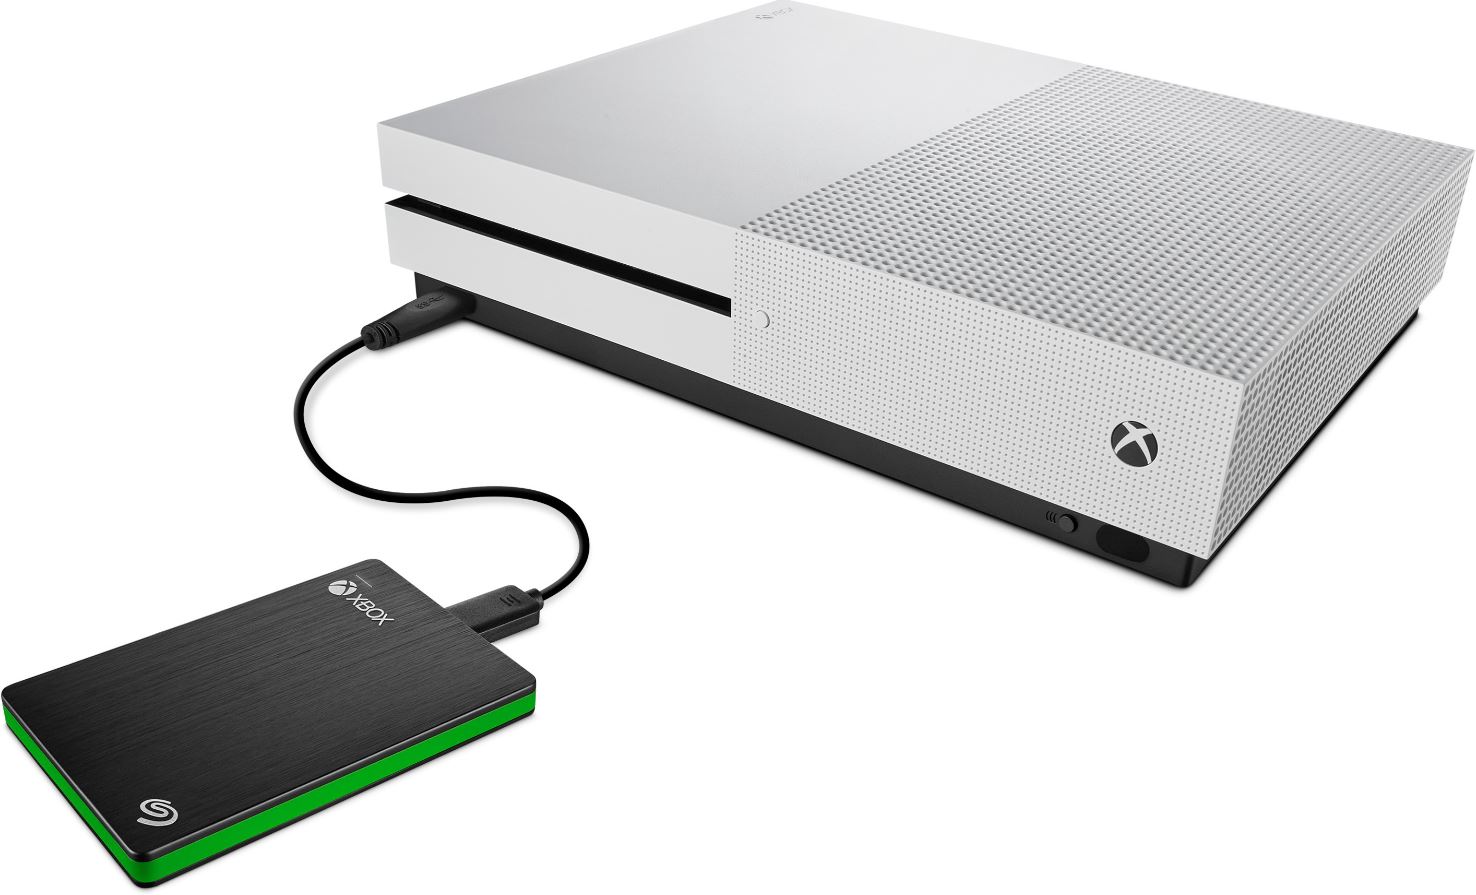
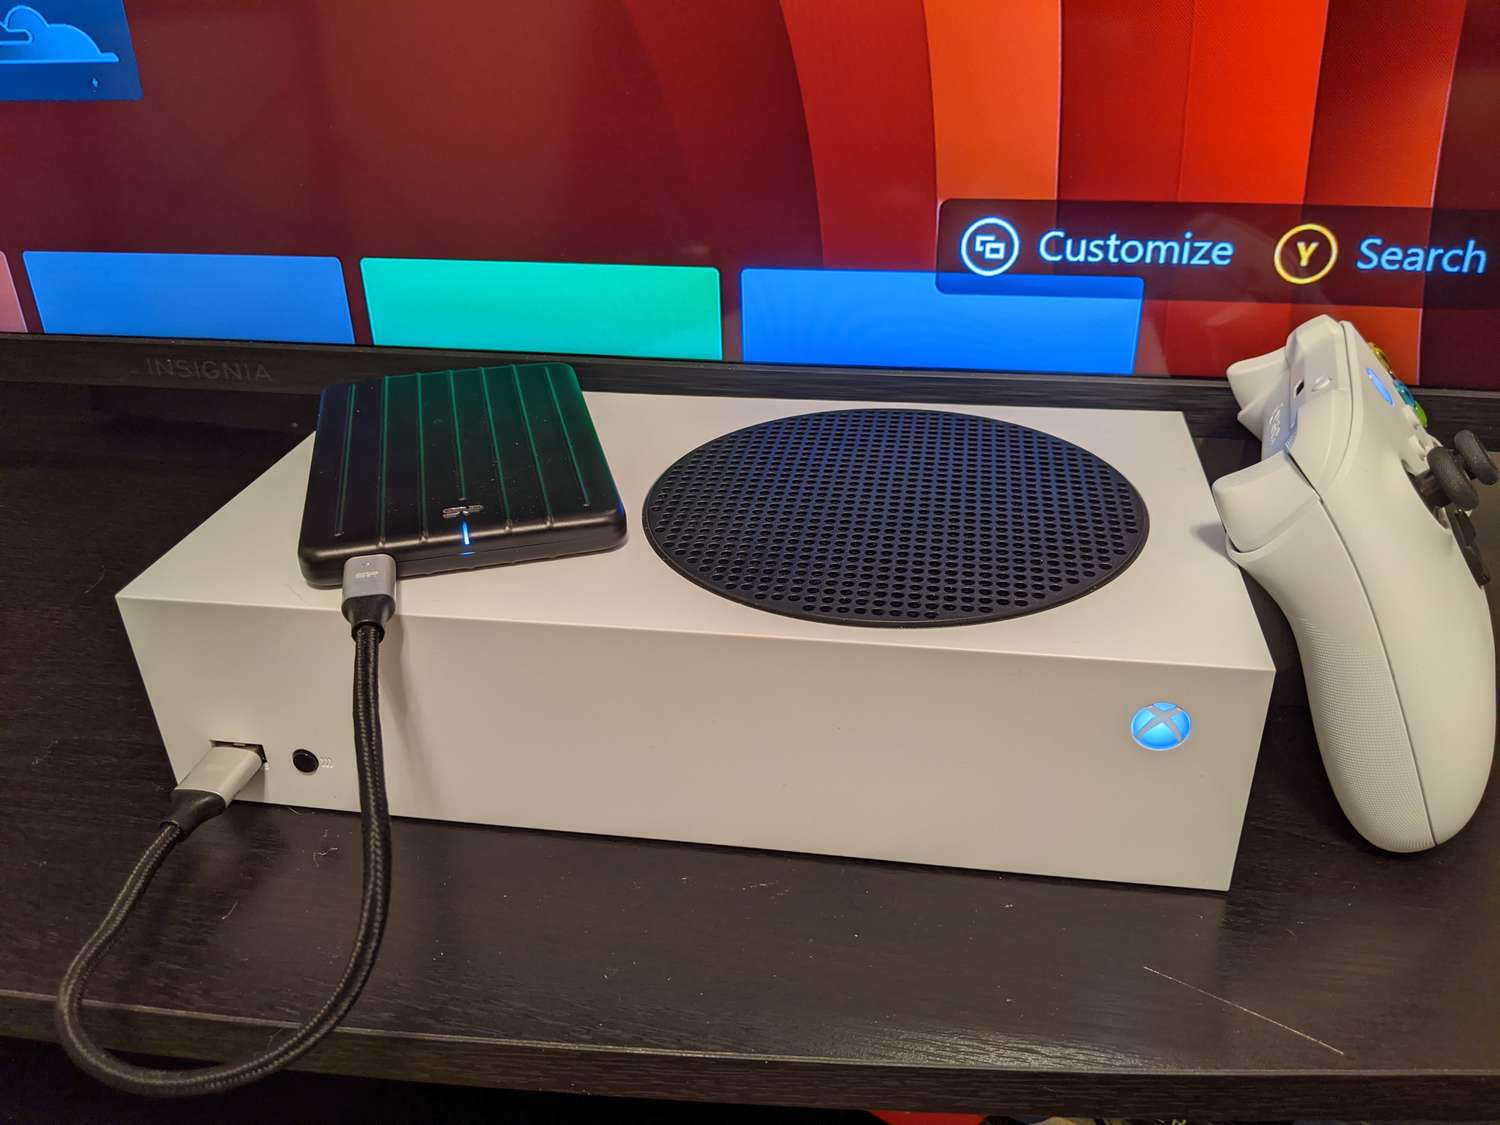
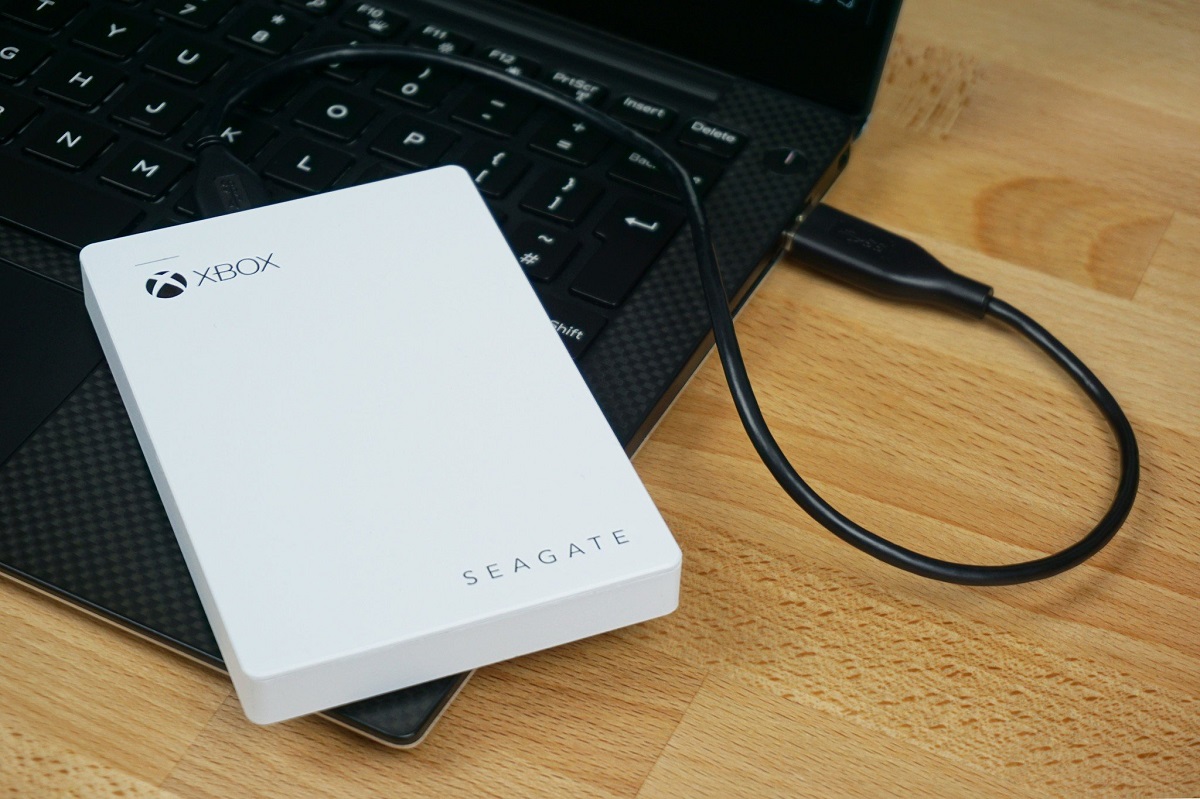
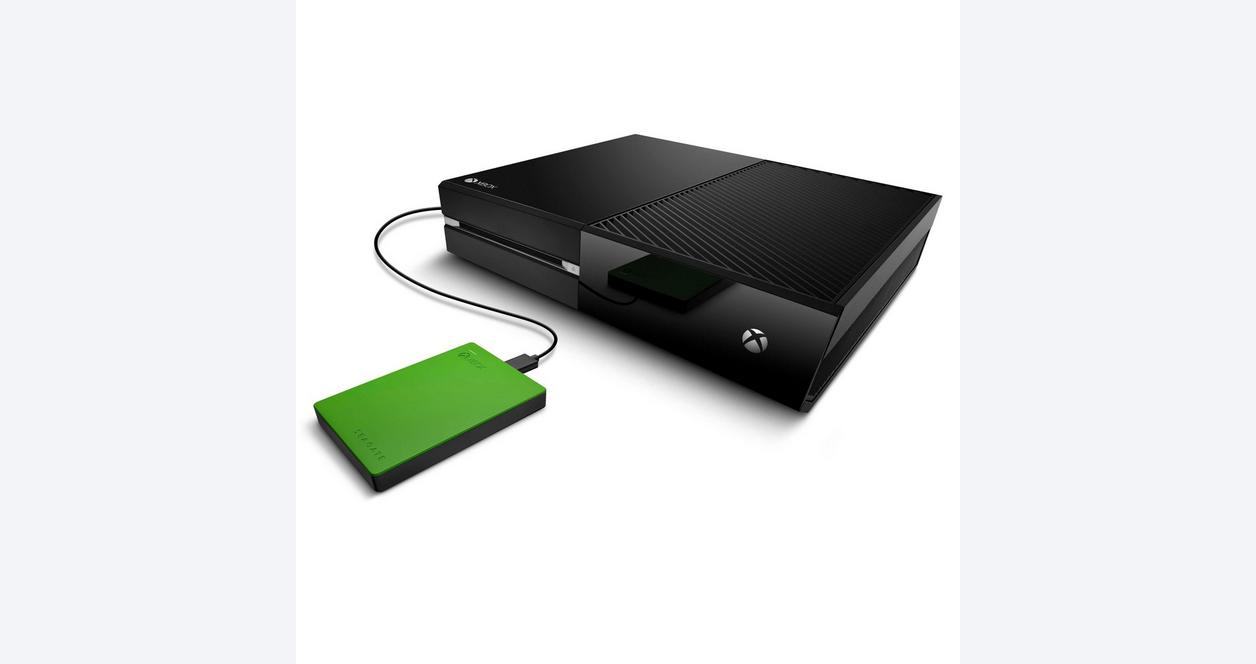
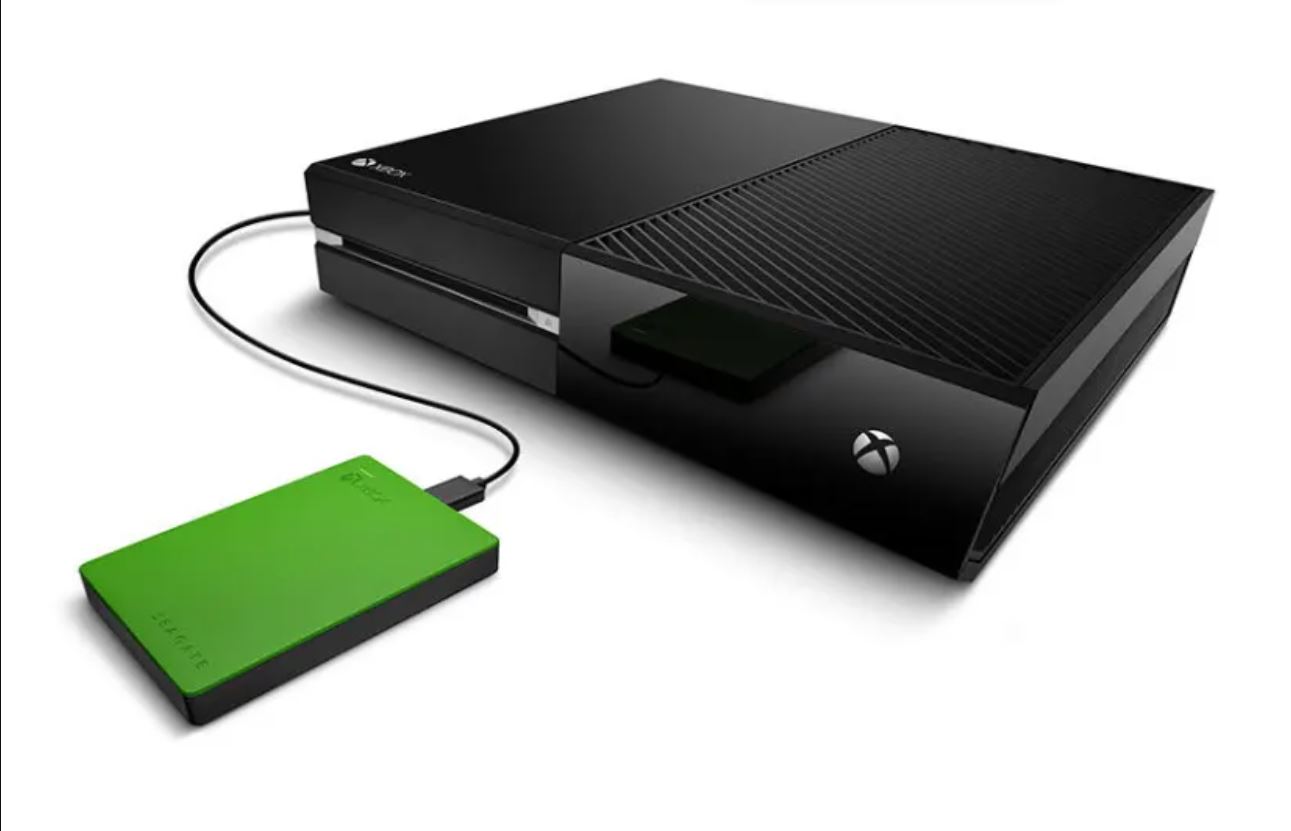
4. Disconnect USB Cable: Locate the USB cable connecting the external hard drive to the Xbox One console. Gently unplug the USB cable from the console, making sure not to put any undue pressure on the connectors.
5. Remove the External Hard Drive: Once the USB cable is disconnected, carefully remove the external hard drive from the console. Be gentle and avoid any unnecessary force to prevent any physical damage to the drive.
6. Store or Repurpose the External Hard Drive: Once you have safely removed the external hard drive from your Xbox One, decide whether you want to store it for future use or repurpose it for other devices or purposes. If storing it, make sure to keep it in a safe and dry place to maintain its performance.
It’s important to note that if you plan on using the same external hard drive with another device or console, you might need to reformat it to ensure compatibility. Be sure to research the specific reformatting requirements for the target device or consult the manufacturer’s guidelines.
By following these steps, you can safely remove the external hard drive from your Xbox One without risking data loss or damage. Remember to always handle the drive with care and avoid any sudden movements or excessive force. Now you’re ready to remove your external hard drive and proceed with your storage needs.
Conclusion
Removing an external hard drive from your Xbox One is a simple process, but it’s important to follow the necessary precautions to prevent any data loss or damage. Whether you’re upgrading your storage capacity, reallocating storage for other purposes, or troubleshooting issues, safely removing the external hard drive ensures a smooth transition.
In this article, we explored the reasons why you might need to remove an external hard drive from your Xbox One, including upgrading storage, reallocating storage, changing gaming platforms, and troubleshooting issues. We also discussed the precautions you should take, such as saving and backing up data, exiting games and applications, powering off the Xbox One, disconnecting power sources, and handling the hard drive with care.
Additionally, we provided you with a step-by-step guide on how to safely remove the external hard drive from your Xbox One, including saving and exiting games, powering off the console, disconnecting power sources, disconnecting the USB cable, and carefully removing the hard drive. Following these steps ensures that you can remove the external hard drive without any complications.
Remember, if you plan on using the same external hard drive with another device or console, you may need to reformat it to ensure compatibility. Always refer to the specific reformatting requirements or manufacturer’s guidelines for the target device.
By following the proper procedures and taking the necessary precautions, you can safely remove an external hard drive from your Xbox One, allowing you to upgrade, repurpose, or troubleshoot without any issues. Enjoy your gaming experience and make the most out of your storage capabilities!