Introduction
Welcome to the world of gaming, where the possibilities are endless and the excitement is palpable. If you’re an Xbox user, you’re already familiar with the vast library of games available to you. However, as the number of games grows, so does the need for storage space. That’s where an external hard drive becomes your best friend. In this article, we’ll explore the benefits of moving your Xbox games to an external hard drive and guide you through the process of doing so.
Why would you want to move your Xbox games to an external hard drive, you might ask? Well, let’s start with the most obvious reason – space. Xbox games have become more advanced in terms of graphics and content, resulting in larger file sizes. This means that your console’s internal storage can quickly fill up, leaving you with limited space for new games or updates. By transferring your games to an external hard drive, you can significantly increase your storage capacity and enjoy a wider selection of games without worrying about running out of space.
Another advantage of using an external hard drive is portability. Being able to carry your games with you means that you can enjoy gaming wherever you go. Whether you’re visiting a friend’s house or going on a vacation, having your game library readily available on an external hard drive ensures that you won’t miss out on any gaming opportunities.
Additionally, transferring your games to an external hard drive can improve the performance of your Xbox. As games are loaded from the hard drive, rather than the internal storage, load times can be significantly reduced. This means less waiting and more gaming, providing a smoother and more enjoyable experience overall.
Now that you understand the benefits of moving your Xbox games to an external hard drive, let’s dive into the process. In the next sections, we will guide you through the necessary steps, from preparing your external hard drive to transferring and managing your games. So, grab your controller and get ready to unlock a world of gaming possibilities!
Reasons to Move Xbox Games to External Hard Drive
Are you running out of storage space on your Xbox? Is the slow loading time of games frustrating you? Moving your Xbox games to an external hard drive can solve these problems and offer several advantages. Let’s explore the reasons why you should consider transferring your games to an external hard drive:
1. Increased Storage Capacity: The primary reason to move your Xbox games to an external hard drive is to free up space on your console’s internal storage. As game graphics and content continue to advance, file sizes are getting larger, leaving limited room for new games and updates. By offloading games to an external hard drive, you can expand your storage capacity and continue to enjoy a diverse game library without the worry of running out of space.
2. Portability: With an external hard drive, you can take your game library with you wherever you go. Whether you’re visiting friends or going on a trip, having your games readily available on a portable hard drive allows you to enjoy gaming on different Xbox consoles. No need to lug around multiple game discs or worry about physical damage – just plug in the external hard drive and start playing.
3. Improved Performance: Loading times can be a buzzkill when you’re eager to dive into a game. By transferring games to an external hard drive, you can experience faster load times, as games are read from the hard drive rather than the internal storage. This results in smoother gameplay and reduced wait times, enhancing your overall gaming experience.
4. Easy Game Management: Moving games to an external hard drive simplifies game management. If you have multiple Xbox consoles or want to share games with friends, having games stored on an external hard drive makes it effortless to transfer your library between devices. It also allows you to organize your games more efficiently, making it easier to find and play your favorite titles.
5. Data Backup: Accidents happen, and console failures can lead to the loss of your game progress. By storing your games on an external hard drive, you create a backup of your game library, including your saved progress. Should anything happen to your Xbox, you can easily recover your games and continue where you left off.
Moving your Xbox games to an external hard drive offers practical benefits such as increased storage capacity, portability, improved performance, easy game management, and data backup. With these advantages in mind, let’s move on to the next section to prepare your external hard drive for use on your Xbox console.
Preparing Your External Hard Drive
Before you can transfer your Xbox games to an external hard drive, you’ll need to prepare the drive for use with your console. Follow these steps to ensure your external hard drive is compatible and ready:
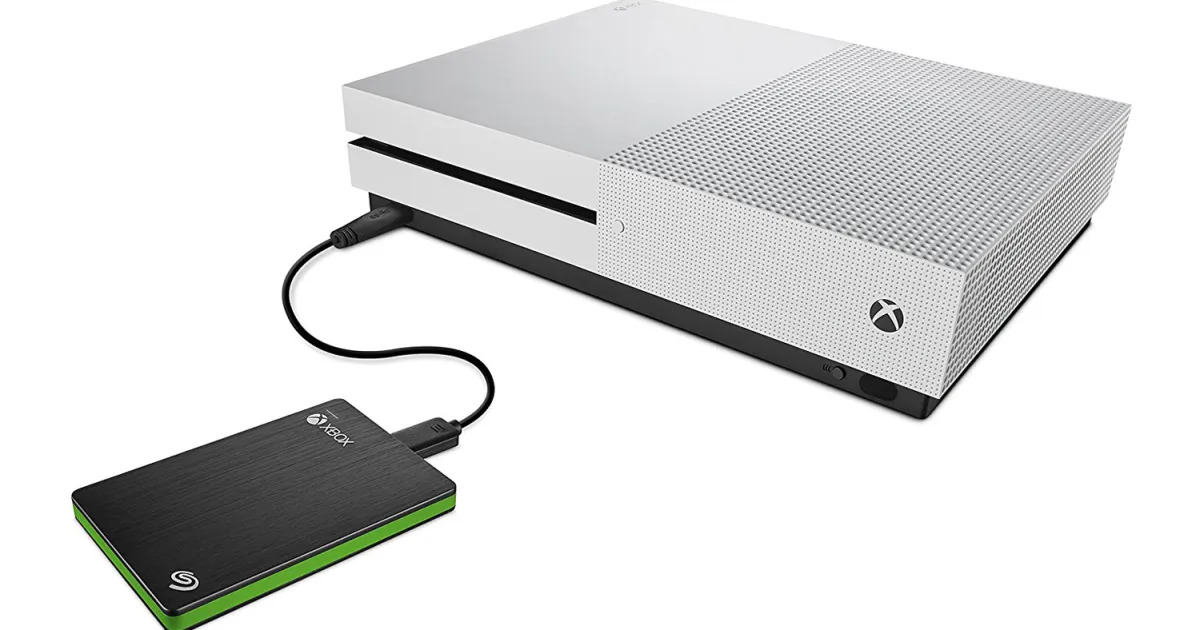
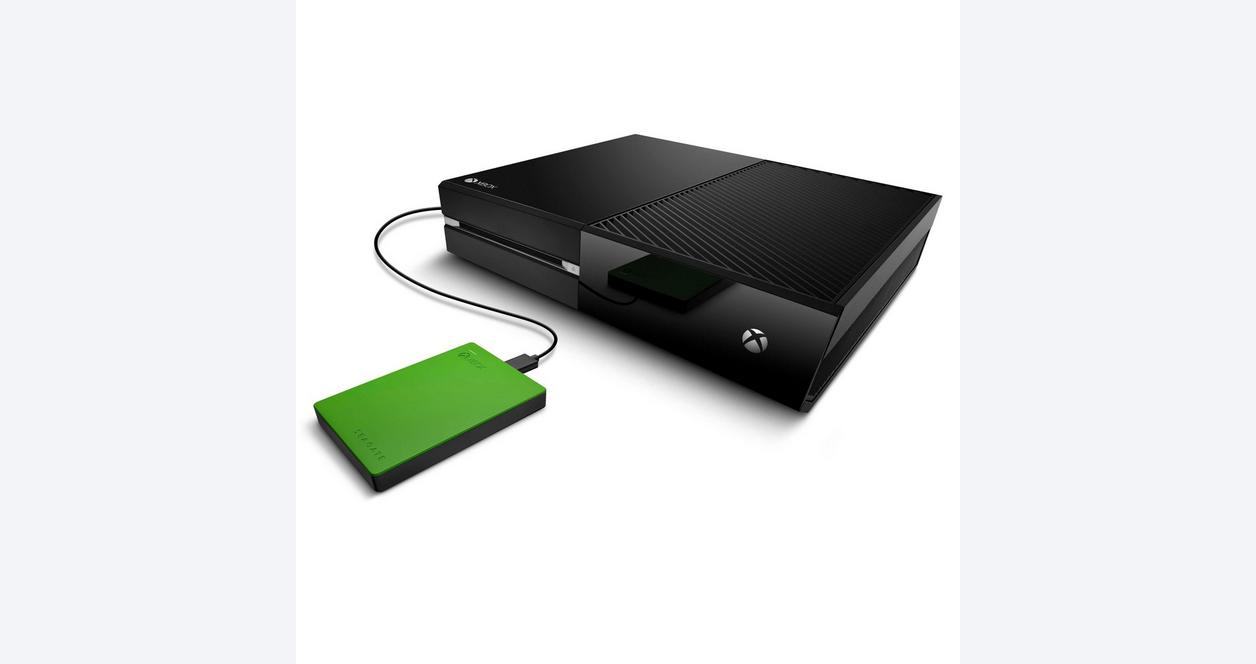
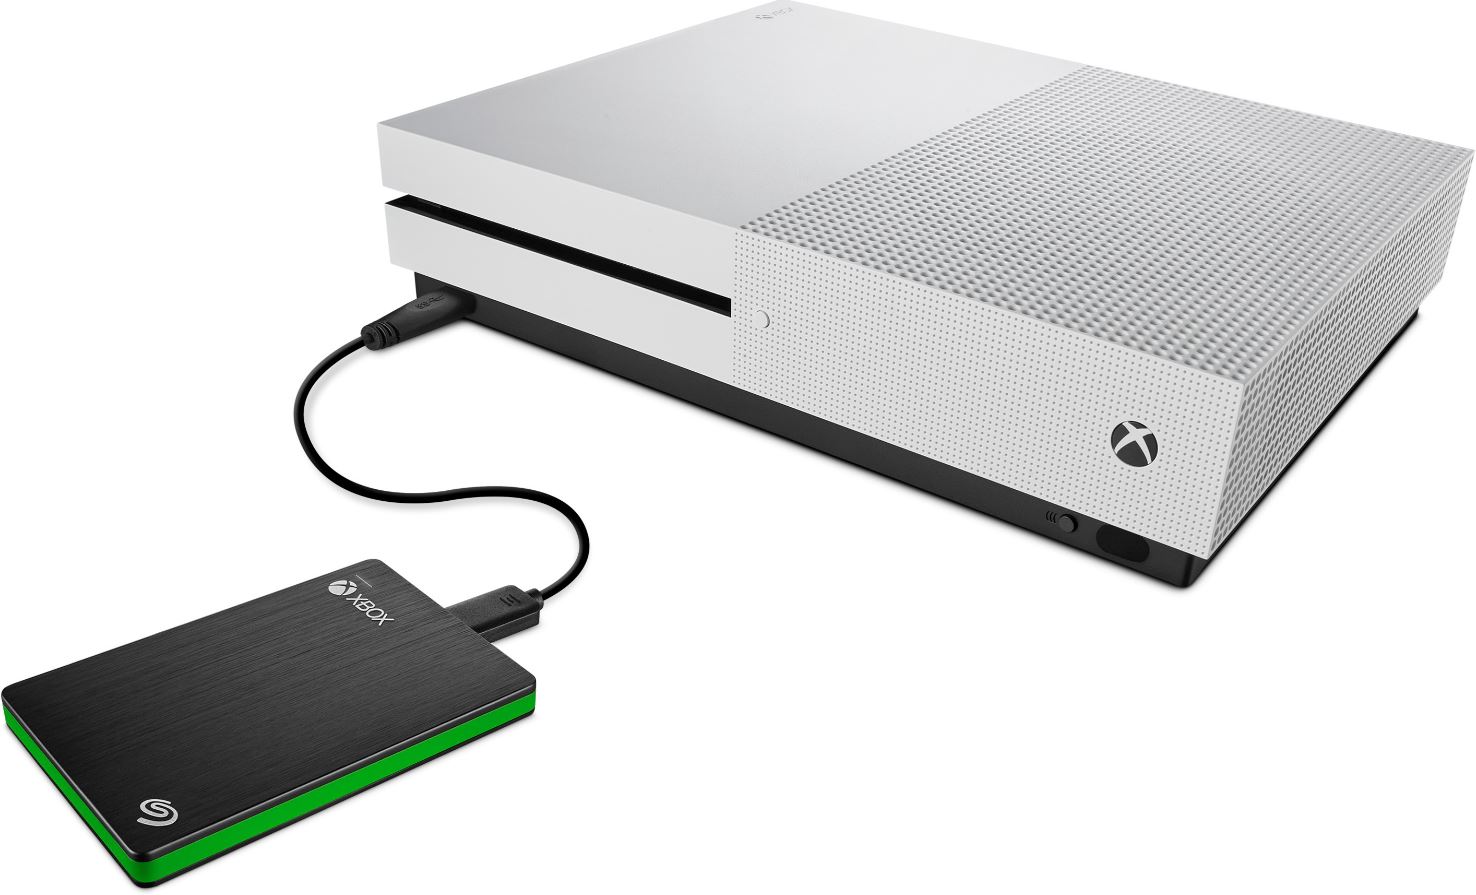
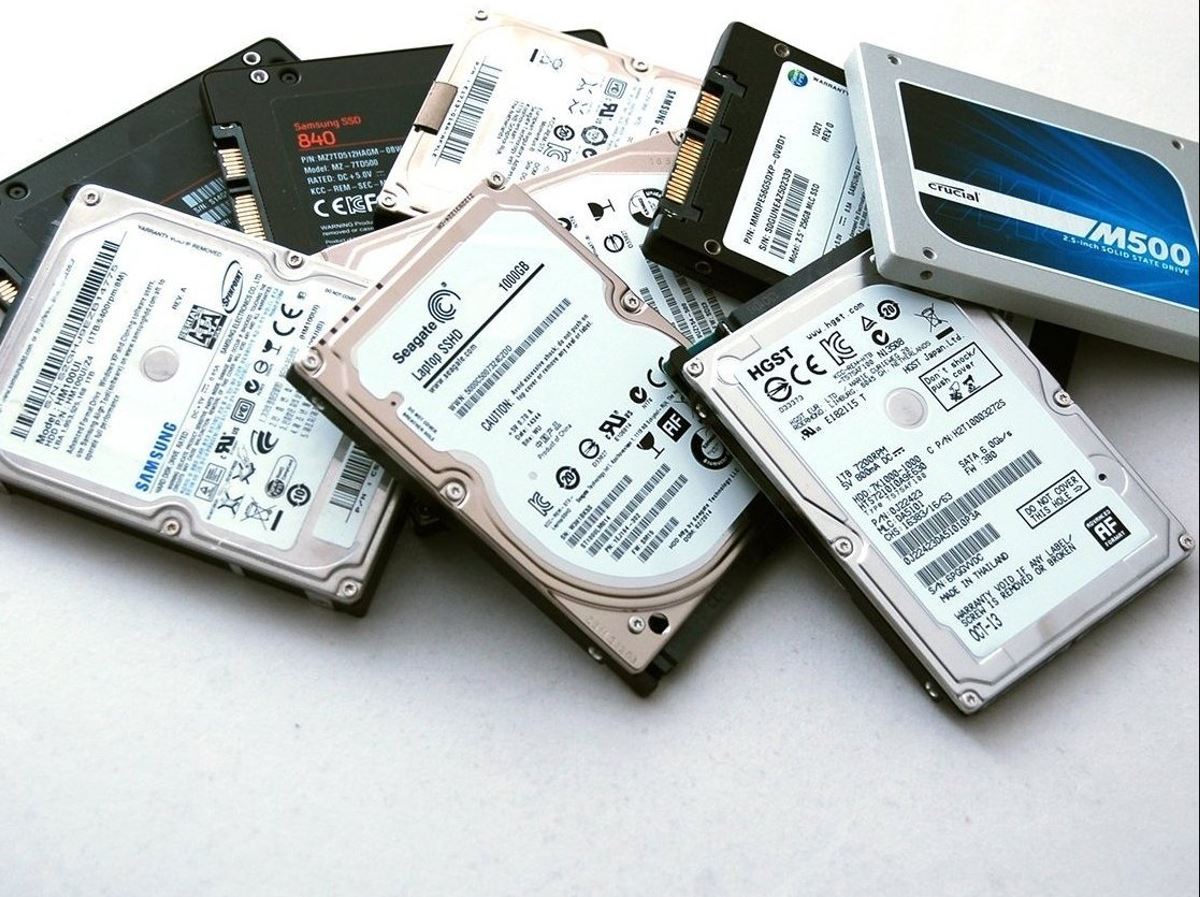
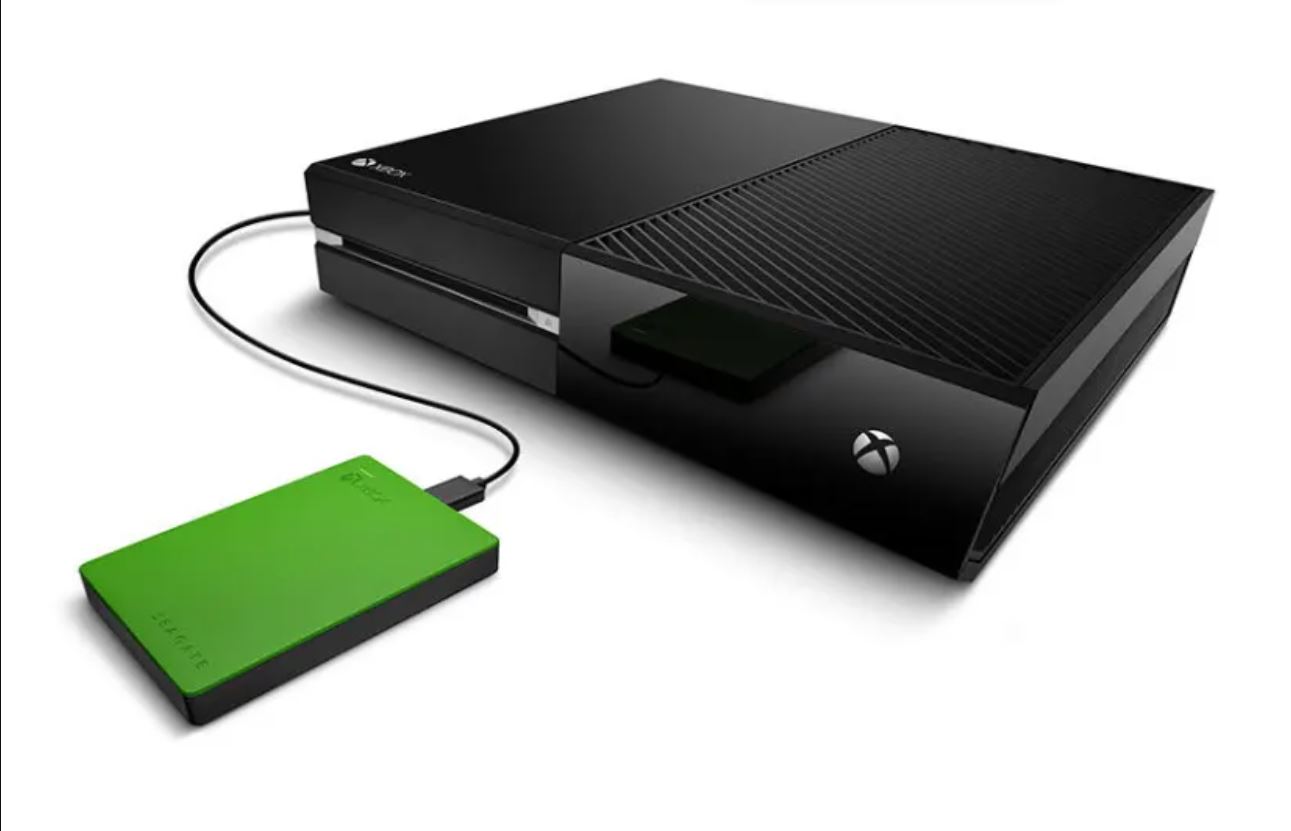
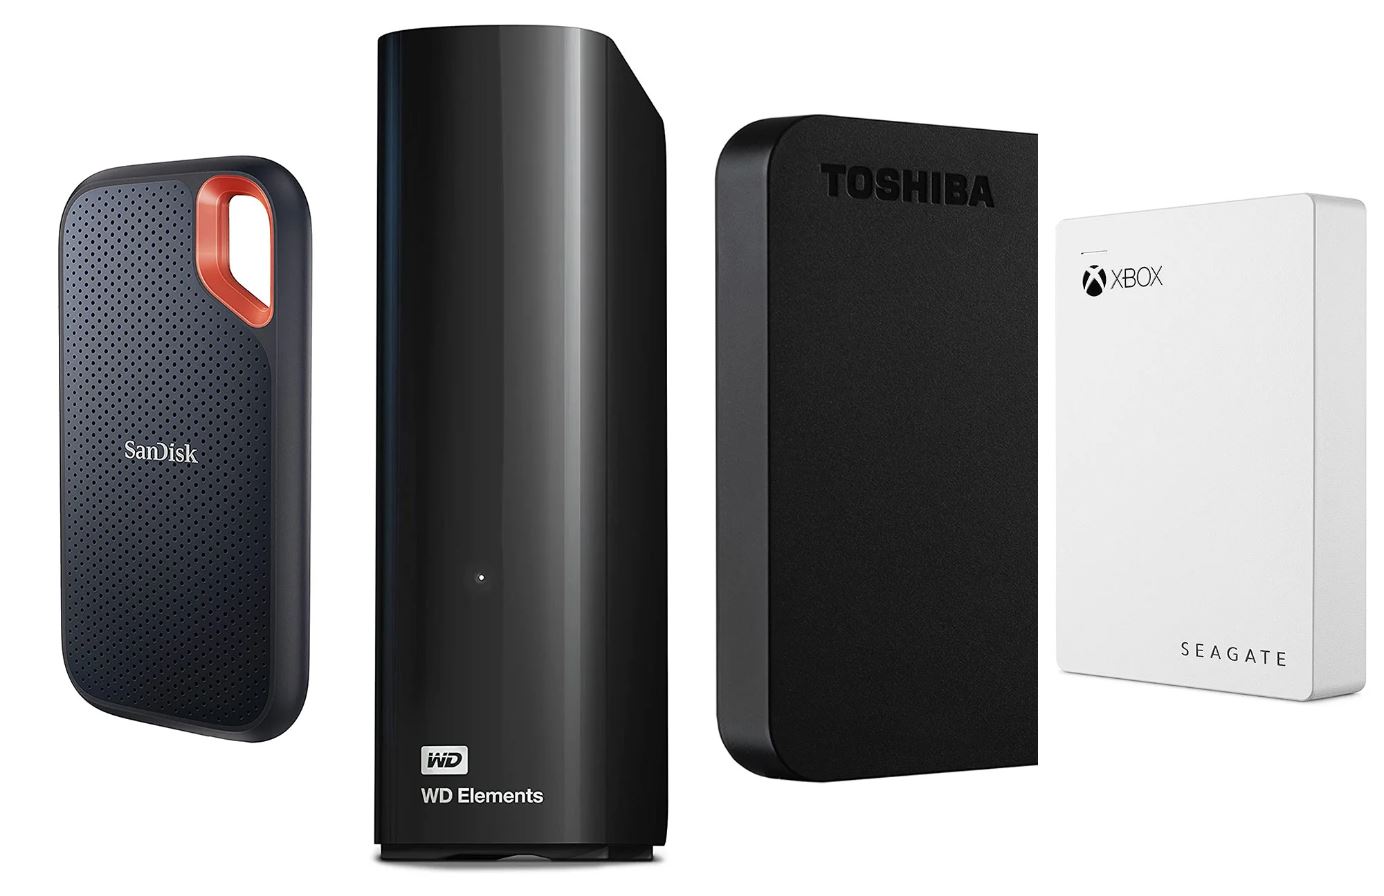
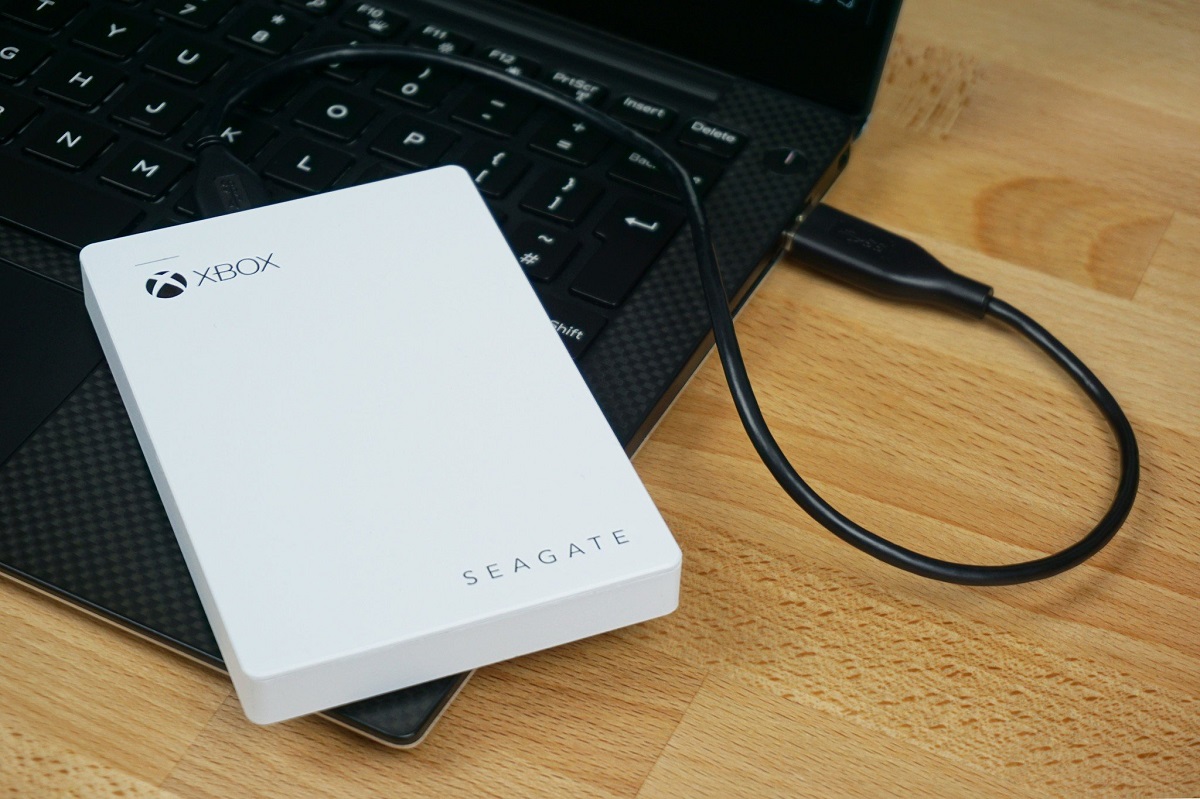
1. Check Compatibility: Not all external hard drives are compatible with Xbox consoles. Make sure your external drive meets the required specifications. Xbox consoles support USB 3.0 external hard drives with a capacity of 128 GB or larger.
2. Format the Drive: If your external hard drive isn’t already formatted for Xbox use, you’ll need to format it to the correct file system. Formatting will erase all existing data on the drive, so ensure you back up any important files before proceeding. Connect the drive to your Xbox console, go to the “Settings” menu, select “System,” then “Storage,” and choose the external drive. Follow the on-screen prompts to format the drive specifically for Xbox use.
3. Assign a Drive Name: After formatting, you can assign an appropriate name to your external hard drive. This step is optional but can be helpful for easy identification and organization.
4. Update Your Xbox Software: It’s important to keep your Xbox software updated to ensure compatibility with external drives. Check for any available updates by going to the “Settings” menu, selecting “System,” then “Updates,” and following the prompts to install any available updates.
5. Optimize Storage Settings: To maximize storage capacity, you can enable the “Automatically move content” option on your Xbox console. This feature allows your Xbox to automatically move games, apps, and other content to the external hard drive to free up space on the internal storage.
Once you’ve completed these steps, your external hard drive is ready to be used with your Xbox console. In the next section, we’ll guide you through the process of formatting your external hard drive specifically for Xbox use.
Formatting Your External Hard Drive for Xbox
To ensure compatibility and optimal performance, it’s crucial to format your external hard drive specifically for Xbox use. Follow these steps to format your external hard drive for Xbox:
1. Connect your External Hard Drive to Xbox: Plug your external hard drive into one of the available USB ports on your Xbox console. Make sure the connection is secure.
2. Open System Settings: Navigate to the Xbox dashboard and press the Xbox button on your controller to open the guide. Scroll to the right and select the “Settings” option.
3. Select System: In the Settings menu, select the “System” option.
4. Choose Storage: Within the System menu, choose the “Storage” option. You will see the list of available storage devices, which includes your internal storage and the connected external hard drive.
5. Select External Hard Drive: Locate your external hard drive in the storage devices list and select it.
6. Format for Games & Apps: In the External Hard Drive menu, select the “Format for Games & Apps” option. This will initiate the formatting process specifically for Xbox use.
7. Confirm the Formatting: A warning prompt will appear, informing you that formatting will erase all data on the external hard drive. If you have any important files, make sure to back them up before proceeding. Once you’re ready, select “Format Storage Device” to confirm.
8. Wait for Formatting: The Xbox console will now begin formatting the external hard drive. The duration of this process may vary depending on the size of the drive. Be patient and avoid disconnecting the drive during formatting.
9. Formatting Complete: Once the formatting is complete, you will receive a notification on your Xbox console. Your external hard drive is now formatted and ready to be used exclusively with your Xbox for games and apps storage.
By following these steps, you have successfully formatted your external hard drive for use with your Xbox console. In the next section, we will guide you through the process of transferring your Xbox games to the formatted external hard drive.
Transferring Xbox Games to External Hard Drive
Now that you have formatted your external hard drive for Xbox use, it’s time to transfer your games from the console’s internal storage to the external drive. To do this, follow the steps below:
1. Connect your External Hard Drive to Xbox: Make sure your external hard drive is connected to an available USB port on your Xbox console.
2. Open System Settings: Press the Xbox button on your controller to open the guide. Scroll to the right and select the “Settings” option.
3. Select System: In the Settings menu, select the “System” option.
4. Choose Storage: Within the System menu, choose the “Storage” option. You will see the list of available storage devices.
5. Select Internal Storage: Locate the “Internal” storage option and select it.
6. Manage Games & Apps: In the Internal Storage menu, select the “Manage games & apps” option. This will display the list of games and apps installed on your console’s internal storage.
7. Select Games to Transfer: Scroll through the list and choose the games you want to transfer to the external hard drive. You can either select individual games or use the “Select all” option to transfer all games at once.
8. Move/Copy Games to External Hard Drive: Once you have selected the games, choose the “Move” or “Copy” option, depending on your preference. “Move” will transfer the games to the external hard drive and remove them from the internal storage, freeing up space. “Copy” will create a duplicate copy of the games on the external hard drive, allowing you to have them installed on both the internal storage and the hard drive.
9. Wait for the Transfer: The Xbox console will start the game transfer process to the external hard drive. The duration of this process depends on the size of the games being transferred. Ensure that your console remains powered on and avoid disconnecting the external hard drive during the transfer.
10. Verify Transfer Completion: Once the transfer is complete, you will receive a notification on your Xbox console. You can verify that the games have been successfully transferred by navigating to the External Storage menu in the Storage settings and checking if the games are listed there.
Congratulations! You have successfully transferred your Xbox games to the external hard drive. From now on, you can access and play these games directly from the external drive, saving space on your console’s internal storage. In the next section, we will explore how to manage your Xbox games on the external hard drive.
Managing Your Xbox Games on External Hard Drive
Now that your Xbox games are safely stored on your external hard drive, it’s important to understand how to effectively manage them. Here are some tips to help you efficiently manage your games on the external hard drive:
1. Sorting and Organizing: With a large collection of games, it’s helpful to keep them organized. You can create folders or categories on your external hard drive to sort your games by genre, developer, or any other criteria that suits your preferences. This will make it easier to find and access specific games when you want to play them.
2. Removing or Reinstalling Games: If you find yourself running out of space on your external hard drive, you can remove games that you no longer play to free up storage. Simply navigate to the External Hard Drive menu in the Storage settings, select the game, and choose the “Remove” option. You can always reinstall the game later if you want to play it again, as long as you keep a backup of the game files.
3. Updating Games: Just like on your console’s internal storage, games on the external hard drive require updates from time to time. Make sure you keep your games updated by checking for updates through the “My games & apps” section on your Xbox dashboard. Updates ensure that you have the latest features, bug fixes, and improvements for the best gaming experience.
4. Managing Storage Space: Regularly monitor your storage space on the external hard drive to avoid reaching its limits. You can do this by going to the Storage settings and checking the usage for your external hard drive. If you’re running low on space, consider removing games or transferring them back to your console’s internal storage temporarily.
5. Backups and Game Saves: Remember to back up your important game saves to ensure you don’t lose your progress. You can save game saves and backups to your external hard drive by going to the System settings, then choosing the “Storage” option and selecting “Change where new content is saved.” Set the backup option to the external hard drive, and your game saves and backups will be stored there.
6. Playing Games from External Hard Drive: To play games from your external hard drive, simply connect it to the Xbox console and navigate to the “My games & apps” section on your Xbox dashboard. Your games stored on the external drive will be listed there, and you can select and play them directly from the external hard drive without the need for reinstallation.
By effectively managing your Xbox games on the external hard drive, you can optimize storage space, easily access your games, and ensure your progress and backups are protected. In the next section, we will discuss common issues that may arise during the process and how to troubleshoot them.
Troubleshooting Common Issues
While transferring and managing Xbox games on an external hard drive is usually smooth sailing, you may encounter some common issues along the way. Here are a few troubleshooting tips to help you resolve these issues:
1. External Hard Drive Not Recognized: If your Xbox console does not detect the external hard drive, try disconnecting and reconnecting the drive. Ensure that it is properly plugged into a USB port and powered on. If the issue persists, use a different USB cable or try connecting the drive to a different USB port on your console.
2. Game Transfer Errors: If you encounter errors during game transfers to the external hard drive, ensure that you have enough space on the drive to accommodate the game. Check the available storage space on both the internal storage and external drive. You may need to remove some games or free up space to complete the transfer.
3. Game Freezing or Lag: If you experience game freezing or lag on games stored on the external hard drive, ensure that your console’s software and games are updated to the latest versions. If the issue persists, try connecting the external drive to a different USB port on your console or consider using a different external hard drive altogether.
4. Corrupted Game Files: In the event of corrupted game files on the external hard drive, you can try deleting and reinstalling the affected game. Make sure to back up your game saves before doing so, as reinstalling the game will delete your progress. If the issue continues, you may need to consult Xbox support or consider formatting the external hard drive and starting the process again.
5. Game Save Syncing: If you encounter issues with game saves not syncing between the external hard drive and your console, check your internet connection and ensure that the syncing feature is enabled in your console’s settings. You can also try signing out and signing back into your Xbox account to refresh the synchronization process.
If you continue to experience problems despite troubleshooting, it may be necessary to seek further assistance from Xbox support or consult online forums for additional solutions. Remember to always backup your important game saves to avoid losing progress in the event of any issues.
Now that you’re equipped with troubleshooting knowledge, you can confidently overcome any potential hurdles you may encounter during the process. In the final section, we’ll recap the key points and highlight the benefits of transferring your Xbox games to an external hard drive.
Conclusion
Transferring your Xbox games to an external hard drive is a smart decision that offers a range of benefits. By moving games to an external drive, you can substantially increase your storage capacity, enjoy better performance, and enhance portability. Additionally, managing your games becomes more organized, and you have the flexibility to remove or reinstall games as needed.
In this article, we covered the reasons why transferring Xbox games to an external hard drive is advantageous. We explored the importance of preparing and formatting the external hard drive specifically for Xbox use. We also provided step-by-step instructions for transferring games to the external drive and managing them effectively. Furthermore, troubleshooting common issues ensures a smoother transition and gameplay experience.
With your games securely stored on an external hard drive, you can enjoy a wider selection of games and faster load times. You’ll have the freedom to take your game library with you wherever you go, without worrying about limited storage space on your console’s internal storage.
Remember to regularly update your games, manage storage space, and backup important game saves to ensure a seamless gaming experience. If you experience any issues, consult the troubleshooting section or seek assistance from Xbox support.
So, what are you waiting for? Take advantage of the benefits offered by an external hard drive, unleash your gaming potential, and explore the vast world of Xbox games like never before!