Introduction
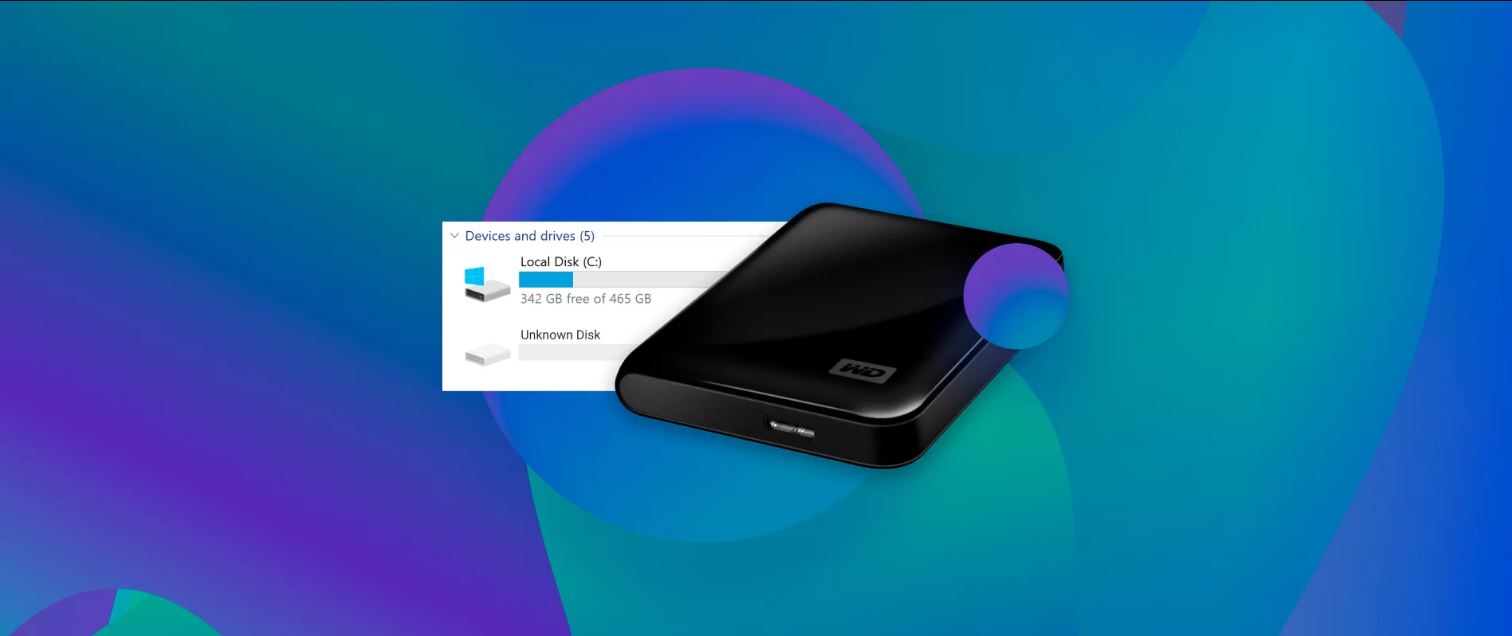
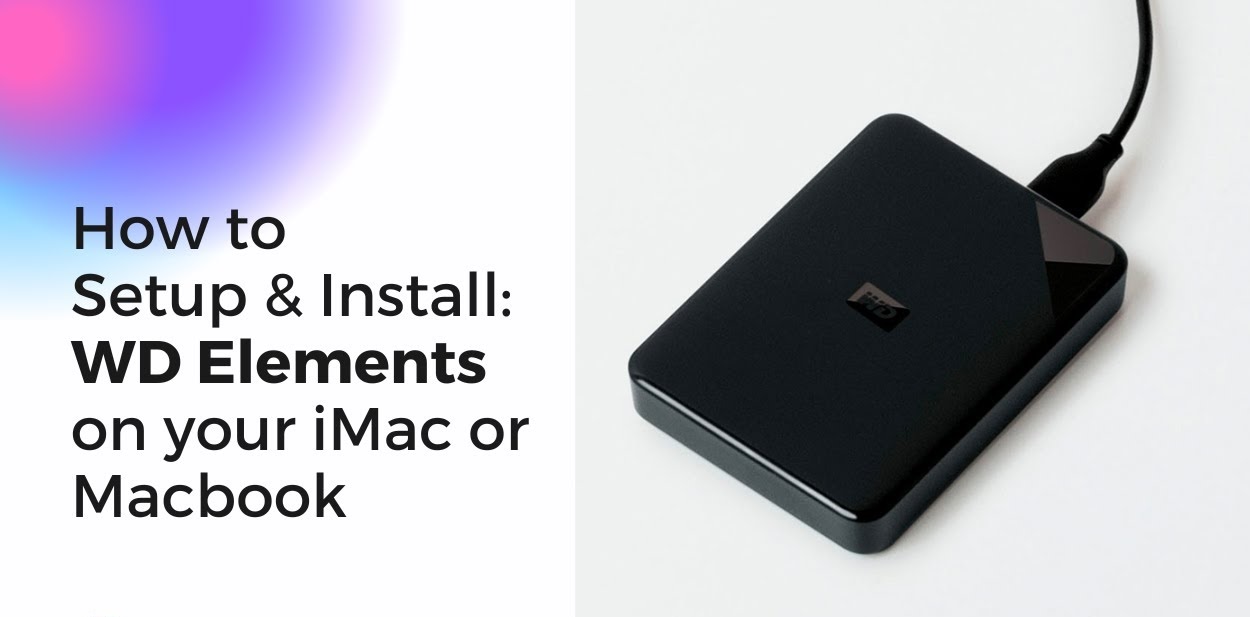
Welcome to our guide on how to reformat a WD external hard drive. WD external hard drives are popular storage devices used to store and backup important files and data. Sometimes, it becomes necessary to reformat the hard drive, either to remove any existing data or to resolve issues related to file system errors or compatibility.
Reformatting a WD external hard drive erases all the data stored on it, so it’s important to make sure you have a backup of your files before proceeding. In this guide, we’ll take you through the step-by-step process of reformatting a WD external hard drive. We’ll cover how to back up your data, connect the drive to your computer, access the disk management tool, delete existing partitions, create a new partition, format the drive, and assign a drive letter.
Keep in mind that reformatting your WD external hard drive will permanently delete all data on it, so double-check that you have backed up everything you need. Additionally, the specific steps and options may vary slightly depending on your operating system version, but we’ll provide general instructions that are applicable to most Windows systems.
Now let’s dive into the details and learn how to reformat your WD external hard drive to ensure smooth performance and optimal storage capacity.
Back Up Your Data
Before you reformat your WD external hard drive, it’s crucial to back up any important files or data you have stored on it. Reformatting will erase all the data on the drive, so taking the time to back it up will ensure you don’t lose anything important.
There are several ways you can back up your data:
- External Hard Drive: If you have another external hard drive or a large USB flash drive, you can simply copy and paste your files onto that device. Connect the secondary storage device to your computer, locate your files on the WD external hard drive, and copy them over.
- Cloud Storage: Another option is to use cloud storage services such as Google Drive, Dropbox, or OneDrive. These services offer free storage space where you can upload your files and access them from anywhere with an internet connection. Simply create an account, upload your files to the cloud, and they will be safely stored online.
- Network Attached Storage (NAS): If you have a NAS device connected to your home network, you can transfer your files from the WD external hard drive to the NAS. Once the files are on the NAS, you can access them from any device connected to your network.
Choose the backup method that works best for you and make sure to double-check that all your important files are safely backed up before proceeding with the reformatting process. Once your data is securely backed up, you can move on to the next step of connecting your WD external hard drive to your computer.
Connect the WD External Hard Drive to Your Computer
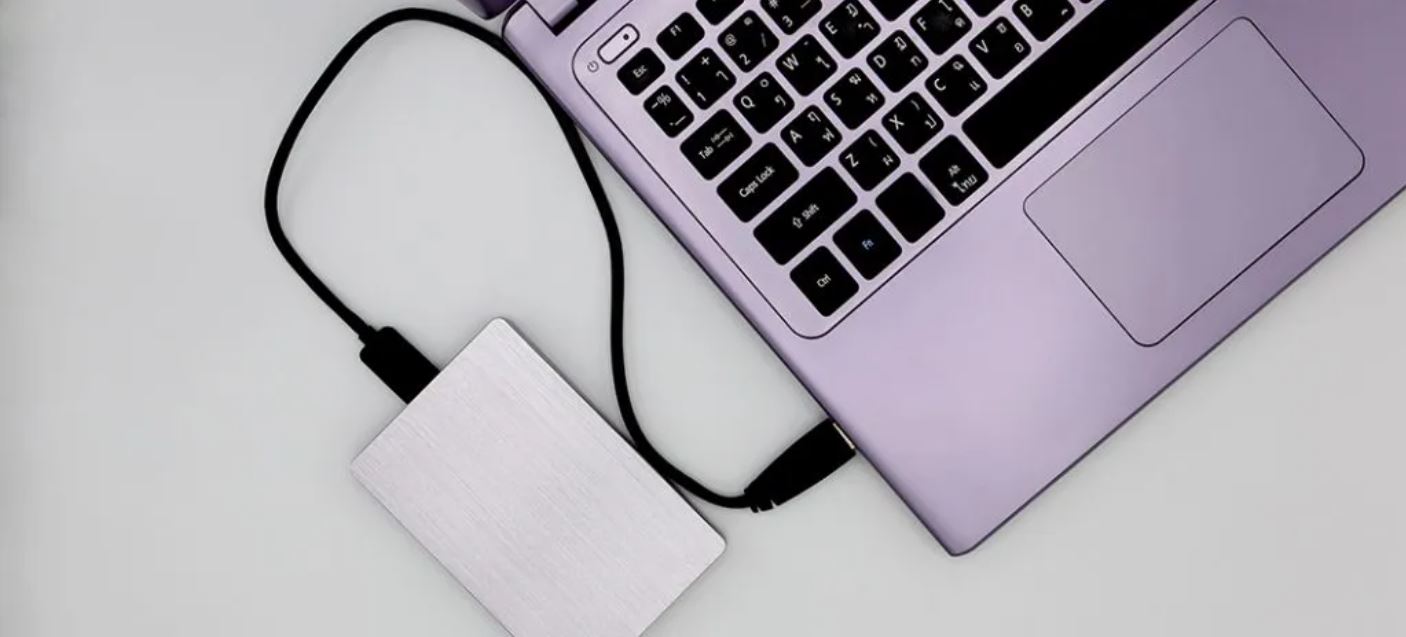
Once you have ensured that all your important files are safely backed up, it’s time to connect the WD external hard drive to your computer. Follow these steps:
- Locate an available USB port on your computer. The WD external hard drive will typically connect via a USB cable.
- Insert one end of the USB cable into the WD external hard drive’s USB port.
- Insert the other end of the USB cable into the USB port on your computer. Make sure it is securely connected.
- Wait for your computer to recognize the WD external hard drive. You should see a notification or popup indicating that a new device has been detected.
If your computer does not detect the WD external hard drive, try the following troubleshooting steps:
- Check the USB cable to ensure it is not damaged. Try using a different cable if necessary.
- Test the USB port on your computer by connecting another USB device to see if it is recognized.
- Restart your computer and try connecting the WD external hard drive again.
- If all else fails, consult the user manual or WD support for further assistance.
Once your computer recognizes the WD external hard drive, you’re ready to move on to the next step: accessing the disk management tool.
Access the Disk Management Tool
Before you can reformat your WD external hard drive, you need to access the Disk Management tool on your computer. The Disk Management tool allows you to manage and manipulate the connected storage devices. Here’s how you can access it:
- Right-click on the Start Menu button in the lower-left corner of your screen. A menu will appear.
- Click on Disk Management. This will open the Disk Management window.
Alternatively, you can access the Disk Management tool by following these steps:
- Press the Windows key + R on your keyboard to open the Run dialog box.
- Type “diskmgmt.msc” (without the quotes) in the Run box.
- Press Enter or click OK. This will open the Disk Management window.
Once you have opened the Disk Management tool, you will see a list of storage devices connected to your computer. Your WD external hard drive should be listed here, along with other drives and partitions.
Note: If your WD external hard drive is not showing up in the Disk Management tool, there may be an issue with the connection or the drive itself. Make sure it is properly connected and functioning.
With the Disk Management tool open and your WD external hard drive recognized, you can proceed to the next step: locating your WD external hard drive.
Locate Your WD External Hard Drive
Once you have accessed the Disk Management tool, the next step is to locate your WD external hard drive within the list of storage devices. Here’s how you can do it:
- Look for your WD external hard drive in the list of drives displayed in the Disk Management window.
- The drives are usually listed as “Disk X” or “Basic Disk X,” where “X” represents a number.
- Identify your WD external hard drive by its capacity or name, if it has been assigned one.
It’s important to correctly identify your WD external hard drive to avoid accidentally modifying or formatting the wrong drive. Double-check the capacity or name to ensure you have selected the correct drive.
If your WD external hard drive is not visible in the Disk Management window, it might require further troubleshooting:
- Ensure that the drive is properly connected to your computer and that the connection is secure.
- Try using a different USB port or USB cable to rule out a faulty connection.
- If the drive still does not appear, try connecting it to another computer to determine if the issue is with the drive or the computer.
- Consult the user manual or WD support for further assistance if the drive is still not visible.
Once you have located your WD external hard drive in the Disk Management tool, you’re ready to move on to the next step: deleting existing partitions on the drive.
Delete Existing Partitions on the WD External Hard Drive
Before you can reformat your WD external hard drive, you need to delete any existing partitions on it. Deleting the partitions will remove all data stored on the drive and prepare it for the reformatting process. Follow these steps to delete existing partitions:
- Right-click on the partition you want to delete within the Disk Management window.
- Click Delete Volume from the drop-down menu that appears. A confirmation message will pop up.
- Review the confirmation message and ensure you have selected the correct partition to delete.
- Click Yes to confirm the deletion of the partition. The partition will be deleted, and the space will become unallocated.
- Repeat this process for any other partitions on the WD external hard drive that you wish to delete.
It’s crucial to be cautious when selecting the partitions to delete. Deleting the wrong partition can result in data loss. Double-check that you have selected the correct partitions before confirming the deletion.
Once you have deleted all the necessary partitions on the WD external hard drive, you can proceed to the next step: creating a new partition.
Create a New Partition on the WD External Hard Drive
After deleting the existing partitions on your WD external hard drive, you can proceed to create a new partition. The new partition will allow you to reformat the drive and allocate the storage space for your data. Follow these steps to create a new partition:
- Right-click on the unallocated space on the WD external hard drive within the Disk Management window.
- Click New Simple Volume from the drop-down menu that appears. The New Simple Volume Wizard will open.
- Click Next to proceed with the wizard.
- In the Simple Volume Size window, specify the size for your new partition. The default value should be the maximum available size. If you wish to create multiple partitions, you can adjust the size accordingly.
- Click Next to proceed.
- In the Assign Drive Letter or Path window, you can choose to assign a drive letter to the new partition. The default drive letter will be automatically assigned, but you can select a different one if desired.
- Click Next to proceed.
- In the Format Partition window, select the file system you want to use for the new partition. For most users, NTFS is recommended due to its compatibility and support for larger file sizes.
- Provide a meaningful Volume Label to help identify the partition.
- Check the option for Perform a quick format if you want a faster formatting process.
- Click Next to proceed.
- Review the summary of the new partition settings and click Finish to create the new partition on the WD external hard drive.
Once the new partition has been created, you’re now ready to format the WD external hard drive, which will be covered in the next step.
Format the WD External Hard Drive
After creating a new partition on your WD external hard drive, the next step is to format it. Formatting prepares the partition for use by configuring the file system and setting up the necessary structures for storing data. Follow these steps to format the WD external hard drive:
- Right-click on the newly created partition within the Disk Management window.
- Click Format from the drop-down menu that appears. The Format dialog box will open.
- In the File system drop-down menu, select the appropriate file system for your needs. As mentioned earlier, NTFS is a commonly used and recommended file system for Windows users.
- Choose an appropriate Allocation unit size. The default value is usually sufficient for most users.
- Check the option for Perform a quick format if you want a faster formatting process. Note that a quick format does not check for bad sectors on the drive; if you suspect your drive may have any issues, it’s better to perform a full format.
- Provide a Volume label for the new partition. This is the name that will be displayed for the drive when connected to your computer.
- Double-check all the formatting settings to ensure they are correct.
- Click OK to begin the formatting process. A warning message will pop up, indicating that all data on the partition will be deleted.
- Review the warning message and make sure you have backed up any important data. Once you are ready, click OK to proceed with the format.
The formatting process may take some time, depending on the size of the partition and the speed of your computer. Once the format is complete, your WD external hard drive will be ready for use with the newly formatted partition.
Now that you have successfully formatted the WD external hard drive, the next step is to assign a drive letter to the drive, which will be covered in the following section.
Assign a Drive Letter to the WD External Hard Drive
After formatting the WD external hard drive, the next step is to assign a drive letter to the newly formatted partition. Assigning a drive letter allows your computer to recognize and access the drive easily. Follow these steps to assign a drive letter:
- Right-click on the newly formatted partition within the Disk Management window.
- Click Change Drive Letter and Paths from the drop-down menu that appears. The Change Drive Letter and Paths dialog box will open.
- Click Add to assign a drive letter to the partition.
- In the Assign Drive Letter or Path dialog box, select a drive letter from the available list. You can choose any available letter that is not already assigned to another drive or volume.
- Click OK to save the drive letter assignment.
Once you have assigned a drive letter to the WD external hard drive, the drive should now appear in File Explorer or My Computer, depending on your operating system. You can access it like any other drive or partition on your computer.
It’s important to note that assigned drive letters may vary depending on the configuration of your system and other connected storage devices. Make sure to check the assigned drive letter each time you connect the WD external hard drive to your computer.
Congratulations! You have successfully formatted the WD external hard drive and assigned a drive letter to the newly formatted partition. You can now start using the drive to store and access your files.
In the next section, we will discuss some final steps and considerations to keep in mind after reformatting the drive.
Final Steps and Considerations
After reformatting your WD external hard drive, there are a few final steps and considerations to keep in mind to ensure optimal usage and data management. Here are some important things to consider:
- Test the Drive: It’s a good practice to test the functionality of the newly reformatted WD external hard drive. Copy some files to and from the drive to make sure it is working properly.
- Keep Backing Up Your Data: Although you have reformatted the drive, it’s essential to continue backing up your data regularly. Accidental deletion or drive failure can still lead to data loss.
- Manage Your Partitions: If you plan to create multiple partitions on the WD external hard drive, consider how you want to allocate the storage space for different purposes. You can always modify or repartition the drive using the Disk Management tool.
- Protect Your Drive: Keep your WD external hard drive safe from physical damage by handling it with care and storing it in a safe and dry location when not in use.
- Consider Encryption: If you are dealing with sensitive or confidential data, you might want to consider encrypting the WD external hard drive for enhanced security.
- Stay Up to Date: Keep the firmware and drivers of your WD external hard drive up to date to ensure compatibility and performance improvements. Check the WD website or use their software to look for updates.
By following these final steps and precautions, you can make the most out of your reformatted WD external hard drive and ensure the safety and accessibility of your data.
We hope this guide has been helpful in assisting you in reformatting your WD external hard drive. If you encounter any issues or have further questions, consult the user manual or contact WD support for assistance.
Now you’re ready to enjoy the performance and storage capacity of your reformatted WD external hard drive!
Conclusion
Reformatting a WD external hard drive can be a beneficial step to take when you need to remove data or resolve file system errors. In this guide, we have walked you through the process of reformatting your WD external hard drive, starting with the importance of backing up your data. We then covered how to connect the drive to your computer, access the Disk Management tool, delete existing partitions, create a new partition, format the drive, and assign a drive letter. We also discussed final steps and considerations to keep in mind for optimal usage.
Remember to always back up your data before reformatting, as reformatting will erase all data on the drive. It’s crucial to double-check that you have selected the correct partitions to delete and format to avoid accidental data loss. Additionally, it’s important to handle your WD external hard drive with care and keep it protected from physical damage.
By following the steps outlined in this guide, you should have successfully reformatted your WD external hard drive and prepared it for use. The reformatted drive now offers you a fresh storage space to store and access your files efficiently.
If you encounter any difficulties or have further questions, consult the user manual or reach out to WD support for assistance. Now, enjoy using your reformatted WD external hard drive with confidence!


