Introduction
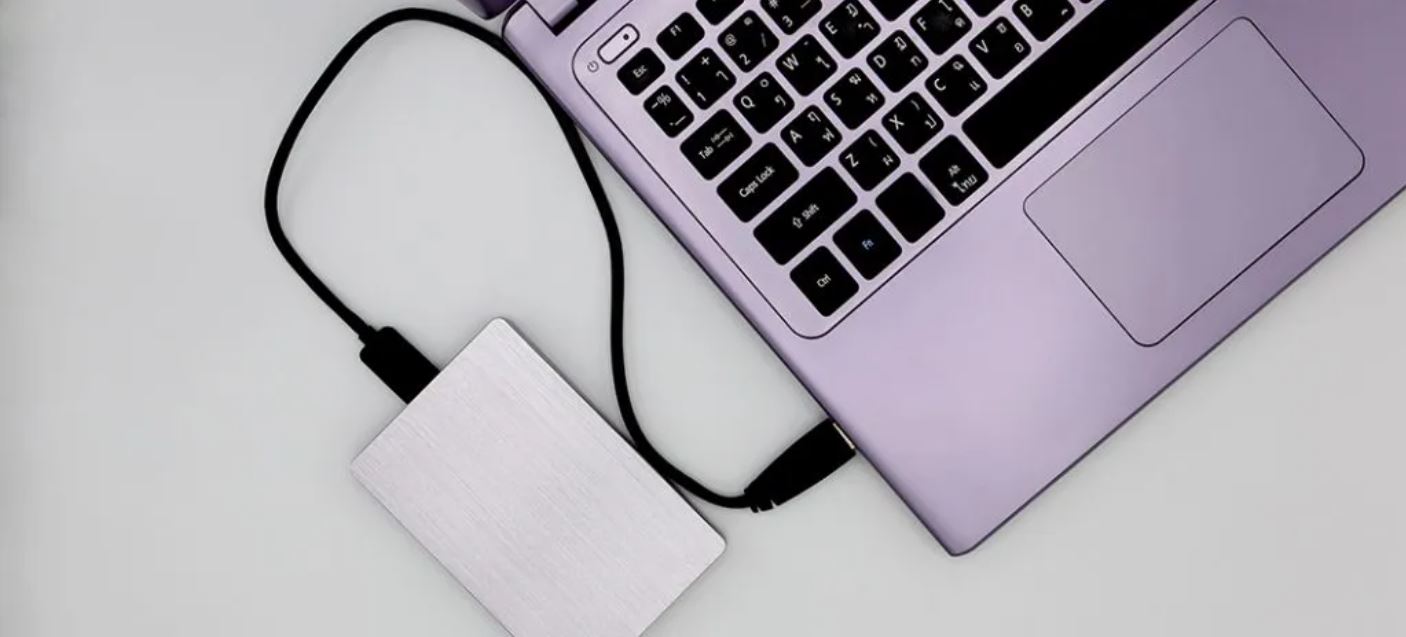
Welcome to our guide on how to password protect your external hard drive in Windows 11. With the increasing need to protect personal and sensitive data, securing your external storage devices has become essential. Whether you use an external hard drive for backup purposes or to store important files and documents, adding an extra layer of security can provide peace of mind and prevent unauthorized access.
In this article, we will explore various methods for password protecting your external hard drive in Windows 11, allowing you to keep your data safe from prying eyes. We will walk you through the steps to utilize Windows built-in encryption tool, BitLocker, as well as recommend some third-party software options if you prefer additional features and flexibility. Additionally, we will explore the option of encrypting individual files and folders, providing you with more control over the level of protection you want to implement.
Before we delve into the different methods, it’s important to note the risks associated with leaving your external hard drive unprotected. If your device falls into the wrong hands, sensitive information such as personal documents, financial records, or even photos and videos, could be accessed without your consent. By taking the time to password protect your external hard drive, you are taking a proactive step towards safeguarding your data and maintaining your privacy.
We understand that everyone has different needs and preferences when it comes to data security, so we will present multiple options to suit a variety of scenarios. Whether you are a Windows 11 user looking for built-in solutions or someone who prefers using third-party software with additional features, you will find the appropriate method to ensure the protection of your external hard drive.
Now, let’s dive into the methods you can use to password protect your external hard drive in Windows 11!
Why password protect your external hard drive?
Password protecting your external hard drive is crucial for several reasons. Let’s take a look at the key advantages of implementing this extra layer of security.
- Data Security: One of the primary reasons to password protect your external hard drive is to ensure the security of your data. By setting a password, you prevent unauthorized individuals from accessing and tampering with your files and sensitive information. This is particularly important if you frequently carry your external hard drive with you or share it with others.
- Preventing Data Loss: Password protection can also help prevent data loss or theft. External hard drives are prone to being misplaced, lost, or stolen. If this happens and your confidential data is not password protected, anyone who finds or takes the device will have unrestricted access to all your files. By enabling password protection, you add an additional layer of defense against unauthorized access.
- Protecting Personal Information: External hard drives often store personal information such as financial records, private documents, or personal photos. Password protecting your drive ensures that this sensitive information remains secure and can only be accessed by authorized individuals. This is particularly crucial in situations where you need to share your external hard drive temporarily or lend it to someone else.
- Compliance with Regulations: Many industries, such as healthcare, finance, and legal, have strict regulations regarding data security. These regulations often require the implementation of security measures, including password protection, to ensure compliance. By password protecting your external hard drive, you can meet these requirements and avoid potential legal and financial consequences.
- Peace of Mind: Finally, password protecting your external hard drive provides peace of mind. Knowing that your valuable data is encrypted and protected adds a sense of security and control over your digital life. You can rest assured knowing that your personal and confidential files are safe, even in the event of loss or theft.
Considering the benefits mentioned above, it’s clear why password protecting your external hard drive is a crucial step in securing your data and ensuring your privacy. By investing a little time in setting up password protection, you can enjoy peace of mind and maintain control over who has access to your valuable information.
Method 1: Using Bitlocker
Windows 11 comes with a built-in encryption tool called BitLocker, which provides a convenient and effective way to password protect your external hard drive. Follow the steps below to enable BitLocker encryption:
- Connect your external hard drive: Plug in your external hard drive to your Windows 11 computer.
- Open File Explorer: Open File Explorer by pressing the Windows key + E on your keyboard or by searching for “File Explorer” in the Windows search bar.
- Select your external hard drive: Locate your external hard drive in the list of drives and right-click on it. Select “Turn on BitLocker” from the context menu.
- Choose how to unlock your drive: You will be presented with two options: “Use a password to unlock the drive” or “Use my smart card to unlock the drive.” Select the “Use a password to unlock the drive” option.
- Create a password: In the password creation screen, enter a strong password for your external hard drive. Make sure to choose a unique and complex password that includes a combination of uppercase and lowercase letters, numbers, and special characters. Avoid using commonly used passwords or personal information.
- Backup your recovery key: As a precaution, BitLocker will prompt you to back up a recovery key. This key will allow you to access your drive in case you forget the password. Choose a backup option that works best for you (e.g., saving the key to your Microsoft account, a USB drive, or printing a hard copy).
- Choose encryption options: You can choose to encrypt the entire drive or only the used space. Select the appropriate option based on your preferences.
- Start encryption: Click on the “Next” button and then “Start encrypting”. BitLocker will now begin encrypting your external hard drive. The encryption process may take some time depending on the size of the drive and the amount of data stored on it.
- Completing the encryption: Once the encryption process is complete, BitLocker will display a message indicating that your drive is now protected. You can safely disconnect your external hard drive from your Windows 11 computer.
By following these steps, you can successfully enable BitLocker encryption and password protect your external hard drive. Whenever you connect the drive to a Windows 11 computer, you will be prompted to enter the password before gaining access to the files on the drive. This added layer of security ensures that only authorized individuals can view and modify the data stored on your external hard drive.
Method 2: Using Third-Party Software
If you prefer more flexibility and additional features, you can consider using third-party software to password protect your external hard drive in Windows 11. There are several reliable options available that offer advanced encryption capabilities and customization settings. Here’s how you can use third-party software to protect your external hard drive:
- Research and choose a third-party software: Start by researching and selecting a reputable third-party software that specializes in external hard drive encryption. Look for reviews and choose one that fits your requirements in terms of features, ease of use, and compatibility with Windows 11.
- Download and install the software: Visit the official website of the selected software and download the installation file. Follow the on-screen instructions to install the software on your Windows 11 computer.
- Launch the software: Open the third-party software and familiarize yourself with its interface and options.
- Connect your external hard drive: Plug in your external hard drive to your computer.
- Select the external hard drive: In the software’s interface, locate and select your external hard drive from the list of available drives.
- Choose encryption method: Depending on the software, you may have different encryption methods to choose from, such as AES-256 or Blowfish. Select the encryption method that suits your security needs.
- Set your password: Create a strong and unique password for your external hard drive encryption. Follow the software’s guidelines for creating a secure password.
- Start the encryption process: Initiate the encryption process by clicking on the appropriate button or option in the software’s interface.
- Monitor the encryption progress: The software will start encrypting your external hard drive, and you can monitor the progress through the provided status or progress bar.
- Completing the encryption: Once the encryption is complete, you will receive a notification or message indicating that your external hard drive is now password protected. You can safely disconnect the drive from your Windows 11 computer.
Using third-party software allows you to customize your encryption settings, choose different encryption algorithms, and enjoy additional features that may not be available with Windows built-in tools. It’s important to select trusted and reputable software to ensure the security and reliability of your password protection.
Remember to keep the software updated and follow any guidelines or best practices provided by the software developer to keep your external hard drive protected at all times.
Method 3: Encrypting Individual Files and Folders
If you only need to protect specific files and folders on your external hard drive, rather than encrypting the entire drive, you can utilize the native features of Windows 11 to achieve this. Encrypting individual files and folders provides an efficient way to secure only the sensitive data you deem necessary. Here’s how you can do it:
- Connect your external hard drive: Plug in your external hard drive to your Windows 11 computer.
- Locate the files/folders to encrypt: Open File Explorer by pressing the Windows key + E on your keyboard or by searching for “File Explorer” in the Windows search bar. Navigate to the file or folder you want to encrypt on your external hard drive.
- Right-click on the file/folder: Once you have located the desired file or folder, right-click on it to access the context menu.
- Select Properties: In the context menu, select “Properties” to open the properties window for the selected file or folder.
- Advanced Attributes: Within the properties window, click on the “Advanced” button. A new window will appear with advanced attributes for the selected file or folder.
- Encrypt contents to secure data: In the advanced attributes window, check the box that says “Encrypt contents to secure data.” Click on the “OK” button to confirm your selection.
- Apply changes: Back in the properties window, click on the “Apply” button to apply the encryption to the file or folder.
- Encrypt multiple files/folders: Repeat the above steps for any additional files or folders you want to encrypt on your external hard drive.
- Safely disconnect your external hard drive: Once you have finished encrypting the desired files and folders, you can safely disconnect your external hard drive from your Windows 11 computer.
By encrypting individual files and folders on your external hard drive, you can selectively protect sensitive data while leaving other files accessible without the need for a password. This method gives you granular control over which files and folders are encrypted, making it convenient for scenarios where you only want to secure specific information.
It’s important to note that when you encrypt a file or folder using this method, it becomes visible and accessible only on the Windows 11 computer where the encryption was applied. If you try to access the encrypted file or folder from another computer or operating system, it will appear as an encrypted file or folder without readable content.
Remember to keep track of the passwords associated with each encrypted file or folder and ensure that they are secure and easily accessible to the authorized individuals who need to access the encrypted data.
Tips for Creating a Strong Password
When password protecting your external hard drive, it’s essential to create a strong and secure password to maximize the effectiveness of your security measures. Here are some helpful tips to keep in mind when crafting a password:
- Length: Aim for a password that is at least 12 characters long. Longer passwords are generally more secure as they are harder to crack.
- Complexity: Use a combination of uppercase and lowercase letters, numbers, and special characters in your password. Including a variety of characters makes the password more difficult to guess or crack using brute force methods.
- Avoid personal information: Avoid incorporating personal details such as your name, birthdate, or address in your password. These details can be easily guessed or obtained by someone attempting to access your external hard drive.
- Avoid common phrases or patterns: Steer clear of using easily identifiable patterns or common phrases in your password. A strong password should not resemble a dictionary word or well-known phrase.
- Unique password: Create a unique password for your external hard drive that is not used for any other accounts or purposes. Reusing passwords across multiple platforms increases the risk of unauthorized access to various accounts if one password is compromised.
- Change passwords periodically: It’s good practice to change your password from time to time. Regularly updating your password can help mitigate the risks associated with any potential password leaks or breaches.
- Consider using a password manager: If you’re finding it difficult to manage multiple strong passwords, consider using a password manager. Password managers securely store and generate complex passwords, alleviating the need to remember them all.
- Keep passwords confidential: Avoid sharing your password with anyone and refrain from writing it down where it can be easily found. It’s crucial to keep your password confidential to ensure the security of your external hard drive.
- Use two-factor authentication: Whenever possible, enable two-factor authentication (2FA) for an extra layer of security. This involves providing a second form of verification, such as a fingerprint scan, email code, or SMS code, in addition to the password.
By following these tips, you can create a strong and secure password for your external hard drive. Remember that a strong password is an important component of your overall data security, helping to prevent unauthorized access and ensure the confidentiality of your files and information.
Conclusion
Securing your external hard drive with a password is a critical step in protecting your valuable data and maintaining your privacy. Whether you choose to utilize built-in Windows 11 features like BitLocker, opt for third-party software, or encrypt individual files and folders, implementing password protection adds an additional layer of security to your external storage device.
In this guide, we explored three methods for password protecting your external hard drive in Windows 11. We discussed using BitLocker, the built-in encryption tool, which provides a straightforward way to encrypt the entire drive. We also covered the option of using third-party software, which offers more customization and additional features. Lastly, we explored how to encrypt individual files and folders for a more selective approach to data protection.
When creating a password, we provided tips to help you generate a strong and secure one. Remember to choose a password that is lengthy, complex, and unique to maximize its effectiveness. Regularly updating your password and keeping it confidential are also important considerations.
By following the methods and tips outlined in this guide, you can enhance the security of your external hard drive and safeguard your sensitive information from unauthorized access and potential data loss. Whether you use your external hard drive for personal or professional purposes, taking the time to implement password protection demonstrates a proactive approach to data security.
Remember to stay vigilant, keep your software and systems updated, and be mindful of where and how you store and use your external hard drive. With these measures in place, you can enjoy the peace of mind that comes with knowing your data is protected and secure.


