Introduction
With the release of the Xbox Series S, gamers are eager to dive into the next generation of gaming. However, with the ever-increasing size of games, the limited internal storage of the Xbox Series S can quickly fill up. This is where an external hard drive comes to the rescue, providing gamers with a convenient and easy way to expand their storage capacity.
The beauty of using an external hard drive with the Xbox Series S is that it allows you to store and play games directly from the drive, freeing up precious internal storage space for system updates and other essential applications. Plus, it offers the flexibility to take your games with you wherever you go, making it a must-have accessory for avid gamers.
In this article, we will guide you through the process of using an external hard drive with your Xbox Series S. We’ll cover everything from choosing the right external hard drive to transferring and managing games, as well as troubleshooting common issues you may encounter.
Before we dive into the details, it’s important to note that the Xbox Series S is designed to support USB 3.1 Gen 1 and USB 3.0 external hard drives. While USB 3.0 drives are compatible, USB 3.1 Gen 1 drives offer faster data transfer speeds, resulting in improved game loading times and overall performance.
So, if you’re ready to maximize your gaming experience and never worry about running out of storage on your Xbox Series S, let’s get started on the journey of using an external hard drive!
Benefits of using an external hard drive for Xbox Series S
Expanding the storage capacity of your Xbox Series S using an external hard drive comes with several noteworthy benefits. Here are some of the key advantages:
- More space for games: The primary benefit of using an external hard drive is the additional storage space it provides. With games growing in size, the limited internal storage of the Xbox Series S can quickly fill up. An external hard drive allows you to store a larger library of games without having to constantly delete and re-download games.
- Ease of use: Using an external hard drive is incredibly straightforward. Once connected and formatted correctly, it seamlessly integrates with your Xbox Series S, making it a hassle-free storage solution. You can easily manage and play your games directly from the external hard drive without needing to transfer them back and forth between the internal and external storage.
- Portability: One of the great advantages of using an external hard drive is the ability to take your games with you wherever you go. Whether you’re visiting a friend’s house or going on a trip, simply plug in your external hard drive into another Xbox Series S console, and you’ll have access to your entire game library without the need for lengthy downloads or installations.
- Faster loading times: Utilizing a USB 3.1 Gen 1 external hard drive can significantly improve game loading times compared to running games from the internal storage. This is especially noticeable in large open-world games or games with massive amounts of data, providing a smoother and more immersive gaming experience.
- Flexibility and organization: Having an external hard drive allows you to organize your games effectively. You can create folders, categorize games by genre or type, and easily manage your game library. This level of organization enables you to find and play your favorite games effortlessly.
These benefits make using an external hard drive with your Xbox Series S a worthwhile investment. It enhances your gaming experience by providing ample storage, easy accessibility, and improved performance. Now that you understand the advantages, let’s move on to the step-by-step process of using an external hard drive with your Xbox Series S.
Step 1: Choosing the right external hard drive
When selecting an external hard drive for your Xbox Series S, there are a few key factors to consider:
- Storage capacity: Determine how much storage space you need for your games. With modern games surpassing 100 GB in size, it’s recommended to opt for a minimum of 1 TB. However, if you’re a avid gamer with a large library, you might want to consider a higher capacity, such as 2 TB or even 4 TB.
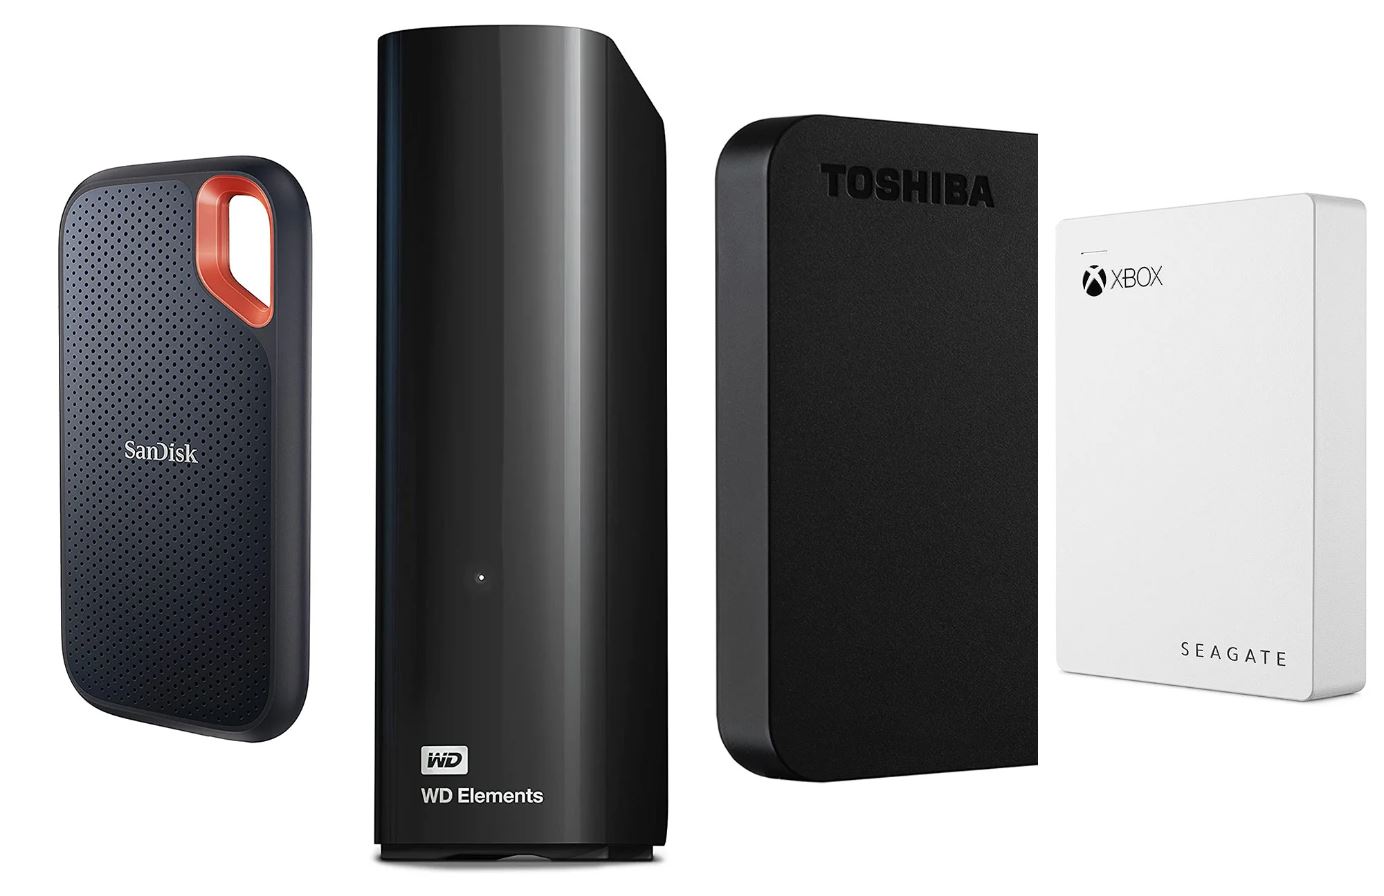
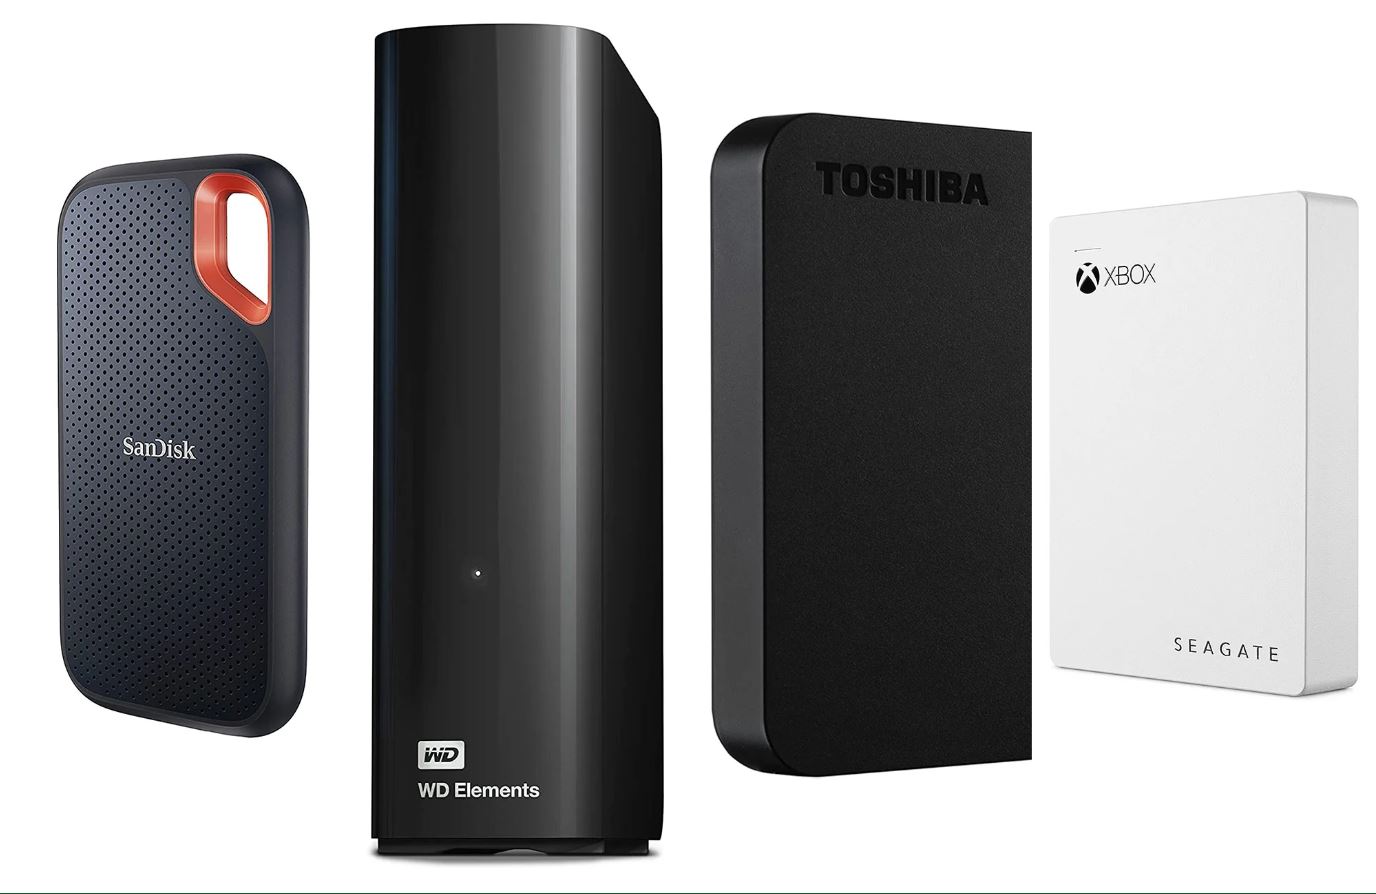
- Drive type: There are two main types of external hard drives: HDD (Hard Disk Drive) and SSD (Solid State Drive). HDD drives are more affordable and offer larger storage capacities, while SSD drives are faster and more durable, but often come at a higher price point. For optimal performance, it’s recommended to choose an SSD if your budget permits.
- Compatibility: Ensure that the external hard drive you choose is compatible with the Xbox Series S. It should support USB 3.1 Gen 1 or USB 3.0 to take advantage of faster data transfer speeds. Some external hard drives are specifically designed for Xbox consoles, offering additional features like plug-and-play compatibility and Xbox branding. However, regular external hard drives will work just fine as long as they meet the necessary requirements.
- Reliability and brand: Consider the reliability and reputation of the brand when making your purchase. Look for well-known and reputable brands that offer good customer support and reliable warranties.
Once you have determined your requirements, take some time to research and compare different models and read customer reviews to ensure you are choosing the right external hard drive for your needs. Remember, investing in a reliable and high-quality external hard drive will provide a seamless and enjoyable gaming experience on your Xbox Series S.
Step 2: Formatting the external hard drive for Xbox Series S
Before you can start using your external hard drive with your Xbox Series S, you need to format it to ensure compatibility. Follow these steps to format your external hard drive:
- Connect the external hard drive: Use a USB cable to connect the external hard drive to one of the USB ports on your Xbox Series S.
- Access the storage settings: On your Xbox Series S, navigate to the Home screen and press the Xbox button on your controller to open the Guide menu. From there, go to the “Profile & system” tab and select “Settings.”
- Select “System”: In the settings menu, locate and select “System.”
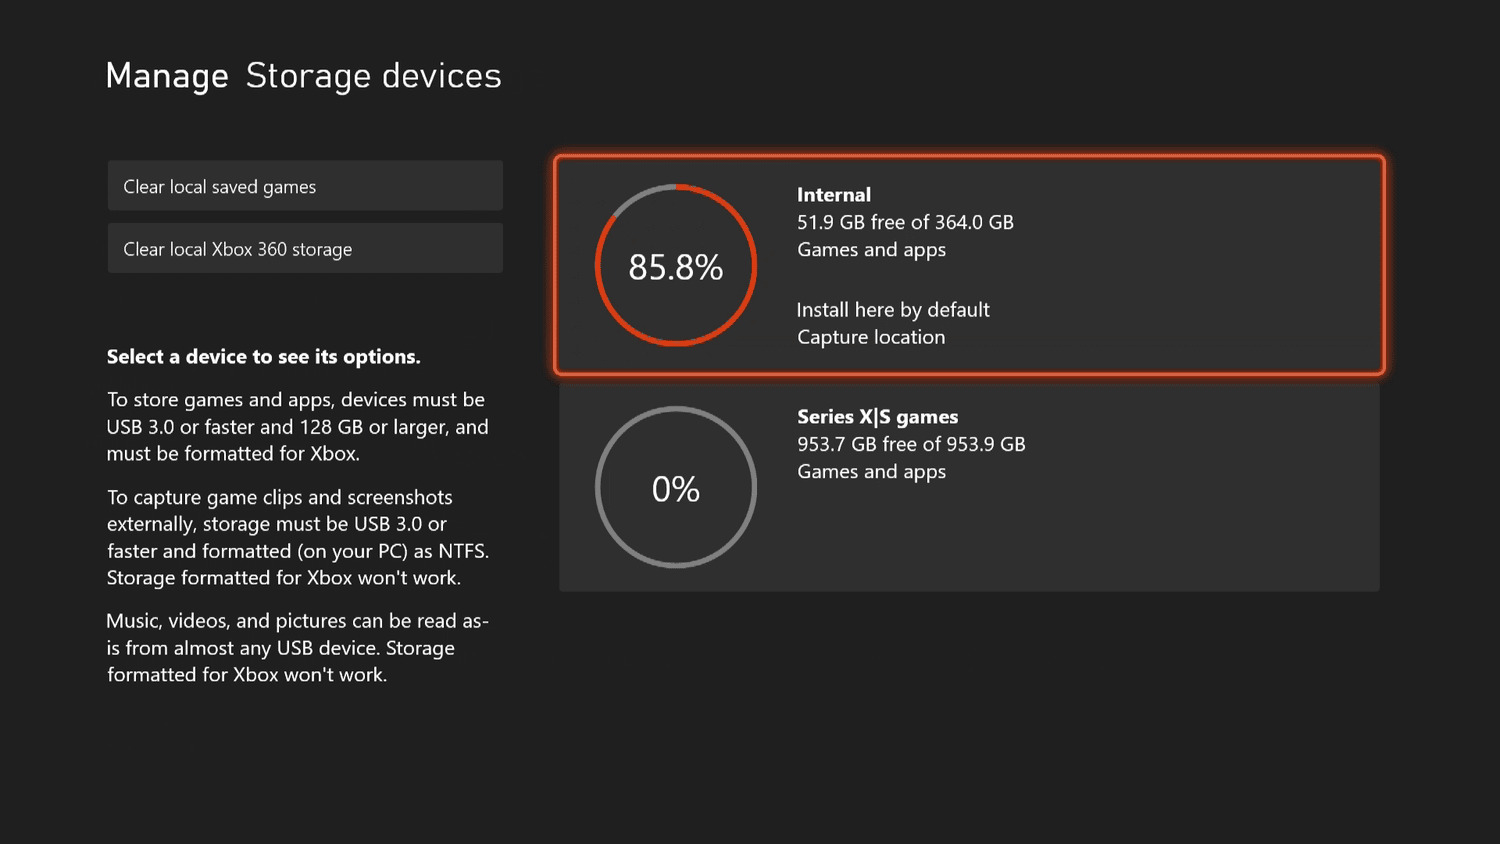
- Select “Storage”: Under the “System” menu, choose the “Storage” option.
- Format the external hard drive: In the “Storage” menu, you should see your external hard drive listed as a storage option. Select it and choose the “Format storage device” option.
- Confirm formatting: Read the warning message that appears and make sure you have backed up any important data on the external hard drive. Formatting will erase all existing data. If you’re sure you want to proceed, select “Format storage device” to initiate the formatting process.
- Wait for formatting to complete: The formatting process may take a few moments. It will remove all existing partitions and reformat the drive to the appropriate file system for your Xbox Series S.
- Formatting is complete: Once the formatting process finishes, you will see a confirmation message. Your external hard drive is now ready to be used with your Xbox Series S.
Remember, formatting your external hard drive for the Xbox Series S will erase all data on the drive, so be sure to back up any important files before proceeding. By completing this step, you have successfully prepared your external hard drive to be used as additional storage for your Xbox Series S.
Step 3: Connecting the external hard drive to Xbox Series S
Now that you have formatted your external hard drive, it’s time to connect it to your Xbox Series S. Follow these simple steps to ensure a successful connection:
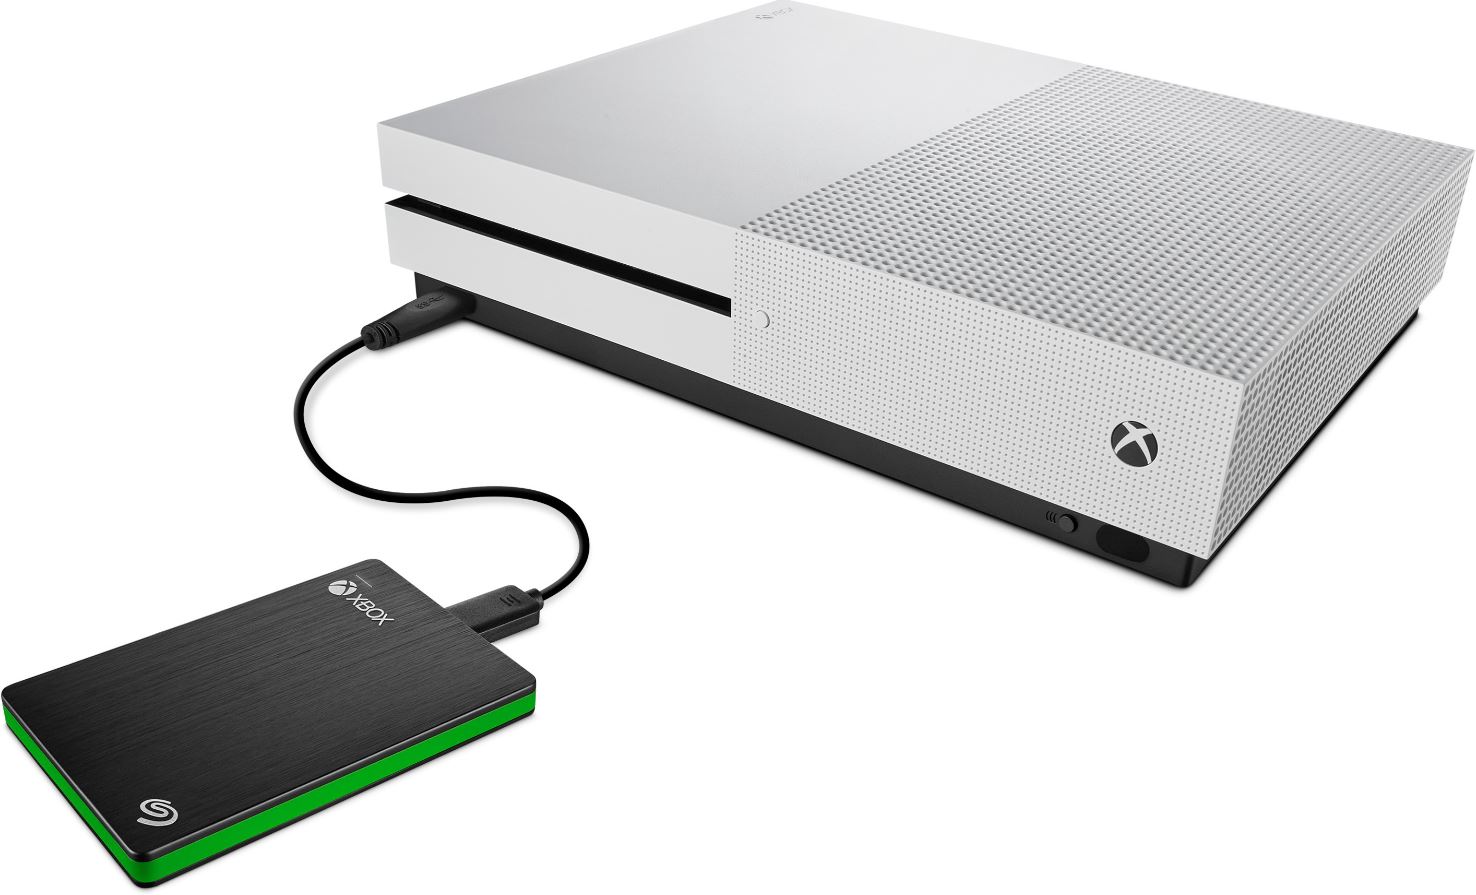
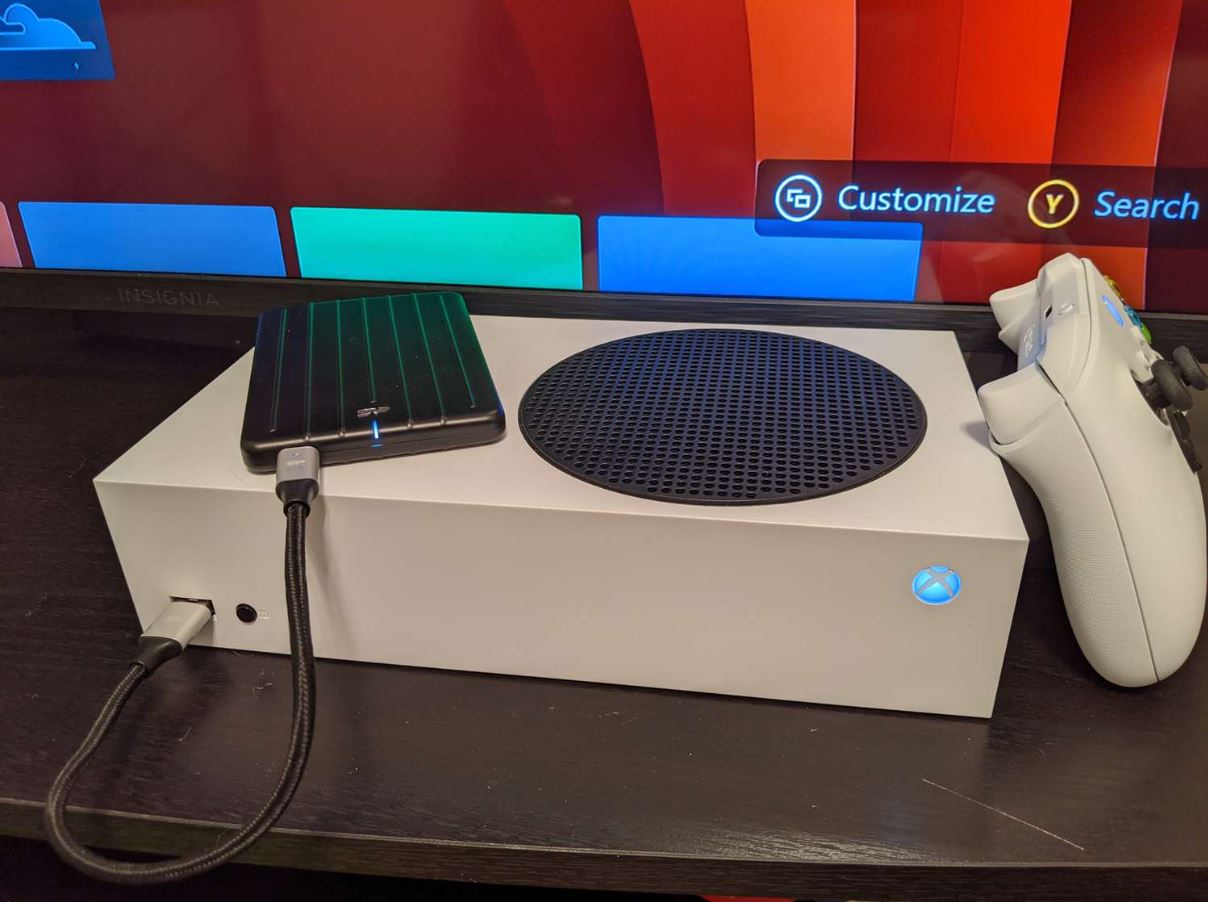
- Locate the USB port: Identify the USB port on your Xbox Series S where you will be plugging in the external hard drive. The Xbox Series S has one USB 3.1 Gen 1 port located on the back of the console.
- Plug in the external hard drive: Connect one end of the USB cable to the USB port on your Xbox Series S and the other end to the USB port on the external hard drive.
- Power on your Xbox Series S: Turn on your Xbox Series S console using the power button on the front of the console or the Xbox button on your controller.
- Wait for recognition: Once the console is powered on, it will automatically detect the external hard drive and prompt you to configure it for use.
- Follow on-screen prompts: On your TV or monitor connected to the Xbox Series S, follow the on-screen instructions to set up the external hard drive. This may involve confirming the format, assigning a name to the drive, or selecting the default storage location for future installations.
- Completion: Once the configuration process is complete, your Xbox Series S will recognize the external hard drive as additional storage.
Following these steps will ensure a seamless connection between your Xbox Series S and the external hard drive. Now that your external hard drive is connected, you can start utilizing it to store and play games, freeing up valuable internal storage space on your console.
Step 4: Transferring and managing games on the external hard drive
Now that your external hard drive is connected to your Xbox Series S, you can start transferring and managing games on it. Here’s how:
- Access the storage settings: On your Xbox Series S, navigate to the Home screen and press the Xbox button on your controller to open the Guide menu. From there, go to the “Profile & system” tab and select “Settings.”
- Select “Storage”: In the settings menu, choose the “Storage” option.
- Select your external hard drive: Under the “Storage” menu, you will see your external hard drive listed as a storage option. Select it to view the games stored on the drive.
- Transfer games: To transfer games from the internal storage to the external hard drive, select the game you want to move and choose the “Move or copy” option. Follow the on-screen instructions to complete the transfer. This process may take some time depending on the size of the game.
- Manage games: You can also manage your games on the external hard drive by organizing them into folders, deleting unwanted games, and checking available storage space. Use the options available under the game management menu to perform these tasks.
- Install games directly to the external hard drive: When installing new games, you can choose the external hard drive as the storage location. This ensures that the game is installed directly onto the external hard drive, saving you from having to transfer it later.
- Quick resume compatibility: The Xbox Series S supports Quick Resume, a feature that allows you to switch between multiple games seamlessly. Games stored on the external hard drive are also compatible with Quick Resume, providing a smooth gaming experience.
By following these steps, you can efficiently transfer and manage your games on the external hard drive for your Xbox Series S. This ensures that your gaming library remains organized while maximizing the available storage space on your console.
Step 5: Playing games from the external hard drive on Xbox Series S
Now that you have transferred your games to the external hard drive, playing them on your Xbox Series S is a breeze. Follow these steps to enjoy your games directly from the external hard drive:
- Power on your Xbox Series S: Turn on your Xbox Series S console using the power button on the front of the console or the Xbox button on your controller.
- Connect the external hard drive: Ensure that the external hard drive is connected to the USB port on your Xbox Series S.
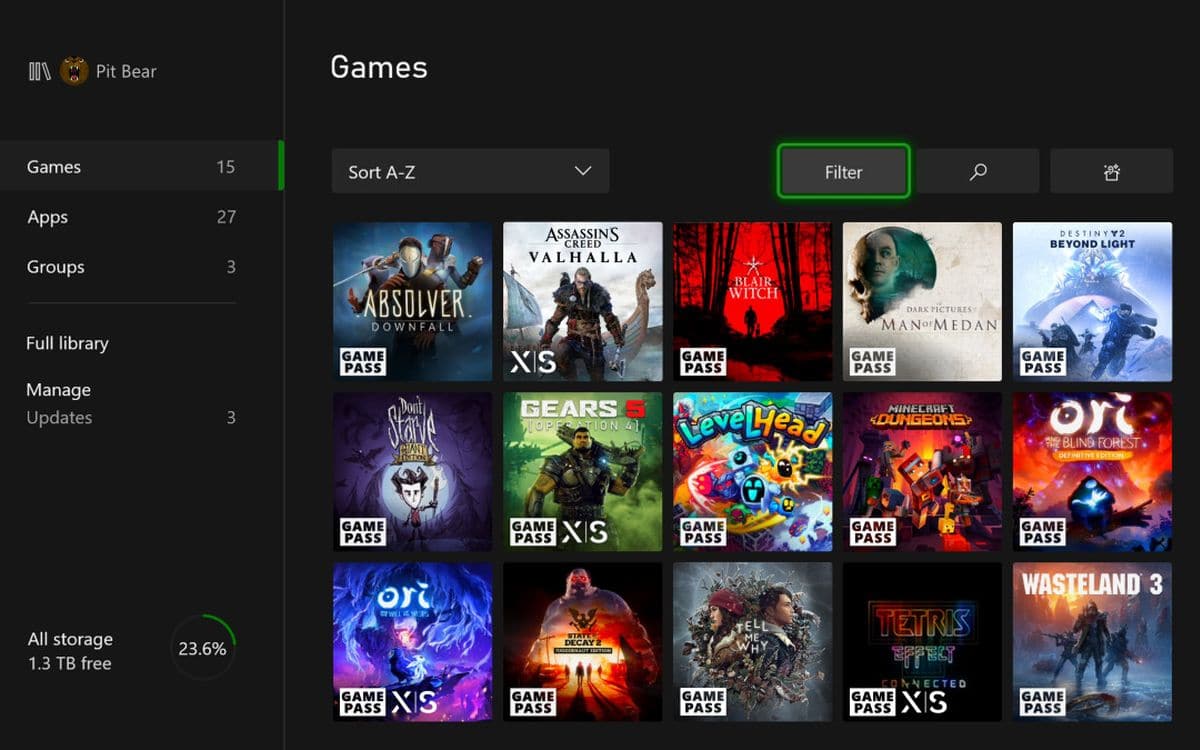
- Access your games: From the Xbox dashboard, navigate to the “My games & apps” section. Here, you will find all the games installed on your Xbox Series S, including those stored on the external hard drive.
- Select a game: Choose the game you want to play from the list of available games. You can use the sorting and filtering options to locate specific games.
- Start playing: Once you select a game, the Xbox Series S will load the game from the external hard drive. Depending on the game’s size, it may take a few moments to load.
- Enjoy seamless gaming: With the game running from the external hard drive, you can enjoy a smooth gaming experience without any significant performance impact.
Playing games directly from the external hard drive offers the advantage of freeing up space on your Xbox Series S’s internal storage, ensuring that you have sufficient room for system updates, other applications, or downloading new games. Additionally, using an external hard drive can even improve the loading times of games, thanks to the faster data transfer speeds of USB 3.1 Gen 1 or USB 3.0.
So, grab your controller, start up your Xbox Series S, and dive into your game library stored on the external hard drive for an immersive and enjoyable gaming session.
Step 6: Backing up and restoring game data using the external hard drive
Using an external hard drive not only expands your storage capacity but also provides a convenient way to back up and restore your game data on the Xbox Series S. Follow these steps to ensure your game data is backed up and can be easily restored:
- Connect the external hard drive: Plug in your external hard drive to the USB port on your Xbox Series S.
- Access the storage settings: Navigate to the Home screen on your Xbox Series S and press the Xbox button on your controller to open the Guide menu. From there, go to the “Profile & system” tab and select “Settings.”
- Select “System”: In the settings menu, locate and select “System.”
- Select “Backup and transfer”: Under the “System” menu, choose the “Backup and transfer” option.
- Choose backup or restore: In the “Backup and transfer” menu, you will find options to backup or restore your game data. Select the desired option based on your needs.
- Follow on-screen prompts: Depending on whether you want to back up or restore, follow the on-screen instructions. You may be prompted to select specific games or game data to backup or restore.
- Wait for backup or restore process to complete: The backup or restore process may take some time, depending on the size of the game data. Ensure your Xbox Series S remains powered on and connected to the external hard drive until the process is complete.
- Confirmation: Once the backup or restore process finishes, you will receive a confirmation message on your Xbox Series S.
Backing up your game data using the external hard drive provides an extra level of security, ensuring that your progress and game saves are safely stored in case of any unforeseen issues with your Xbox Series S. Similarly, restoring game data from the external hard drive is a convenient way to retrieve your game progress if you switch consoles or encounter any data loss.
By following these steps, you can easily back up and restore your game data using the external hard drive, giving you peace of mind and the ability to continue your gaming journey seamlessly.
Troubleshooting common issues with external hard drives on Xbox Series S
While using an external hard drive with your Xbox Series S can greatly enhance your gaming experience, you may occasionally encounter some common issues. Here are a few troubleshooting steps to help you address these problems:
- Ensure proper connection: Check that the USB cable connecting the external hard drive to your Xbox Series S is securely plugged in on both ends.
- Restart your Xbox Series S: Sometimes, a simple restart can resolve connectivity issues. Power off your console, unplug the power cord, wait for a few seconds, and then plug it back in and power on the Xbox Series S.
- Update console firmware: Keeping your Xbox Series S up to date with the latest firmware can help address compatibility issues with external hard drives. Go to the settings menu, select “System,” and check for system updates.
- Disconnect other USB devices: If you have multiple USB devices connected to your Xbox Series S, try disconnecting them temporarily to see if they are causing any conflicts with the external hard drive.
- Try a different USB port: If you are experiencing issues with a particular USB port, try connecting the external hard drive to a different USB port on your Xbox Series S.
- Format the external hard drive: If your external hard drive is not recognized or is displaying errors, you may need to format it again. However, be aware that formatting will erase all existing data on the drive, so make sure to back up any important files beforehand.
- Check drive compatibility: Ensure that your external hard drive is compatible with the Xbox Series S. It should be USB 3.1 Gen 1 or USB 3.0 compatible. If it is an older USB 2.0 drive, it may not work properly or have slower performance.
- Test with a different drive: If possible, try connecting a different external hard drive to your Xbox Series S to narrow down the issue. This will help determine if the problem lies with the drive or the console.
- Contact customer support: If you have tried all of the above steps and are still experiencing issues, it may be time to reach out to the customer support of your external hard drive manufacturer or Xbox for further assistance.
By following these troubleshooting steps, you can resolve many common issues that may arise when using an external hard drive with your Xbox Series S. However, if the problem persists, it is best to seek additional support to ensure you can fully enjoy the benefits of using an external hard drive with your gaming console.
Conclusion
Using an external hard drive with your Xbox Series S is a game-changer when it comes to expanding storage capacity and maximizing your gaming experience. By following the steps outlined in this guide, you can easily choose the right external hard drive, format it correctly, connect it to your Xbox Series S, and transfer and manage your games seamlessly. Additionally, backing up and restoring game data provides an extra layer of protection for your progress and saves.
Not only does using an external hard drive offer the benefit of additional storage space, but it also provides portability, faster loading times, and organization for your game library. With the ability to play games directly from the external hard drive, you can free up space on your Xbox Series S internal storage while enjoying a smooth and immersive gaming experience.
However, it’s essential to troubleshoot common issues that may arise, such as connectivity problems or unrecognized drives. By following the troubleshooting steps provided, you can overcome these obstacles and ensure a seamless experience with your external hard drive.
In conclusion, using an external hard drive with your Xbox Series S unlocks a new level of gaming possibilities. It allows you to store more games, improve loading times, and easily manage your game library. With the convenience and flexibility it offers, an external hard drive is an invaluable accessory for any Xbox Series S gamer. So, get ready to expand your gaming horizons and take your gaming experience to the next level with an external hard drive!