Introduction
Welcome to the guide on how to transfer photos from an SD card to an external hard drive. If you’re running out of storage space on your SD card or simply want to create a backup of your precious memories, this step-by-step tutorial will walk you through the process.
Most digital cameras and smartphones store photos and videos on an SD card, which can fill up quickly. By transferring your photos to an external hard drive, you not only free up space on your SD card but also ensure that your photos are safely stored in a separate location.
Transferring photos from an SD card to an external hard drive is a straightforward process that can be done on both Windows and Mac computers. All you need is the right equipment and a few simple steps to follow.
In this guide, we will cover everything you need to know, from gathering the necessary equipment to safely ejecting your devices after the transfer. By the end of this tutorial, you’ll be able to confidently transfer your photos and organize your storage space efficiently.
Before we get started, it’s important to note that the specific steps may vary slightly depending on your computer’s operating system and the type of external hard drive you’re using. However, the general process remains the same, and we will provide instructions that can be easily adapted to fit your specific setup.
So, without further ado, let’s dive into the step-by-step process of transferring photos from an SD card to an external hard drive!
Step 1: Gather the necessary equipment
Before you start the process of transferring your photos from an SD card to an external hard drive, it’s important to gather all the necessary equipment. Here’s what you’ll need:
- A computer: You’ll need a computer with an SD card slot or an external SD card reader. Make sure your computer is powered on and ready to connect the devices.
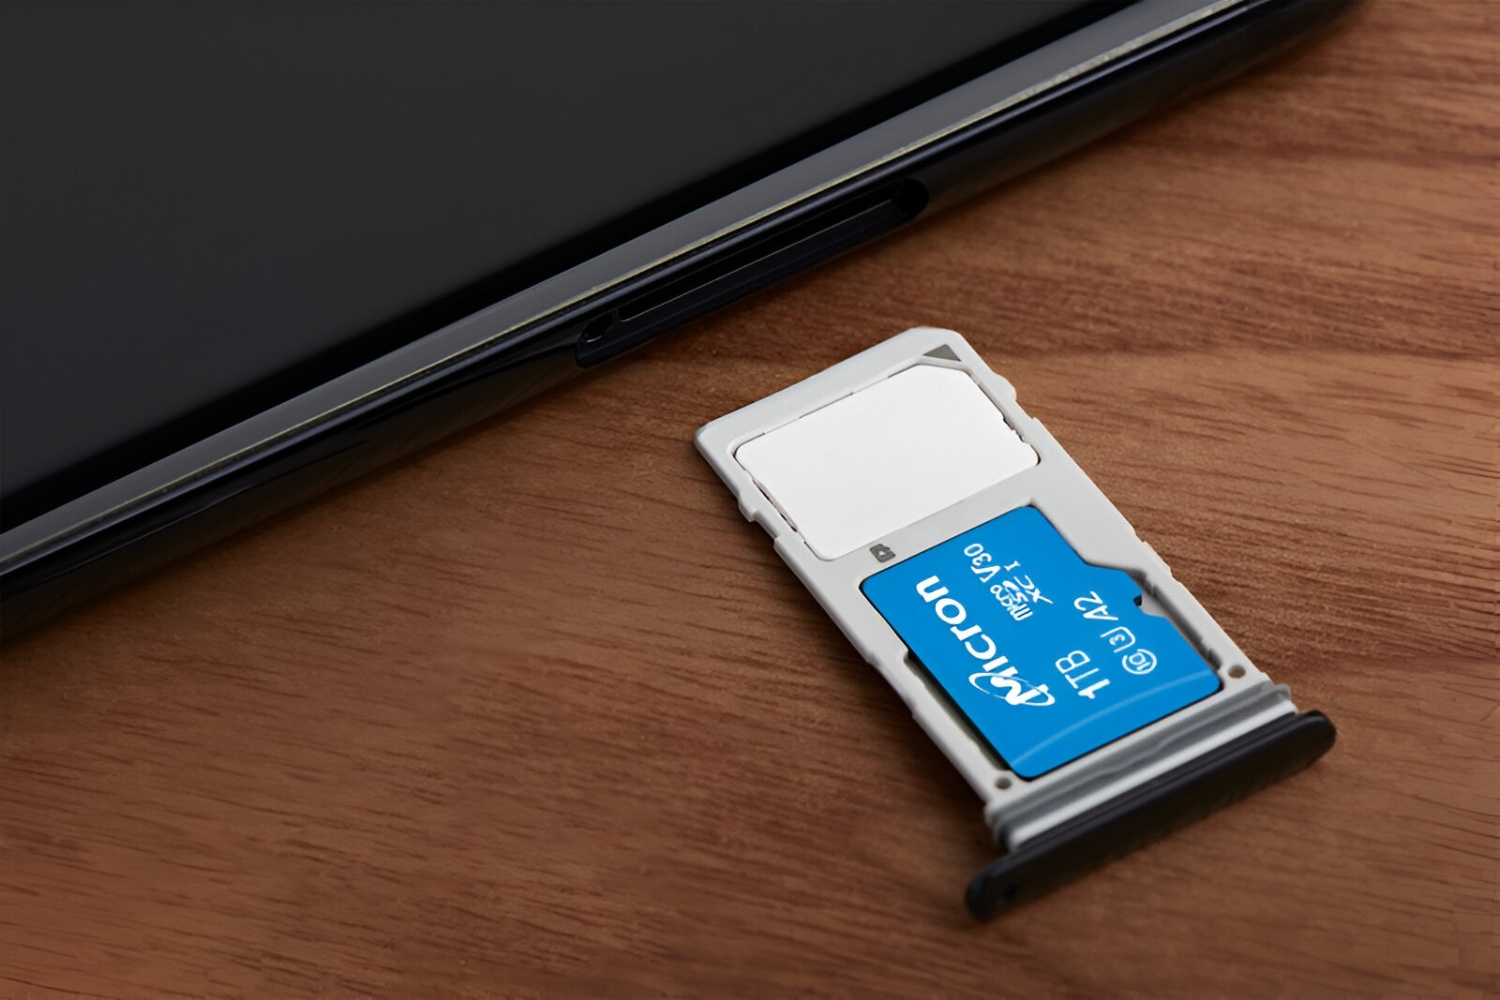
- An SD card: Ensure that you have the SD card containing the photos you want to transfer. Remove it from your camera or smartphone and keep it handy.
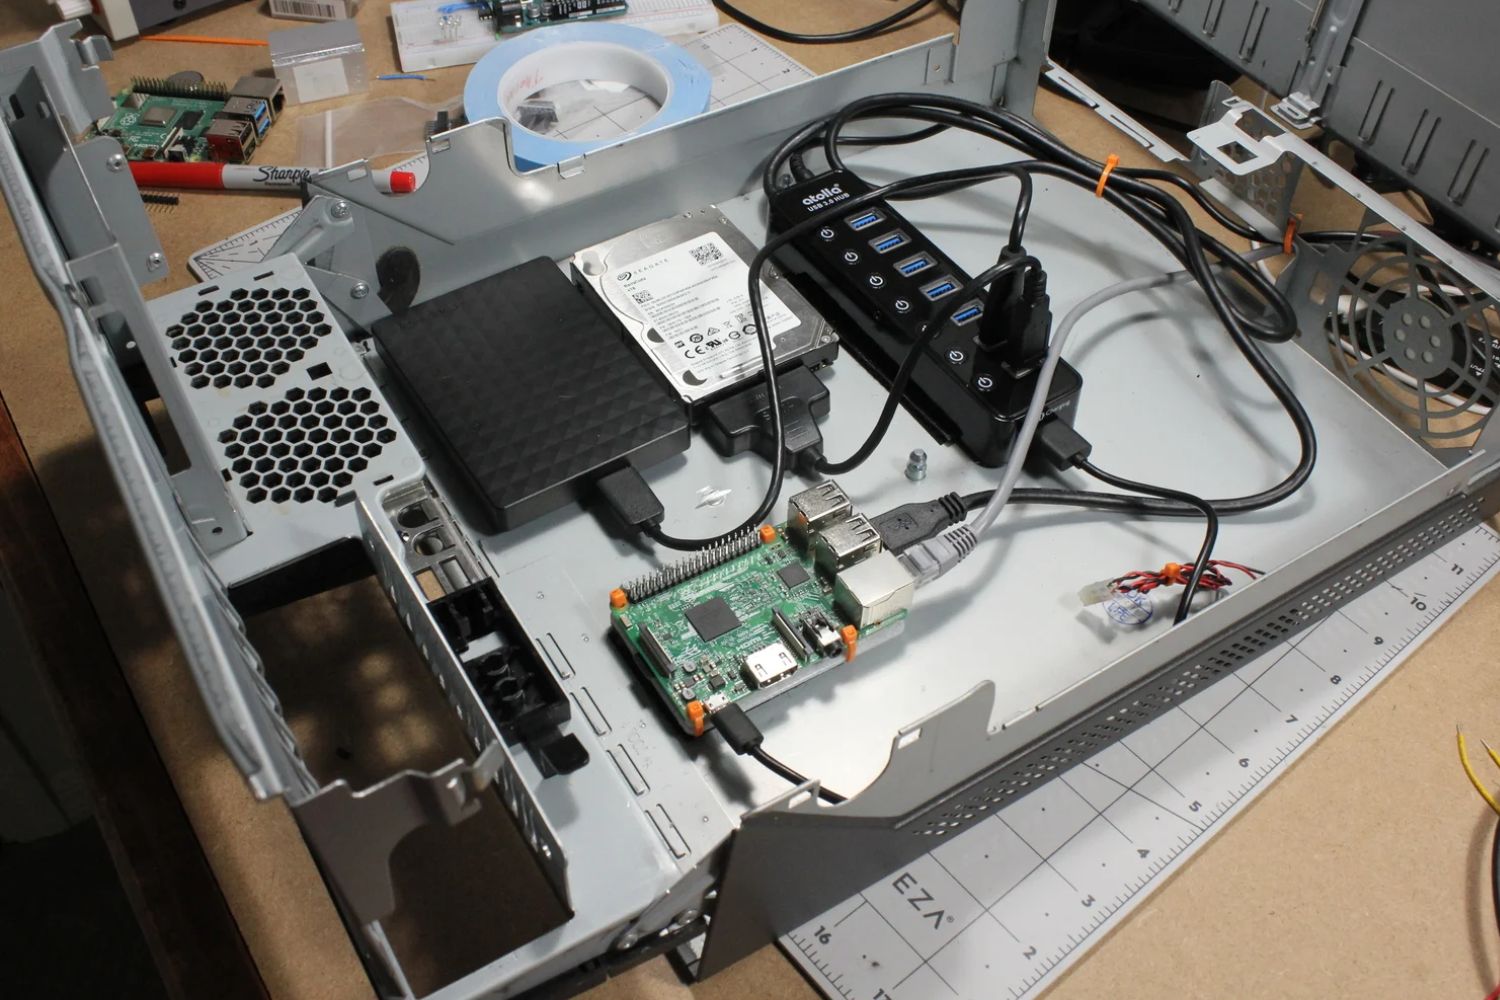
- An external hard drive: Choose a reliable external hard drive with sufficient storage space to hold all your photos. It’s recommended to format the hard drive before use to ensure compatibility.
- A USB cable: Depending on the type of external hard drive you have, you may need a USB cable to connect it to your computer. Make sure you have a compatible cable ready.
- A power source: If your external hard drive requires a power source, ensure it’s connected to a power outlet or has enough charge to complete the transfer process.
Once you have all the necessary equipment ready, you can proceed to the next step of connecting your SD card and external hard drive to your computer.
Step 2: Connect the SD card to your computer
Now that you have gathered all the necessary equipment, it’s time to connect your SD card to your computer. Follow these steps:
- If your computer has an integrated SD card slot, locate it on your computer. It is usually located on the side or front of the laptop, or on the front of the desktop tower.
- If your computer doesn’t have an SD card slot, connect an external SD card reader to one of the available USB ports on your computer.
- Insert the SD card into the SD card slot or the external SD card reader.
- Wait for your computer to recognize the SD card. It may take a few moments for the computer to detect and load the contents of the SD card.
- You may receive a notification or see the SD card appear as a removable storage device on your computer’s file explorer.
- If your computer doesn’t automatically open the SD card’s contents, open the file explorer and navigate to the SD card’s location. It is usually labeled as “Removable Disk” or displays the name of the SD card.
Once you have successfully connected the SD card to your computer and have access to its contents, you’re ready to move on to the next step of connecting the external hard drive.
Step 3: Connect the external hard drive to your computer
With the SD card connected and accessible on your computer, it’s time to connect the external hard drive. Follow these steps:
- Locate an available USB port on your computer.
- If necessary, connect one end of the USB cable to the external hard drive.
- Insert the other end of the USB cable into the USB port on your computer.
- Wait for your computer to recognize the external hard drive. It may take a few moments for the computer to detect and load the external hard drive’s contents.
- You may receive a notification or see the external hard drive appear as a removable storage device on your computer’s file explorer.
- If your computer doesn’t automatically open the external hard drive’s contents, open the file explorer and navigate to the external hard drive’s location. It is usually labeled with the name of the hard drive or as a separate storage device.
Once you have successfully connected the external hard drive to your computer and have access to its contents, you’re now ready to proceed to the next step of locating the photos on your SD card.
Step 4: Locate the photos on your SD card
After successfully connecting both the SD card and the external hard drive to your computer, the next step is to locate the photos on your SD card. Follow these steps:
- Open the file explorer on your computer.
- Navigate to the location where your computer recognized and loaded the contents of the SD card.
- Look for a folder labeled “DCIM.” This folder usually contains all the photos taken with your camera or smartphone.
- If you have multiple folders within the “DCIM” folder, open the folder that corresponds to the device or camera that you used to capture the photos.
- You should now see a list of image files, each representing a photo on your SD card.
- If you have organized your photos into specific folders, navigate to the desired folder to access those photos.
It’s worth noting that the specific file structure and organization may vary depending on the camera or smartphone you used to capture the photos. However, the majority of devices follow a similar structure with a “DCIM” folder containing image files. If you’re having trouble locating your photos, consult your device’s user manual or online resources for specific instructions.
Once you have located the photos on your SD card, you’re ready to proceed to the next step of copying the photos to your computer.
Step 5: Copy the photos to your computer
Now that you have successfully located the photos on your SD card, it’s time to copy them to your computer. Follow these steps:
- Select the photos you wish to transfer. You can either select individual photos or use keyboard shortcuts like Ctrl+A (Windows) or Command+A (Mac) to select all photos in the folder.
- Right-click on one of the selected photos and choose the “Copy” option from the context menu. Alternatively, you can use the keyboard shortcut Ctrl+C (Windows) or Command+C (Mac) to copy the selected photos.
- Navigate to the location on your computer where you want to store the copied photos. This can be a specific folder or the desktop, depending on your preference.
- Right-click in the destination location and choose the “Paste” option from the context menu. Alternatively, you can use the keyboard shortcut Ctrl+V (Windows) or Command+V (Mac) to paste the copied photos.
- Wait for the copying process to complete. The duration may vary depending on the number and size of the photos.
- Once the copying process is finished, verify that all the copied photos have been successfully transferred to your computer. You can do this by navigating to the destination location and checking that all the photos are present.
By following these steps, you have successfully copied the photos from your SD card to your computer. Next, we will move on to the final step of transferring the photos to the external hard drive.
Step 6: Transfer the photos to the external hard drive
With the photos successfully copied to your computer, it’s time to transfer them to the external hard drive for safekeeping. Follow these steps:
- Open the file explorer on your computer.
- Navigate to the location where you stored the copied photos.
- Connect to the file explorer location of your external hard drive. If you’re unsure, you can check the file explorer for the external hard drive’s label or name.
- Drag and drop the selected photos from your computer to the file explorer location of the external hard drive. You can also use the copy and paste method from the previous step to transfer the photos.
- Wait for the transfer process to complete. The duration will depend on the number and size of the photos being transferred.
- Once the transfer is finished, verify that all the transferred photos are now present in the file explorer location of your external hard drive.
By following these steps, you have successfully transferred the photos from your computer to the external hard drive. This ensures that your precious memories are safely stored in a separate location, freeing up space on your computer and SD card.
Now that the transfer process is complete, it’s essential to safely eject both the SD card and the external hard drive from your computer to avoid any data corruption. Let’s move on to the final step of safely ejecting the devices.
Step 7: Safely eject the SD card and external hard drive
After successfully transferring the photos to the external hard drive, it’s important to safely eject both the SD card and the external hard drive from your computer to ensure that no data is corrupted. Follow these steps to safely eject the devices:
- Close any open file explorer windows that are displaying the contents of the SD card or the external hard drive.
- If applicable, make sure all the photo transfer processes are completed and no files are being accessed on either device.
- On your computer’s taskbar, locate the “Safely Remove Hardware” icon. It looks like a USB connector with a green checkmark or arrow.
- Click on the “Safely Remove Hardware” icon to display a list of devices connected to your computer.
- Select the SD card from the list of connected devices.
- Wait for a message or notification confirming that it is safe to remove the SD card. This typically indicates that all read and write operations have been completed.
- Now, select the external hard drive from the list of connected devices.
- Wait for a message or notification confirming that it is safe to remove the external hard drive.
- Once you have received confirmation for both devices, gently remove the SD card from the SD card slot or the external SD card reader, and disconnect the USB cable connecting the external hard drive to your computer.
Remember to handle the devices with care and avoid disconnecting them while any data transfer or operation is in progress. Safely ejecting the SD card and the external hard drive protects your data and ensures the longevity of the devices.
Following these steps completes the process of transferring photos from your SD card to the external hard drive. You can now enjoy the extra storage space on your SD card and have the peace of mind knowing that your precious photos are safely backed up on the external hard drive.
Conclusion
Congratulations! You have successfully learned how to transfer photos from an SD card to an external hard drive. By following the step-by-step process outlined in this guide, you have freed up storage space on your SD card and created a backup of your valuable photos.
Throughout this tutorial, we covered everything from gathering the necessary equipment to safely ejecting the devices after the transfer. By following each step carefully, you were able to connect the SD card and external hard drive to your computer, locate and copy the photos to your computer, transfer the photos to the external hard drive, and safely eject both devices.
This process ensures that your photos are stored in a separate location for added security and peace of mind. Additionally, transferring your photos to an external hard drive helps avoid losing them in the event of SD card damage or loss.
Remember, the specific steps may vary depending on your computer’s operating system and the type of external hard drive you are using. However, the general process remains the same, and you can adapt these instructions to suit your specific setup.
Now that you have mastered this valuable skill, you can confidently transfer photos from your SD card to an external hard drive whenever needed. Enjoy the extra storage space on your SD card and rest easy knowing that your precious memories are safely backed up.
Thank you for following along with this guide. We hope it has been helpful, and we encourage you to explore other useful tutorials and resources to further enhance your digital storage and organization capabilities.