Introduction
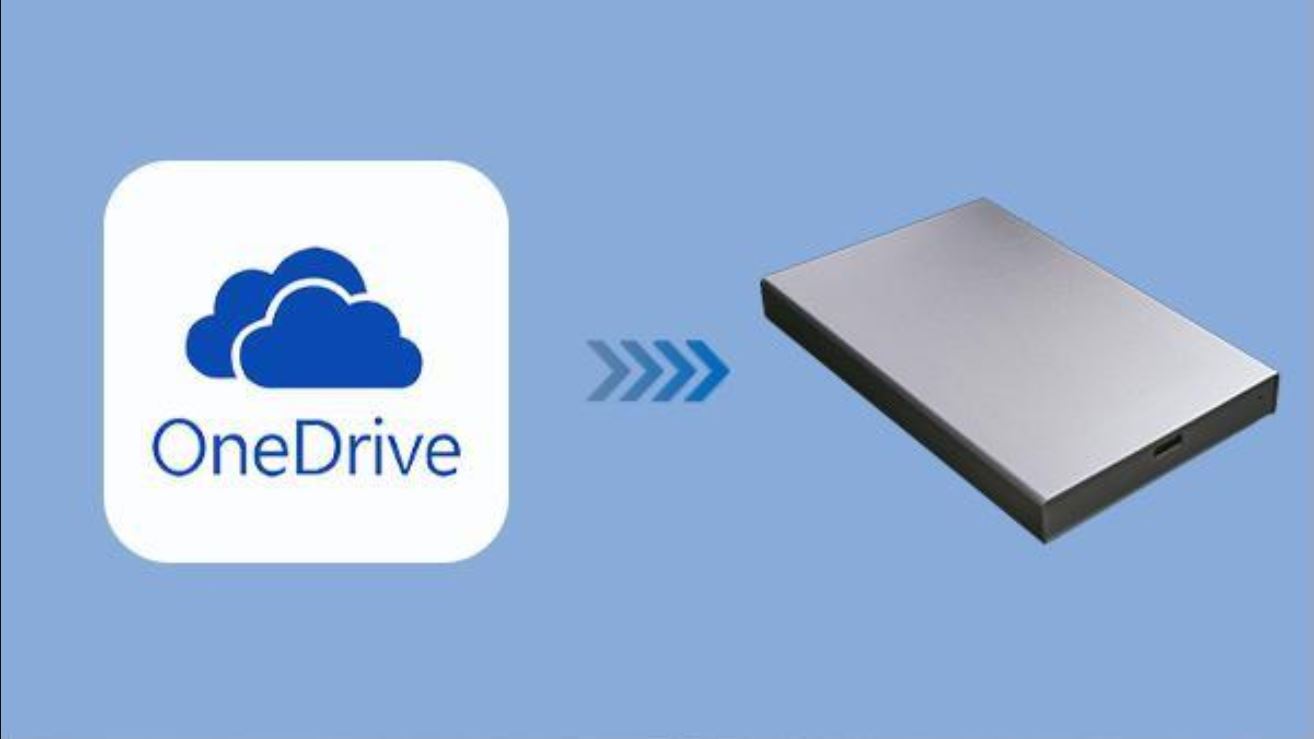
Welcome to our guide on how to download files from OneDrive to an external hard drive. OneDrive is a popular cloud storage service offered by Microsoft that allows users to store and access their files from anywhere with an internet connection. However, there may be times when you want to download your files and save them directly to an external hard drive for offline access or as a backup.
Downloading files from OneDrive to an external hard drive is a simple process that can help you free up space on your computer and keep your important files safe. In this guide, we will walk you through the step-by-step instructions to ensure a smooth and hassle-free transfer of your files.
Before we begin, it’s important to note that the steps may slightly vary depending on the operating system you are using. However, the overall process remains similar across different platforms. Whether you are using Windows or Mac, we have got you covered.
In the following sections, we will provide detailed instructions on how to connect your external hard drive, sign in to your OneDrive account, locate and download the desired files or folders, and finally, transfer them to the external hard drive. By following these steps, you can easily and efficiently download files from OneDrive to your external hard drive in no time.
So, without further ado, let’s get started with the first step: connecting your external hard drive to your computer.
Step 1: Connect your external hard drive to your computer
The first step in downloading files from OneDrive to your external hard drive is to connect the hard drive to your computer. This will allow you to transfer the downloaded files directly to the external storage device. Follow the steps below to connect your external hard drive:
- Locate an available USB port on your computer. Most computers have multiple USB ports, usually located on the sides or back of the device.
- Take the USB cable that came with your external hard drive and plug one end into the USB port on your computer.
- Plug the other end of the USB cable into the corresponding port on your external hard drive. The port is typically labeled “USB” or may have a symbol indicating its purpose.
- Once the cable is securely connected, you should see a notification from your computer acknowledging the external hard drive. It may take a few moments for the computer to recognize the new device.
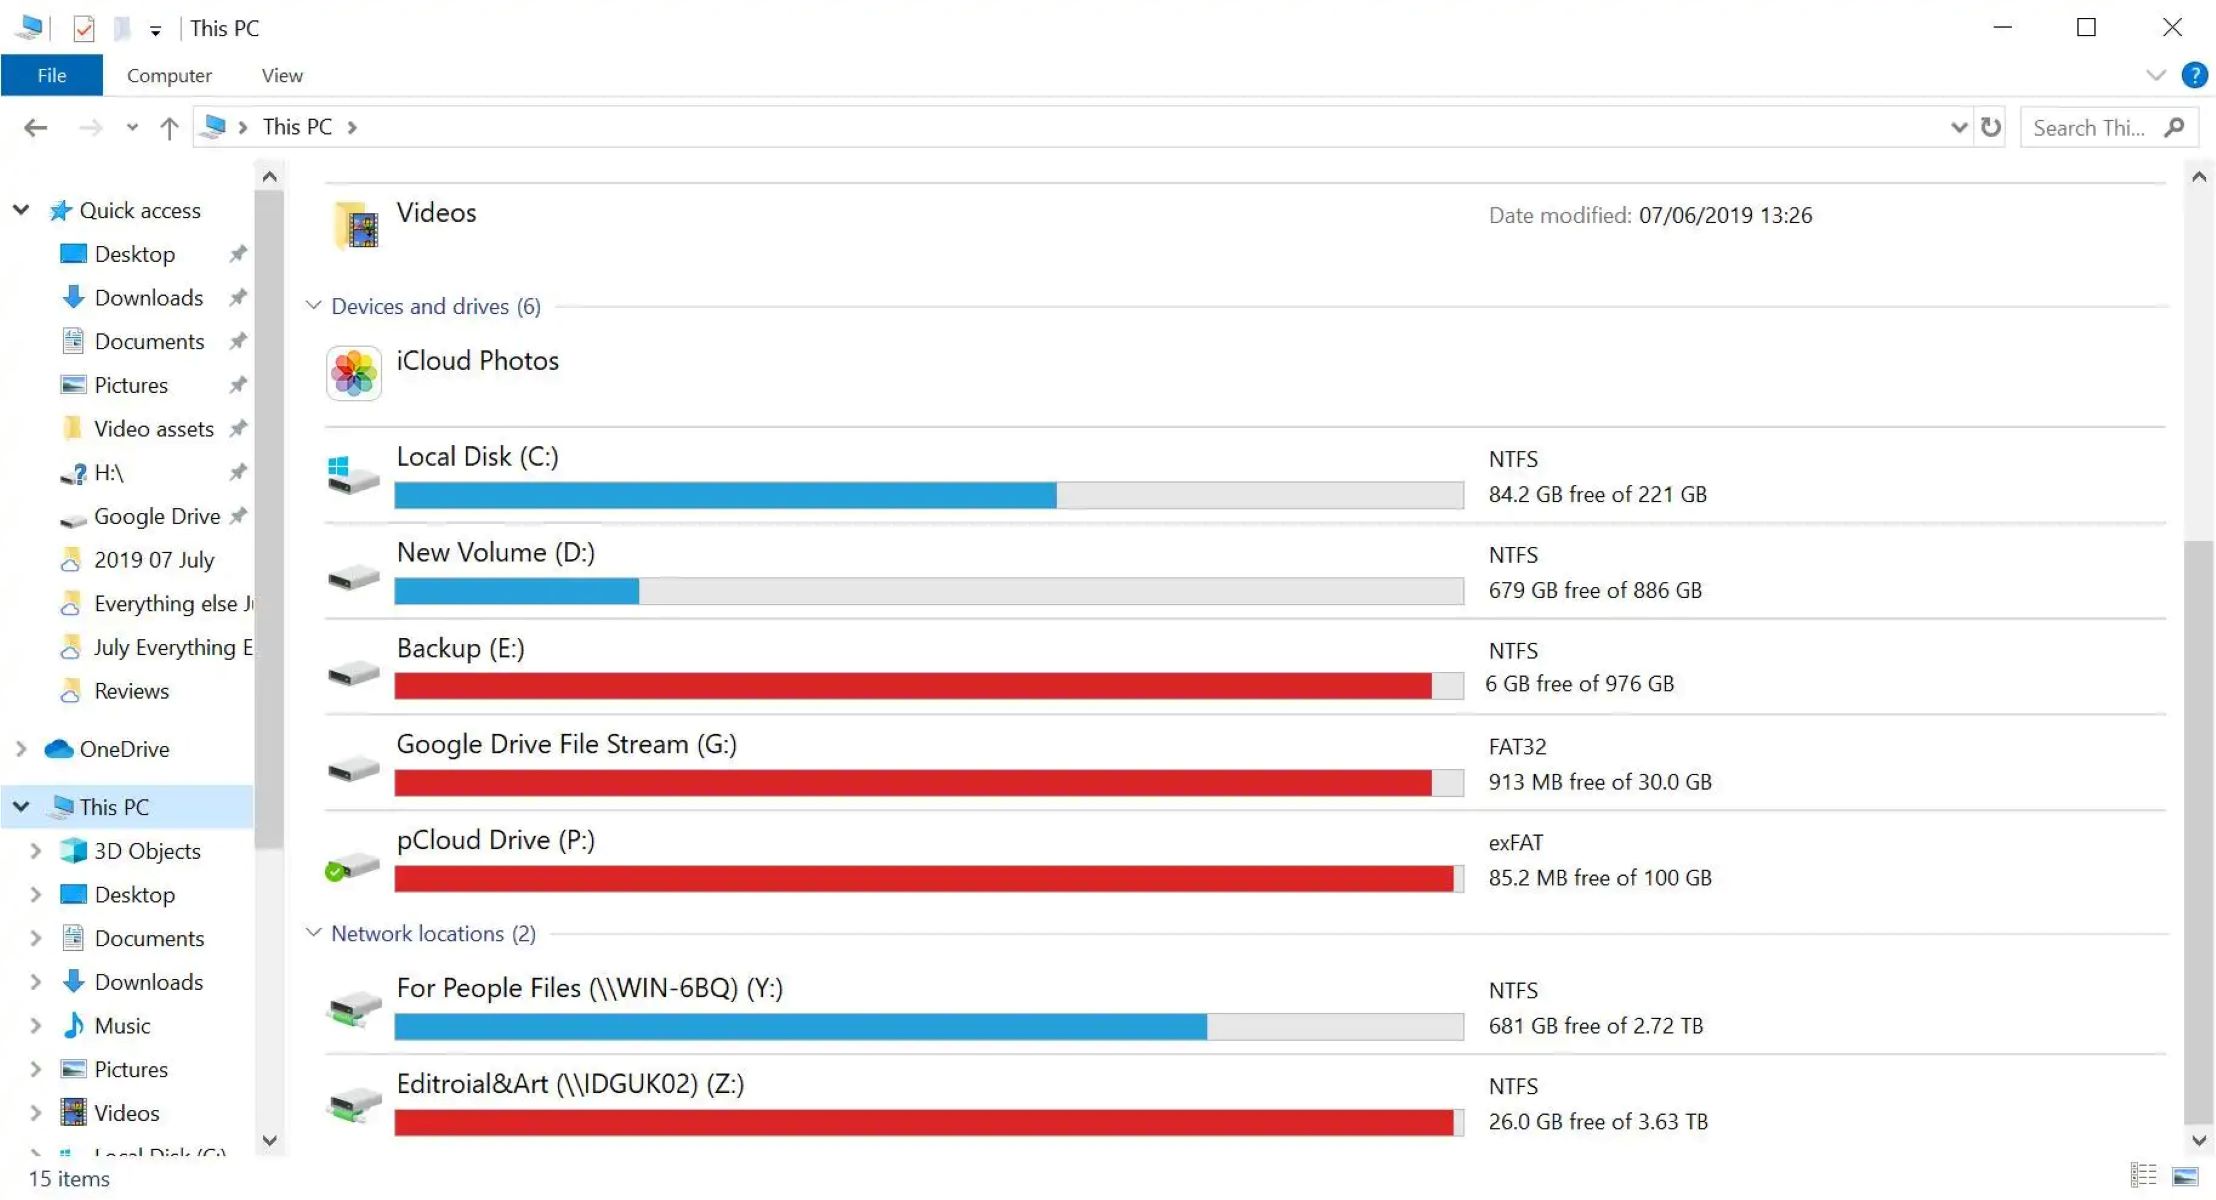
- Verify that the external hard drive appears in your computer’s file explorer or desktop. Depending on your operating system, it may be listed as a separate drive or under the “Devices” section.
Once you have successfully connected your external hard drive to your computer, you are ready to move on to the next step: signing in to your OneDrive account. Make sure to keep the external hard drive connected throughout the entire process to ensure a seamless transfer of your files.
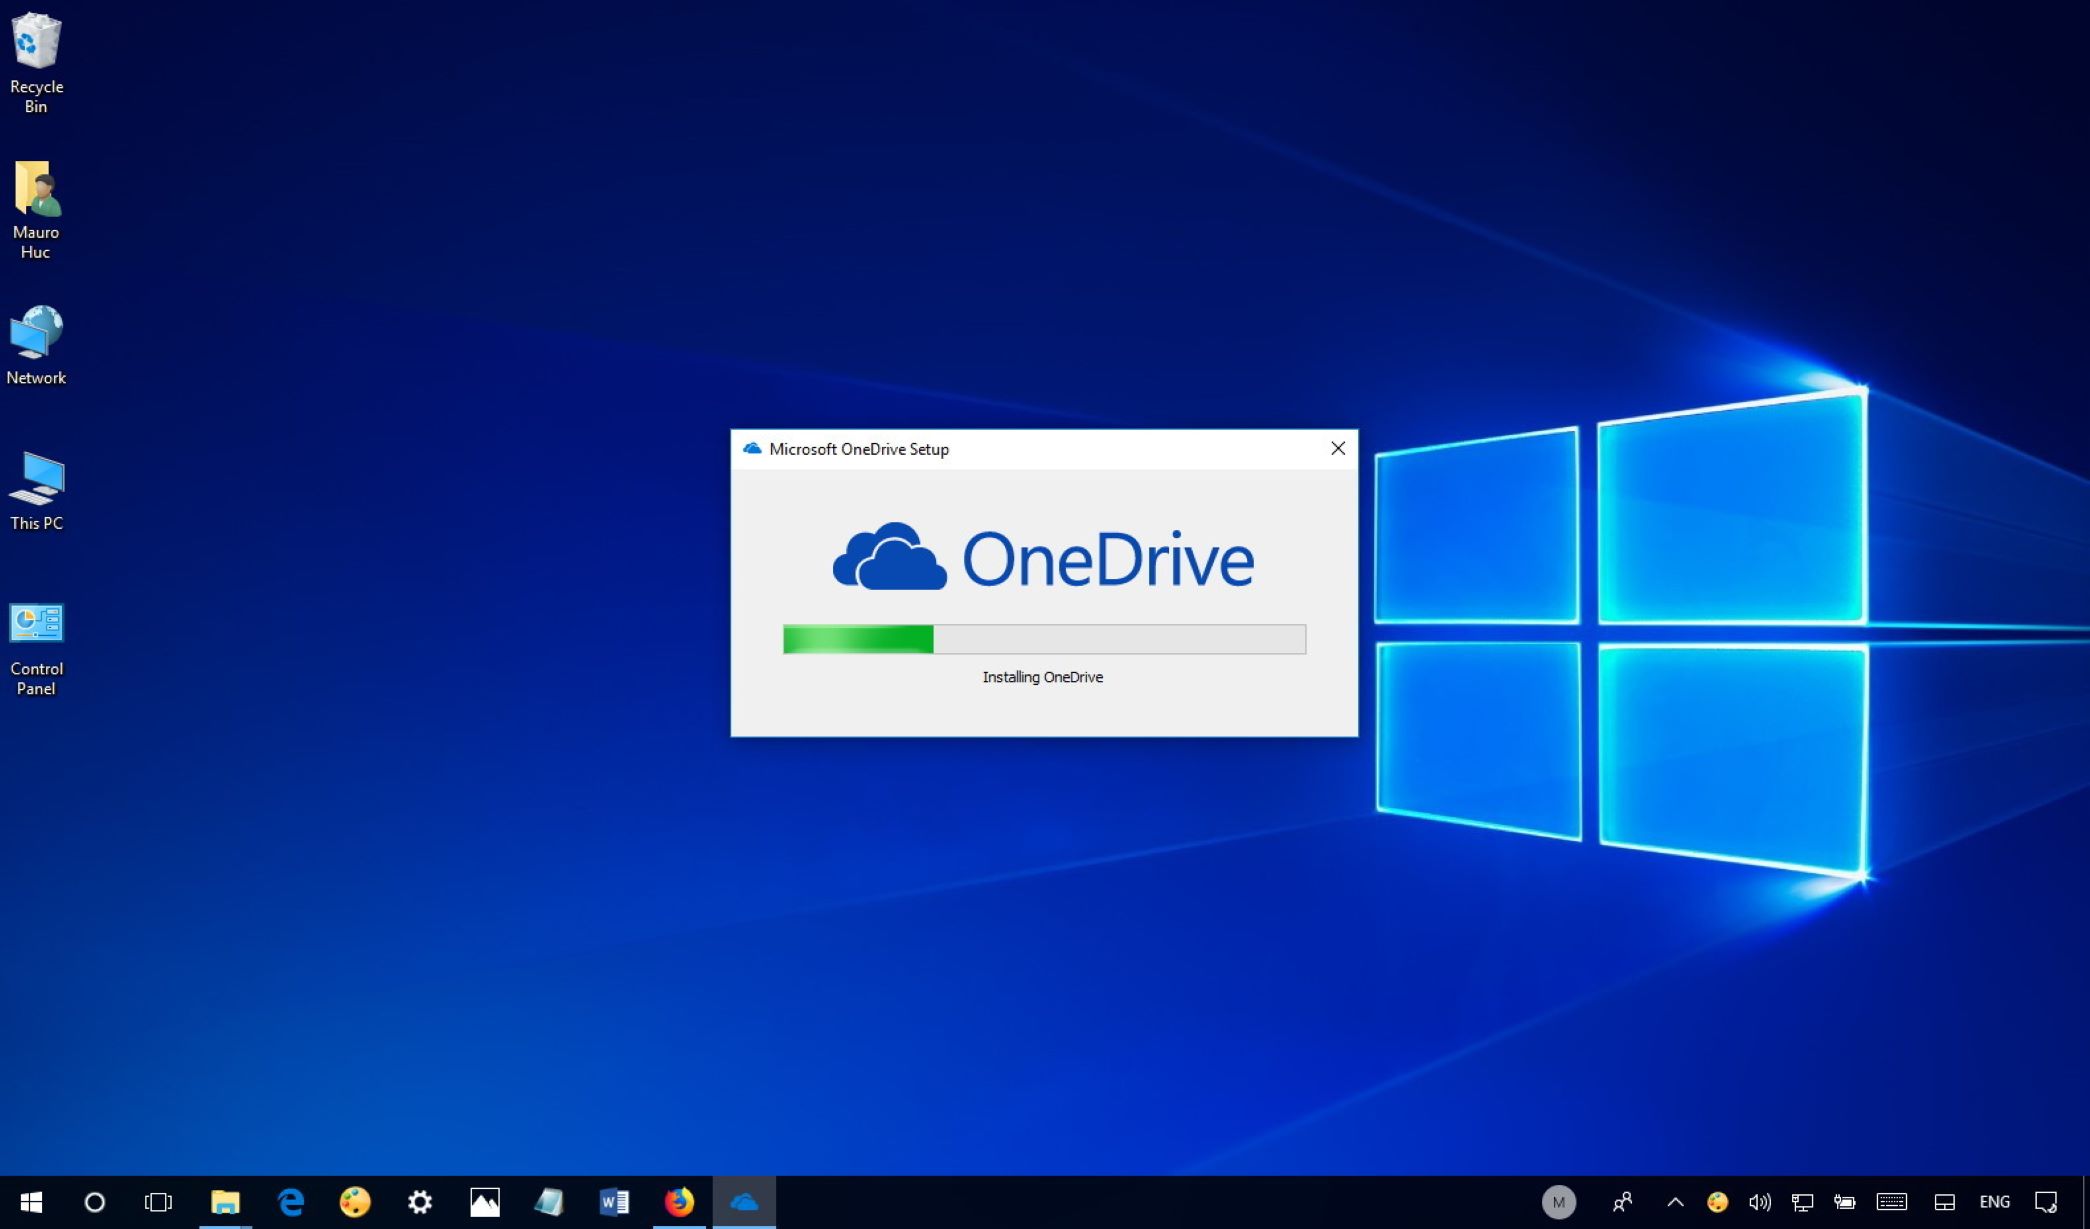
Step 2: Sign in to your OneDrive account
In order to access your files on OneDrive and download them to your external hard drive, you need to sign in to your OneDrive account. Follow the steps below to sign in:
- Open a web browser on your computer and go to the OneDrive website (www.onedrive.com).
- Click on the “Sign in” button located at the top-right corner of the page. This will take you to the sign-in page.
- Enter your Microsoft account email address and password in the respective fields. If you don’t have a Microsoft account, you can create one by clicking on the “Create one!” link.
- Click on the “Sign in” button to log in to your OneDrive account.
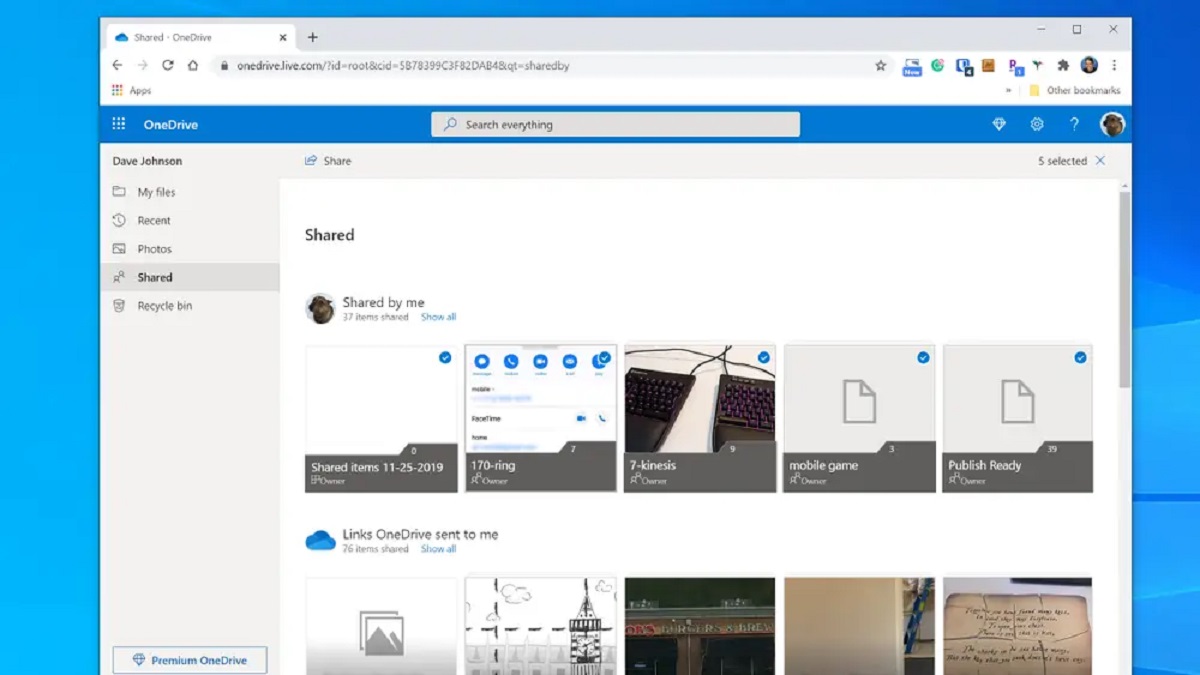
- Once you are signed in, you will be redirected to your OneDrive dashboard, where you can access all your files and folders.
It’s important to ensure that you are signed in to the correct Microsoft account associated with your OneDrive files. Double-check that you are using the correct email address and password to avoid any account-related issues.
After successfully signing in to your OneDrive account, you are now ready to proceed to the next step: locating the specific file or folder that you want to download to your external hard drive.
Step 3: Locate the file or folder you want to download
Once you have signed in to your OneDrive account, the next step is to locate the file or folder that you want to download to your external hard drive. Follow these steps to find the desired file or folder:
- On your OneDrive dashboard, you will see a list of all your files and folders. You can navigate through your files by clicking on the folders or using the search bar at the top of the page to find specific items.
- If you know the name of the file or folder you want to download, type it into the search bar and press enter. OneDrive will display the results related to your search query.
- Alternatively, you can browse through the folders and subfolders to find the file you’re looking for. Click on each folder to access its contents.
- If you are having trouble finding a specific file, you can utilize the sorting and filtering options provided by OneDrive. You can sort your files by name, date modified, or size. Additionally, you can filter files by type to narrow down your search.
Take your time to navigate through your files and locate the exact file or folder that you wish to download. Once you have found it, you are ready to move on to the next step: downloading the file or folder to your computer.
Step 4: Download the file or folder to your computer
After locating the file or folder you want to download from OneDrive, you can proceed to download it to your computer. Follow the steps below to download the desired file or folder:
- Right-click on the file or folder that you want to download. This will open a context menu with various options.
- From the context menu, click on the “Download” option. OneDrive will start downloading the file or folder to your computer.
- The download progress will be displayed, and the file or folder will be saved in your computer’s default download location, usually the “Downloads” folder.
- If you want to change the download location, you can do so by clicking on the “Save as” or “Save to” option from the context menu. Choose the desired location on your computer where you want to save the file or folder.
For larger files or folders, the download process might take some time, depending on your internet connection speed. It is recommended to have a stable and reliable internet connection to ensure a smooth and uninterrupted download.
Once the download is complete, you can proceed to the final step: transferring the downloaded files to your external hard drive.
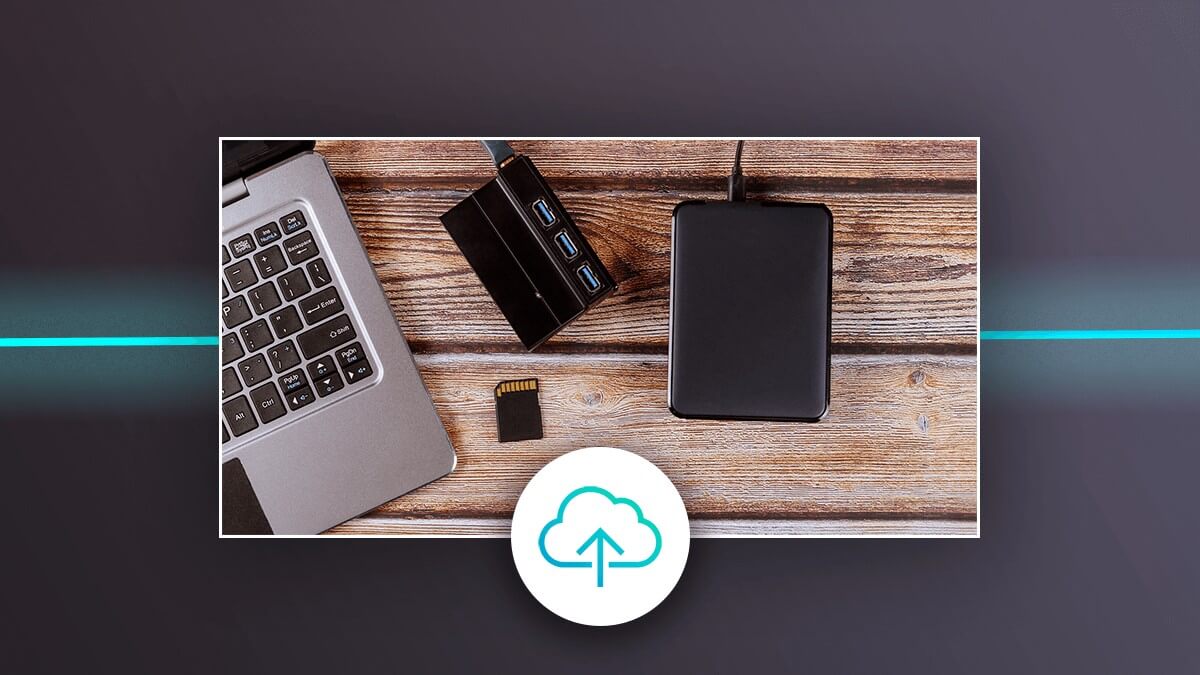
Step 5: Transfer the downloaded files to your external hard drive
Now that you have downloaded the desired files or folders from OneDrive to your computer, it’s time to transfer them to your external hard drive for safekeeping or offline access. Follow these steps to complete the transfer:
- Connect your external hard drive to your computer if it is not already connected.
- Locate the downloaded files or folders on your computer. By default, they are usually saved in the “Downloads” folder, but you may have chosen a different location during the download process.
- Open a new File Explorer (Windows) or Finder (Mac) window to explore the contents of your external hard drive.
- In the File Explorer or Finder window, navigate to the appropriate location on your external hard drive where you want to transfer the downloaded files or folders. This could be an existing folder or a new folder that you create.
- Drag and drop the downloaded files or folders from your computer’s file explorer window to the location on your external hard drive. Alternatively, you can right-click on the files or folders, select “Copy,” navigate to the external hard drive, right-click in the desired location, and choose “Paste.”
- Depending on the size of the files or folders and the speed of your computer and external hard drive, the transfer process may take some time. Avoid disconnecting the external hard drive or interrupting the transfer to prevent data loss or corruption.
- Once the transfer is complete, safely eject or disconnect your external hard drive from your computer. This can typically be done by right-clicking on the external hard drive icon in the file explorer or finder window and selecting the appropriate option to eject or disconnect.
That’s it! You have successfully transferred the downloaded files or folders from OneDrive to your external hard drive. Now you can access them offline or keep them safely stored for backup purposes.
Conclusion
Downloading files from OneDrive to an external hard drive is a convenient way to free up space on your computer and have offline access to your important files. Throughout this guide, we have provided step-by-step instructions on how to complete this process. By following these steps, you can easily transfer your files from OneDrive to your external hard drive:
- Connect your external hard drive to your computer.
- Sign in to your OneDrive account.
- Locate the file or folder you want to download.
- Download the file or folder to your computer.
- Transfer the downloaded files to your external hard drive.
Remember that the steps may vary slightly depending on your operating system, but the overall process remains the same. We hope this guide has been helpful in assisting you with downloading files from OneDrive to your external hard drive. Enjoy the convenience and peace of mind that come with having your important files stored on an external storage device.
If you have any further questions or encounter any difficulties during the process, consult the OneDrive support documentation or reach out to their customer support for additional assistance. Happy file management!