Introduction
Are you running out of storage space on your PC? Do you want to download and play Xbox games but don’t have enough space on your internal hard drive? Well, worry not! You can easily download Xbox games on an external hard drive and enjoy gaming without any storage limitations.
Xbox games are known for their immersive gameplay and stunning graphics, but they also require a significant amount of storage space. By downloading games directly onto an external hard drive, you can expand your storage capacity and have the freedom to install and play a wide range of Xbox games without worrying about the limitations of your PC’s internal storage.
In this article, we will guide you through the process of downloading Xbox games on an external hard drive on your PC. We will discuss the necessary requirements and provide a step-by-step guide to help you set up and manage your games effectively. So, let’s get started and unlock a world of gaming possibilities!
Disclaimer: Please note that this guide is specifically tailored for PC users who have an Xbox Game Pass subscription. The Xbox Game Pass subscription allows you to access a vast library of Xbox games to download and play on your PC. If you do not have an Xbox Game Pass subscription, you can still follow the initial steps to set up your external hard drive for Xbox compatibility, but you may need to acquire Xbox games through other means.
Requirements for Downloading Xbox Games on an External Hard Drive
Before you proceed with downloading Xbox games on an external hard drive, there are a few requirements you need to fulfill. These requirements will ensure a smooth gaming experience and optimal performance. Here’s what you’ll need:
- PC with Windows 10: To download and play Xbox games on your PC, you need to have a PC running Windows 10. Make sure your PC meets the minimum system requirements for Windows 10.
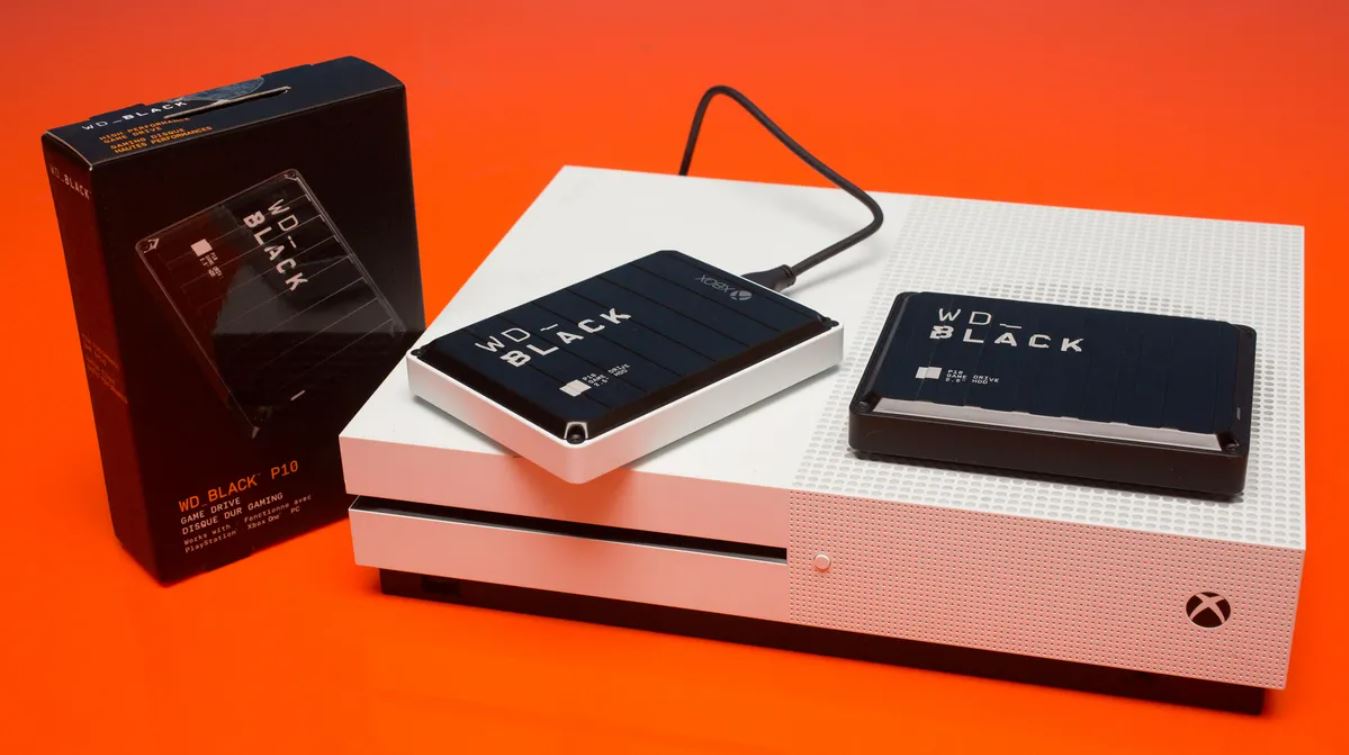
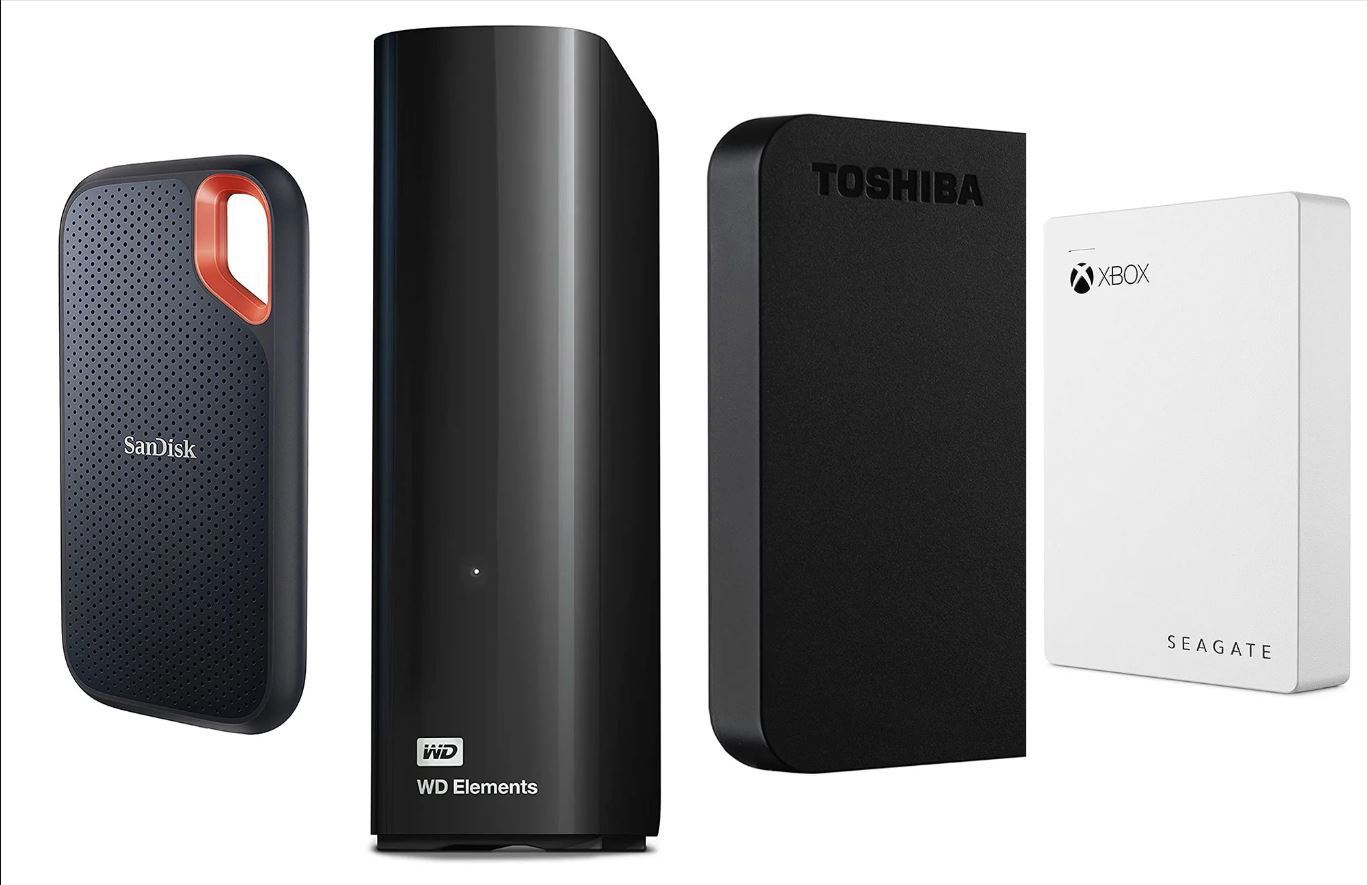
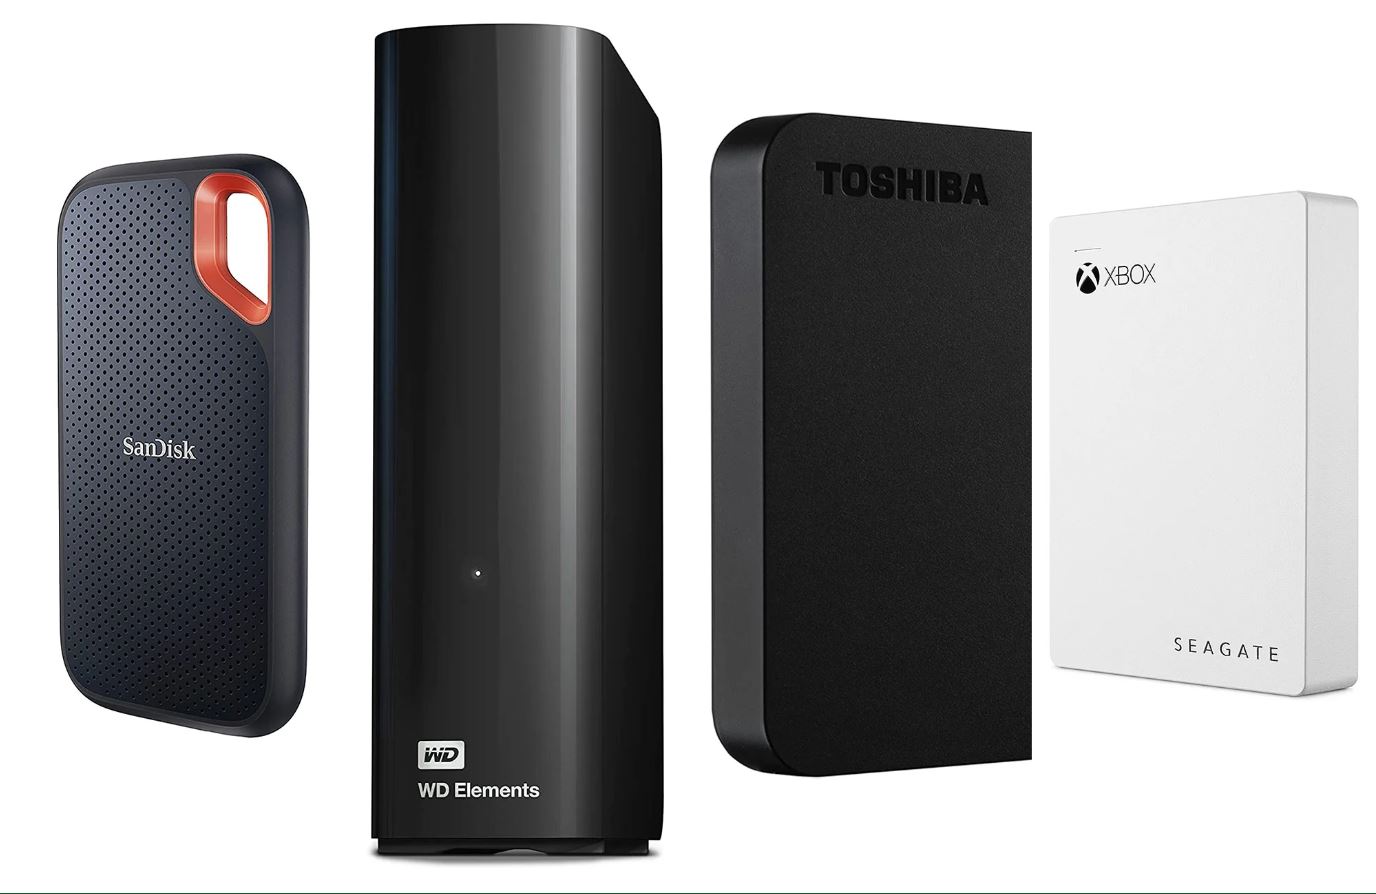
- External Hard Drive: Choose a high-capacity external hard drive with USB 3.0 or higher for optimal performance. The storage capacity of the external hard drive will depend on the number of games you plan to download. It’s recommended to get a hard drive with at least 500GB of storage space.
- Formatted for Xbox Compatibility: The external hard drive needs to be formatted in a way that is compatible with the Xbox system. We will guide you on how to format the hard drive in the following steps.
- Xbox Game Pass Subscription: To access a wide range of Xbox games on your PC, you need an Xbox Game Pass subscription. This subscription allows you to download and play games from the Xbox Game Pass library. You can sign up for Xbox Game Pass on the official Xbox website.
- Stable Internet Connection: Downloading Xbox games requires a stable internet connection. Make sure you have a reliable internet connection to avoid any interruptions during the download process.
By ensuring that you meet these requirements, you can proceed with confidence knowing that your PC and external hard drive are ready to handle the download and installation of Xbox games. Once you have these requirements in place, you’re ready to move on to the step-by-step process of downloading Xbox games on an external hard drive.
Step-by-Step Guide for Downloading Xbox Games on an External Hard Drive
Now that you have fulfilled the requirements, it’s time to dive into the step-by-step process of downloading Xbox games on an external hard drive. Follow these instructions carefully to ensure a smooth and successful gaming experience:
- Formatting the External Hard Drive for Xbox Compatibility: Connect the external hard drive to your PC and open the Disk Management tool. Locate the external hard drive, right-click on it, and select “Format.” Choose the NTFS file system and give the drive a unique name. Click “OK” to start the formatting process. Be aware that formatting the drive will erase all existing data, so make sure you have a backup if needed.
- Connecting the External Hard Drive to Your PC: After formatting, safely disconnect the external hard drive from your PC and then reconnect it. This ensures that the drive is recognized correctly by your PC.
- Downloading and Installing Xbox Game Pass on Your PC: Visit the official Xbox website and sign in with your Xbox Game Pass account. Locate the download link for Xbox Game Pass for PC and follow the instructions to download and install the application on your PC.
- Configuring Xbox Game Pass to Download Games on the External Hard Drive: Launch the Xbox Game Pass application on your PC and go to Settings. Under the “Installation” tab, click on “Change” next to the “Game Library Location” option. Choose the external hard drive as the preferred installation location and save the changes.
- Downloading Xbox Games on the External Hard Drive: Browse through the games available in the Xbox Game Pass library and select the games you want to download. Click on the “Install” button and confirm the installation location as the external hard drive. The games will start downloading onto the external hard drive.
- Managing Downloaded Games on the External Hard Drive: Once the games are downloaded, you can access them through the Xbox Game Pass application. Launch the application, go to the “Library” tab, and you’ll find all your downloaded games. Simply click on a game to start playing it.
Following these steps will enable you to download Xbox games directly onto your external hard drive, giving you more storage space on your PC’s internal drive and the convenience of playing games without worrying about storage limitations. Enjoy your gaming experience with a vast library of Xbox games, all accessible from your external hard drive!
Formatting the External Hard Drive for Xbox Compatibility
Before you can start downloading Xbox games on your external hard drive, you need to ensure that it is formatted in a way that is compatible with the Xbox system. Here’s a step-by-step guide on how to format your external hard drive:
- Connect the External Hard Drive to Your PC: Plug in the external hard drive to an available USB port on your PC. Make sure it is properly connected and detected by your computer.
- Open the Disk Management Tool: Press the Windows key + X on your keyboard to open the Power User Menu. From the menu, select “Disk Management.” This will open the Disk Management tool.
- Locate and Select the External Hard Drive: In the Disk Management tool, you will see a list of all the storage devices connected to your PC. Look for your external hard drive in the list. It is usually labeled as “Disk X” or “External Hard Drive.”
- Right-Click and Select “Format”: Right-click on the external hard drive and select “Format” from the context menu. A new window will appear with various formatting options.
- Choose the File System: In the formatting window, you will see a drop-down menu labeled “File System.” Click on the drop-down menu and choose “NTFS.” This is the recommended file system for Xbox compatibility.
- Assign a Drive Letter and Name: After selecting the file system, you can choose to assign a drive letter to your external hard drive. You can either leave it as the default drive letter or choose a different one. Additionally, you can give your external hard drive a name in the “Volume label” field.
- Start the Formatting Process: Double-check that all the settings are correct, and then click on the “OK” button to start the formatting process. A warning message will appear, stating that all data on the external hard drive will be erased. Make sure you have backed up any important data before proceeding.
- Wait for the Formatting Process to Complete: The formatting process may take a few minutes, depending on the size of your external hard drive. Once it is complete, you will see a notification confirming the successful formatting of the drive.
By following these steps, you will successfully format your external hard drive to be compatible with the Xbox system. This will allow you to download and store Xbox games on the external hard drive and enjoy gaming without any storage limitations.
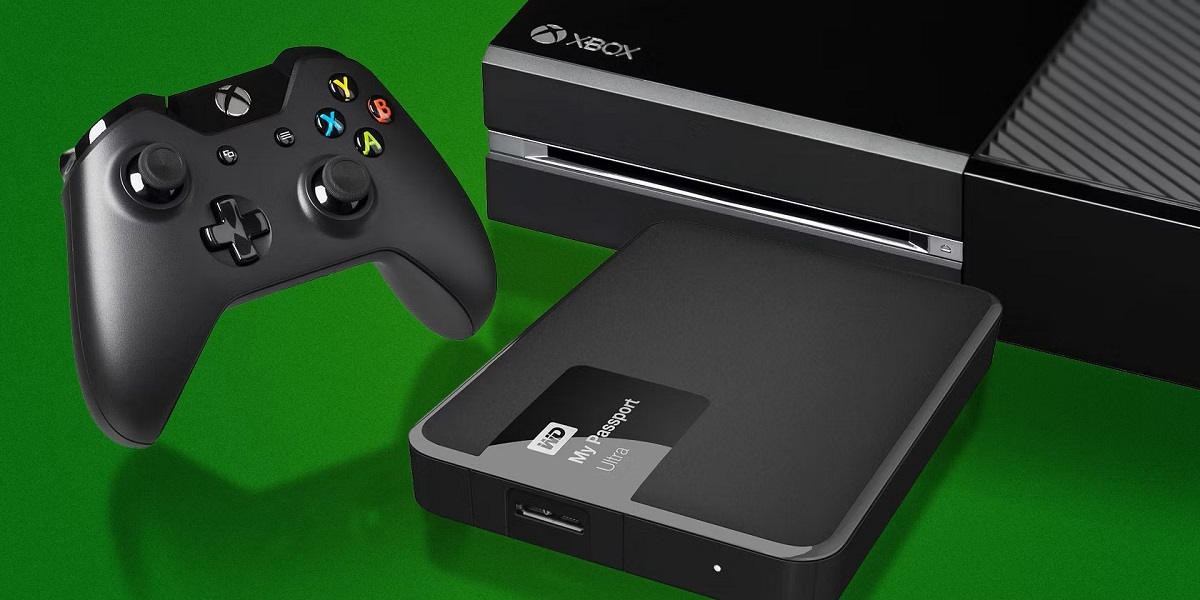
Connecting the External Hard Drive to Your PC
After formatting your external hard drive for Xbox compatibility, the next step is to connect it to your PC. Properly connecting the external hard drive ensures that it is recognized and accessible by your computer. Here’s how you can do it:
- Locate an Available USB Port: Identify an available USB port on your PC where you can connect the external hard drive. USB ports are typically located on the front, back, or sides of the computer tower or laptop.
- Plug in the External Hard Drive: Take the USB cable attached to your external hard drive and insert it into the USB port on your PC. Ensure that the connection is secure and the cable is inserted fully. You may hear a sound or see a notification on your PC indicating that a new device has been detected.
- Wait for the External Hard Drive to be Recognized: Once the external hard drive is connected, your PC will automatically detect it and install any necessary drivers. This process may take a few moments, so be patient and allow the system to recognize the drive.
- Check for Drive Recognition: To verify that your PC has recognized the external hard drive, open “File Explorer” or “My Computer” and look for the external drive under the list of connected devices. It is often labeled with the name you assigned during the formatting process.
- Safely Eject the External Hard Drive: Before disconnecting the external hard drive from your PC, it’s important to eject it properly to avoid any data corruption or loss. Right-click on the drive in “File Explorer” or “My Computer” and select “Eject” or “Safely Remove.” Wait until you receive a notification that it is safe to remove the drive.
- Disconnect the External Hard Drive: Once you have safely ejected the external hard drive, gently unplug the USB cable from the USB port on your PC. Store the cable in a safe place for future use, and your external hard drive is now disconnected from your PC.
By following these steps, you can easily connect and disconnect the external hard drive to your PC whenever you need to download or access Xbox games. Ensure that the connection is secure and that you safely eject the drive to protect your data and prevent any potential damage. With the external hard drive connected, you’re now ready to proceed with downloading Xbox games on your PC.
Downloading and Installing Xbox Game Pass on Your PC
To download and play Xbox games on your PC, you will need to install the Xbox Game Pass application. Xbox Game Pass gives you access to a vast library of games that you can download and play at your convenience. Follow these steps to download and install Xbox Game Pass on your PC:
- Visit the Official Xbox Website: Open your preferred web browser and go to the official Xbox website. Make sure you are on the PC gaming section of the site.
- Sign in to Your Xbox Account: If you have an existing Xbox account, sign in using your credentials. If you don’t have an account, create one by following the instructions on the website.
- Access the Xbox Game Pass Section: Navigate to the Xbox Game Pass section on the website. This is where you will find information about the subscription and access to the PC game library.
- Choose the Xbox Game Pass Plan: Select the Xbox Game Pass subscription plan that suits your preferences. There may be different options available, such as monthly or annual plans.
- Complete the Subscription Process: Follow the prompts on the website to complete the subscription process. You may need to provide payment information depending on the plan you choose. Once your subscription is confirmed, you will have access to Xbox Game Pass.
- Download the Xbox Game Pass Application: From the Xbox Game Pass section of the website, locate the download link for the PC application. Click on the download link to start downloading the Xbox Game Pass application.
- Install Xbox Game Pass on Your PC: Once the download is complete, locate the downloaded installation file and double-click on it to begin the installation process. Follow the on-screen instructions and prompts to install Xbox Game Pass on your PC.
- Sign in to Xbox Game Pass: After the installation is complete, launch the Xbox Game Pass application on your PC. Sign in to the application using your Xbox account credentials that you used during the subscription process.
By following these steps, you will successfully download and install the Xbox Game Pass application on your PC. This will grant you access to a wide selection of Xbox games that you can download and play at your convenience. Once you have installed Xbox Game Pass, you are ready to configure the application to download games onto your external hard drive.
Configuring Xbox Game Pass to Download Games on the External Hard Drive
After installing the Xbox Game Pass application on your PC, the next step is to configure it to download games directly onto your external hard drive. Follow these steps to set up your preferred installation location:
- Launch the Xbox Game Pass Application: Open the Xbox Game Pass application on your PC by locating it in your list of installed applications or by searching for it in the Start menu.
- Go to Settings: Look for the Settings icon within the application, usually represented by a gear or cogwheel. Click on it to access the settings menu.
- Navigate to the Installation Tab: Within the settings menu, locate and select the “Installation” or “Storage” tab. This is where you can adjust various installation settings, including the preferred location for downloaded games.
- Change the Game Library Location: Look for the option to change the game library location or installation directory. Click on the “Change” or “Browse” button next to it.
- Select the External Hard Drive: A window will appear showing the available storage drives on your PC. Choose the external hard drive you formatted earlier as the location for your Xbox game library. Click “OK” to save the changes.
- Save the Settings: After selecting the external hard drive, navigate to the bottom of the settings menu and click on the “Save” or “Apply” button to ensure that your preferred installation location is saved.
By following these steps, you have successfully configured the Xbox Game Pass application to download games onto your external hard drive. This ensures that all future downloads and installations will be directed to the external hard drive, optimizing your storage space on the PC’s internal drive. Now you’re ready to proceed with downloading Xbox games directly onto your external hard drive.
Downloading Xbox Games on the External Hard Drive
With your Xbox Game Pass application configured to download games onto your external hard drive, you can now start downloading and installing Xbox games directly onto the external storage. Follow these steps:
- Browse the Xbox Game Pass Library: Open the Xbox Game Pass application on your PC. Browse through the library of games available to you as part of your subscription. You can use the search bar, filters, or categories to find specific games or explore different genres.
- Select a Game to Download: Once you find a game you want to download, click on it to view the game details page. Read the description, check out screenshots or trailers, and decide if you want to download it.
- Click on the “Install” Button: On the game details page, click on the “Install” button. This will initiate the download and installation process for the selected game.
- Choose the External Hard Drive as the Installation Location: A pop-up window will appear, asking you to confirm the installation location. Make sure the external hard drive is selected as the preferred location for the installation. If it’s not selected, choose it from the drop-down menu. Click “Install” to start the download.
- Monitor the Download Progress: The Xbox Game Pass application will display the download progress of the game. You can monitor the progress in the “Downloads” or “My Library” section of the application. The time it takes to complete the download will vary depending on the game size and your internet connection speed.
- Access the Downloaded Game: Once the download is complete, you can access the game from the Xbox Game Pass application. Look for the game in your library or recently installed games section. Click on it to launch and start playing!
By following these steps, you can easily download and install Xbox games directly onto your external hard drive. This allows you to save valuable space on your PC’s internal drive and access a wide range of games from your external storage. Enjoy an expansive collection of games without worrying about running out of storage space!
Managing Downloaded Games on the External Hard Drive
Managing your downloaded Xbox games on the external hard drive is essential to keep your gaming library organized and to maximize the available storage space. Here are some tips for effectively managing your downloaded games:
- Launching Games: To play a downloaded game, open the Xbox Game Pass application on your PC. Navigate to the “Library” tab or look for the game in the recently installed section. Click on the game and select “Play” to launch it.
- Uninstalling Games: If you want to free up space on your external hard drive or make room for new games, you can uninstall games you no longer play. Go to the “Library” tab in the Xbox Game Pass application, right-click on the game you want to uninstall, and select “Uninstall.” Confirm the uninstallation when prompted.
- Updating Games: Xbox games often receive updates to improve performance, add new features, or fix bugs. It’s important to keep your games up to date. The Xbox Game Pass application will automatically check for updates when you launch a game or you can manually check for updates in the “My Library” or “Downloads” section.
- Transferring Games: If you want to transfer a downloaded game from your external hard drive to another storage device, such as another external hard drive or your PC’s internal drive, you can use the Xbox Game Pass application’s “Move” or “Transfer” feature. Right-click on the game in the library, select “Move,” choose the desired destination, and follow the on-screen instructions.
- Organizing Game Files: To keep your downloaded games organized, you can create folders or categories on your external hard drive. For example, you can have separate folders for different genres or create folders based on the date of the game’s release. This can help you easily locate and manage your games.
- Monitoring Storage Space: Keep an eye on the storage space available on your external hard drive. You can view the amount of space used and the remaining space in the Xbox Game Pass application’s settings or by checking the properties of the external hard drive in the file explorer of your PC. If you’re running low on space, consider uninstalling games you no longer play or transferring them to another storage device.
By effectively managing your downloaded games on the external hard drive, you can maintain an organized gaming library and optimize your storage space. Regularly assess your game collection, uninstall games you no longer play, keep your games updated, and make use of folder organization to ensure a seamless gaming experience.
Conclusion
Downloading Xbox games on an external hard drive is a fantastic solution for PC gamers who are looking to expand their storage capacity and enjoy a wide range of games without worrying about storage limitations. By following the step-by-step guide outlined in this article, you can easily download, install, and manage your Xbox games on the external hard drive.
We first discussed the requirements for downloading Xbox games on an external hard drive, including having a PC with Windows 10, a compatible external hard drive, a formatted drive, an Xbox Game Pass subscription, and a stable internet connection. Ensuring these requirements are met will set the foundation for a smooth gaming experience.
We then provided a detailed step-by-step guide, starting with formatting the external hard drive for Xbox compatibility. We explained how to connect the external hard drive to your PC, download and install the Xbox Game Pass application, and configure it to download games directly onto the external hard drive. We also covered how to manage downloaded games, including launching, uninstalling, updating, transferring, and organizing games effectively.
By following these instructions and tips, you can enjoy a vast collection of Xbox games without worrying about storage limitations on your PC. Downloading games on the external hard drive not only expands your storage capacity but also ensures easy access and organization of your gaming library.
So, take the leap and start downloading your favorite Xbox games onto your external hard drive. Embrace the freedom of endless gaming possibilities and immerse yourself in the thrilling world of gaming!