Introduction
OneDrive is a popular cloud storage service offered by Microsoft, allowing you to store, access, and share your files from anywhere. While it provides the convenience of storing your files online, there may be times when you need to download files from OneDrive to your computer. Whether you’re working on a project, need to access files offline, or simply want to create a backup, downloading files from OneDrive is a straightforward process.
In this article, we’ll guide you through the steps to download files from OneDrive to your computer. Whether you want to download a single file or multiple files/folders, we’ve got you covered. By the end of this guide, you’ll have all the necessary knowledge to seamlessly download your files from OneDrive.
Before we dive into the steps, it’s important to note that you’ll need to have OneDrive set up on your computer and an active account. If you haven’t done so already, download and install the OneDrive application on your computer. Once you’ve installed it, sign in to your OneDrive account to access your files and folders.
Now, without further ado, let’s get started on how to download files from OneDrive to your computer!
Step 1: Set up OneDrive on your computer
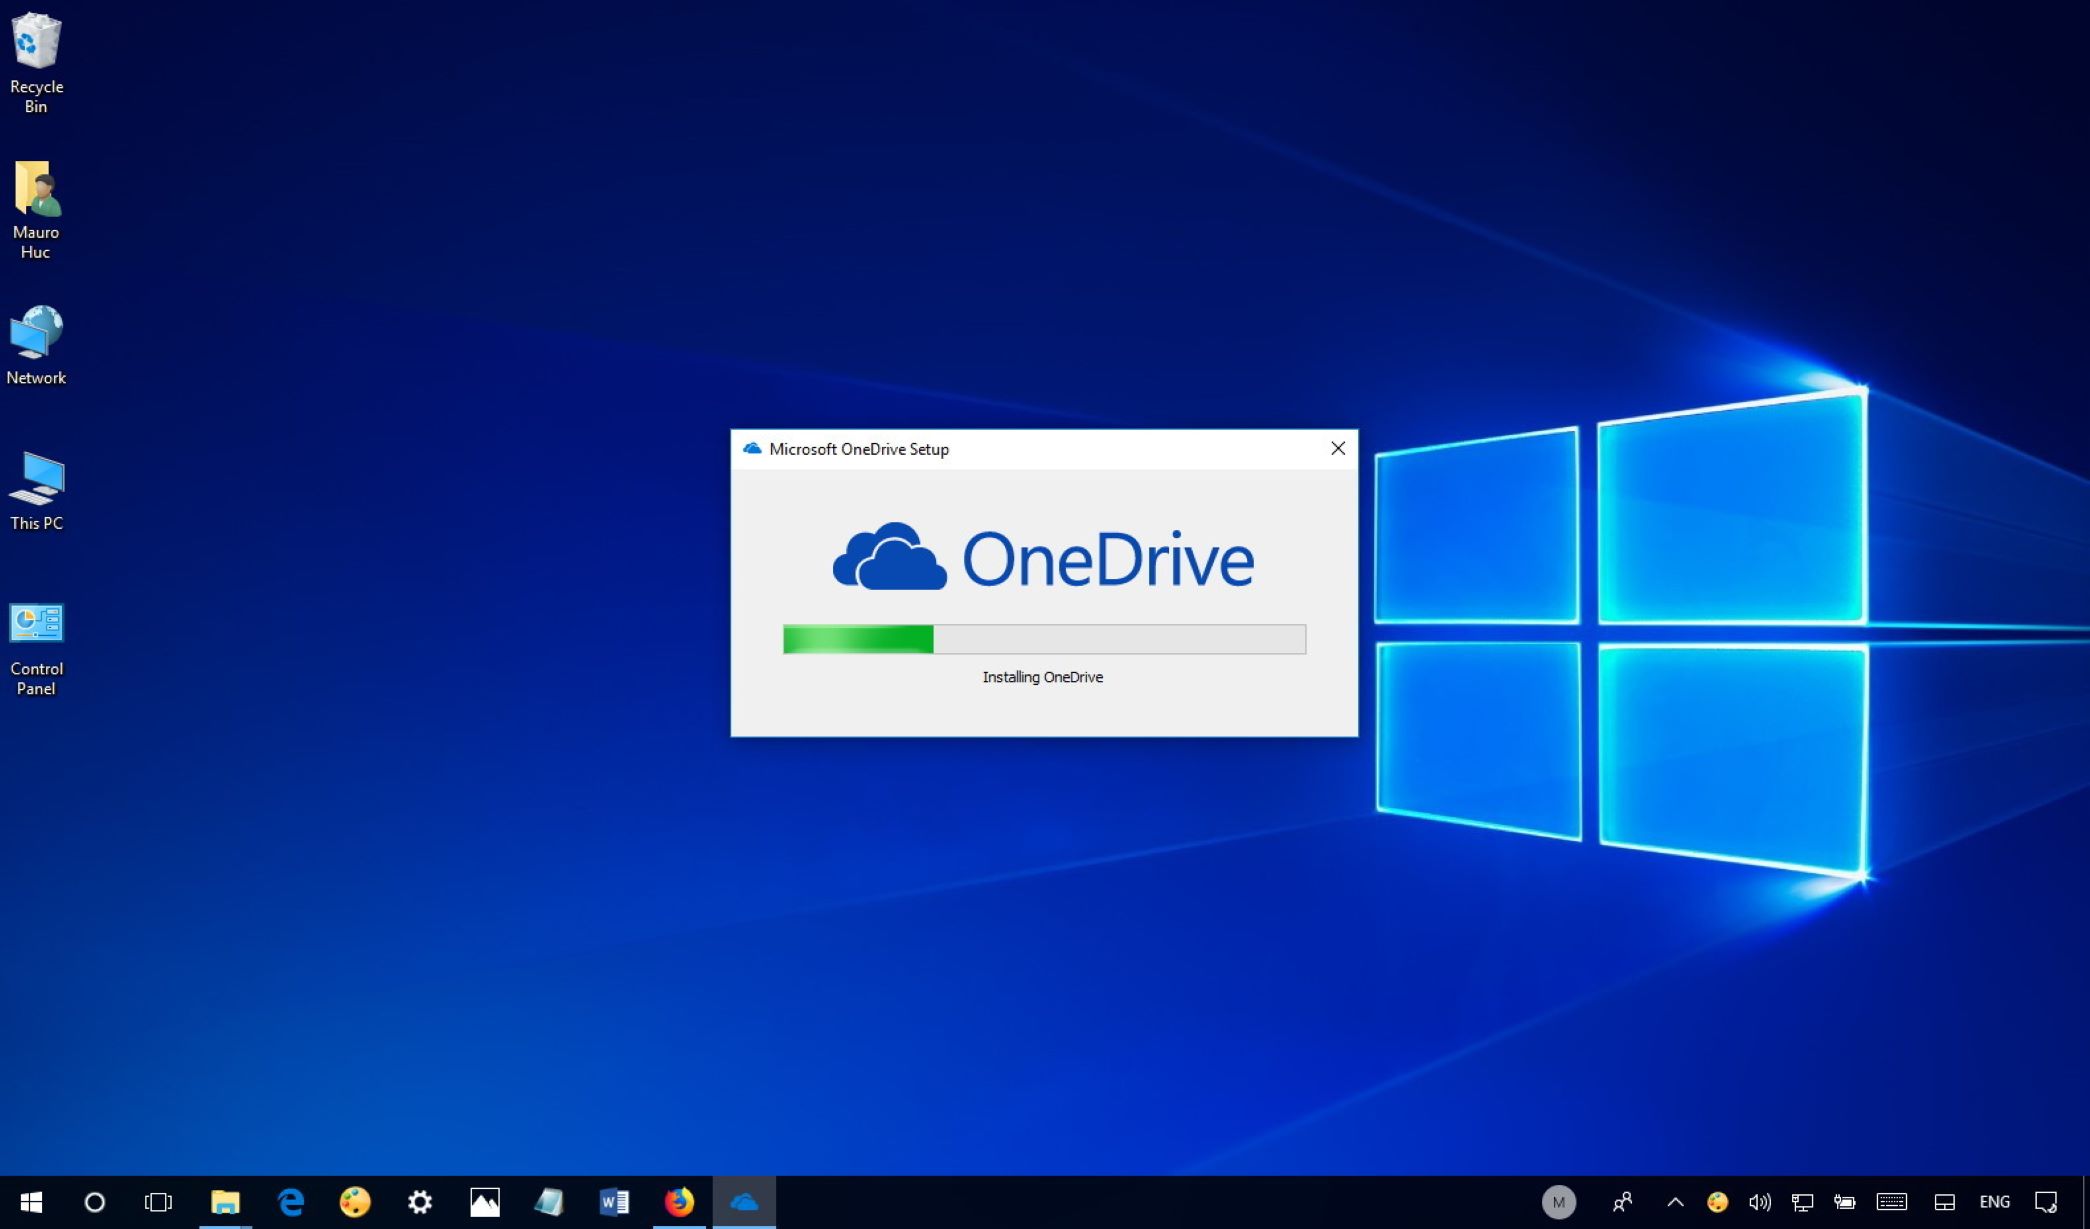
The first step to downloading files from OneDrive to your computer is to set up the OneDrive application on your device. Follow the below instructions to complete the setup process:
- Visit the Microsoft OneDrive website and download the OneDrive application suitable for your operating system (Windows or macOS).
- Once the download is complete, locate the setup file and run it.
- Follow the on-screen instructions to install the OneDrive application.
- Once the installation is complete, launch the OneDrive application on your computer.
- Sign in using your Microsoft account credentials. If you don’t have a Microsoft account, you can create one for free.
- If prompted, choose the desired syncing options for your files and folders. You can select which folders you want to sync between your computer and OneDrive.
- Click “Next” and then “Open my OneDrive folder” to access your OneDrive files on your computer.
Once you have completed these steps, OneDrive will be set up on your computer, and you can proceed to the next step to sign in to your account and start downloading files.
Having OneDrive set up on your device ensures a seamless syncing experience between your files on the cloud and your local storage. It allows you to easily access and manage your files from both your computer and the OneDrive website or mobile app.
Step 2: Sign in to your OneDrive account
After you have set up the OneDrive application on your computer, the next step is to sign in to your OneDrive account. This will grant you access to your files and allow you to begin the downloading process. Follow these steps to sign in:
- Open the OneDrive application on your computer by clicking on the OneDrive icon in the system tray (Windows) or menu bar (macOS).
- If you haven’t signed in already, you will be prompted to enter your Microsoft account email address.
- Enter your email address and click “Next”.
- On the next screen, enter your password and click “Sign in”.
- If two-factor authentication is enabled for your Microsoft account, you may be prompted to enter a verification code. Follow the instructions provided to complete the authentication process.
- Once you have successfully signed in, you will see your OneDrive files and folders displayed in the OneDrive application window.
Signing in to your OneDrive account is essential to access your files and initiate the downloading process. It ensures that you are authenticated to download and manage your files securely.
Once you have signed in, you can proceed to the next step to locate the specific file or folder that you wish to download from OneDrive.
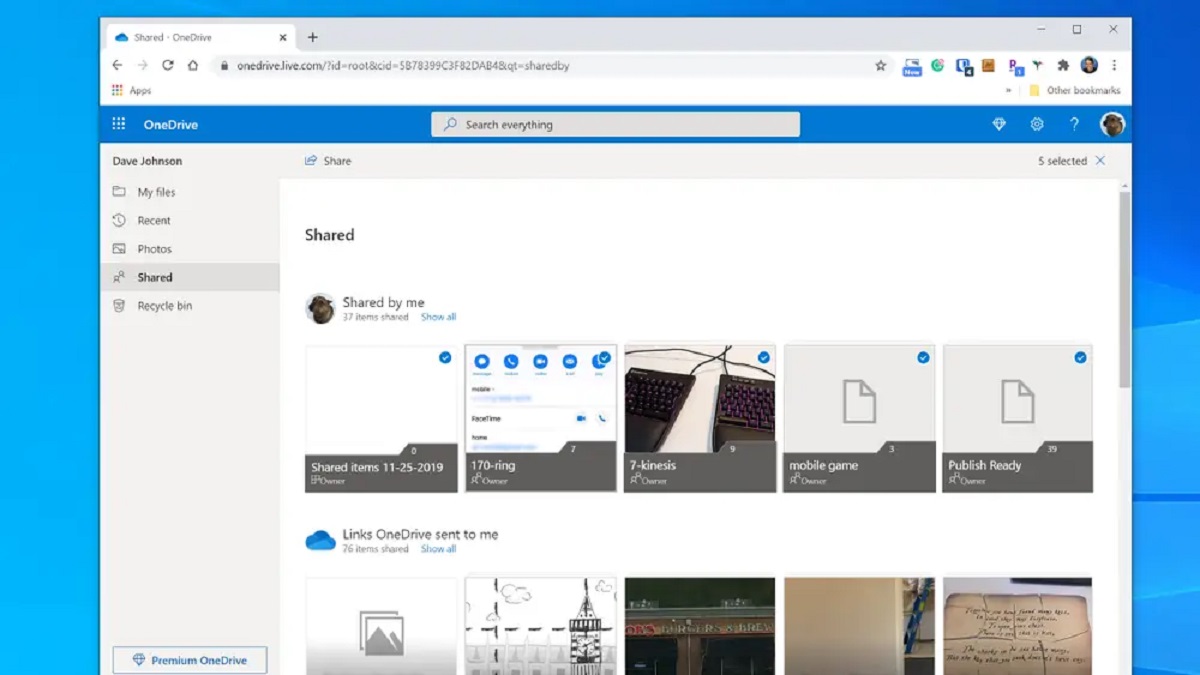
Step 3: Locate the file you want to download
Now that you have signed in to your OneDrive account, it’s time to locate the specific file or folder that you want to download. Follow these steps:
- Open the OneDrive application on your computer.
- Navigate through the folder hierarchy or use the search bar to locate the file or folder you wish to download.
- If you’re browsing through folders, click on the folders to navigate deeper into the directory structure.
- If you’re using the search bar, enter keywords related to the file name or its content.
- The OneDrive application will display the search results or the content within the selected folder.
Take some time to locate the file or folder you want to download and ensure you have identified the correct file. You can preview files by double-clicking on them to open them in the default application associated with the file type.
It’s important to note that if you want to download multiple files or an entire folder, you will need to follow a different set of steps, which we will cover in the next step. For now, focus on locating the specific file you want to download.
Once you have located the file, you can proceed to the next step to initiate the download process.
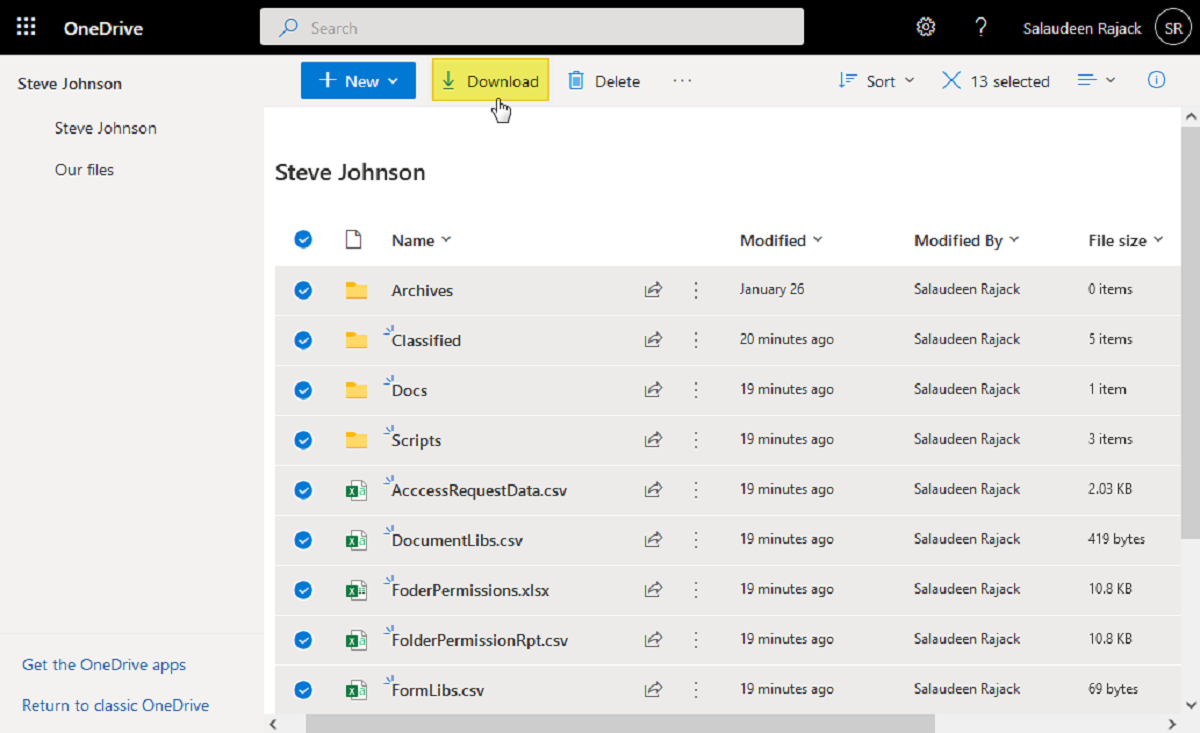
Step 4: Download a single file from OneDrive
If you want to download a single file from OneDrive to your computer, follow these steps:
- Locate the file you want to download following the instructions mentioned in the previous step.
- Once you have identified the file, right-click on it or click on the ellipsis (…) button next to the file.
- In the context menu that appears, select “Download” or “Save As” option.
- Choose a destination on your computer where you want to save the downloaded file.
- Click “Save” or “OK” to initiate the download.
The file will begin downloading to the selected location on your computer. The time taken for the download to complete will depend on the file size and your internet connection speed.
Once the file has finished downloading, you can access it from the location you saved it to on your computer. You can now work with the file offline or use it as needed.
Downloading a single file from OneDrive is a simple and quick process. If you ever need to download another file, simply repeat these steps for each file you want to download.
That’s it! You have successfully downloaded a single file from OneDrive. Now, if you have multiple files or folders that need to be downloaded, continue reading to learn the steps for downloading them in the next section.
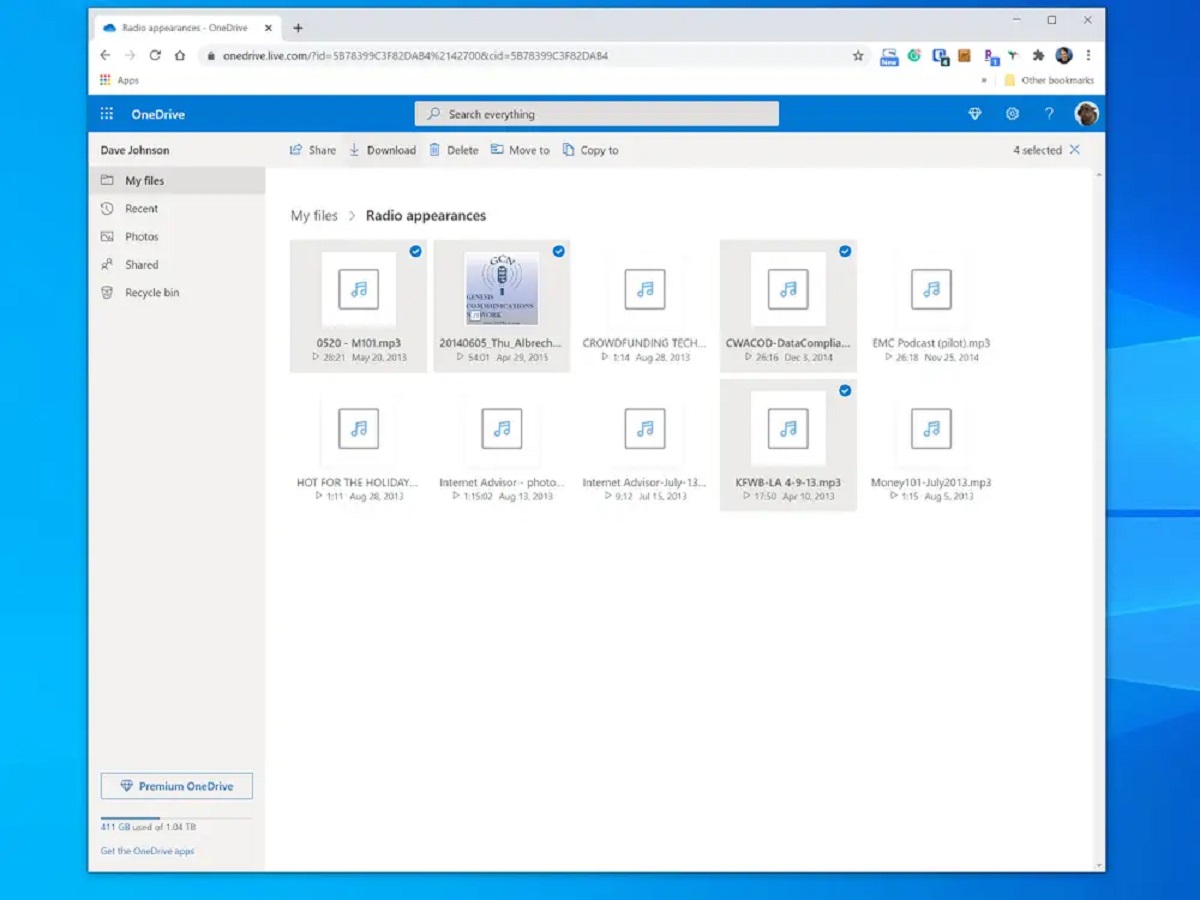
Step 5: Download multiple files or folders from OneDrive
If you have multiple files or folders that you want to download from OneDrive to your computer, follow these steps:
- Locate the folder containing the files you want to download following the instructions mentioned in the previous step.
- Once you have identified the folder, right-click on it or click on the ellipsis (…) button next to the folder.
- In the context menu that appears, select the “Download” option.
- All the files and folders within the selected folder will be zipped into a single compressed file.
- Choose a destination on your computer where you want to save the downloaded zip file.
- Click “Save” or “OK” to initiate the download.
The zip file containing the selected files and folders will begin downloading to the specified location on your computer. The time taken for the download to complete will depend on the total file size and your internet connection speed.
Once the zip file has finished downloading, locate and extract the downloaded file using an archive extraction tool or by right-clicking on the zip file and selecting “Extract All” option. This will unzip the file and reveal the individual files and folders within it.
You can now access and work with the downloaded files and folders on your computer as needed. This method is especially useful when you have a large number of files or an entire folder that needs to be downloaded from OneDrive.
Now that you know how to download multiple files or folders from OneDrive, you can efficiently transfer a batch of files to your computer in just a few simple steps.
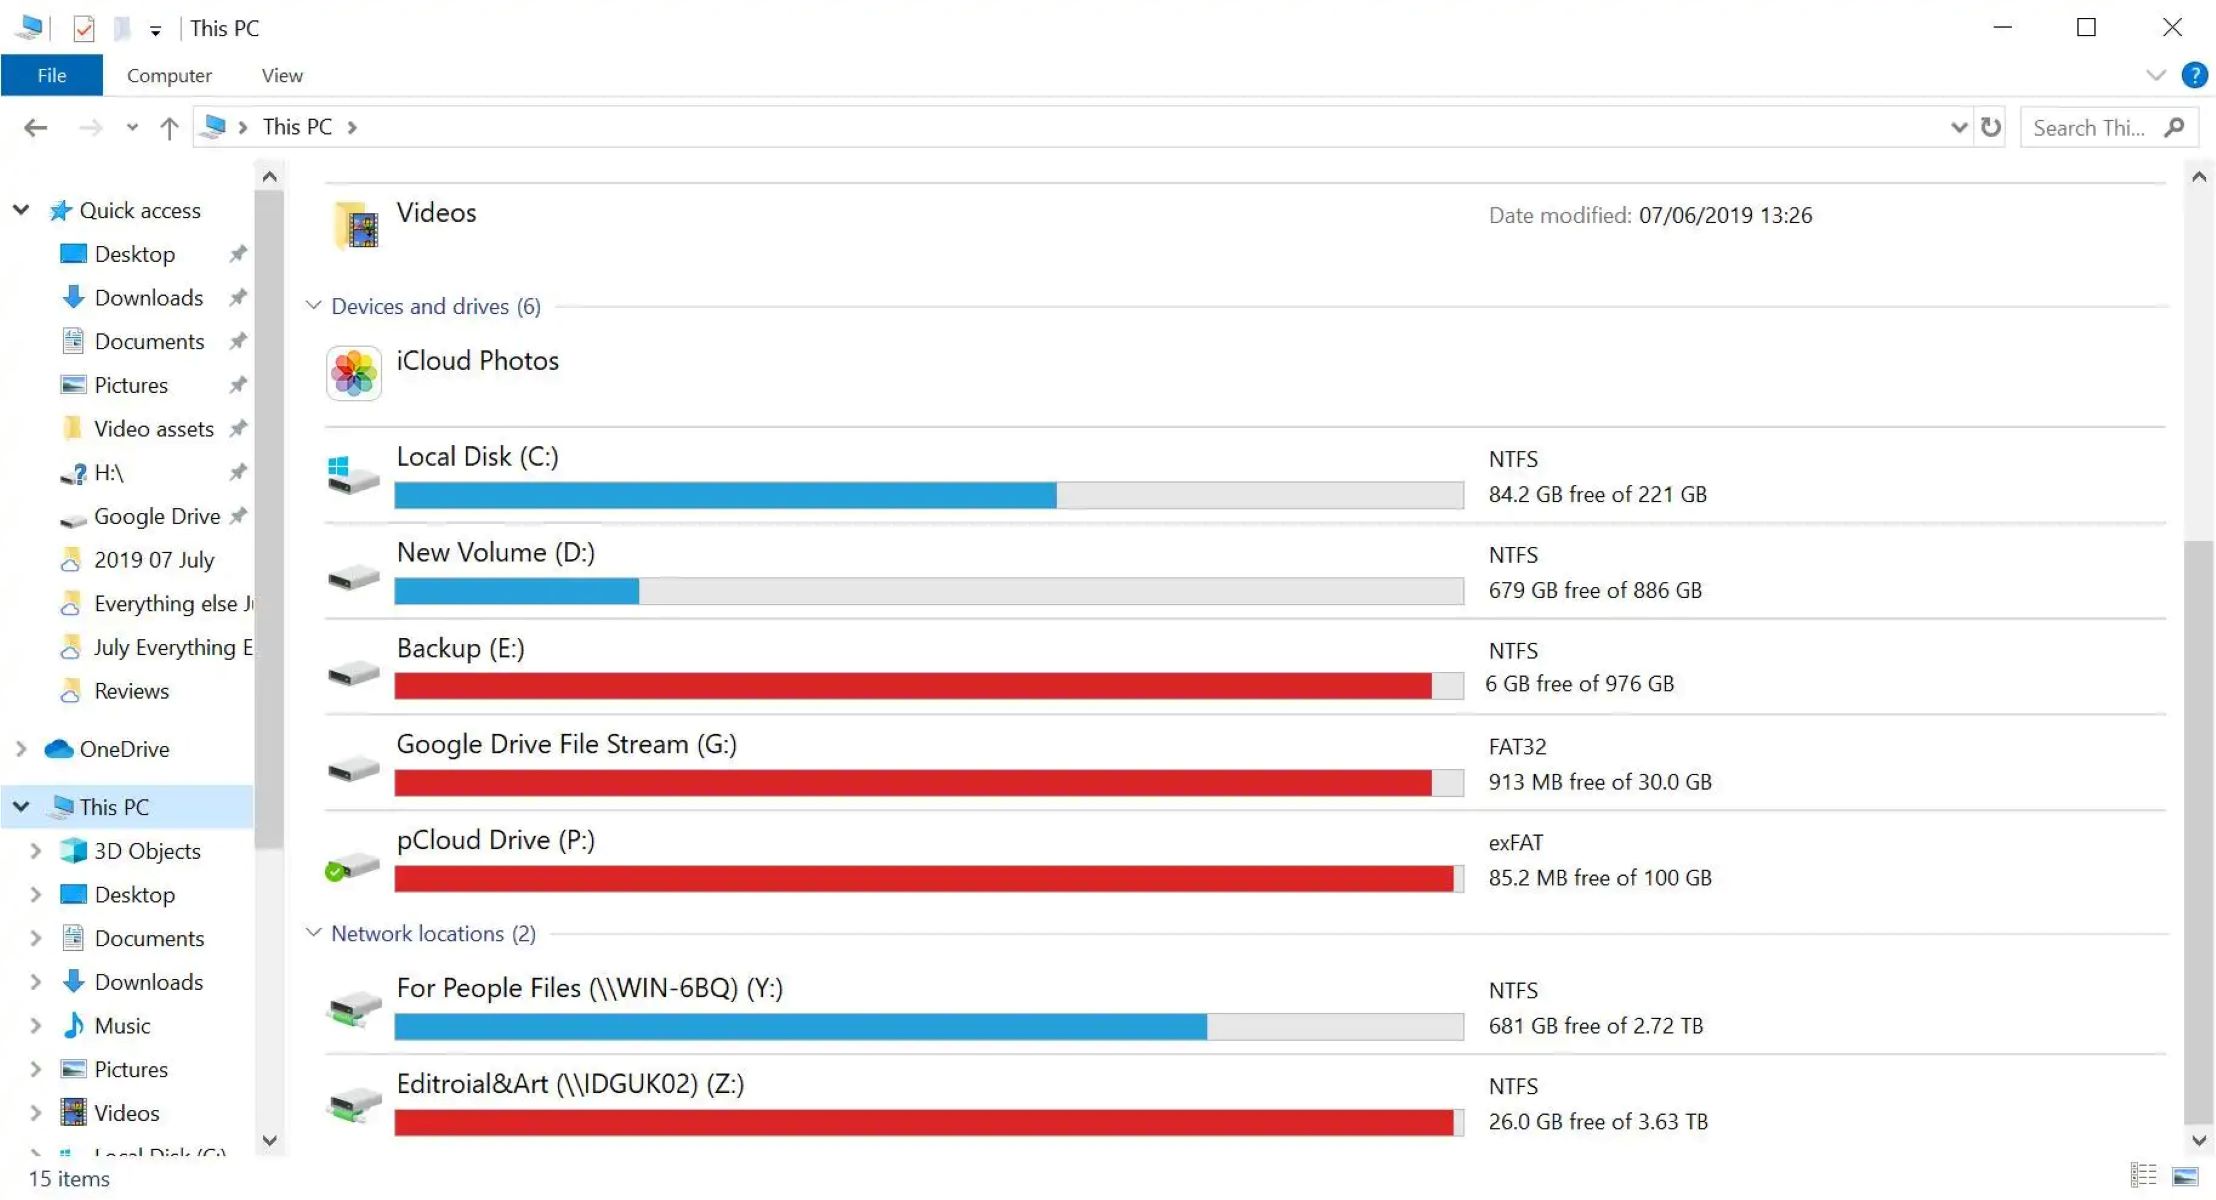
Step 6: Choose a download location on your computer
When downloading files from OneDrive to your computer, it’s important to choose the appropriate download location. This will determine where the downloaded files are saved on your computer’s storage. Follow these steps to select a download location:
- Before initiating the download, you will be prompted to choose a destination on your computer where you want to save the downloaded files.
- Click the “Browse” or “Choose Folder” button to open a file explorer window.
- Navigate to the desired location on your computer where you want the files to be saved.
- Select the folder or create a new folder if needed.
- Click “Save” or “OK” to confirm the selected download location.
Choosing an appropriate download location allows you to easily find and access the downloaded files whenever you need them. It’s advisable to select a location that is organized and easy to remember, such as a dedicated folder for OneDrive downloads.
Additionally, consider the available storage space on your computer’s hard drive or other storage devices. Ensure that the selected download location has sufficient space to accommodate the downloaded files, especially if you are downloading large files or multiple files/folders.
By carefully choosing the download location, you can keep your downloaded files well-organized and easily accessible, making it convenient to work with them in the future.
Once you have selected the download location, you can proceed to the next step to monitor the download progress.
Step 7: Monitor the download progress
While downloading files from OneDrive to your computer, it’s helpful to monitor the progress to ensure a smooth and successful download. Follow these steps to keep an eye on the download progress:
- After initiating the download by selecting the file or folder and choosing the download location, a progress bar or indicator will typically appear.
- This progress bar will show the percentage of the download completed and may also display the speed of the download.
- Depending on the size of the file(s) and your internet connection speed, the download time can vary.
- During the download process, refrain from interrupting or closing the OneDrive application or the browser window to avoid any potential disruption to the download.
- Once the download is complete, the progress bar or indicator will show 100%.
It’s important to note that if the download is taking longer than expected or if there are any errors, check your internet connection and ensure that you have sufficient space available on your computer’s storage device. If necessary, try downloading the file(s) again or seek assistance from Microsoft support.
By monitoring the download progress, you can have peace of mind knowing that the files are being successfully transferred from OneDrive to your computer. This allows you to keep track of the download’s status and estimate the remaining time until completion.
With the download now complete, you can access the downloaded files at the chosen download location on your computer and begin utilizing them for your needs.
Conclusion
Downloading files from OneDrive to your computer is a simple process that allows you to access and work with your files offline. Whether you need to download a single file or multiple files/folders, the steps provided in this guide can help you accomplish the task quickly and efficiently.
In this article, we covered the following steps:
1. Set up OneDrive on your computer: Install the OneDrive application and sign in with your Microsoft account to sync your files.
2. Sign in to your OneDrive account: Enter your Microsoft account credentials to access your OneDrive files.
3. Locate the file you want to download: Navigate through folders or use the search option to find the desired file.
4. Download a single file from OneDrive: Right-click on the file and select “Download” or “Save As” to save it to your computer.
5. Download multiple files or folders from OneDrive: Zip the files/folders, choose a download location, and save the compressed file to your computer.
6. Choose a download location on your computer: Select a folder or create a new one where the downloaded files will be saved.
7. Monitor the download progress: Keep an eye on the progress bar or indicator to ensure a successful download.
By following these steps, you can download files from OneDrive to your computer and have convenient access to them whenever needed.
Remember to choose appropriate download locations, monitor the progress, and ensure a stable internet connection to facilitate a seamless downloading experience. In case of any issues or uncertainties, refer to the Microsoft support documentation or contact their support team for assistance.
Now that you’re equipped with the knowledge to download files from OneDrive, you can enjoy the flexibility of accessing your files offline and continue working on your projects with ease.