Introduction
Backing up your important files and documents is essential to ensure their safety and protect against data loss. OneDrive, a cloud storage service provided by Microsoft, offers a convenient way to store and access your files from anywhere. However, relying solely on cloud storage can leave your files vulnerable to potential risks such as accidental deletion, hacking, or service disruptions.
To add an extra layer of protection, it’s a good practice to back up your OneDrive files to an external hard drive. By doing so, you’ll have a physical copy of your files that you can access even if something happens to your OneDrive account or if you don’t have an internet connection.
In this guide, we will walk you through the steps on how to back up your OneDrive files to an external hard drive. Whether you have personal files or important work documents, following these steps will help ensure that you have a secure backup solution for your OneDrive data.
Note that the process may vary slightly based on the operating system you’re using and the specific external hard drive you have. However, the general steps should apply to most setups.
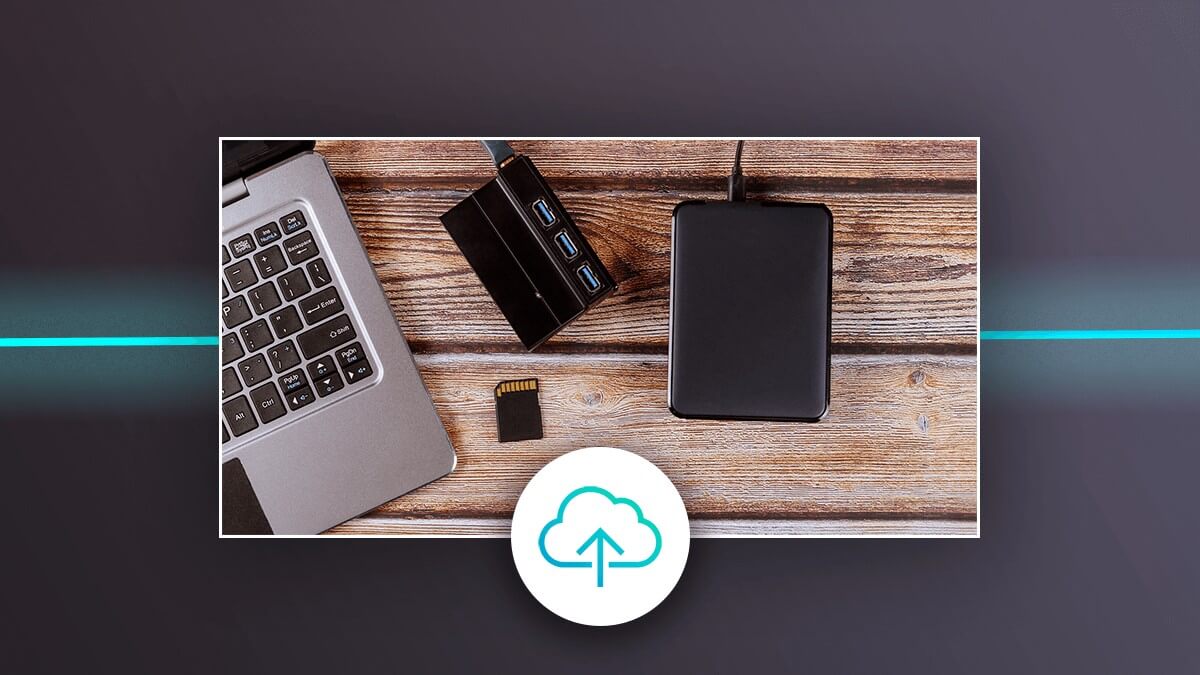
Step 1: Connect your external hard drive to your computer
The first step in backing up your OneDrive files is to connect your external hard drive to your computer. You will need a compatible USB cable or connector to establish the connection.
Start by locating the USB port on your computer. It is usually found on the sides or the back of the computer tower, or on the sides of a laptop. Plug one end of the USB cable into the USB port on your computer and the other end into the corresponding port on your external hard drive.
Once the connection is established, your computer should recognize the external hard drive. Depending on your operating system, you may see a notification or a pop-up indicating that a new device has been detected.
If your external hard drive requires additional power, make sure to connect it to a power source using the appropriate cable or adapter. Some external hard drives have their own power supply, while others draw power directly from the computer through the USB connection.
Ensure that your external hard drive is in good working condition and has enough available storage space to accommodate the files from your OneDrive. It’s recommended to have a larger storage capacity than the size of your OneDrive storage to allow for future growth and additional backups.
Now that your external hard drive is successfully connected to your computer, you’re ready to move on to the next step in the backup process.
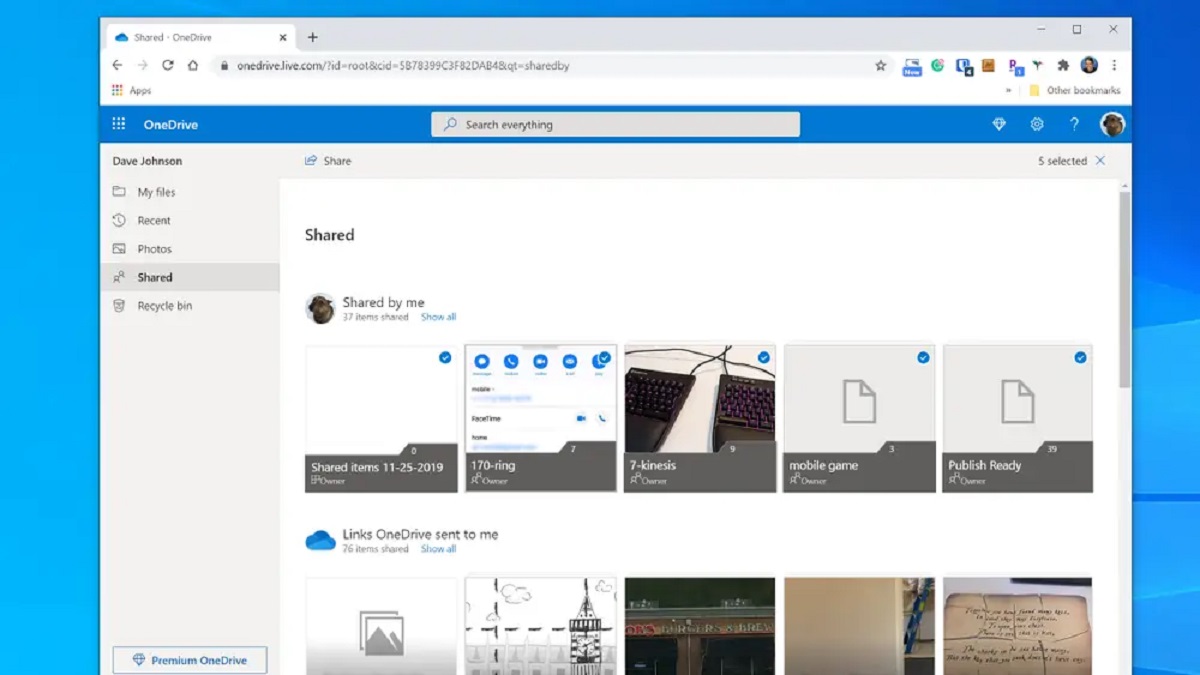
Step 2: Sign in to your OneDrive account
In order to access and download your OneDrive files, you will need to sign in to your OneDrive account. This step ensures that you have the necessary permissions to copy the files from the cloud storage onto your computer.
Open a web browser on your computer and navigate to the OneDrive website (onedrive.live.com). If you have a Microsoft account, use your email address and password to sign in. If you don’t have an account, click on “Sign up for free” and follow the prompts to create one.
Once signed in, you will be taken to the OneDrive dashboard, which displays all your files and folders stored on the cloud. Take a few moments to familiarize yourself with the interface and the organizational structure of your files.
If you have a large number of files and folders in your OneDrive, it may be helpful to create a separate folder specifically for your backup files. This will make it easier to locate and organize your backed-up data on your external hard drive.
Before proceeding to the next step, ensure that you have a stable internet connection. This is important as you will be downloading files from the cloud storage, which may take some time depending on the size and number of files.
Now that you are signed in to your OneDrive account and ready to access your files, let’s move on to the next step: selecting the files and folders to back up.
Step 3: Select the files and folders to back up
Now that you have signed in to your OneDrive account, it’s time to choose which files and folders you want to back up to your external hard drive. This step allows you to select specific data that is most important to you, saving time and storage space.
Navigate through the file structure in your OneDrive to find the files and folders you want to back up. You can click on a folder to view its contents or use the search bar to locate specific files by name.
To select multiple files or folders, hold down the Ctrl key (or Command key on a Mac) and click on each item you want to include in the backup. Alternatively, you can click on the checkbox icon next to a folder to select all the files and subfolders within it.
Consider the type and relevance of the files you want to back up. It’s recommended to include important documents, photos, videos, and any other irreplaceable files. However, you can also choose to exclude files that are already backed up elsewhere or less essential.
If you have a large number of files to back up, it may be helpful to create a separate folder on your desktop or another location on your computer to temporarily store the selected files. This will make it easier to transfer them to your external hard drive in the next step.
Take your time to carefully review your selections and ensure that you have included all the necessary files and folders. Once you are satisfied with your choices, it’s time to move on to the next step: downloading the selected files to your computer.
Step 4: Download the selected files to your computer
After selecting the files and folders you want to back up from your OneDrive account, the next step is to download them to your computer. This will ensure that you have local copies of your selected files before transferring them to your external hard drive.
Start by right-clicking on any of the selected files or folders, and from the context menu that appears, choose the “Download” option. Alternatively, you can look for a download icon or a “Download” button in the toolbar at the top of the OneDrive interface.
Depending on the size and quantity of the files you are downloading, the process may take some time. Make sure you have enough free space on your computer’s hard drive to accommodate the downloaded files.
While the files are downloading, you can keep track of the progress either by checking the notifications on your computer or by referring to the downloads section or progress bar in your web browser.
Once the download is complete, you can locate the downloaded files on your computer. By default, they are usually saved in the “Downloads” folder. However, if you had created a separate folder during the earlier steps, the files may have been saved there instead.
Take a moment to verify that all the selected files and folders have been successfully downloaded. Open a few of them to ensure that they open correctly and contain the expected data.
Now that the selected OneDrive files are downloaded to your computer, it’s time to proceed to the next step: copying the downloaded files to your external hard drive.
Step 5: Copy the downloaded files to your external hard drive
With your selected OneDrive files downloaded to your computer, it’s time to copy them to your external hard drive. This step ensures that you have a secure backup of your files stored on a separate physical device.
Start by connecting your external hard drive to your computer, as mentioned in the first step. Ensure that the connection is established correctly and that your computer recognizes the external hard drive.
Next, open a new File Explorer (Windows) or Finder (Mac) window on your computer to navigate to the location where the downloaded OneDrive files are saved. This is typically the “Downloads” folder or the folder you had created during the earlier steps.
Select all the downloaded files and folders by using the Ctrl+A (Windows) or Command+A (Mac) keyboard shortcut or by dragging your mouse cursor to select them all. Right-click on the selected files and choose the “Copy” option from the context menu that appears.
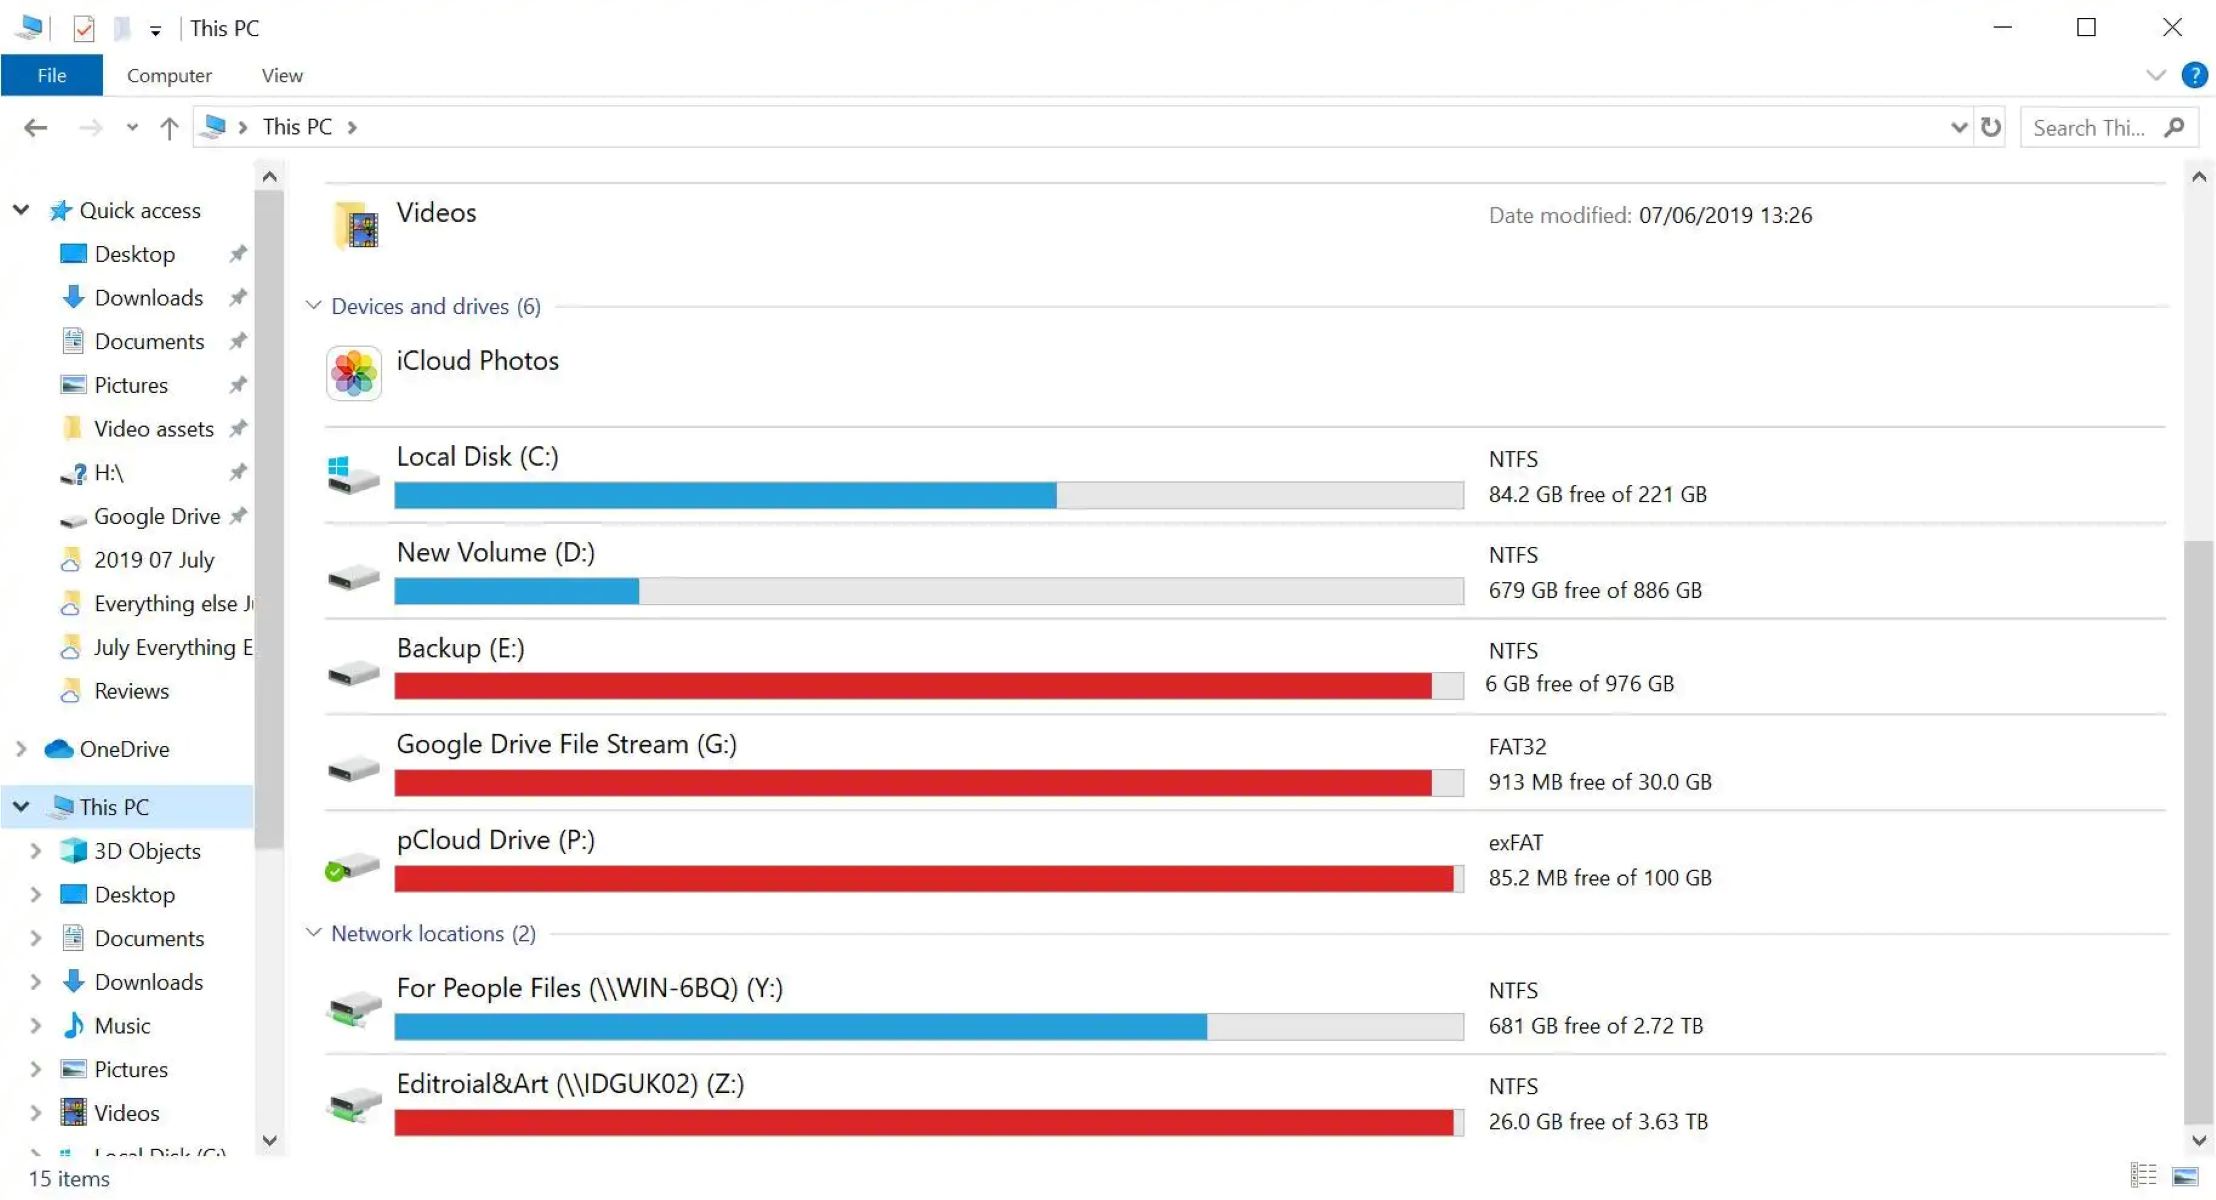
In the same File Explorer or Finder window, navigate to your external hard drive. This can be done by selecting it from the list of drives or devices located in the sidebar or under “This PC” (Windows) or “Devices” (Mac).
Once you are in the external hard drive’s directory, right-click anywhere within the window and choose the “Paste” option from the context menu. Alternatively, you can use the Ctrl+V (Windows) or Command+V (Mac) keyboard shortcut to paste the files.
The copying process will begin, and depending on the size and quantity of the files, it may take some time to complete. Take note of the progress bar or any notifications provided by your operating system to keep track of the copying process.
Once the copying is finished, verify that all the files and folders have been successfully transferred to your external hard drive. Open a few random files to ensure that they open correctly and contain the expected data.
Congratulations! You have successfully copied your downloaded OneDrive files to your external hard drive. Now, all your important data is securely backed up on a separate physical device.
Before moving to the next step, it’s essential to ensure that the files on your external hard drive are accessible and readable. Test your external hard drive on another computer or device to confirm its compatibility and functionality.
Step 6: Eject and disconnect your external hard drive
After successfully copying the downloaded OneDrive files to your external hard drive, it’s important to properly eject and disconnect the device from your computer. This step ensures that your data is safely stored and prevents any potential data corruption or loss.
Start by closing any open files or folders that are stored on your external hard drive. This will prevent any conflicts or errors during the ejection process.
On Windows, locate the “Safely Remove Hardware and Eject Media” icon in the system tray, typically found in the bottom right corner of the taskbar. Click on the icon to open the Safely Remove Hardware menu.
From the list of removable devices, select your external hard drive. Windows will then display a notification indicating that it is safe to remove the device.
On a Mac, you can eject your external hard drive by either right-clicking on its icon on the desktop and selecting “Eject,” or by dragging the icon to the trash can in the Dock.
Once you have safely ejected the external hard drive, you can physically disconnect it from your computer. Carefully unplug the USB cable from both the computer and the external hard drive.
It’s important to handle the external hard drive with care. Avoid dropping or subjecting it to any physical shocks that could potentially damage the drive and result in data loss.
Remember to store your external hard drive in a safe and secure location, preferably away from extreme temperatures, moisture, and other potential hazards. This will help prolong its lifespan and ensure the longevity of your backed-up data.
By properly ejecting and disconnecting your external hard drive, you have completed the final step in the process of backing up your OneDrive files. Your data is now safely stored on a separate device, providing an additional layer of protection and peace of mind.
It’s always a good practice to periodically repeat this backup process to ensure you have the most up-to-date copies of your important files and documents.
Conclusion
Backing up your OneDrive files to an external hard drive is a crucial step in ensuring the safety and security of your important data. By following the steps outlined in this guide, you have learned how to connect your external hard drive, sign in to your OneDrive account, select the files and folders to back up, download them to your computer, copy them to your external hard drive, and finally, safely eject and disconnect your device.
Having a backup of your OneDrive files on an external hard drive provides you with an additional layer of protection against potential data loss. It gives you peace of mind knowing that your important documents, photos, videos, and other files are securely stored in a physical location.
Remember to periodically repeat the backup process to ensure that your backup remains up to date. As you add new files or make changes to existing ones, it’s important to back up those changes to keep your backup current.
Always handle your external hard drive with care to prevent physical damage that could result in the loss of your backed-up data. Store it in a safe and secure location, away from extreme temperatures, moisture, and other potential hazards.
By following these steps, you can have peace of mind knowing that your OneDrive files are safely backed up on an external hard drive, providing you with an added layer of data protection.
Don’t take chances with your valuable data. Start backing up your OneDrive files to an external hard drive today and ensure that your important files are safe and secure.