Introduction
Adding a hard disk drive to your Windows 10 computer is a great way to increase storage capacity and improve overall performance. Whether you need extra space for storing files, installing applications, or running resource-intensive programs, a new hard disk drive can provide the solution.
Windows 10 offers a user-friendly interface that allows you to easily install and set up a new hard disk drive. Whether you are a tech-savvy individual or a beginner, this guide will walk you through the step-by-step process of adding a hard disk drive to your Windows 10 computer.
Before we dive into the installation process, it’s important to note that adding a hard disk drive to your computer requires some basic knowledge of hardware and software. If you’re not comfortable handling computer hardware or making changes to your operating system, it’s advisable to seek professional help or consult the manufacturer’s documentation.
In this guide, we will cover the essential steps to successfully add a hard disk drive to your Windows 10 computer. We will discuss the system requirements, how to purchase a compatible hard disk drive, preparing the drive for installation, physically installing the drive, connecting it to your computer, initializing and formatting the drive, setting up a drive letter, and optimizing storage settings to make the most of your new hard disk drive.
So, if you’re ready to expand your computer’s storage capacity and enhance its performance, let’s get started with the step-by-step process of adding a hard disk drive to your Windows 10 computer.
Step 1: Check System Requirements
Before adding a hard disk drive to your Windows 10 computer, it’s important to ensure that your system meets the necessary requirements. Checking the system requirements will help you determine if your computer can support the installation of an additional hard disk drive.
To check the system requirements, follow these steps:
- Go to the Start menu and click on the Settings icon.
- In the Settings window, click on the System option.
- On the left side of the System window, click on the About option.
In the About section, you will find the necessary information about your computer, including the processor, installed RAM, and system type. Here are the minimum requirements for adding a hard disk drive to your Windows 10 computer:
- Processor: A compatible processor capable of running Windows 10.
- RAM: At least 2 GB of RAM (ideally 4 GB or more) to ensure smooth performance.
- Hard Disk Drive: A spare SATA or NVMe slot on your motherboard, or an available USB port for an external hard disk drive.
If your computer meets these requirements, you can proceed with the next steps. However, if your computer falls short in any of these areas, you may need to upgrade your system before proceeding with the installation of a new hard disk drive.
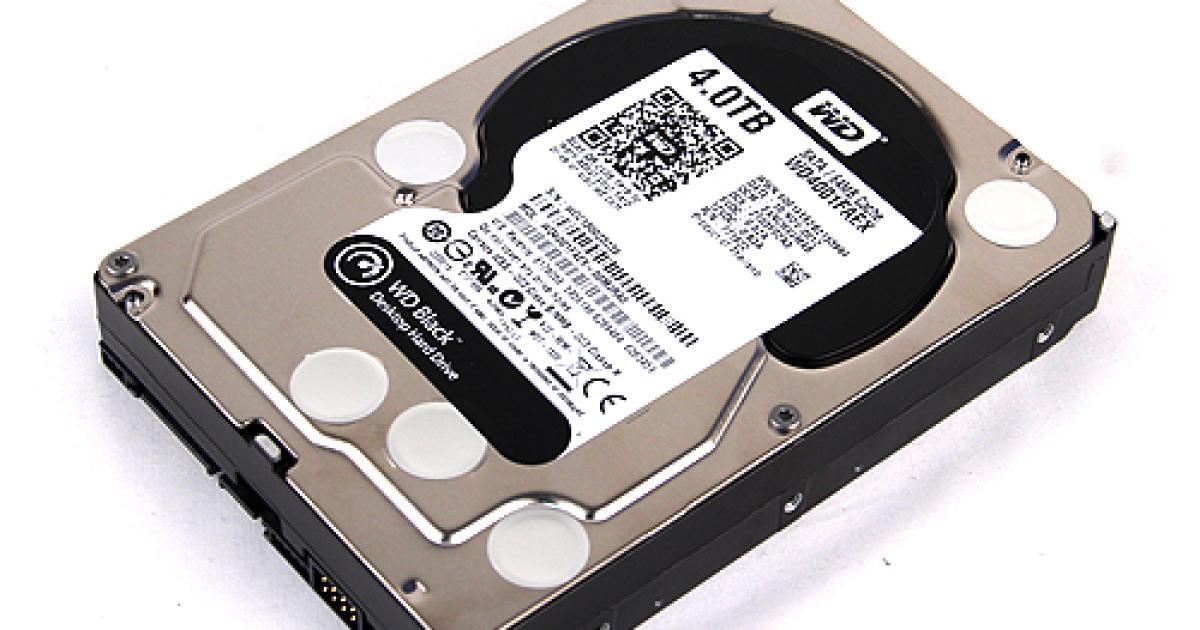
It’s also important to consider the physical dimensions of the hard disk drive and available space in your computer case. Make sure there is enough space to accommodate the new drive and that the drive is compatible with your computer’s form factor (e.g., 2.5-inch or 3.5-inch).
Now that you have checked the system requirements and confirmed that your computer is compatible, you are ready to move on to the next step: purchasing a compatible hard disk drive.
Step 2: Purchase a Compatible Hard Disk Drive
Now that you have confirmed that your Windows 10 computer meets the necessary system requirements, it’s time to purchase a compatible hard disk drive. When choosing a hard disk drive, there are a few factors to consider to ensure compatibility and optimal performance.
Here are some key considerations when purchasing a hard disk drive:
- Storage Capacity: Determine how much storage space you require. Consider your current needs as well as future storage needs. Hard disk drives are available in various capacities, ranging from a few hundred gigabytes to several terabytes.
- Form Factor: Check your computer’s specifications to determine the appropriate form factor for the hard disk drive. Common form factors include 2.5-inch and 3.5-inch drives.
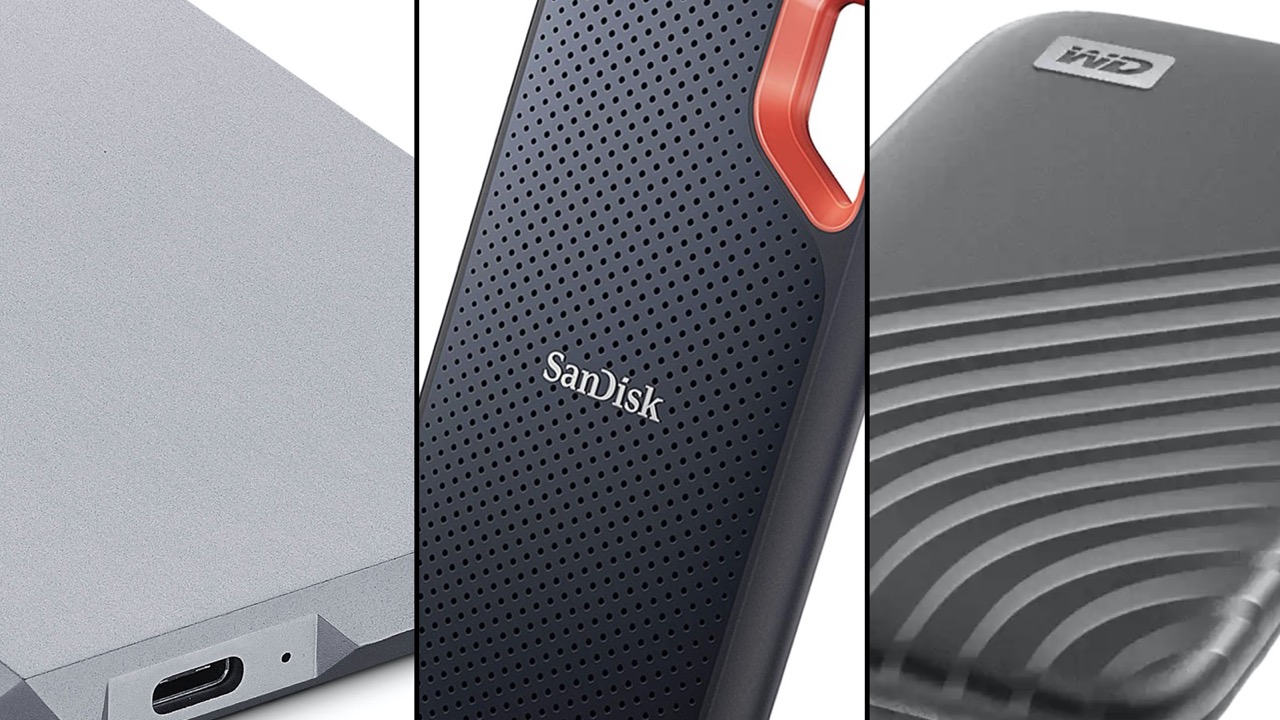
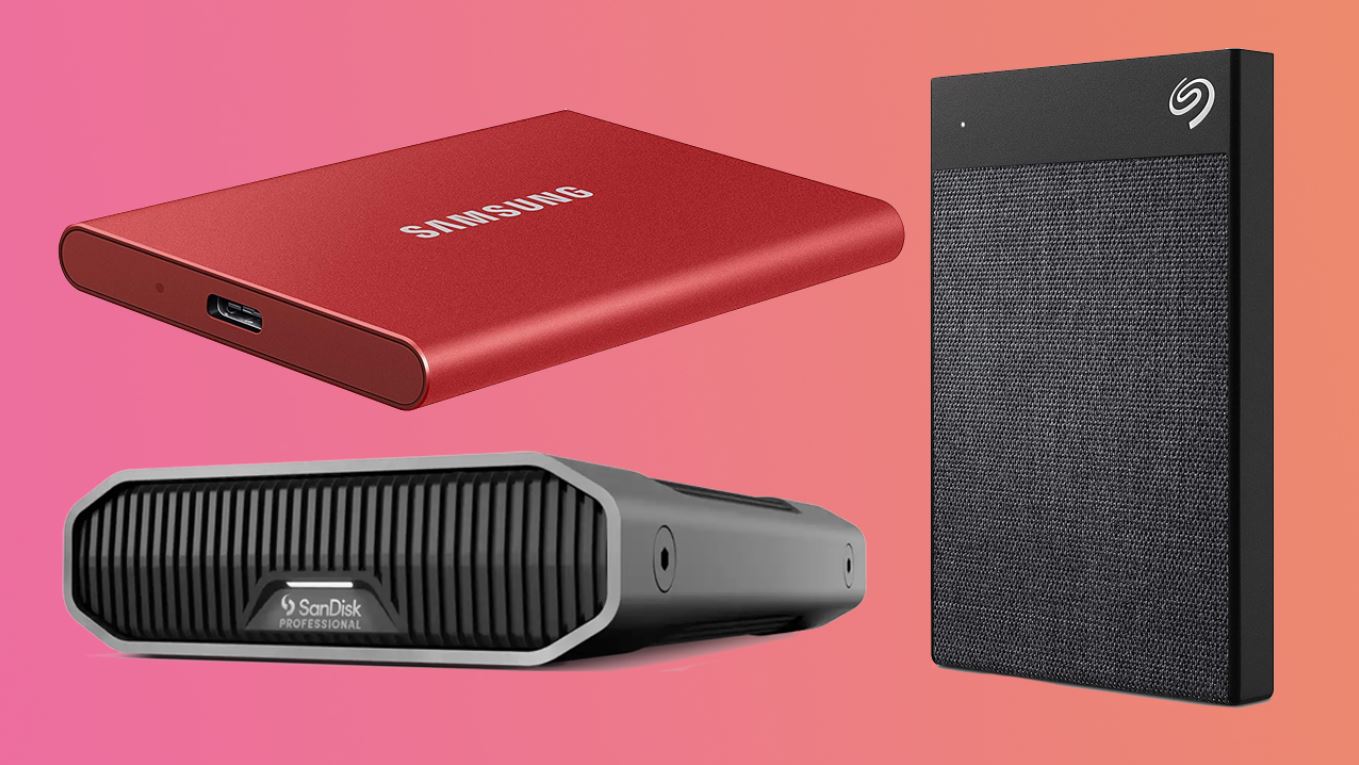
- Interface: Identify the type of interface your computer supports. Common interfaces include SATA (Serial ATA) and NVMe (Non-Volatile Memory Express) for internal drives, and USB for external drives.
- Speed: Consider the rotational speed (RPM) of the drive. Higher RPM generally results in faster data transfer speeds.
- Cache Size: Look for a hard disk drive with a larger cache size, as it can improve read and write performance.
- Brand and Reliability: Research and opt for reputable brands known for their reliability and long-term performance.
Once you have determined the specifications that meet your needs, you can proceed with purchasing the hard disk drive. You can find a wide selection of hard disk drives at electronics stores or online retailers. Ensure that the seller is reputable and that the product comes with a warranty for added peace of mind.
Keep in mind that if you are planning to install an internal hard disk drive, you may also need additional accessories such as SATA cables or mounting brackets, depending on your computer’s configuration. Be sure to check if any additional components are required for installation.
Now that you have purchased a compatible hard disk drive, you are one step closer to expanding your computer’s storage capacity. In the next step, we will guide you through preparing the hard disk drive for installation.
Step 3: Prepare the Hard Disk Drive
Before installing the hard disk drive into your Windows 10 computer, it’s crucial to properly prepare the drive. This involves a few essential steps to ensure its smooth integration and functionality within your system.
Follow these steps to prepare the hard disk drive:
- Unbox and Inspect: Start by carefully unboxing the hard disk drive and inspecting it for any visible damage. Ensure that all components and accessories are included.
- Read the Documentation: Take the time to read through the manufacturer’s documentation that came with the hard disk drive. This will provide you with specific instructions and precautions for handling and installing the drive.
- Set the Jumper Settings: If you are installing an IDE (Integrated Drive Electronics) hard disk drive, you may need to configure the jumper settings. Consult the documentation or the manufacturer’s website for the appropriate configuration.
- Handle with Care: Hard disk drives are sensitive to static electricity, so it’s important to handle them with caution. Ideally, use an anti-static wristband or mat to ground yourself and prevent static discharge that can damage the drive.
- Place on a Static-Free Surface: Find a static-free surface, such as an anti-static mat or a non-conductive material, to place the hard disk drive during the installation process. This will further protect it from any potential damage caused by static electricity.
By taking these preparatory steps, you ensure that the integrity and functionality of the hard disk drive are preserved during installation. It’s important to be mindful of static electricity and handle the drive with care to prevent any accidental damage.
Once you have prepared the hard disk drive, you’re ready to move on to the next step: physically installing the drive into your computer.
Step 4: Physically Install the Hard Disk Drive
Now that you have prepared the hard disk drive, it’s time to physically install it into your Windows 10 computer. This involves opening your computer case and securely mounting the drive in the appropriate slot.
Follow these steps to physically install the hard disk drive:
- Power Off: Shut down your computer and disconnect the power cable from the back of the case. This is essential to prevent any electrical mishaps during the installation process.
- Open the Computer Case: Depending on the design of your computer, you may need to remove screws or slide a panel to access the internal components. Consult your computer’s manual or manufacturer’s website for specific instructions.
- Find an Available Slot: Locate an available slot for the hard disk drive. This can be a dedicated drive bay or a removable caddy for the drive.
- Secure the Drive: If the drive bay or caddy has mounting brackets, attach them securely to the drive using screws or clips. Then, carefully slide the drive into the slot until it is properly aligned.
- Fasten the Drive: Use screws or locking mechanisms to fasten the drive to the computer case. Ensure that the drive is firmly secured to avoid any movement or vibration that may affect performance.
- Connect Power and Data Cables: Locate the appropriate power and data cables. For internal drives, connect one end of the SATA power cable to the drive and the other end to the power supply. Then, connect the SATA data cable from the drive to an available SATA port on the motherboard.
It’s important to note that the physical installation steps may vary depending on the design of your computer case and the type of hard disk drive you are installing. Always consult your computer’s manual or the manufacturer’s website for specific instructions.
After you have successfully installed the hard disk drive into your computer, it’s time to move on to the next step: connecting the drive to your computer.
Step 5: Connect the Hard Disk Drive to the Computer
With the hard disk drive physically installed in your Windows 10 computer, the next step is to connect it to your system. This involves ensuring that the necessary cables are properly connected to enable data transfer and power the drive.
Follow these steps to connect the hard disk drive to your computer:
- Locate the SATA Ports: Identify the SATA ports on your motherboard. These ports are typically labeled and can be found near the area where you installed the hard disk drive.
- Connect the SATA Data Cable: Take one end of the SATA data cable and connect it to the SATA port on the motherboard. Ensure that the cable is securely inserted into the port.
- Connect the SATA Power Cable: Take the SATA power cable and connect one end to the power supply unit (PSU). Then, connect the other end to the power connector on the hard disk drive. Make sure the connection is secure.
- Verify Connections: Double-check that both the SATA data cable and power cable are properly connected to the hard disk drive and motherboard. Ensure that there are no loose connections.
- Cable Management: Organize and manage the cables inside your computer case to ensure proper airflow and prevent cable interference with any other components.
- Close the Computer Case: Once all connections are securely in place, carefully close the computer case and fasten it using the screws or locking mechanisms.
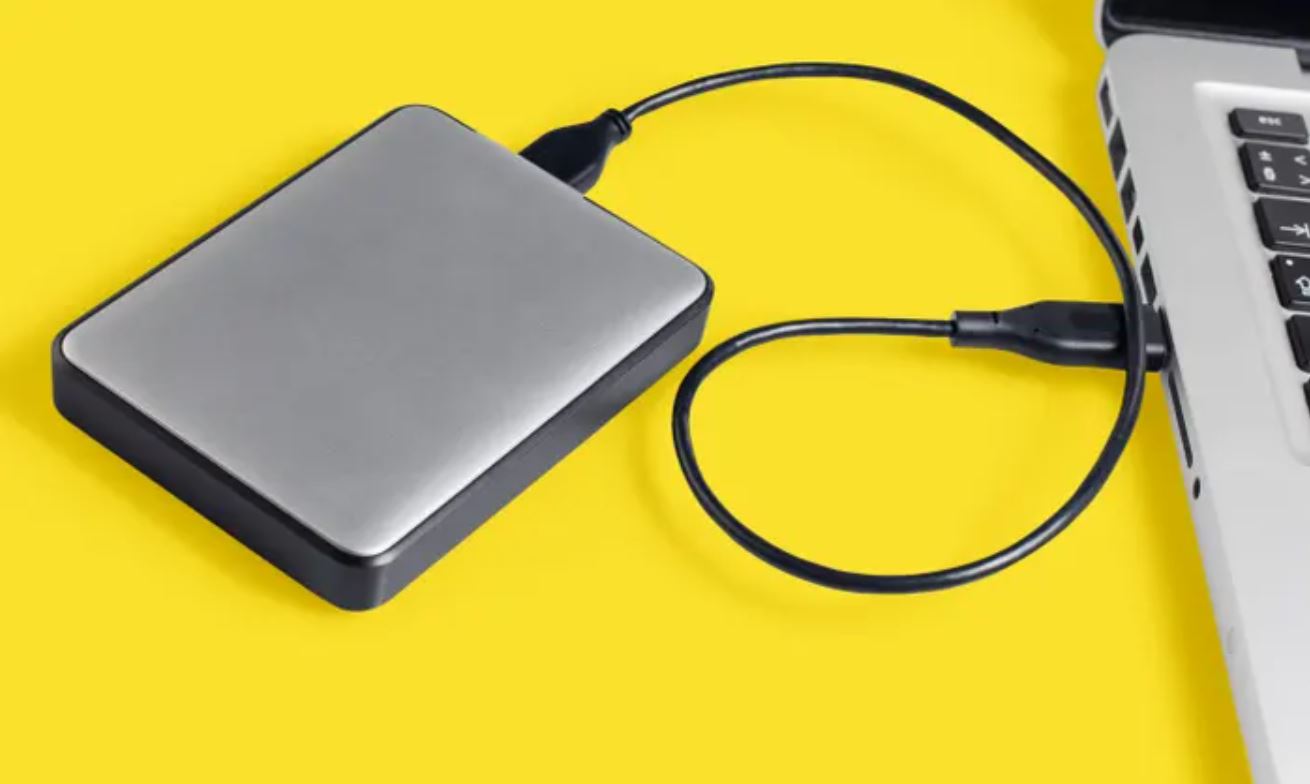
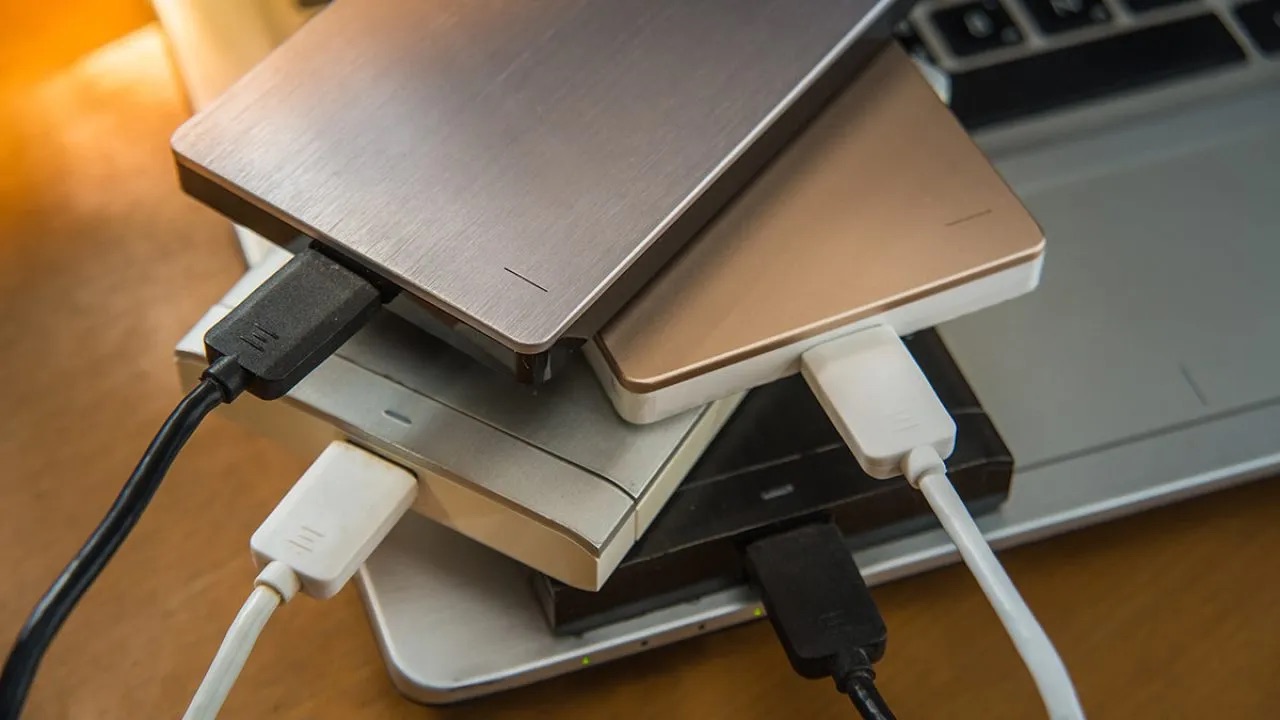
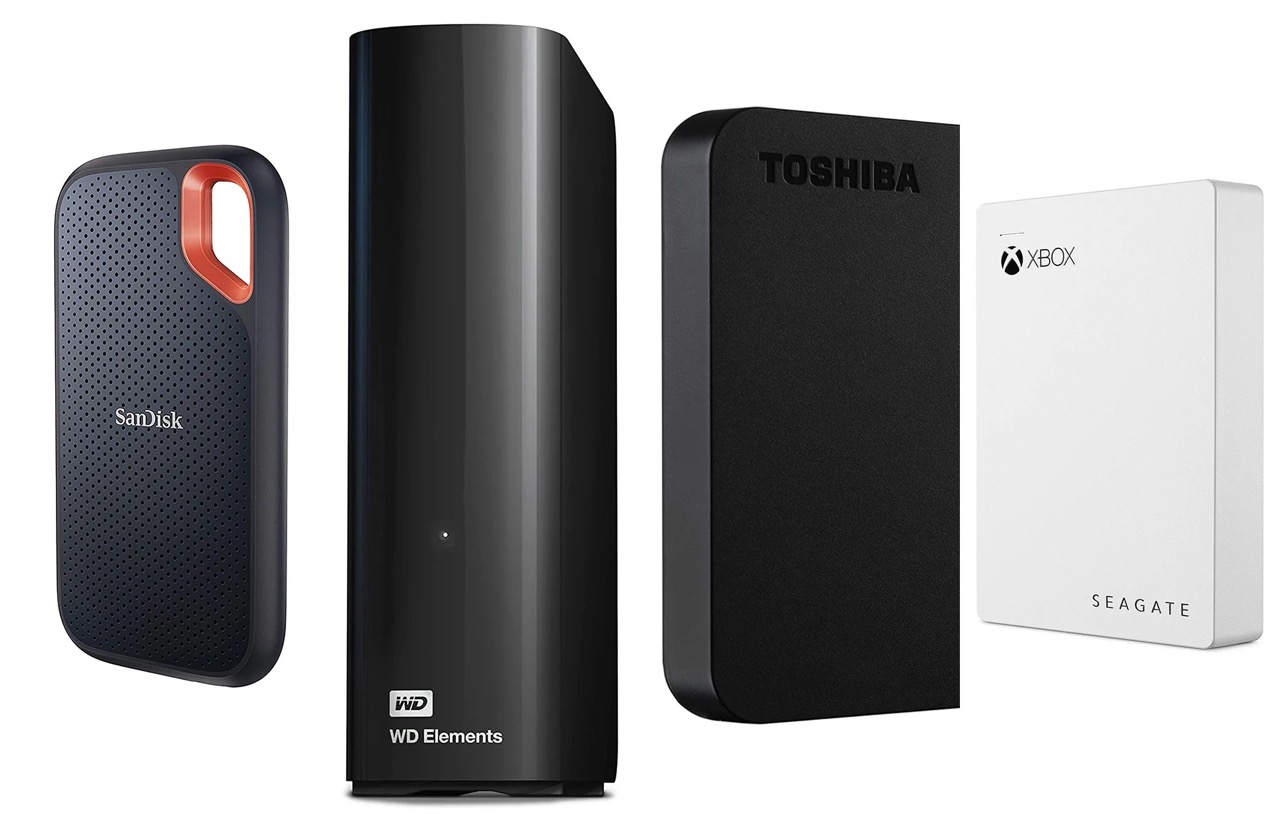
It’s important to note that, depending on the type of hard disk drive you are installing, you may need additional cables or adapters. For example, if you are using an external hard disk drive, you may require a USB cable to connect it to your computer.
Ensure that all connections are secure and properly aligned to avoid any data transfer or power issues. It’s a good practice to double-check the connections before proceeding to the next step.
Now that the hard disk drive is successfully connected to your computer, we can move on to the next step: initializing and formatting the drive.
Step 6: Initialize and Format the Hard Disk Drive
After successfully connecting the hard disk drive to your Windows 10 computer, it’s time to initialize and format the drive. This process prepares the drive for use and allows your operating system to recognize and access it.
Follow these steps to initialize and format the hard disk drive:
- Open Disk Management: Right-click on the Start button and select “Disk Management” from the context menu. This will open the Disk Management utility.
- Select the New Drive: In the Disk Management window, locate the new hard disk drive. It will likely be listed as “Unallocated” or “Not Initialized”.
- Initialize the Drive: Right-click on the drive and select “Initialize Disk”. In the initialization dialog box, choose the appropriate partition style (e.g., MBR or GPT) and click “OK” to proceed.
- Create a New Partition: Right-click on the “Unallocated” space and select “New Simple Volume”. Follow the on-screen instructions to create a new partition. Assign a drive letter and choose the desired file system (typically NTFS).
- Format the Drive: In the format dialog box, specify the desired volume label, allocation unit size, and perform a quick format (unless you have specific requirements). Click “OK” to initiate the formatting process.
- Wait for the Formatting to Complete: Depending on the size of the drive, the formatting process may take several minutes. Be patient and wait for the process to complete.
- Verify the Drive Status: Once the formatting is complete, the drive will be listed as “Healthy” and have a drive letter assigned to it.
It’s important to note that the formatting process erases any existing data on the drive. If you have any important data, make sure to back it up before proceeding with the formatting.
By following these steps, you have now initialized and formatted the hard disk drive. It is now ready for use, and you can start saving and accessing files on the drive.
In the next step, we will assign a drive letter to the new hard disk drive.
Step 7: Assign a Drive Letter to the New Hard Disk Drive
After initializing and formatting the newly installed hard disk drive, the next step is to assign a drive letter. This will allow your Windows 10 computer to easily identify and access the drive as a storage location.
Follow these steps to assign a drive letter to the new hard disk drive:
- Open Disk Management: Right-click on the Start button and select “Disk Management” from the context menu. This will open the Disk Management utility.
- Locate the Formatted Drive: In the Disk Management window, locate the newly formatted hard disk drive. It should be listed with a partition and labeled as “Healthy”.
- Right-click and Select “Change Drive Letter and Paths”: Right-click on the formatted drive and select “Change Drive Letter and Paths” from the context menu.
- Click “Add”: In the “Change Drive Letter and Paths” dialog box, click on the “Add” button.
- Select a Drive Letter: Choose an available drive letter from the drop-down menu. It is recommended to select a letter that is not already assigned to another drive.
- Click “OK”: Once you have selected a drive letter, click “OK” to apply the changes.
- Confirm the Drive Letter: After clicking “OK”, you will see a warning message stating that changing the drive letter might cause some programs to stop working. Confirm the change by clicking “Yes”.
Once you have assigned a drive letter to the new hard disk drive, it will be accessible through Windows Explorer or any file manager on your Windows 10 computer. You can now start using the drive for storage, file organization, and other tasks.
Ensure that you safely eject the drive when you’re finished using it to prevent data corruption or loss. To eject the drive, right-click on the drive in Windows Explorer and select “Eject”. Wait until you receive a notification that it’s safe to remove the drive before physically disconnecting it from your computer.
In the next step, we will discuss how to optimize storage settings for the new hard disk drive to make the most of its features.
Step 8: Optimize Storage Settings for the New Hard Disk Drive
Once you have assigned a drive letter to the new hard disk drive, it’s time to optimize the storage settings to maximize its performance and efficiency within your Windows 10 computer.
Follow these steps to optimize the storage settings for the new hard disk drive:
- Open the Storage Settings: Go to the Start menu, click on the Settings icon, and choose the “System” option. In the System window, select the “Storage” tab to access the storage settings.
- Change the Default Save Locations: In the Storage settings, you can change the default save locations for documents, pictures, videos, and other file types. Set your new hard disk drive as the preferred location for storing files by selecting it from the dropdown menus.
- Enable Storage Sense: Storage Sense is a built-in feature that automatically frees up storage space by deleting temporary files and emptying the Recycle Bin. Enable Storage Sense and configure it to run periodically to keep your hard disk drive clutter-free.
- Configure OneDrive: If you use Microsoft OneDrive for cloud storage, you can configure it to sync files selectively to your new hard disk drive. Open the OneDrive settings and choose the folders you want to sync to your computer.
- Adjust Power Options: Access the Power Options settings and set the power plan to ensure your hard disk drive doesn’t go into idle mode too quickly. This will prevent unnecessary spin-downs and latency when accessing files.
- Optimize Drive Performance: Use the built-in Disk Defragmenter tool to optimize the hard disk drive’s performance. Open the Start menu, type “defragment and optimize drives,” and select the tool. Analyze and optimize your drive to improve its efficiency.
By optimizing the storage settings for your new hard disk drive, you can ensure that it is being utilized effectively and efficiently. It’s important to regularly review and manage your storage settings as your file storage requirements may change over time.
With your hard disk drive now installed, connected, initialized, formatted, assigned a drive letter, and optimized for storage, you’re all set to make the most of its features and capabilities within your Windows 10 computer.
Congratulations! You have successfully added a new hard disk drive to your Windows 10 computer. Enjoy the increased storage capacity and improved performance!
Conclusion
Adding a hard disk drive to your Windows 10 computer is a straightforward process that can greatly enhance your storage capacity and overall performance. By following the steps outlined in this guide, you can successfully install, connect, initialize, format, assign a drive letter, and optimize the new hard disk drive for optimal use.
Throughout this guide, we discussed the importance of checking system requirements, purchasing a compatible hard disk drive, preparing the drive, physically installing it, connecting it to the computer, initializing and formatting it, assigning a drive letter, and optimizing storage settings. Each step is crucial to ensuring the smooth integration and functionality of the new hard disk drive with your Windows 10 computer.
Remember to take proper precautions when handling computer hardware and to consult your computer’s manual or the manufacturer’s documentation for specific instructions related to your system. If you’re not comfortable with the installation process, it’s always best to seek professional help or consult an expert.
By expanding your computer’s storage capacity with a new hard disk drive, you can easily accommodate your growing collection of files, install software and applications, and run resource-intensive programs without worrying about running out of space. Whether you’re a student, professional, gamer, or multimedia enthusiast, the added storage can significantly improve your computing experience.
Furthermore, optimizing the storage settings, enabling tools like Storage Sense, and adjusting power options will ensure that your new hard disk drive works efficiently and stays clutter-free, allowing you to make the most of its capabilities.
Now that you’ve successfully completed the process of adding a hard disk drive to your Windows 10 computer, you can enjoy the benefits of increased storage capacity, improved performance, and a more organized and efficient workflow.
Thank you for following this guide, and we hope it has been helpful in your journey to expand your computer’s storage capabilities!


