Introduction
Welcome to this comprehensive guide on how to rename an external hard drive in Windows 10. Renaming your external hard drive can help you easily identify and organize your storage devices, making it convenient to locate and access your files.
Whether you want to give your external hard drive a more meaningful name, remove any special characters, or simply personalize it to match your preferences, Windows 10 offers various methods to accomplish this task.
In this article, we will explore three different methods to rename an external hard drive in Windows 10: using Disk Management, using File Explorer, and using Command Prompt. These methods are applicable to all types of external hard drives, including USB flash drives, portable hard drives, and network drives.
Before we dive into the step-by-step instructions, it’s important to note that renaming an external hard drive will not affect the data stored on it. However, it’s always a good practice to backup your important files before making any changes, just in case.
Now, let’s explore each method in detail and empower you to rename your external hard drive effortlessly.
Method 1: Using Disk Management
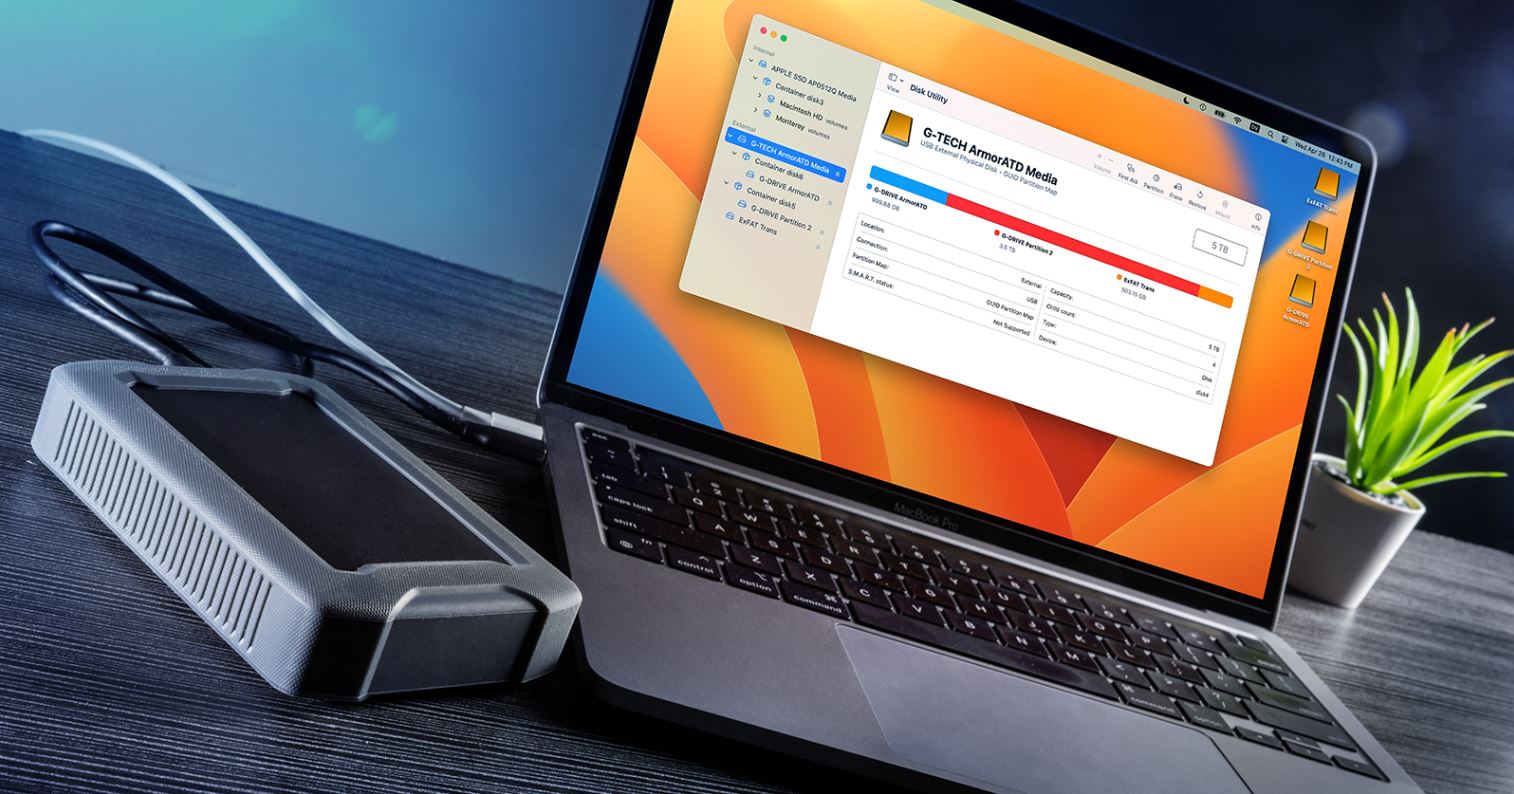
The first method we will discuss is renaming the external hard drive using the built-in Disk Management tool in Windows 10. Disk Management allows you to manage disk partitions and perform various tasks, including renaming drives.
Follow these steps to rename your external hard drive using Disk Management:
- Connect your external hard drive to your Windows 10 computer.
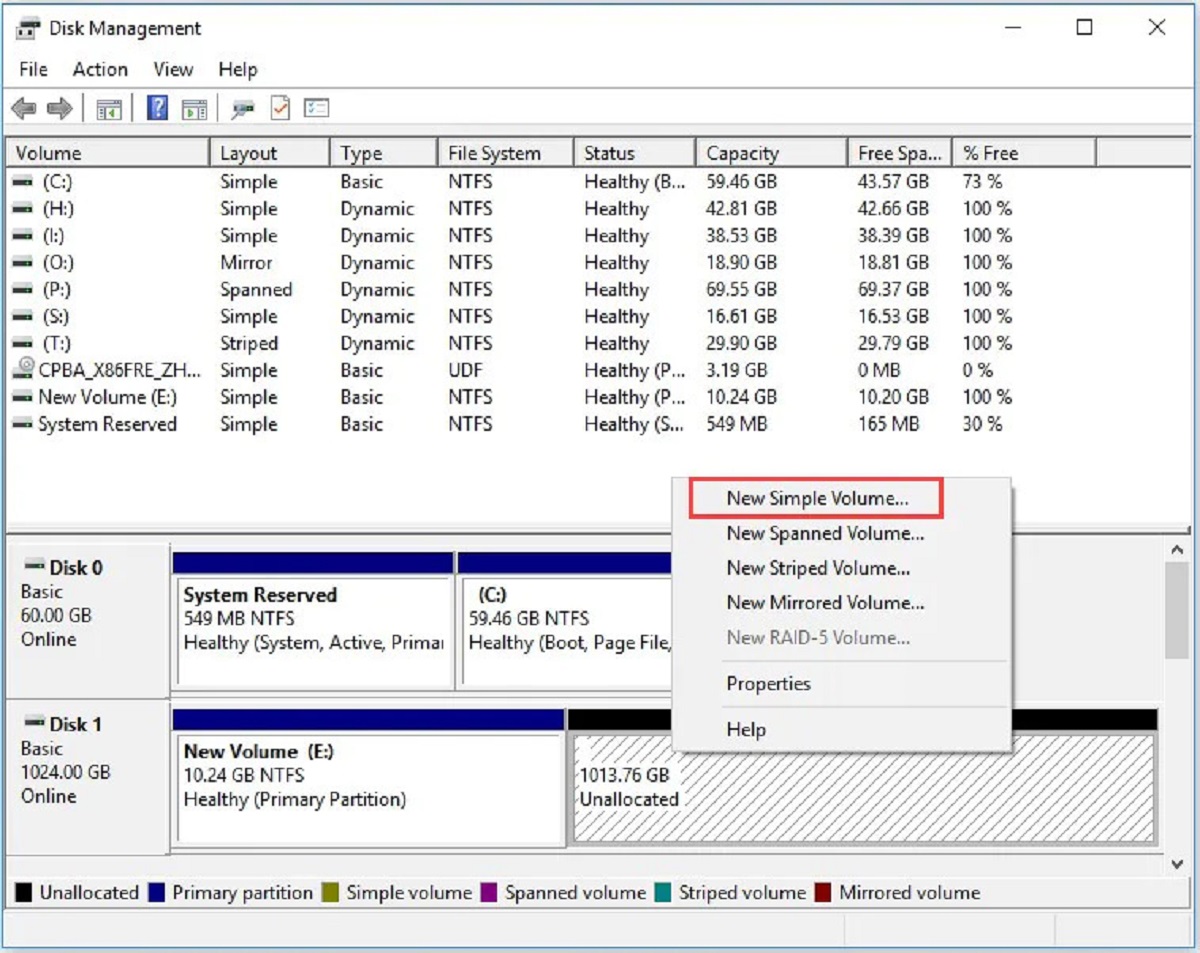
- Press the Windows key + X and select “Disk Management” from the menu that appears.
- In Disk Management, locate your external hard drive. It should be listed with its current name and drive letter.
- Right-click on the external hard drive and select “Properties”.
- In the Properties dialog box, go to the “General” tab.
- In the “Volume label” field, enter the new name you want to give to your external hard drive.
- Click “Apply” and then “OK” to save the changes.
Once you have completed these steps, you will see that your external hard drive has been renamed with the new label you provided. The new name will also be reflected when you view your external hard drive in File Explorer.
It’s important to note that the new name may take a few moments to update in Windows Explorer and other applications that display drive names. Additionally, if you have any files or programs that are linked to the old drive name, you may need to update those references manually.
Now that you know how to rename an external hard drive using Disk Management, you can easily customize the names of your storage devices to suit your needs and preferences.
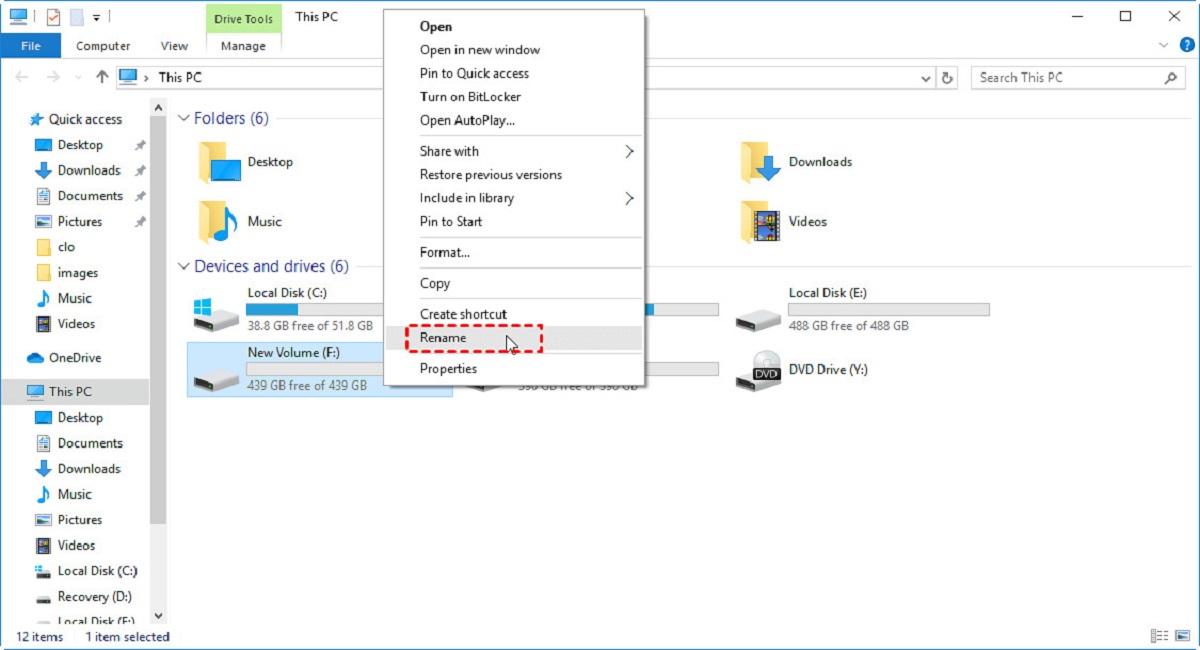
Method 2: Using File Explorer
If you prefer a more user-friendly and straightforward approach to rename your external hard drive, you can utilize the File Explorer in Windows 10. With File Explorer, you can easily manage your files and folders, including renaming your external hard drive.
Here are the steps to rename your external hard drive using File Explorer:
- Connect your external hard drive to your Windows 10 computer.
- Open File Explorer by pressing the Windows key + E on your keyboard, or by clicking on the folder icon in the taskbar.
- In the left sidebar of File Explorer, locate and click on “This PC” to view all your connected drives.
- Scroll down and find your external hard drive. It should be listed under the “Devices and drives” section.
- Right-click on the external hard drive and select “Rename” from the context menu.
- Type in the new name you want to give to your external hard drive, and press Enter to save the changes.
After following these steps, your external hard drive will be renamed with the new label you provided. The new name will also be visible when you view your external hard drive in File Explorer and other applications.
Using File Explorer to rename an external hard drive offers a quick and simple solution, especially for users who prefer a more intuitive interface.
Keep in mind that changing the drive name in File Explorer does not affect the contents of your external hard drive. However, it is always recommended to back up your important files before making any modifications.
Now you have another method in your repertoire for renaming your external hard drive in Windows 10.
Method 3: Using Command Prompt
If you prefer a more technical approach or enjoy working with command-line tools, you can also rename your external hard drive using the Command Prompt in Windows 10. The Command Prompt allows you to execute commands and perform various tasks, including renaming drives.
Follow these steps to rename your external hard drive using Command Prompt:
- Connect your external hard drive to your Windows 10 computer.
- Open the Command Prompt by pressing the Windows key + X and selecting “Command Prompt” or “Command Prompt (Admin)” from the menu that appears.
- In the Command Prompt window, type the following command:
diskpartand press Enter. This will launch the Diskpart utility. - Type the command
list volumeand press Enter to view a list of all the volumes (drives) on your computer. - Identify the volume number associated with your external hard drive.
- Type the command
select volume X, replacing “X” with the volume number of your external hard drive, and press Enter. - To change the name of the selected volume, use the command
label=NewLabel, replacing “NewLabel” with the new name you want to give to your external hard drive. - Press Enter to execute the command.
Once you have completed these steps, the Command Prompt will notify you that the volume’s label has been changed. You can confirm the new name by checking your external hard drive in File Explorer or other applications.
Using the Command Prompt to rename an external hard drive offers a more advanced and precise method for those who are comfortable with executing commands.
As always, make sure to double-check the volume number and the command syntax to avoid making changes to the wrong drive or encountering any errors.
With this method at your disposal, you have another option for renaming your external hard drive in Windows 10.
Conclusion
Renaming your external hard drive in Windows 10 is a simple and useful task that can help you better organize your storage devices. Whether you choose to use Disk Management, File Explorer, or the Command Prompt, you have multiple options to customize the name of your external hard drive to suit your preferences.
In the first method, we explored how to rename an external hard drive using Disk Management. This built-in tool allows you to manage disk partitions and easily change the drive label.
The second method involved using File Explorer, which provides a more user-friendly and intuitive interface for renaming your external hard drive. With a few simple steps, you can give your drive a new name effortlessly.
For users who prefer a more technical approach, the third method demonstrated how to rename an external hard drive using the Command Prompt. This command-line tool offers precise control over the renaming process.
Regardless of the method you choose, it’s important to note that renaming your external hard drive does not affect the data stored on it. It is always recommended to backup your important files before making any changes, as a precautionary measure.
Now that you are equipped with these three methods, you can confidently rename your external hard drive in Windows 10. Whether you want to give your drive a more meaningful name or simply personalize it, the choice is in your hands.
Take advantage of these methods to keep your external hard drives organized and easily identifiable, making it a breeze to locate and access your files whenever you need them.