Introduction
Welcome to this step-by-step guide on how to create a folder in an external hard drive for Mac. As a Mac user, you might find yourself in need of additional storage space for your files and documents. An external hard drive is an excellent solution for expanding your storage capacity without cluttering your computer’s internal drive.
Creating folders in an external hard drive allows you to organize your files more efficiently and keep them separate from your computer’s internal storage. This way, you can easily locate and access specific files whenever needed.
In this guide, we will walk you through the process of creating a folder in your external hard drive on Mac. From connecting the external hard drive to your Mac to organizing and moving files into the new folder, we will cover each step in detail.
Whether you want to organize your photos, videos, work documents, or any other files, this guide will help you set up folders on your external hard drive quickly and easily.
Before we dive into the steps, ensure that you have a compatible external hard drive and it is properly connected to your Mac. Once you have that ready, let’s get started on creating folders!
Step 1: Connect Your External Hard Drive to Your Mac
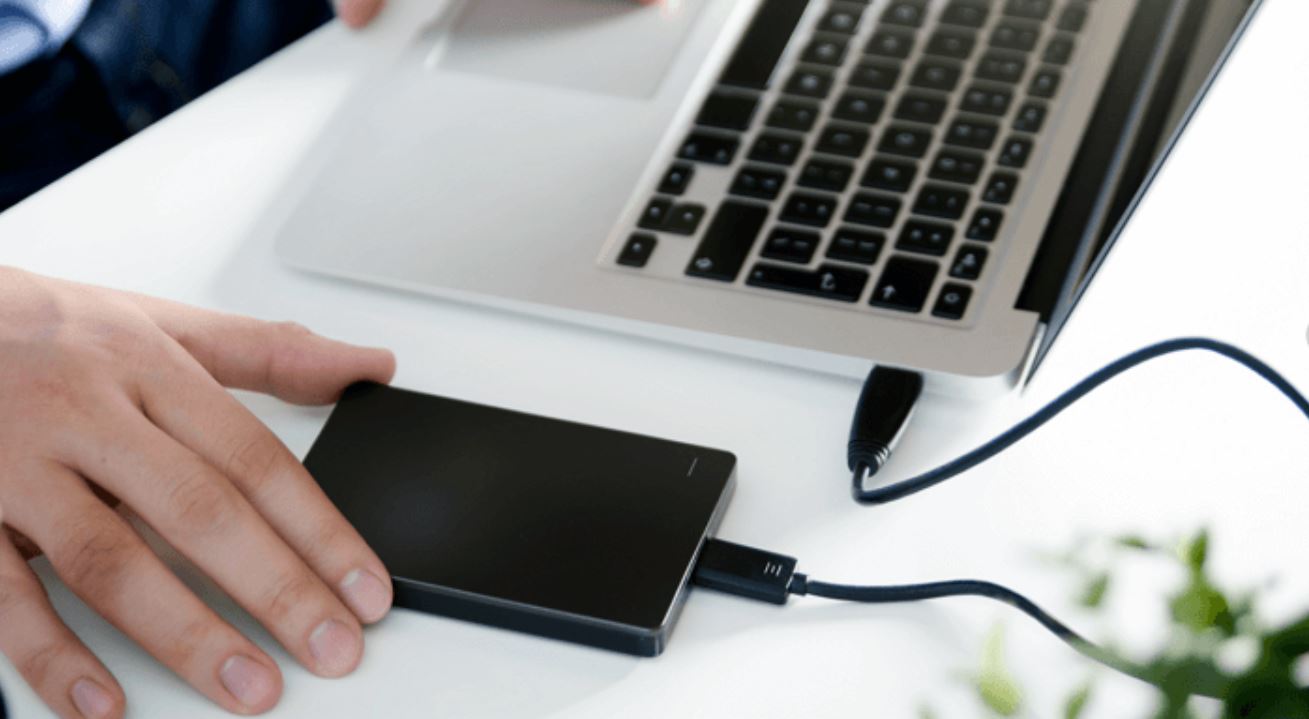
The first step in creating a folder in your external hard drive on Mac is to connect the drive to your computer. Follow these simple instructions:
- Locate an available USB or Thunderbolt port on your Mac.
- Plug one end of the USB or Thunderbolt cable into the corresponding port on your Mac.
- Connect the other end of the cable to the USB or Thunderbolt port on your external hard drive.
- Ensure that the connection is secure and the cable is properly inserted.
- Turn on your external hard drive, if necessary, by pressing the power button or switching it on.
Your Mac should detect the external hard drive and display it as a connected device. You will see its icon appear on the desktop or in the sidebar of a Finder window.
If your Mac does not automatically recognize the external hard drive, you may need to check the cable connection and try a different port. You can also refer to the manufacturer’s instructions for troubleshooting steps specific to your external hard drive model.
Once your external hard drive is connected and recognized by your Mac, you are ready to proceed to the next step: opening Finder.
Step 2: Open Finder
After connecting your external hard drive to your Mac, the next step is to open Finder. Finder is the default file manager on Mac, and it allows you to navigate through your files, folders, and drives.
Here’s how you can open Finder:
- Click on the desktop of your Mac to make sure you are in the Finder mode.
- Locate and click on the Finder icon in the Dock. The Finder icon looks like a blue and white face.
- You can also use the keyboard shortcut Command + Space to open Spotlight Search.
- Type “Finder” in the search bar, and then press Return to open Finder.
Once you open Finder, you will see the Finder window appear on your screen. This window provides you with access to your files, folders, and external devices.
Now that Finder is open, you’re ready to move on to the next step, where we’ll discuss how to access your external hard drive from Finder.
Step 3: Access Your External Hard Drive
Once you have opened Finder, the next step is to access your external hard drive. Here’s how you can do it:
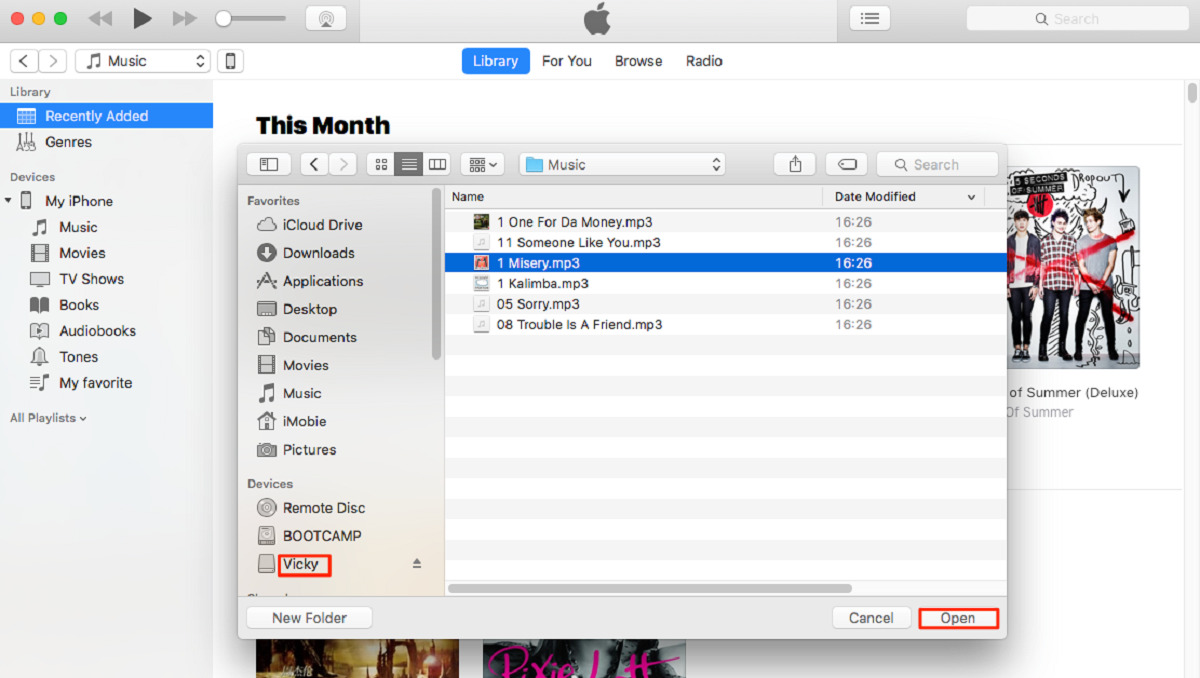
- In the Finder window, look for the section labeled “Devices” in the left sidebar.
- Under “Devices,” you should see the name of your external hard drive listed. Click on the name to select it.
- After selecting your external hard drive, its contents will be displayed in the main window of the Finder. You will see all the existing files and folders stored on the external hard drive (if any).
By accessing your external hard drive through Finder, you can easily view and manage the files and folders stored on it. This includes creating new folders to organize your data.
If you are unable to see your external hard drive listed under “Devices” in the left sidebar of Finder, try the following troubleshooting steps:
- Disconnect the USB or Thunderbolt cable from your Mac and reconnect it again to ensure a secure connection.
- Restart your Mac and check if the external hard drive appears in Finder after rebooting.
- If none of the above steps work, refer to the manufacturer’s instructions or support forums for further assistance.
Now that you have successfully accessed your external hard drive, let’s proceed to the next step to learn how to select the location for your new folder.
Step 4: Select the Location for Your New Folder
Now that you have accessed your external hard drive in Finder, it’s time to select the location where you want to create your new folder. Selecting the right location will help you keep your files organized and easily accessible.
Follow these steps to select the location for your new folder:
- Look at the main window of Finder where the contents of your external hard drive are displayed.
- Navigate through any existing folders or directories on your external hard drive to find the desired location for your new folder.
- If you want to create the new folder in the root directory of your external hard drive, simply click on the external hard drive name in the left sidebar of Finder.
- If you want to create the new folder within an existing folder, double-click on the folder to open it and view its contents.
It’s important to choose a location that makes sense for the purpose of your new folder. For example, if you are creating a folder to store all your music files, you might want to select a location within a “Music” folder on your external hard drive.
Remember, you can always move the folder later if you decide to reorganize your files. So, don’t worry too much about picking the perfect location right away.
Once you have selected the location for your new folder, continue to the next step to learn how to create the folder.
Step 5: Create the Folder
Now that you have selected the location for your new folder on your external hard drive, it’s time to create the folder itself. Follow these simple steps to create a new folder:
- Right-click or Control + click on an empty space within the selected location where you want to create the new folder.
- A context menu will appear. Move your cursor to the “New Folder” option and click on it.
- A new folder will be created with the default name “untitled folder.”
- Immediately after creating the folder, the name will be highlighted, allowing you to rename it. Type in a descriptive name for your new folder.
- Press the Return key on your keyboard to confirm the name change.
Congratulations! You have successfully created a new folder on your external hard drive. The new folder will now appear in the selected location within Finder.
It’s important to choose a clear and meaningful name for your folder to make it easier to identify its content. For example, if you are creating a folder to store your vacation photos, you could name it “Vacation 2022” or something similar.
Creating folders allows you to organize your files and keep them separated based on their content, making it easier to locate specific files when needed.
Now that you have created the folder, let’s move on to the next step to learn how to rename the folder (optional).
Step 6: Rename the Folder (Optional)
After creating a new folder on your external hard drive, you have the option to rename it to provide a more descriptive or meaningful name. Renaming the folder can help you easily identify its content and make it easier to navigate through your files.
Here’s how you can rename a folder on your external hard drive:
- Locate the folder on your external hard drive within Finder.
- Right-click or Control + click on the folder to open the context menu.
- Select the “Rename” option from the menu.
- The folder name will now be highlighted, ready for editing.
- Type in the new name for the folder.
- Press the Return key on your keyboard to confirm the name change.
By renaming the folder, you can provide a more specific name that reflects the contents of the folder. For example, if you created a folder to store your work documents, you could rename it to “Work Documents” or “Project Files” to easily distinguish it from other folders on your external hard drive.
Remember to choose a name that accurately represents the content of the folder. This will help you locate and access your files more efficiently in the future.
Now that you have successfully renamed the folder (if desired), let’s move on to the next step to learn how to organize and move files into the new folder.
Step 7: Organize and Move Files into the New Folder
Now that you have created and potentially renamed your folder on your external hard drive, it’s time to organize and move your files into the new folder. This step is crucial in maintaining an organized file structure and making it easier to locate specific files when needed.
Follow these steps to organize and move files into the new folder:
- Locate the files you want to organize within Finder.
- Click and hold the file or files that you want to move into the new folder.
- Drag the selected file or files over the new folder on your external hard drive.
- Release the mouse or trackpad to drop the file or files into the folder.
- The file or files will now be moved into the new folder.
By organizing your files into the new folder, you can keep related files together, making it easier to find and access them later. This is especially helpful when dealing with a large number of files or different types of files on your external hard drive.
You can also create subfolders within the main folder to further categorize and organize your files. To do this, simply right-click or Control + click on the main folder, select “New Folder,” and give it a name that represents the category of files you want to store in it. Repeat this step for each subfolder you want to create.
Remember, organization is key to maintaining a clean and efficient file system, so take the time to review and organize your files regularly.
With your files organized and stored in the new folder on your external hard drive, you have successfully completed the process of creating a folder and managing your files on your external storage.
Now that you have accomplished all the steps, you can enjoy the benefits of a well-organized external hard drive with easy access to your files whenever you need them.
Conclusion
Congratulations on successfully creating a folder in your external hard drive on your Mac! By following the step-by-step guide, you have learned how to connect your external hard drive, open Finder, access the drive, select a location, create a folder, rename it (if desired), and organize and move files into the new folder.
Organizing your files in folders on your external hard drive is an essential practice for maintaining a well-structured and easily navigable file system. With your files organized, you can save time and effort by quickly finding the files you need.
Remember to periodically review and update your file organization to accommodate new files and ensure that your external hard drive remains clutter-free and efficient.
Having a reliable external hard drive can provide you with the additional storage space you need to keep your digital files safe and secure. By creating folders and organizing your files, you can make the most out of your external storage and make file management a breeze.
We hope this guide has been helpful in assisting you with creating folders on your external hard drive for your Mac. Now, you can enjoy the benefits of an organized file system and easily access your files whenever you need them.
Thank you for following along, and happy organizing!