Introduction
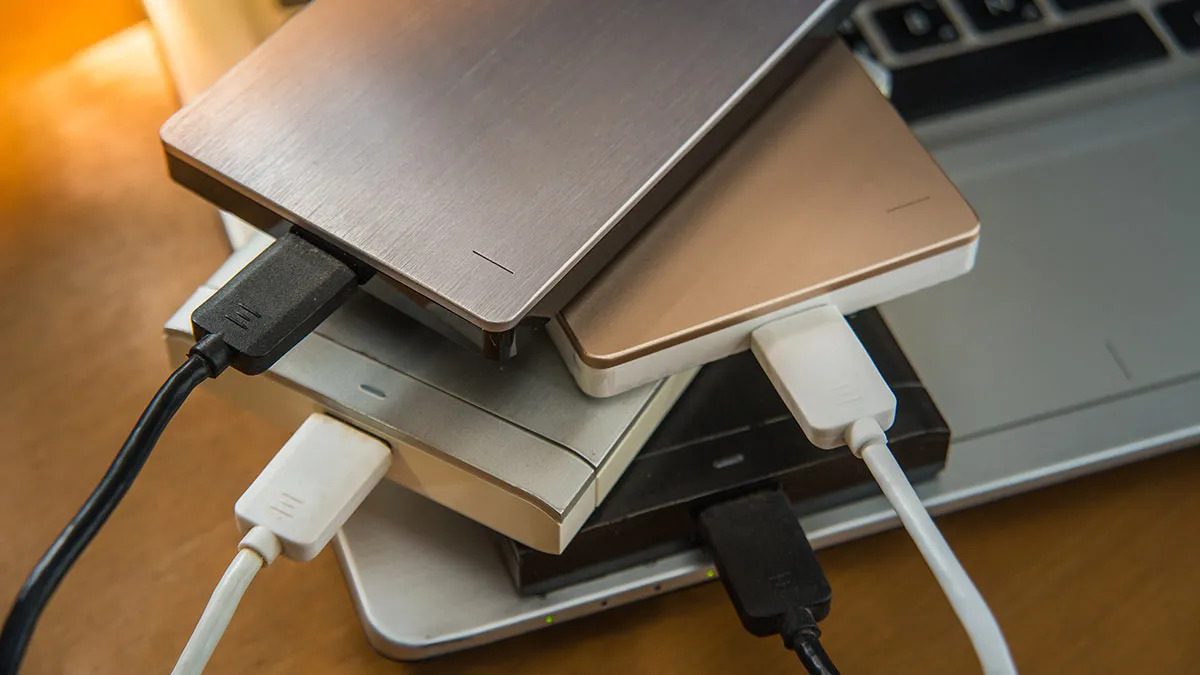
The external hard drive is an essential tool for storing and accessing large amounts of data, including photos. If you’re a Mac user and have recently connected an external hard drive to your device, you might be wondering how to view the photos stored on it. Whether you’re looking to browse through your collection or transfer them to your Mac, we’ve got you covered.
In this article, we will walk you through the step-by-step process of viewing photos from an external hard drive on a Mac. We will cover everything from connecting the external hard drive to accessing and organizing your photo library. By the end, you’ll be equipped with the knowledge you need to seamlessly view and manage your photos.
So, let’s dive in and explore the methods and tools available to view your photos stored on an external hard drive with your Mac. Whether you’re a photography enthusiast, a professional photographer, or simply someone who wants to access their cherished memories, we’ve got you covered.
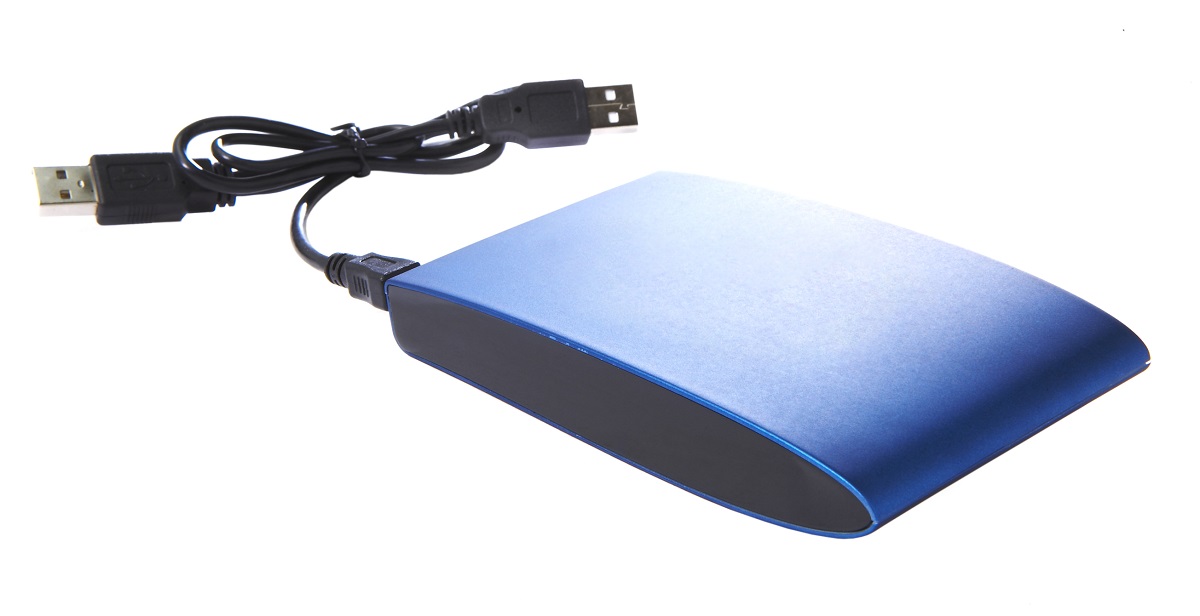
Connecting the External Hard Drive
Before you can view the photos stored on your external hard drive, you need to ensure that it is properly connected to your Mac. Follow these steps to establish a connection:
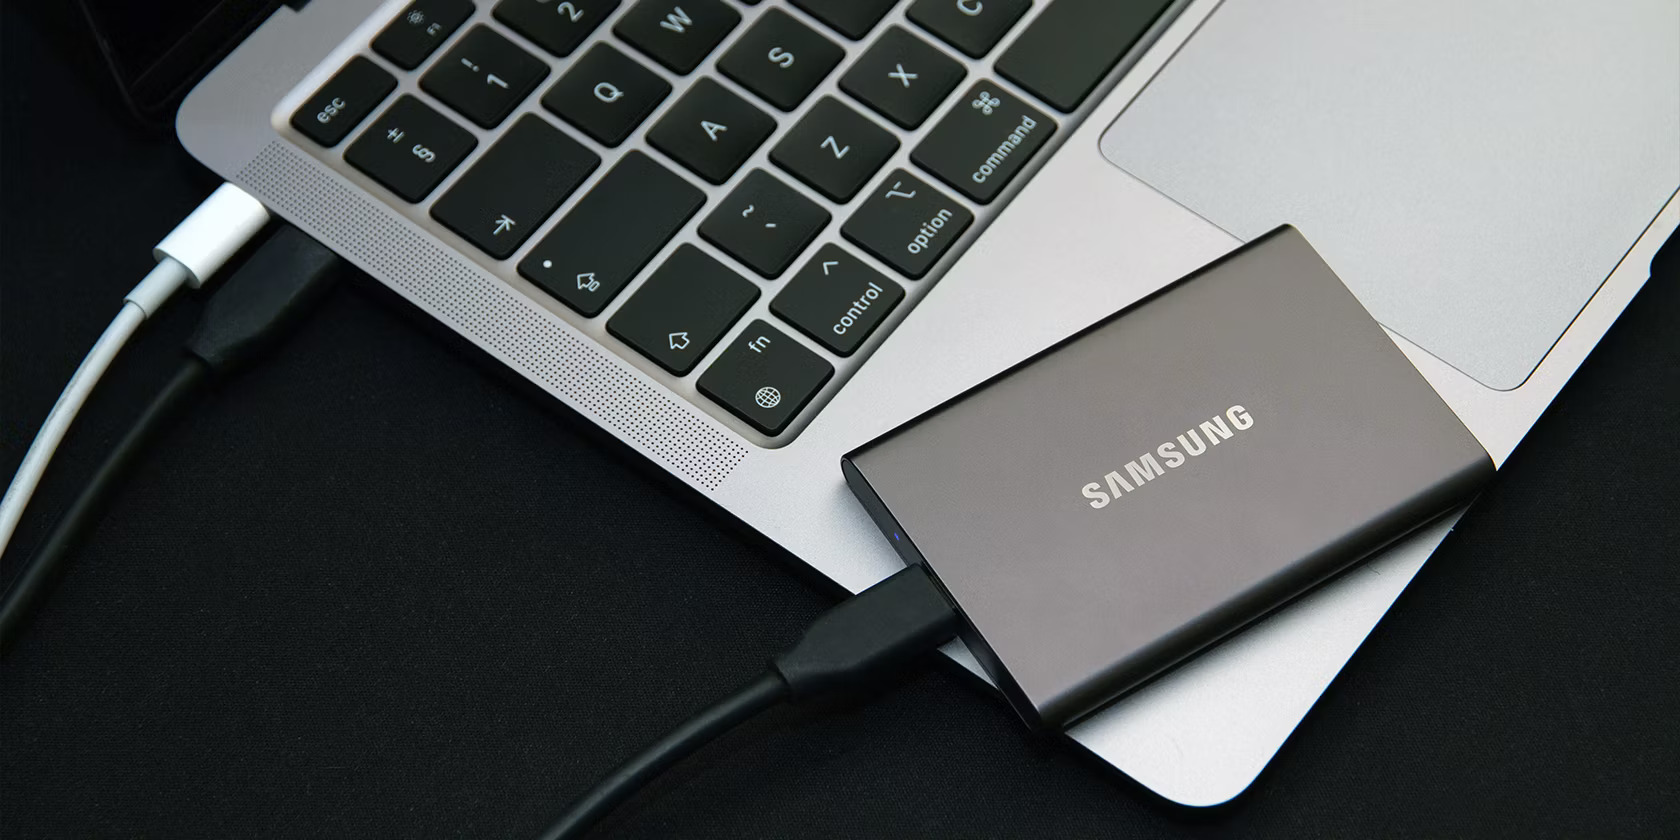
- Locate the USB or Thunderbolt port on your Mac. These ports are usually found on the sides or back of the device.
- Connect one end of the USB or Thunderbolt cable to the external hard drive.
- Connect the other end of the cable to the corresponding port on your Mac.
- Power on the external hard drive by plugging it into an electrical outlet or using its built-in power source.
- Wait for your Mac to detect the external hard drive. You may receive a notification or see the hard drive icon appear on your desktop or in the Finder.
Once the connection is established, you’re ready to access and view the photos stored on the external hard drive using your Mac.
Opening the Finder
The Finder is the default file management application on Mac, and it’s the key to accessing the files and folders on your external hard drive, including your photos. Here’s how to open the Finder:
- Click on the Finder icon located in the Dock, which is the bar at the bottom of your screen. The icon resembles a blue face.
- If the Finder is already open but not visible, click on the desktop to bring it into focus.
- You can also use the shortcut keys “Command + N” to open a new Finder window.
Once the Finder is open, you’ll be able to navigate to your external hard drive and access the photos stored within.
Keep in mind that there may be multiple Finder windows open at once, each showcasing different locations on your Mac. You can easily switch between these windows by clicking on the corresponding window or using the shortcut “Command + `”.
Now that you have the Finder open, let’s move on to the next step: Navigating to the external hard drive.
Navigating to the External Hard Drive
Now that you have the Finder open, the next step is to navigate to your external hard drive. Follow these steps:
- Look for the “Devices” section in the left sidebar of the Finder window. Your external hard drive should be listed under this section.
- Click on the name of your external hard drive to select it. The contents of the hard drive will appear in the main area of the Finder window.
- If you don’t see your external hard drive listed under “Devices,” navigate to the “Locations” section and click on “External Drives.”
By selecting your external hard drive, you have accessed the files and folders stored on it. Now, you can locate and view your photos.
In case you have multiple partitions on your external hard drive, each with a different name, make sure to select the correct partition that contains your photos.
Now that you have successfully navigated to the external hard drive, let’s move on to the next step: viewing photos using the built-in Preview app.
Viewing Photos with the Built-in Preview App
The built-in Preview app on your Mac is a handy tool for viewing photos and other image files. Here’s how you can use it to view photos stored on your external hard drive:
- Ensure that you have selected your external hard drive in the Finder, as explained in the previous section.
- Locate the folder or directory where your photos are stored within your external hard drive.
- Double-click on the desired photo file to open it in the Preview app.
- Once the photo is open in Preview, you can navigate through your photo collection using the arrow keys or by clicking on the arrow icons in the Preview toolbar.
- Zoom in or out on the photo by clicking on the “Zoom” button in the Preview toolbar or by using the “Command + +” or “Command + -” keyboard shortcuts.
- If you want to view multiple photos at once, select multiple photo files within the Finder window, right-click, and choose “Open with Preview” from the context menu.
By using the Preview app, you can easily browse through and view your photos stored on the external hard drive. Preview also provides additional features such as basic photo editing, annotations, and the ability to export your photos in different file formats.
To close a photo in Preview, either click on the red “X” button in the top-left corner of the Preview window or use the “Command + W” keyboard shortcut.
Now that you know how to view your photos using Preview, let’s explore another option: using a third-party photo viewer.
Using a Third-Party Photo Viewer
While the built-in Preview app offers basic photo viewing capabilities, you may prefer to use a third-party photo viewer for a more enhanced experience. There are numerous third-party applications available that provide advanced features and a user-friendly interface. Here are a few popular options:
- Adobe Lightroom: Lightroom is a professional photo editing and management software that offers powerful features for organizing and viewing your photo library. It provides a wide range of editing tools and enables you to create collections and apply presets to your photos.
- Google Photos: Google Photos is a cloud-based service that allows you to store, organize, and view your photos. It offers advanced search capabilities, automatic backup, and the ability to create albums, collages, and animations.
- Photoscape X: Photoscape X is a versatile photo editing and management software that also includes a photo viewer. It supports a wide range of file formats and offers features like batch editing, collage making, and GIF creation.
To use a third-party photo viewer, follow these general steps:
- Download and install the preferred third-party photo viewer from their official website or from the App Store.
- Once installed, open the photo viewer application.
- Connect your external hard drive to your Mac and navigate to the folder where your photos are stored.
- Drag and drop the desired photo files into the photo viewer application.
- Use the features and options provided by the third-party photo viewer to view and manage your photos.
Each third-party photo viewer will have its own unique interface and features, so it’s recommended to explore the documentation or tutorials provided by the respective software developers for more detailed instructions.
Now that you’re familiar with using a third-party photo viewer, let’s move on to organizing and sorting your photos.
Organizing and Sorting Photos
Keeping your photo library well-organized is essential for easily locating and managing your photos. Here are some tips for organizing and sorting your photos on your Mac:
- Create folders: Within your external hard drive, create separate folders for different categories or events to group your photos together. For example, you can have folders for vacations, family events, or specific time periods.
- Use subfolders: Within each main folder, you can create subfolders to further organize your photos. This can be helpful if you have a large collection of photos and want to categorize them by sub-events or sub-categories.
- Choose descriptive names: Give meaningful names to your folders and subfolders, so you can easily identify their content at a glance.
- Tag your photos: Some photo management software allows you to add tags or keywords to your photos. These tags can be used to categorize and search for specific photos based on subjects, locations, people, or events.
- Use metadata: Take advantage of the metadata embedded within your photo files. This includes information such as date, time, location, and camera settings. Most photo viewers or management software allow you to search and filter photos based on this metadata.
- Organize by date: If you have photos spanning several years, consider organizing them chronologically by date. This can help you easily navigate through your collection and track the progression of events.
- Delete duplicates: Over time, you might accumulate duplicate copies of photos. Take the time to identify and remove any duplicate files to free up space and avoid cluttering your photo library.
By implementing these organization techniques, you’ll have a well-structured photo library that makes it easier to find specific photos and maintain a sense of order.
Now that your photos are organized, let’s explore how you can transfer them from your external hard drive to your Mac.
Transferring Photos to Mac
If you want to transfer your photos from your external hard drive to your Mac’s internal storage, you have a few different options. Here are some methods you can use:
- Drag and drop: Open the Finder and locate the folder or subfolder containing the photos you want to transfer. Simply click and drag the photos from the external hard drive’s folder to your desired location on the Mac.
- Copy and paste: Similar to drag and drop, you can right-click on the photos you want to transfer, select “Copy,” navigate to the desired location on your Mac, and then right-click and select “Paste.”
- Import with photo management software: If you’re using photo management software like Adobe Lightroom or Apple Photos, you can use their import feature to transfer your photos. Connect your external hard drive to your Mac, open the software, and follow the instructions to import your photos into your library.
Before transferring your photos, it’s a good idea to create a folder on your Mac’s internal storage specifically for storing them. This will help keep your photos organized and easily accessible.
Once the transfer is complete, you can safely eject or disconnect the external hard drive from your Mac to free up the USB or Thunderbolt port for other devices.
Now that you know how to transfer your photos, let’s move on to the final step: safely disconnecting the external hard drive.
Safely Disconnecting the External Hard Drive
After you have finished transferring and viewing your photos from the external hard drive on your Mac, it is important to follow the proper procedure for safely disconnecting the drive to prevent data loss or corruption. Here’s what you need to do:
- Close any applications or files that are accessing the external hard drive. This ensures that all processes involving the drive have been terminated.
- If you have any files open from the external hard drive, make sure to save and close them before proceeding.
- Locate the external hard drive icon on your desktop or in the Finder sidebar.
- Right-click on the icon and select “Eject” from the context menu. Alternatively, you can also drag the icon to the Trash bin, which will change to an eject symbol.
- Wait for the confirmation message to appear, indicating that it is safe to disconnect the external hard drive.
- Disconnect the USB or Thunderbolt cable from your Mac and the external hard drive.
It is important to note that you should never abruptly disconnect the external hard drive without properly ejecting it, as this can cause data loss or damage to the drive.
If you frequently use the external hard drive with your Mac, it is recommended to follow this safe disconnect procedure every time you finish using it. This practice ensures the longevity and reliability of both your external hard drive and your Mac.
Now that you know how to safely disconnect your external hard drive, let’s conclude our guide.
Conclusion
Viewing and accessing photos from an external hard drive on your Mac is a straightforward process that provides you with convenient storage and easy access to your cherished memories. By connecting your external hard drive and utilizing the built-in Finder, Preview app, or third-party photo viewers, you can effortlessly browse and view your photo library.
Remember to organize and sort your photos effectively to maintain a well-structured collection. Utilize features like folders, subfolders, tags, and metadata to keep everything organized and easily searchable. Additionally, transferring your photos from the external hard drive to your Mac’s internal storage is a simple task, allowing you to access and manage your photos even when the external drive is disconnected.
Lastly, ensure to follow the proper procedure for safely disconnecting your external hard drive to prevent any data loss or corruption. By ejecting the drive before physically removing it, you safeguard both your external hard drive and your Mac.
We hope this guide has provided you with helpful insights and instructions on how to view photos from an external hard drive on your Mac. Whether you’re a photography enthusiast, a professional, or simply someone who wants to relive special moments, having easy access to your photos is essential. Now, go ahead and enjoy viewing and managing your photo collection with ease!