Introduction
Welcome to our guide on how to copy iPhotos to an external hard drive. If you’re running out of storage space on your computer or just want to safeguard your precious memories, transferring your iPhoto library to an external hard drive can be a great solution. By moving your iPhotos to an external storage device, you’ll free up space on your computer while still having easy access to all your photos.
Apple’s iPhoto is a popular photo management application that allows you to organize, edit, and store your digital photos. However, as your iPhoto library grows, it can take up a significant amount of space on your computer’s hard drive. This can slow down your machine and make it difficult to maintain an organized photo library.
By following our step-by-step instructions, you’ll be able to transfer your iPhoto library to an external hard drive in no time. Not only will this free up space on your computer, but it will also provide you with a secure backup of your photos in case anything happens to your computer.
In this guide, we’ll walk you through the process of connecting the external hard drive, creating a new library, transferring the iPhoto library, and accessing your photos from the external hard drive. Let’s get started!
Step 1: Connect the External Hard Drive
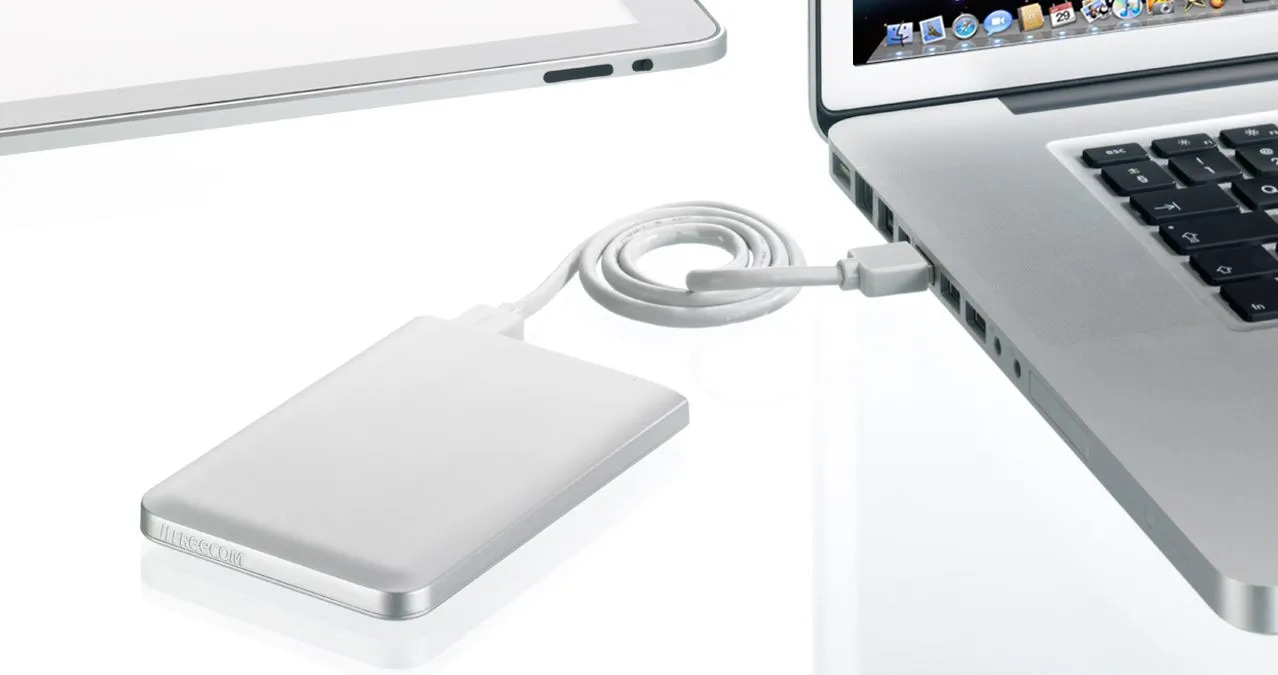
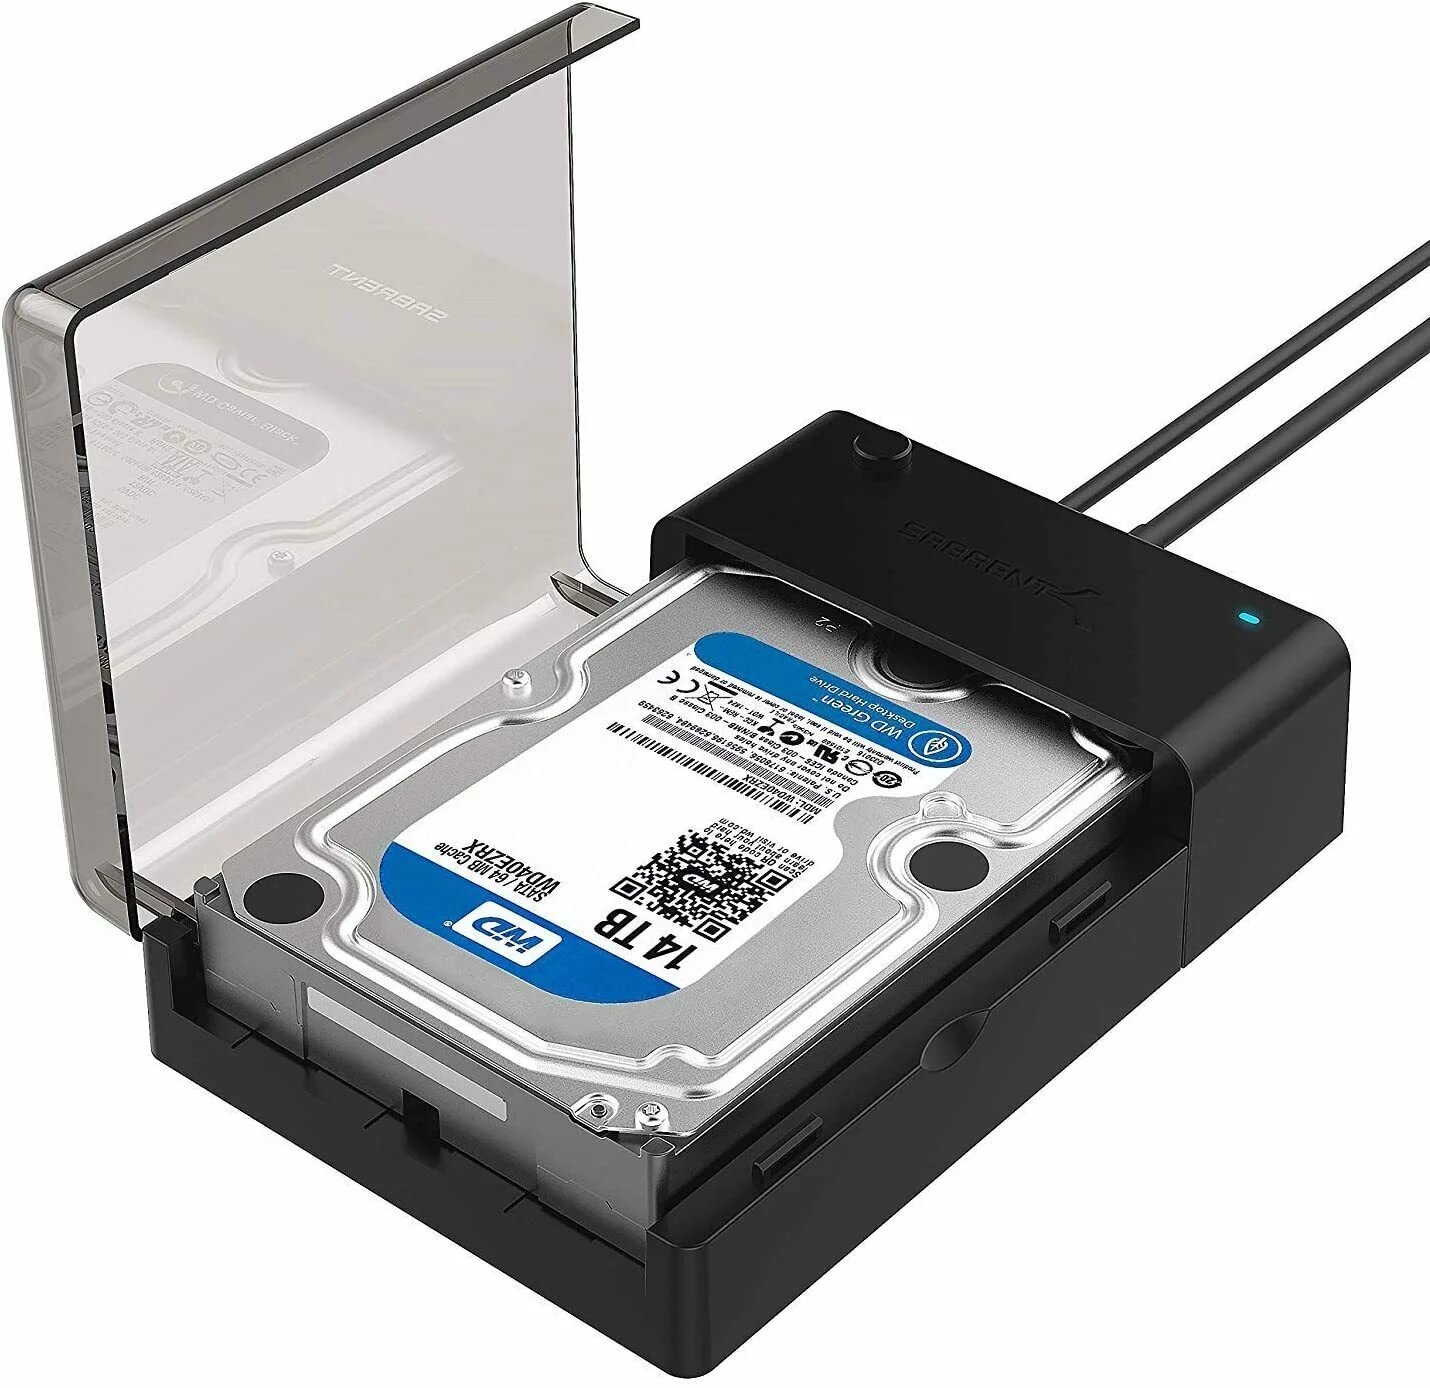
The first step in transferring your iPhotos to an external hard drive is to connect the drive to your computer. Make sure you have a compatible external hard drive with enough storage capacity to accommodate your iPhoto library.
Here’s how to connect the external hard drive:
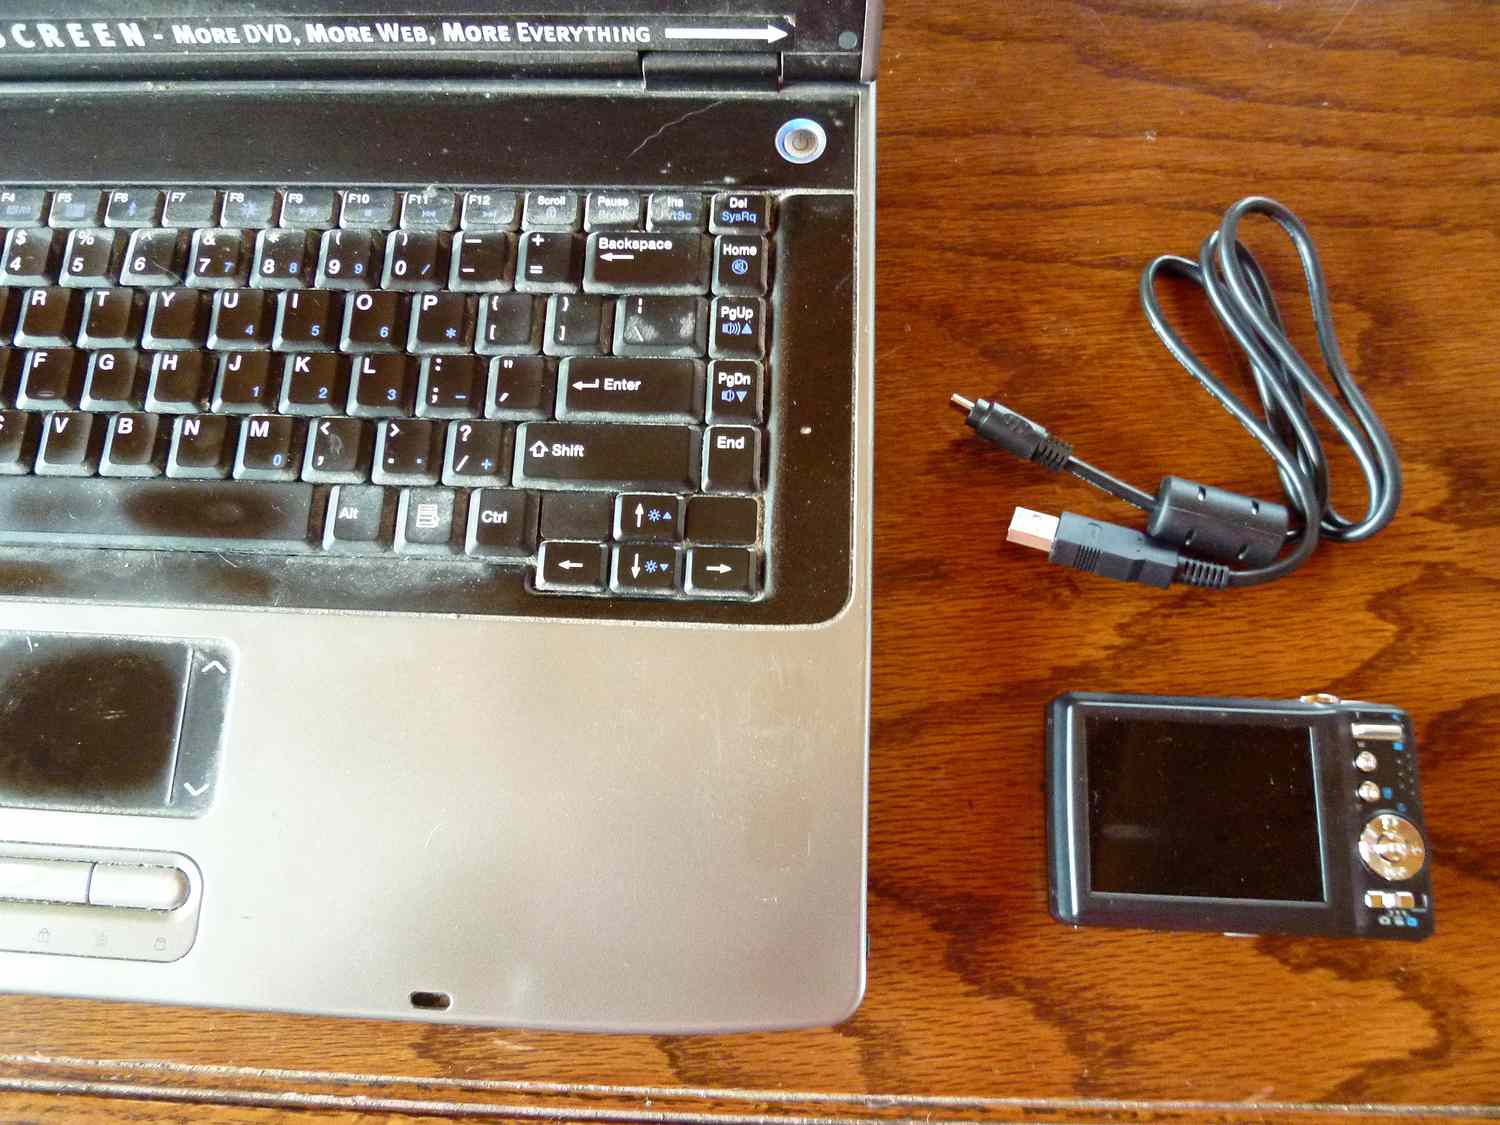
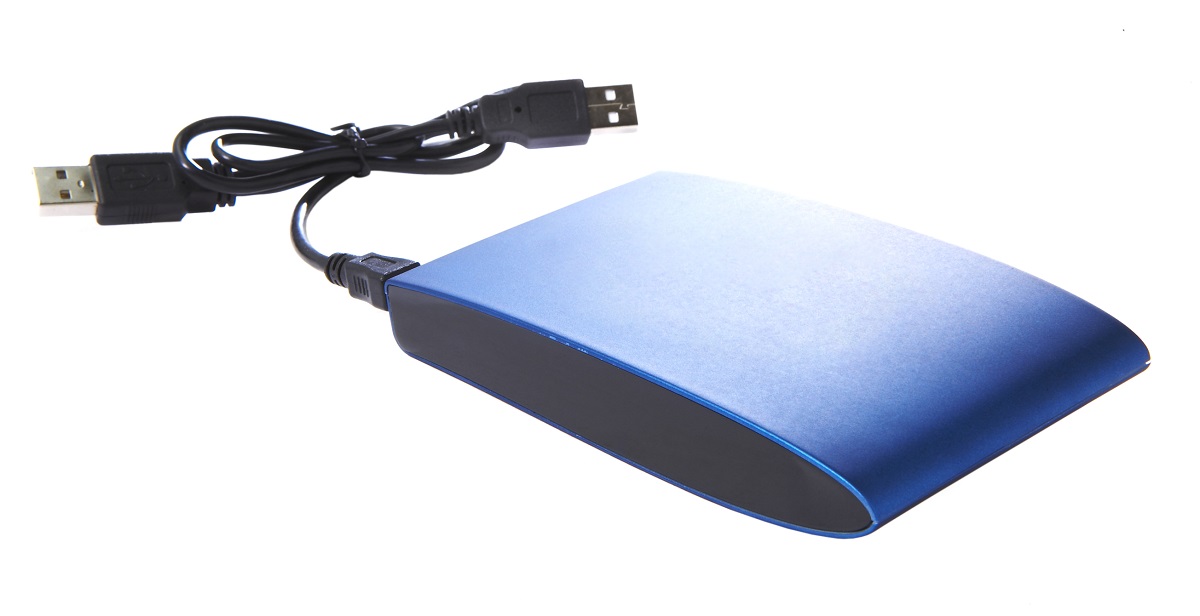
- Locate an available USB or Thunderbolt port on your computer.
- Plug the USB or Thunderbolt cable into the corresponding port on your computer.
- Take the other end of the cable and connect it to the external hard drive.
- Ensure that the external hard drive is powered on and recognized by your computer.
Once the external hard drive is connected and recognized by your computer, you’re ready to proceed to the next step.
Note: If you’re using a new external hard drive, it may need to be formatted before you can use it with your Mac. Follow the manufacturer’s instructions or consult Apple’s support documentation for guidance on how to format the drive.
Step 2: Open iPhoto
Now that you have connected the external hard drive to your computer, it’s time to open iPhoto. Here’s how to do it:
- Click on the Launchpad icon in your Dock, which resembles a rocket ship.
- In Launchpad, locate and click on the iPhoto icon. You can also use the Spotlight search feature by pressing Command + Space and typing “iPhoto.”
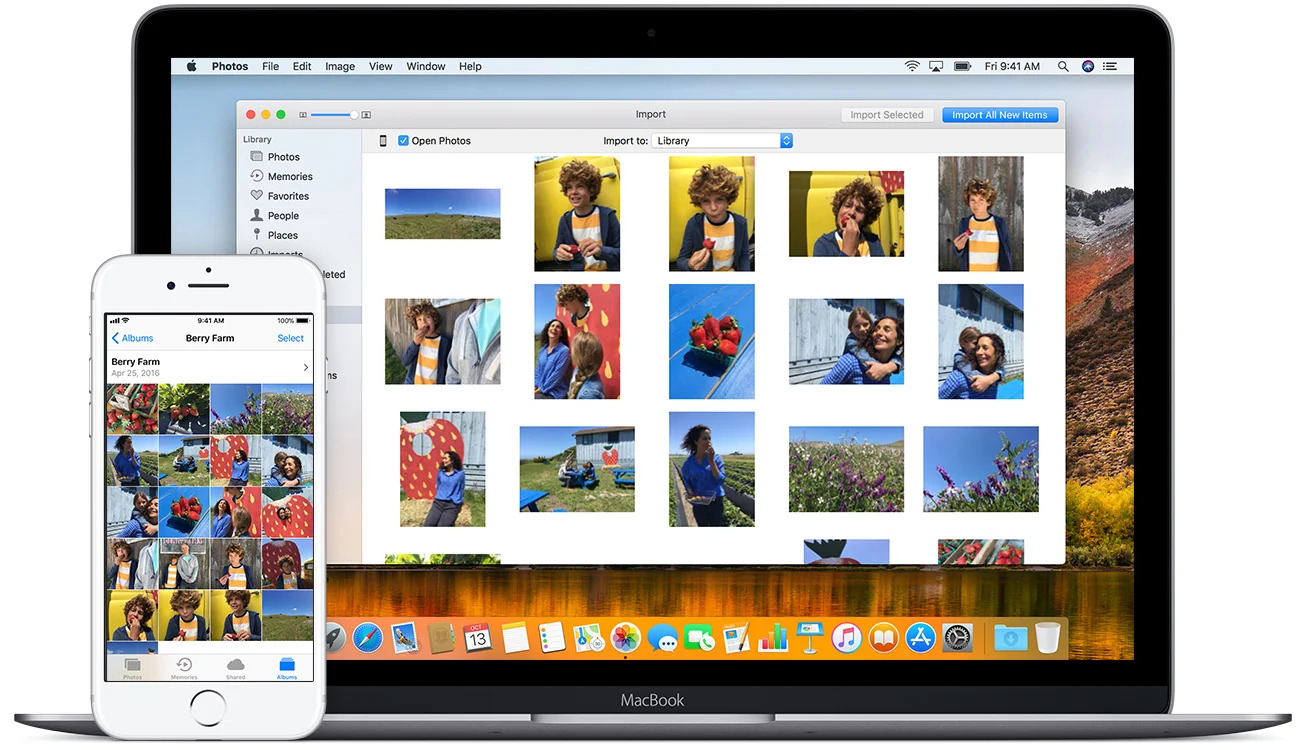
- Once iPhoto is open, you will see your iPhoto library displayed, typically as a main window with thumbnail images of your photos.
If you have never used iPhoto before, it may prompt you to create a new library or use an existing one. If you are starting from scratch, you can choose to create a new library on your external hard drive, which we’ll cover in the next step.
Make sure to wait until iPhoto fully loads and displays all your photos before proceeding to the next step.
Step 3: Create a New Library on the External Hard Drive
Before transferring your iPhoto library to the external hard drive, you need to create a new library on the external drive. This will ensure that the photos are stored directly on the external hard drive and not on your computer’s internal storage.
Follow these steps to create a new library on the external hard drive:
- In iPhoto, click on the “File” menu located in the top menu bar.
- From the dropdown menu, select “New” and then choose “Library…”
- A dialog box will appear, allowing you to choose the location for the new library. Click on the external hard drive in the left sidebar to select it as the location.
- Give your new library a name and click “Save.”
- iPhoto will now create a new empty library on the external hard drive. You will see the new library displayed in iPhoto’s main window.
Once you have successfully created the new library on the external hard drive, you’re ready to proceed to the next step and transfer your existing iPhoto library.
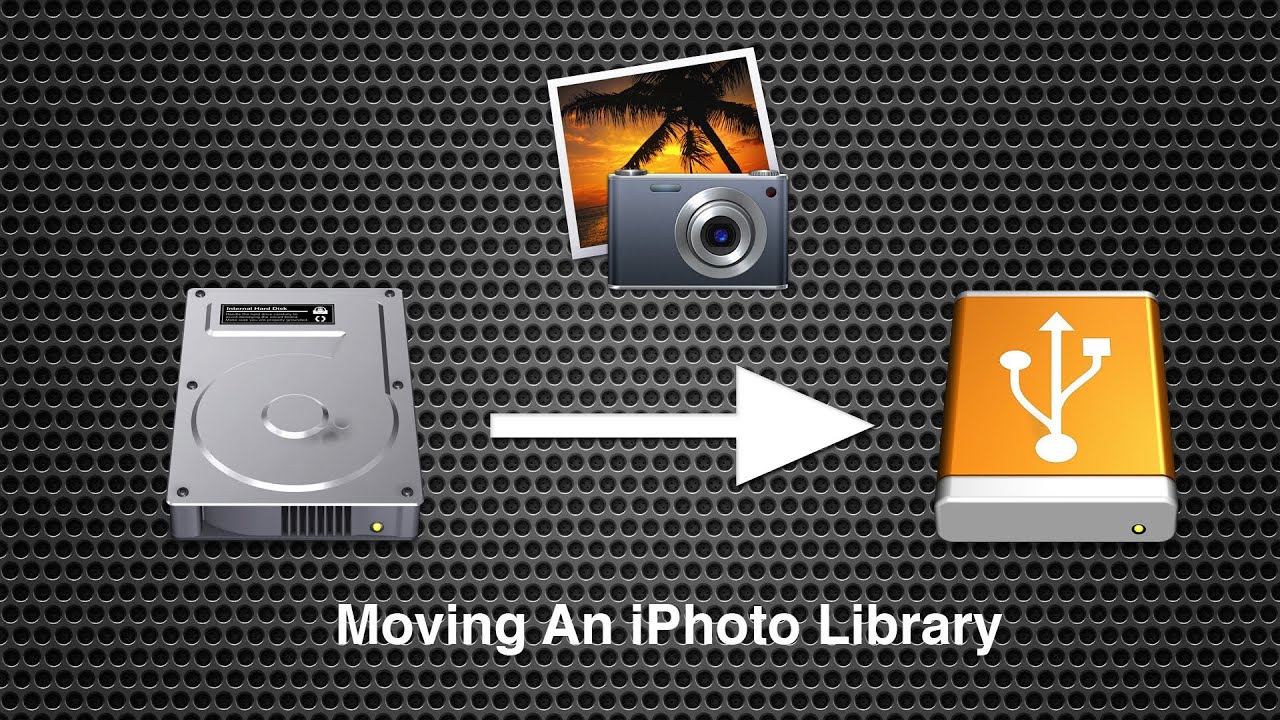
Step 4: Transfer iPhoto Library to the External Hard Drive
Now that you have created a new library on the external hard drive, it’s time to transfer your existing iPhoto library to the external drive. Here’s how you can do it:
- In iPhoto, click on the “File” menu in the top menu bar.
- From the dropdown menu, select “Switch to Library” and then choose “Other Library…”
- A dialog box will appear, allowing you to locate and select your existing iPhoto library which is usually located in the “Pictures” folder on your Mac. Click “Choose.”
- iPhoto will now switch to your existing library and display all the photos.
- Click on the “File” menu again and choose “Export…”
- In the Export dialog box, select “Original” for the Kind and choose the desired location on your external hard drive for the exported files.
- Click “Export” and wait for the export process to complete. This may take some time depending on the size of your iPhoto library.
- Once the export is finished, you will have a copy of your iPhoto library on the external hard drive.
It is important to note that this process only exports your photos and not any albums, metadata, or other organizational information. The exported photos will be stored in a new folder on the external hard drive.
After the transfer is complete, double-check the external hard drive to ensure that all your photos have been successfully copied. Congratulations! You have now transferred your iPhoto library to the external hard drive.
Step 5: Delete Old iPhoto Library from Computer (Optional)
Once you have successfully transferred your iPhoto library to the external hard drive, you may choose to delete the old iPhoto library from your computer to free up space. This step is optional and should only be done if you are confident that your photos have been safely transferred to the external hard drive and you no longer need the old library on your computer.
Here’s how you can delete the old iPhoto library from your computer:
- Open a finder window on your Mac.
- In the left sidebar, click on the “Pictures” folder to open it.
- Locate the iPhoto library file, which is usually named “iPhoto Library.”
- Right-click on the iPhoto library file and select “Move to Trash” from the context menu.
- Alternatively, you can simply drag the iPhoto library file to the trash bin on your Dock.
- Once you have moved the iPhoto library file to the trash, right-click on the trash bin and select “Empty Trash” to permanently delete the file from your computer.
It is important to note that once you have deleted the old iPhoto library from your computer, you will no longer have access to those photos unless you connect the external hard drive.
Before proceeding with deleting the old library, double-check to ensure that all your photos and other important data have been successfully transferred to the external hard drive and that you have a backup of your library, just in case.
By removing the old iPhoto library from your computer, you can free up valuable storage space and ensure that all your photos are safely stored on the external hard drive.
Step 6: Access iPhoto from External Hard Drive
Now that you have transferred your iPhoto library to the external hard drive, it’s time to learn how to access and use iPhoto from the external drive. Here’s what you need to do:
- Make sure your external hard drive is connected to your computer.
- Open the “Finder” on your Mac.
- In the left sidebar of the Finder window, click on the external hard drive’s name under the “Devices” section.
- Locate the iPhoto library file on the external hard drive. It is usually named “iPhoto Library” or “Photos Library”.
- Double-click on the iPhoto library file to open it.
- iPhoto will launch and display all your photos and albums from the external hard drive.
From now on, whenever you want to access iPhoto, simply connect the external hard drive to your computer and follow the steps above to open the iPhoto library file stored on the external drive.
In case you want to make any changes or edits to your photos, iPhoto will automatically save those changes to the external hard drive, preserving your original files and ensuring that all modifications are applied directly to the photos in the external library.
Remember to always safely eject the external hard drive from your computer by dragging it to the trash bin icon on your Dock or using the eject button in the Finder before disconnecting it from your Mac.
By accessing iPhoto from the external hard drive, you can conveniently view, manage, and edit your photos without taking up valuable space on your computer’s internal storage.
Conclusion
Transferring your iPhotos to an external hard drive is a practical and efficient way to free up storage space on your computer while keeping your precious memories safe and accessible. Through the steps outlined in this guide, you learned how to connect the external hard drive, open iPhoto, create a new library on the external drive, transfer the iPhoto library, and access iPhoto from the external hard drive.
By following these steps, you can ensure that your iPhoto library is securely stored on the external hard drive, providing you with additional backup and protection against potential data loss. Furthermore, accessing iPhoto from the external drive allows you to conveniently manage and edit your photos without overloading your computer’s internal storage.
Remember, before deleting your old iPhoto library from your computer, always double-check that your transferred photos are safely stored on the external hard drive and that you have a backup of your library. Taking these precautions will help avoid accidentally losing any important photos or data.
With your iPhoto library safely transferred to an external hard drive, you can continue to enjoy and work with your photos, knowing that they are well-organized and easily accessible. Whether you’re a photography enthusiast or simply someone looking to manage their photo collection more effectively, using an external hard drive for your iPhotos is a great solution.
Thank you for following this guide. We hope it has been helpful in assisting you with transferring your iPhotos to an external hard drive. Enjoy your photo management journey!