Introduction
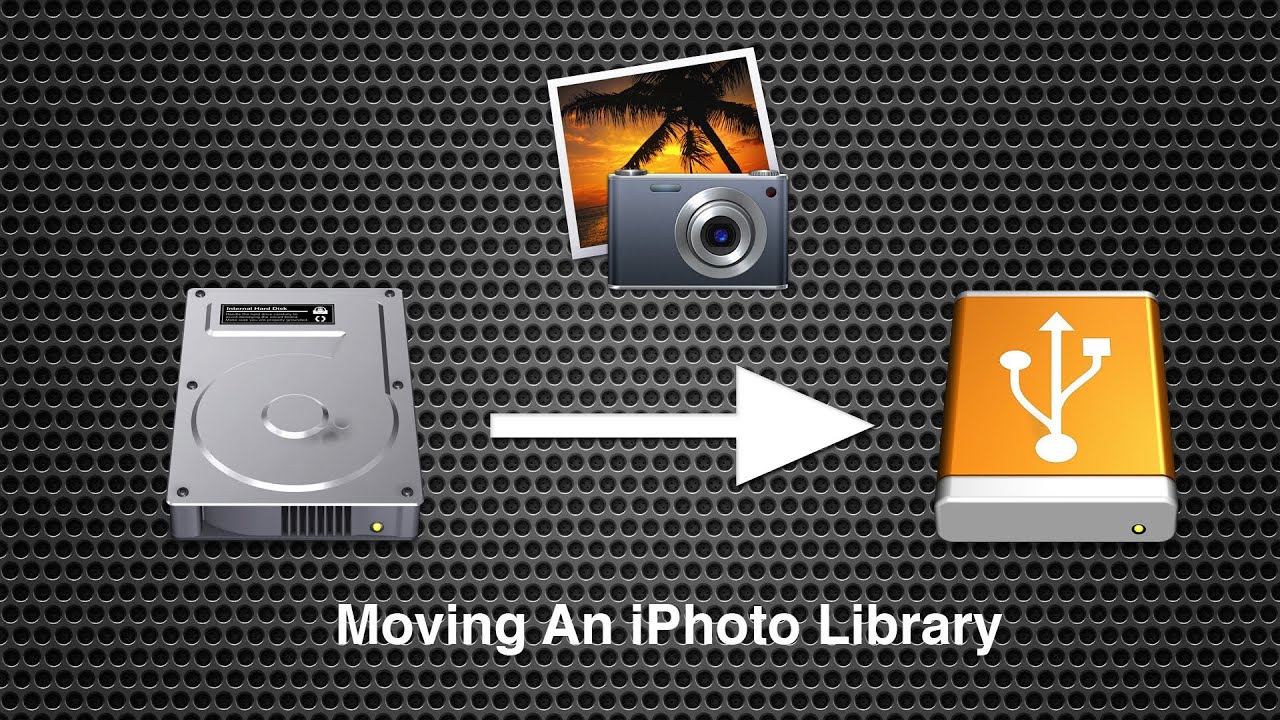
Are you running out of storage space on your computer and looking for a way to free up some space? One effective solution is to transfer your photos from iPhoto to an external hard drive. This not only helps create more space on your computer but also ensures that your precious memories are safely stored and easily accessible.
iPhoto is a popular photo management software developed by Apple that allows users to organize, edit, and share their photos. However, as you start accumulating more photos, you may find that they consume a significant amount of storage on your computer. Transferring them to an external hard drive is a convenient way to store them without taking up valuable disk space.
In this guide, we’ll walk you through the step-by-step process of copying iPhoto photos to an external hard drive. Whether you’re using a Mac or a PC, these instructions will help you safely move your photos and make room for more memories.
Before we begin, it’s important to note that the steps outlined in this guide may vary slightly depending on your operating system and the version of iPhoto you’re using. However, the basic process remains the same. Now, let’s get started on transferring your iPhoto photos to an external hard drive!
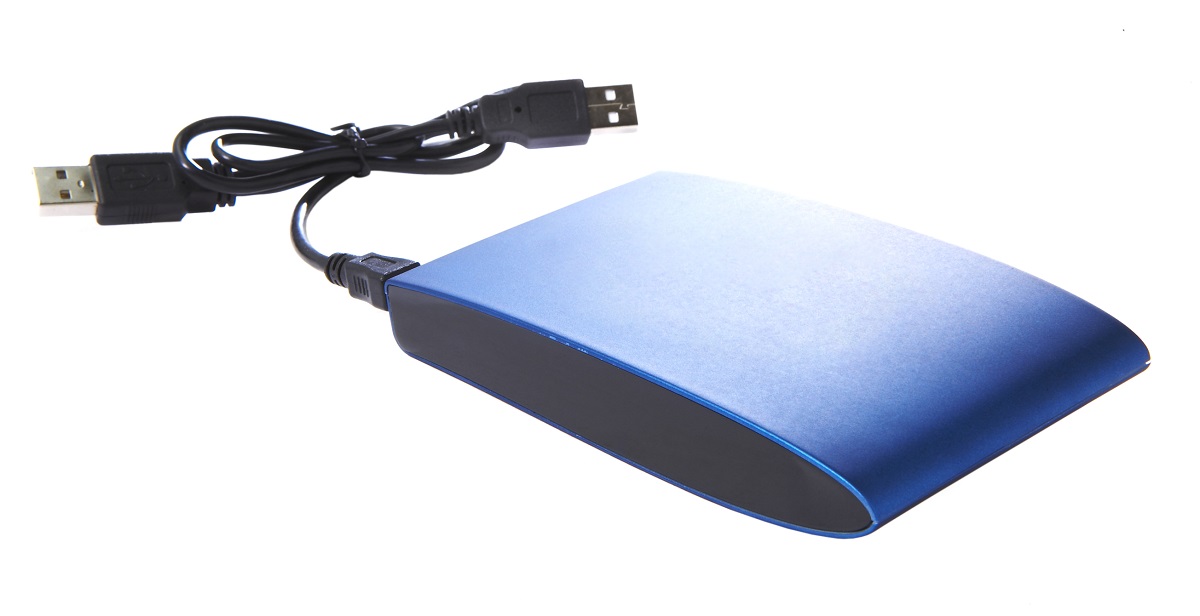
Step 1: Connect the external hard drive to your computer
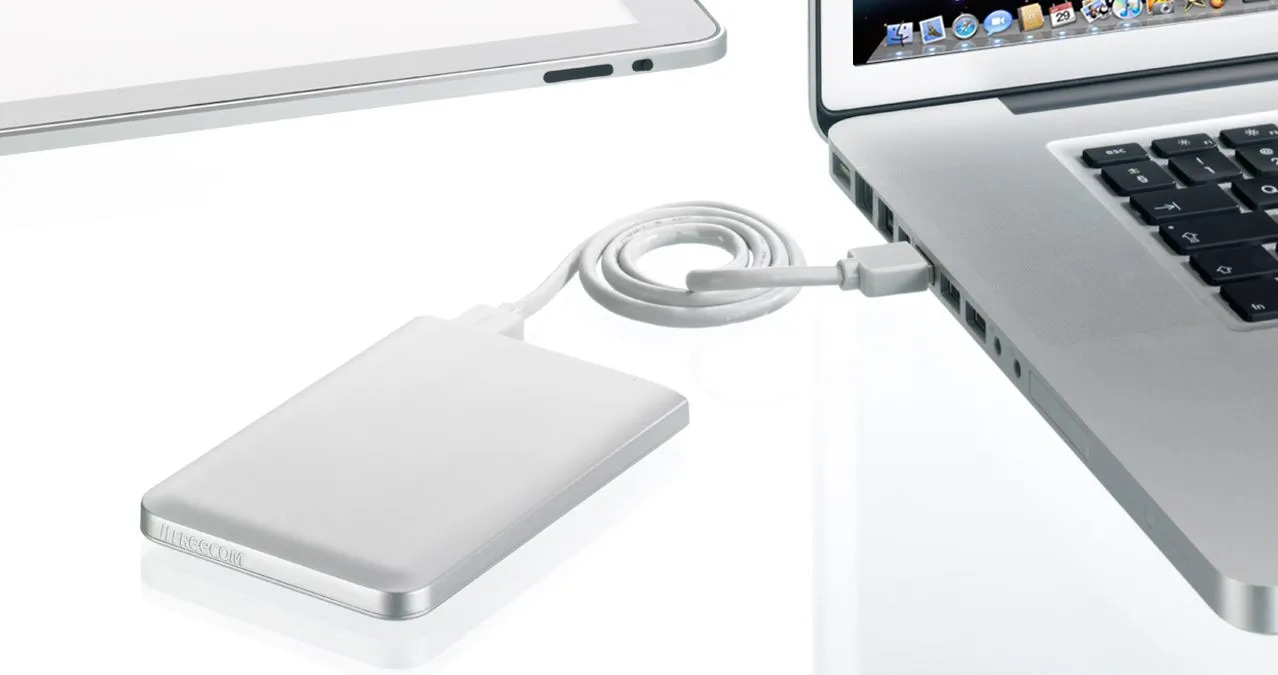
The first step in copying your iPhoto photos to an external hard drive is to establish a connection between the external hard drive and your computer. This can be done by following these simple instructions:
- Power on your external hard drive by plugging it into a power source if required.
- Connect the external hard drive to your computer using the appropriate cable. The type of cable needed will depend on the connection ports available on your computer and the external hard drive. Common connection options include USB, Thunderbolt, or FireWire.
- Once the external hard drive is physically connected to your computer, wait for a few moments to allow the computer to recognize and initialize the new device.
- If your computer prompts you to install any necessary drivers or software for the external hard drive, follow the on-screen instructions to complete the installation process.
- Verify that the external hard drive is successfully connected by navigating to the file explorer or Finder on your computer. Look for the external hard drive under the list of available storage devices. It should be listed as a separate drive or volume.
Now that you have successfully connected your external hard drive to your computer, you’re ready to proceed to the next step of copying your iPhoto photos. Keep in mind that the specific steps may vary slightly depending on your operating system and the type of external hard drive you’re using, but the overall process remains similar. Let’s move on to the next step!
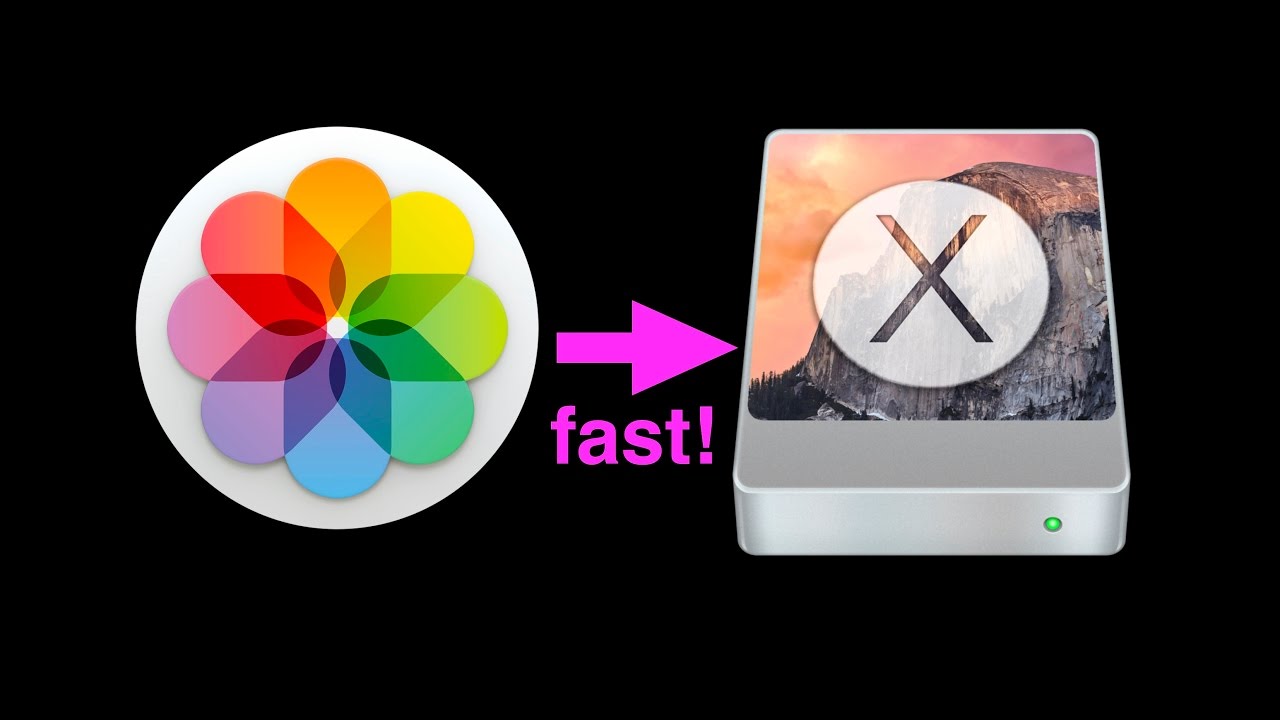
Step 2: Open iPhoto
Once the external hard drive is connected to your computer, it’s time to open iPhoto, the photo management software developed by Apple. Follow these steps to open iPhoto:
- Go to your computer’s application launcher or desktop and locate the iPhoto icon. It is typically represented by a multicolored flower icon.
- Double-click on the iPhoto icon to launch the application.
- After launching iPhoto, wait a few moments for the software to fully load.
- You should now have the iPhoto window open on your screen. This is where you can manage and organize your photo library.
Opening iPhoto is an essential step in the process because it allows you to access and select the photos you want to copy to the external hard drive. Once iPhoto is open, you can proceed to the next step to begin selecting the photos you wish to transfer. Remember, the specific steps may vary slightly depending on your operating system and the version of iPhoto you’re using, but the basic process remains the same. Now that iPhoto is open on your computer, let’s move on to the next step of the process!
Step 3: Select the photos you want to copy
Now that iPhoto is open on your computer, it’s time to select the specific photos you wish to copy to the external hard drive. Follow these steps to select the photos:
- Navigate to your iPhoto library and locate the album or event that contains the photos you want to copy. The iPhoto library is typically located in the “Pictures” folder on your computer.
- Click on the album or event to open it and view the photos within.
- Scroll through the photos and click on each one that you want to copy. Holding down the Command key (⌘) on a Mac or the Control key (Ctrl) on a PC allows you to select multiple photos at once.
- As you select each photo, you should see a highlighted border or checkmark indicating that it has been selected.
- If you want to select all the photos within an album or event, you can click on the first photo, hold down the Shift key, and then click on the last photo. This will select all the photos in between as well.
By following these steps, you can easily select the specific photos you want to copy to the external hard drive. Take your time to review your photo library and choose the images that are important to you. Once you have selected the photos, you are ready to proceed to the next step and start the process of copying them to the external hard drive. Remember, the steps provided may vary slightly depending on your operating system and the version of iPhoto you are using. Now, let’s move on to the next step and begin the copying process!
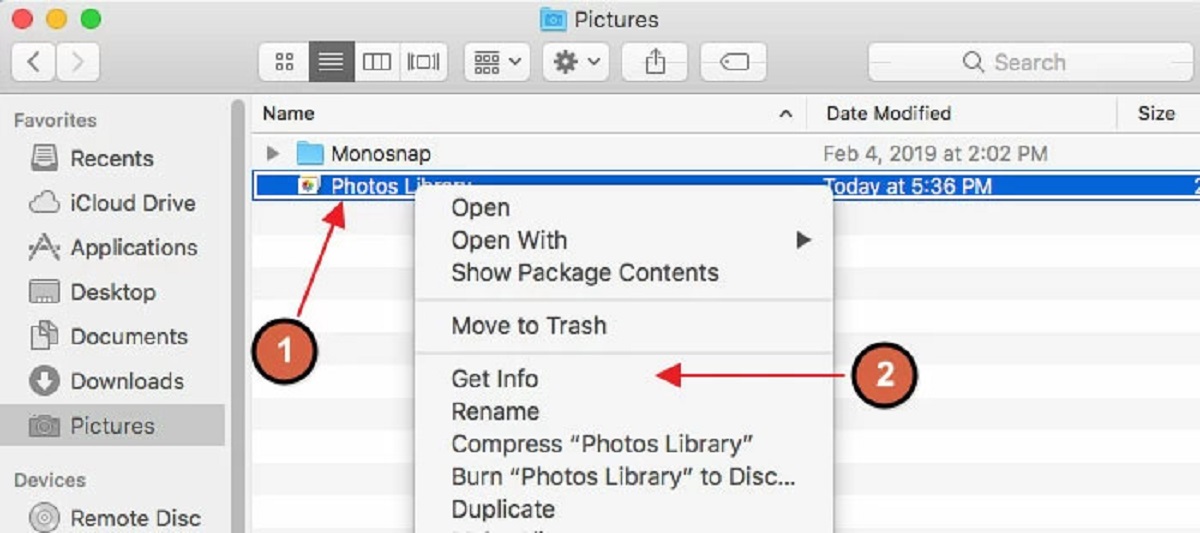
Step 4: Click on the “File” menu
Once you have selected the photos you want to copy to the external hard drive, the next step is to access the “File” menu in iPhoto. The “File” menu contains various options for managing and exporting your photos. Follow these steps to access the “File” menu:
- Look at the top menu bar of your screen while having iPhoto open. You should see the menu options listed, including “File,” “Edit,” “View,” and more.
- Click on the “File” menu to open a dropdown list of options.
By clicking on the “File” menu, you open up a range of actions and settings that you can apply to your selected photos. This menu provides numerous options for managing, exporting, and organizing your photos. In the next step, we will explore one particular option in the “File” menu that will allow you to proceed with copying the selected photos to your external hard drive. Remember, the appearance and organization of the menu may vary slightly depending on the version of iPhoto you are using. Now, let’s move on to the next step and continue the process of copying your photos!
Step 5: Choose the “Export” option
After accessing the “File” menu in iPhoto, the next step is to select the “Export” option. The “Export” function allows you to save and transfer your selected photos to a different location, such as your external hard drive. Here’s how you can choose the “Export” option:
- Click on the “File” menu to open the dropdown list of options.
- Scroll down the list and locate the “Export” option.
- Click on the “Export” option to proceed further.
By choosing the “Export” option, you activate a dialog box or window that allows you to customize the export settings and specify where you want to save the exported photos. In the next step, we will explore how to navigate through this dialog box and choose the external hard drive as the destination folder for your photos. It’s worth noting that the appearance of the dialog box and the options available can vary depending on the version of iPhoto you are using. Now, let’s move on to the next step and configure the export settings!
Step 6: Select the external hard drive as the destination folder
After choosing the “Export” option in iPhoto, you will need to select the external hard drive as the destination folder where your selected photos will be copied. Follow these steps to choose the external hard drive:
- Once the export dialog box or window appears, you will see various settings and options to customize the export process.
- Locate the “Export To” or “Destination” field, which allows you to specify where the exported photos will be saved.
- Click on the dropdown arrow or browse button next to the “Export To” field to open a file explorer or directory browser.
- Navigate through your computer’s file system and locate the external hard drive.
- Click on the external hard drive to select it as the destination folder for your exported photos.
By selecting the external hard drive as the destination folder, you ensure that your photos will be copied directly to the external storage device. This helps you create a backup of your photos and free up space on your computer’s internal drive. In the next step, we will proceed with the exporting process and initiate the transfer of your selected photos to the external hard drive. Keep in mind that the appearance of the export dialog box and the options available can vary depending on the version of iPhoto you are using. Now, let’s move on to the next step and finalize the export settings!
Step 7: Click on the “Export” button
Once you have selected the external hard drive as the destination folder for your photos, it’s time to initiate the copying process by clicking on the “Export” button in iPhoto. Follow these steps to export your selected photos:
- Make sure you have reviewed and configured any additional export settings, such as file format, quality, and metadata options, according to your preferences.
- Double-check that the external hard drive is properly connected and recognized by your computer.
- Click on the “Export” button in the export dialog box or window to begin the export process.
By clicking on the “Export” button, iPhoto will start copying your selected photos to the specified destination folder on the external hard drive. The speed and duration of the export process will depend on the number and size of the photos being transferred. It’s important to remain patient as the software works in the background to complete the task.
Once the export process is finished, you can proceed to the next step to verify that your photos have been successfully copied to the external hard drive. Remember, the appearance of the export dialog box and the options available can vary depending on the version of iPhoto you are using. Now, let’s move on to the next step and confirm the successful transfer of your photos!
Step 8: Wait for the export process to complete
After clicking on the “Export” button in iPhoto, you will need to be patient and allow the software to complete the copying process. The length of time it takes for the export process to finish will depend on the number and size of the photos you are transferring. Here are some important things to keep in mind:
- A progress indicator or status bar may appear during the export process, showing you the percentage of completion or an estimated time remaining. This can give you an idea of how much longer you need to wait.
- The speed of the export process can vary based on the performance of your computer and the speed of the external hard drive.
- Avoid interrupting or stopping the export process before it is complete, as this may result in incomplete or corrupted photo files.
It’s important to exercise patience during the export process and avoid performing other resource-intensive tasks on your computer to ensure the smooth progress of copying the photos to the external hard drive.
Once the export process is complete, you can proceed to the next step and verify the successful transfer of your photos. Remember, the duration of the export process will vary based on various factors, so it’s essential to be patient and allow the software to finish its task. Now, let’s move on to the next step and confirm the completion of the export process!
Step 9: Verify that the photos are copied to the external hard drive
After the export process is complete, it’s important to verify that your photos have been successfully copied to the external hard drive. Follow these steps to ensure the successful transfer:
- Open the file explorer or Finder on your computer.
- Navigate to the external hard drive that you specified as the destination folder during the export process.
- Look for the folder or directory where the exported photos should be located.
- Open the folder and check if the transferred photos are present.
- Take a moment to browse through the photos and compare them to the original ones in iPhoto to ensure they have been accurately copied.
By verifying that the photos are copied to the external hard drive, you can have peace of mind knowing that your precious memories are safely stored on a separate device. Additionally, this step provides confirmation that the export process was successful and the selected photos have been transferred as intended.
If you encounter any issues during the verification process, double-check that the external hard drive is connected properly and that you chose the correct destination folder during the export. In some cases, restarting your computer or reconnecting the external hard drive may resolve any potential issues.
Once you have confirmed the presence of the copied photos on the external hard drive and ensured their accuracy, you can consider deleting the originals from iPhoto to free up storage space on your computer. However, before doing so, always make sure to take proper backups to prevent any accidental loss of your images.
Congratulations! You have successfully copied your iPhoto photos to an external hard drive. By following the step-by-step process outlined in this guide, you have ensured the safekeeping of your precious memories while freeing up valuable space on your computer. Now you can enjoy the benefits of having your photos conveniently stored on an external device.
Conclusion
Copying your iPhoto photos to an external hard drive is a practical solution to free up storage space on your computer while keeping your precious memories safe and accessible. Throughout this guide, we have explored the step-by-step process of transferring your photos, from connecting the external hard drive to verifying the successful transfer.
We began by connecting the external hard drive to your computer, ensuring a proper physical connection. Then, we opened iPhoto and selected the photos you wanted to copy. Next, we accessed the “File” menu and chose the “Export” option, allowing us to customize the export settings. After selecting the external hard drive as the destination folder, we clicked on the “Export” button to initiate the copying process. We patiently waited for the export process to complete and verified that the photos had been successfully copied to the external hard drive.
By following these steps, you have successfully moved your iPhoto photos to an external hard drive, creating more space on your computer’s internal drive and providing a backup for your cherished images. Take a moment to celebrate your accomplishment and enjoy the peace of mind that comes with knowing your photos are securely stored on a separate device.
Remember, the specific steps may vary slightly depending on your operating system and the version of iPhoto you are using, but the basic process remains the same. Don’t forget to regularly back up your external hard drive to prevent any potential data loss.
Now, armed with this knowledge, you can confidently manage your iPhoto library and ensure that your photos are organized, accessible, and protected. Enjoy the additional storage space and continue capturing and preserving the special moments in your life!