Introduction
As an iPhone user, you must have captured countless amazing photos with your device. However, transferring those photos from your iPhone to your Mac can sometimes be a daunting task, particularly if you are not familiar with the right methods. In the past, iPhoto was the go-to software for managing and importing photos from your iPhone to your Mac. But, with recent updates to macOS, iPhoto has been replaced by the Photos app, which can make the process seem unfamiliar to some users.
Fortunately, there are multiple methods available to easily download photos from your iPhone to your Mac without relying on iPhoto or any other external app. In this article, we will explore four simple and efficient methods that you can use to transfer your precious photos with ease.
Whether you’re an aspiring photographer or a casual iPhone user, these methods will simplify the process and allow you to quickly access and manage your favorite moments on your Mac. Let’s delve into each method in detail and discover how to effortlessly download photos from your iPhone to your Mac without iPhoto.
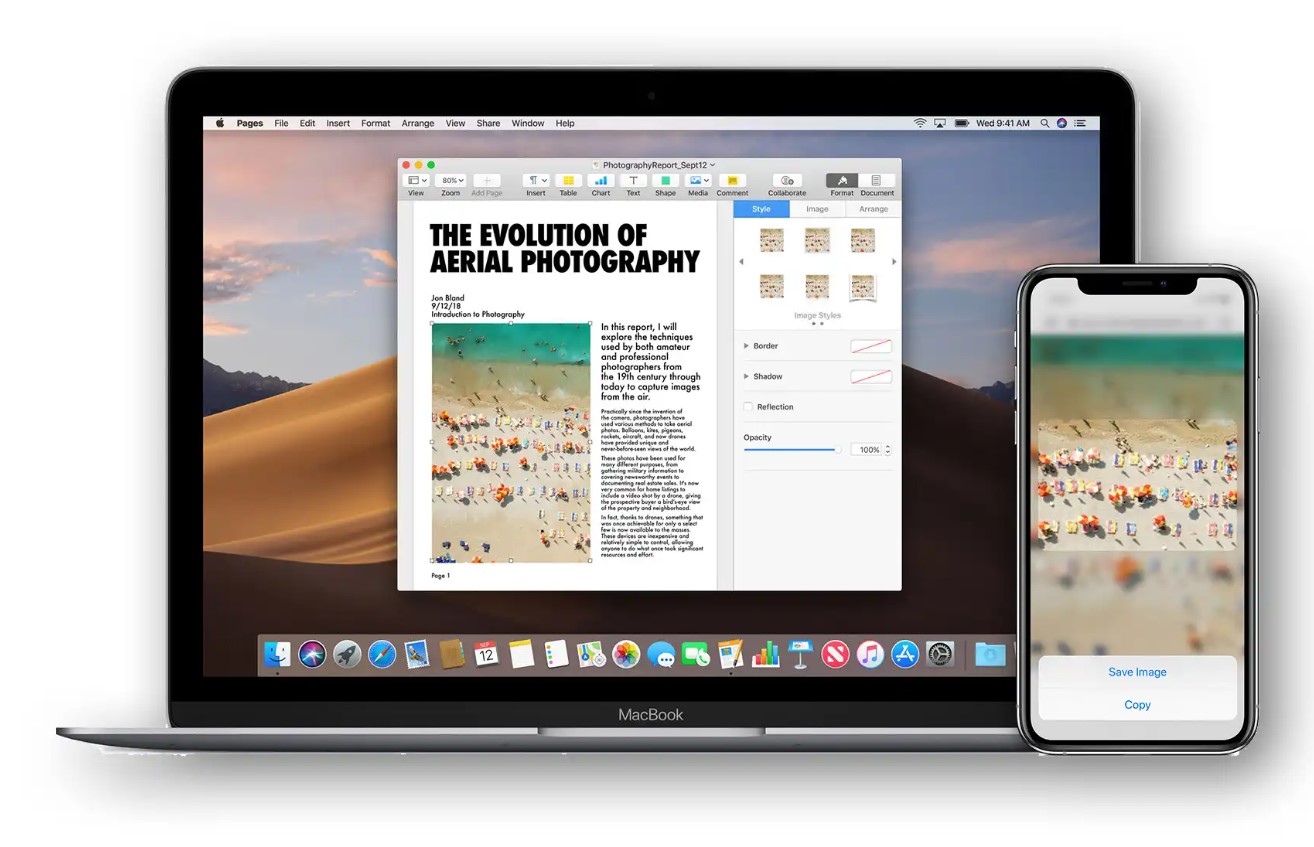
Method 1: Using the Photos App
The Photos app is the default photo management app on macOS, offering a convenient and straightforward way to download photos from your iPhone to your Mac. Follow these steps to transfer your photos:
- Connect your iPhone to your Mac using a USB cable.
- On your Mac, open the Photos app. If it doesn’t open automatically, you can find it in the Applications folder or by searching for it using Spotlight.
- In the Photos app, click on the “Import” tab located at the top of the window.
- Select the photos you want to download. You can either choose specific photos or import all of them by clicking the “Import All New Photos” button.
- Specify the destination to save your imported photos. You can create a new album or add them to an existing album in the Photos app.
- Click the “Import” button to start the transfer process. The Photos app will show a progress indicator, and once the import is complete, you can safely disconnect your iPhone from your Mac.
Using the Photos app allows you to organize your photos into albums, edit them, and share them with ease. It also provides an option to delete the imported photos from your iPhone after the transfer, freeing up valuable storage space on your device.
Make sure to regularly back up your photos on your Mac or an external hard drive to safeguard your memories and prevent any accidental loss. The Photos app provides a seamless and user-friendly experience, making it an ideal choice for managing your iPhone photos on your Mac.
Method 2: Using the Image Capture App
If you prefer a more straightforward and flexible approach to download photos from your iPhone to your Mac, you can use the built-in Image Capture app. Follow these steps:
- Connect your iPhone to your Mac using a USB cable.
- Open the Image Capture app on your Mac. You can find it in the Applications folder or by searching for it using Spotlight.
- Select your iPhone from the devices listed on the left-hand side of the Image Capture window.
- Choose the photos you want to transfer by clicking and dragging a selection box or using the “Command” key to select multiple photos.
- Specify the destination folder where you want to save the imported photos. You can create a new folder or select an existing one.
- Click the “Import” button to start the transfer process. You can also choose to import only selected photos or import all the photos by clicking the “Import All” button.
- Once the transfer is complete, you can safely disconnect your iPhone from your Mac.
The Image Capture app gives you more control over the import process, allowing you to select specific photos and choose the destination folder for your imported files. This flexibility is especially useful if you want to organize your photos in a particular way on your Mac.
Additionally, the Image Capture app enables you to directly import your photos to any supported third-party applications. This can be useful if you want to transfer your photos to a specific image editing software or a different photo management tool.
With the Image Capture app, you have a simple yet powerful solution to download photos from your iPhone to your Mac without any unnecessary complications or additional software.
Method 3: Using AirDrop
If you prefer a wireless method to transfer your photos from your iPhone to your Mac, you can take advantage of Apple’s AirDrop feature. Follow these steps:
- Ensure that both your iPhone and Mac are connected to the same Wi-Fi network and have Bluetooth enabled.
- On your iPhone, open the Photos app and navigate to the album or individual photos you want to transfer.
- Tap on the “Select” button and choose the photos you want to transfer.
- Tap on the “Share” button, which looks like a square with an upward arrow.
- In the sharing options, select your Mac from the list of AirDrop recipients.
- On your Mac, an AirDrop notification will appear. Click “Accept” to receive the photos.
- Specify the destination folder on your Mac where you want to save the transferred photos.
Once the transfer is complete, you will find the photos in the designated folder on your Mac. AirDrop offers a convenient and quick way to wirelessly transfer photos between your iPhone and Mac without the need for a cable or any additional software.
It’s worth mentioning that AirDrop utilizes a combination of Wi-Fi and Bluetooth technology to establish a direct connection between your devices. Make sure you are within range and that both devices have AirDrop enabled to ensure a successful transfer.
With AirDrop, you can easily share photos with your friends, colleagues, or even your own Apple devices. It’s a convenient and efficient method to transfer files wirelessly, whether it’s a few photos or a large collection.
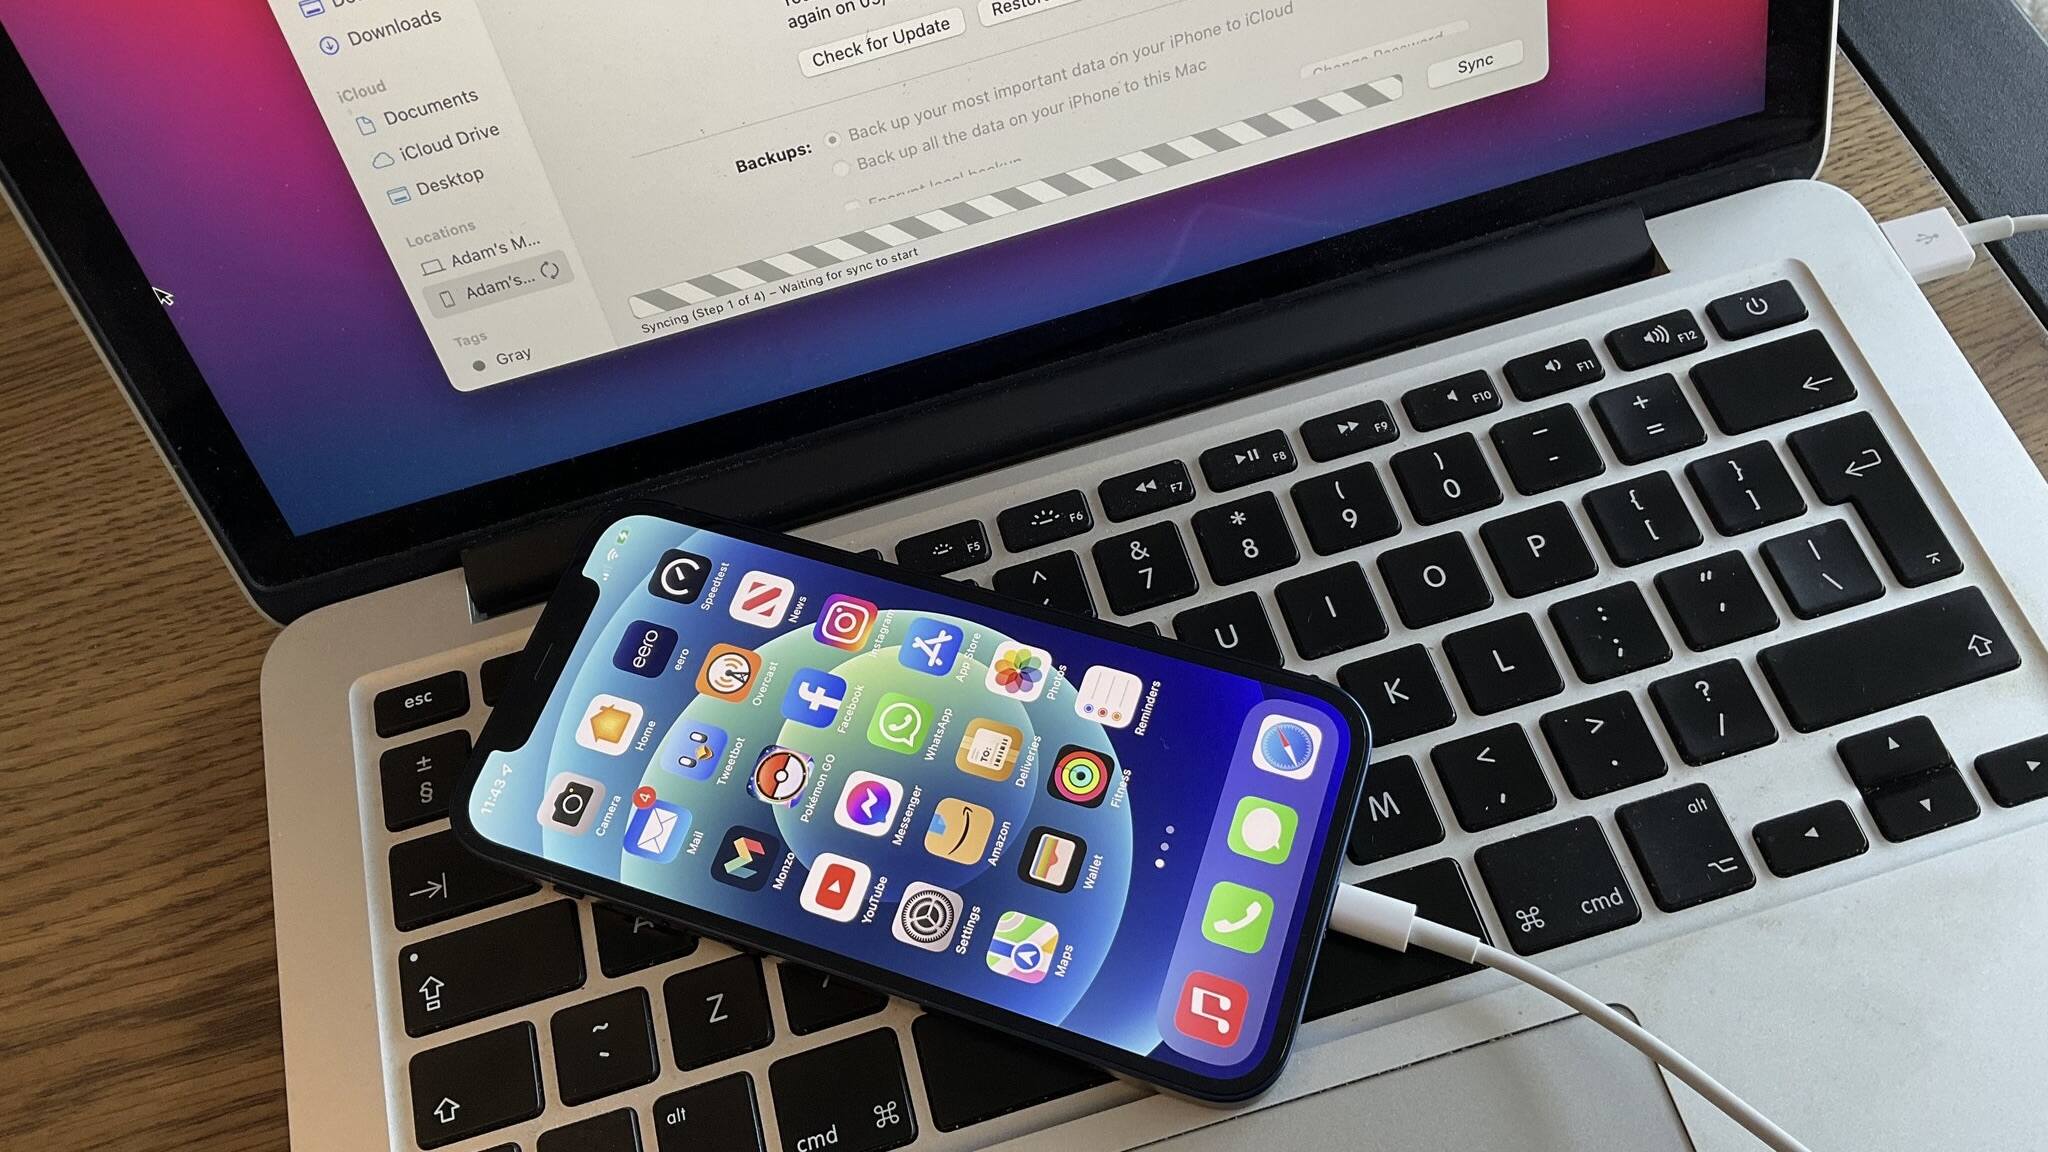
Method 4: Using iCloud Photos
An alternative method to download photos from your iPhone to your Mac is by utilizing the iCloud Photos feature. This method allows you to seamlessly sync your photos across your Apple devices, including your iPhone and Mac. Here’s how you can use iCloud Photos:
- On your iPhone, go to the “Settings” app and tap on your name at the top of the screen.
- Tap on “iCloud” and then “Photos”.
- Toggle on the “iCloud Photos” option to enable it. This will automatically upload your photos to your iCloud account.
- On your Mac, open the Photos app.
- In the Photos app, go to “Photos” > “Preferences” from the menu bar.
- In the “iCloud” tab, check the box next to “iCloud Photos” to enable it.
- Wait for the syncing process to complete. This will download your photos from iCloud to your Mac.
By enabling iCloud Photos on both your iPhone and Mac, you can access and manage your entire photo library seamlessly. Any changes you make on one device, such as deleting or editing a photo, will be reflected across all your devices.
It should be noted that using iCloud Photos requires sufficient iCloud storage space, as your photos will be stored in your iCloud account. Additional storage can be purchased if needed.
By utilizing iCloud Photos, you can have a centralized photo library that is accessible from any of your Apple devices, ensuring that your photos are always available and up to date.
Conclusion
Transferring your photos from your iPhone to your Mac doesn’t have to be a complicated or time-consuming process. By utilizing the methods described in this article, you can easily download your precious memories to your Mac without the need for iPhoto or any external applications.
The Photos app provides a user-friendly and intuitive way to transfer photos, allowing you to organize, edit, and share them with ease. The Image Capture app offers more flexibility and control over the import process, making it ideal for users who prefer a straightforward approach.
If you prefer a wireless method, AirDrop allows you to transfer photos between your iPhone and Mac without the need for cables or additional software. And finally, by using iCloud Photos, you can seamlessly sync your photos across all your Apple devices, ensuring easy access and management of your photo library.
Choose the method that best suits your preferences and needs. Experiment with each one to find the one that works best for you. Remember to regularly back up your photos to ensure that your valuable memories are protected.
Now that you know how to download photos from your iPhone to your Mac without iPhoto, you can easily transfer and enjoy your captured moments on a larger screen. So go ahead, preserve your memories, and keep capturing beautiful photographs with your iPhone.