Introduction
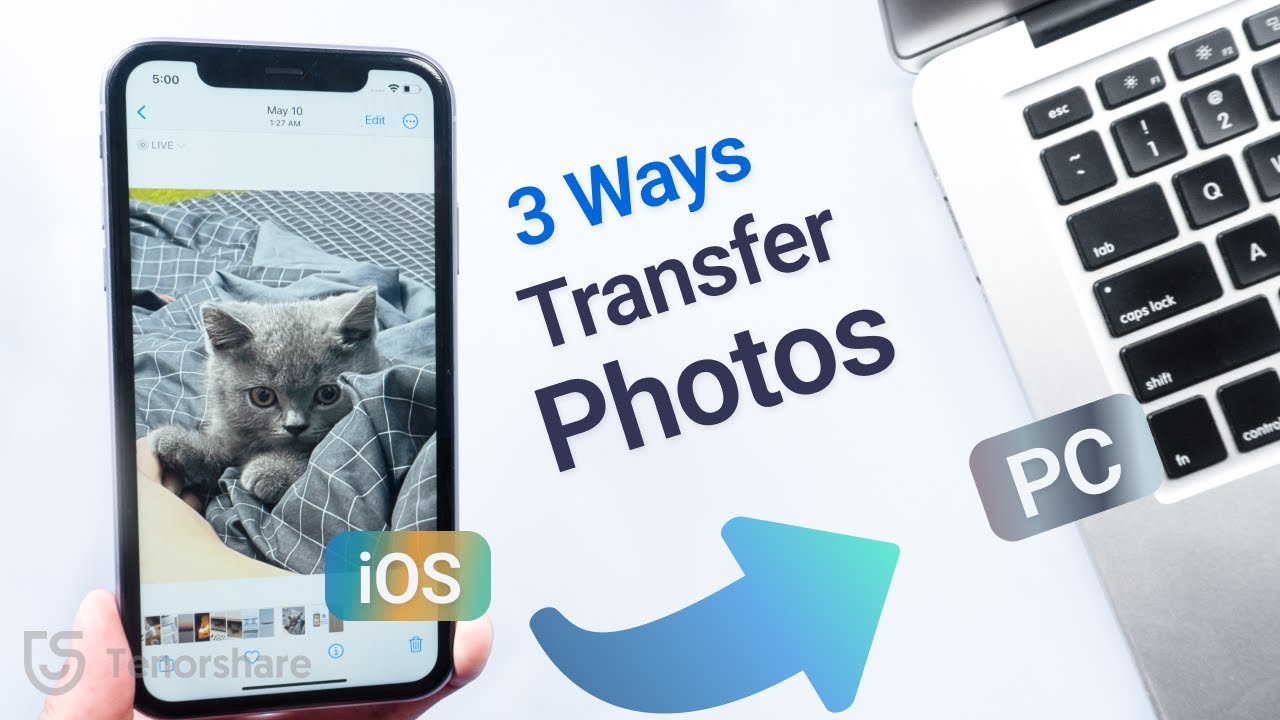
Welcome to this guide on how to download pictures from your iPhone to your computer. Whether you want to create more space on your device or simply have a backup of your precious memories, transferring photos from your iPhone is a relatively simple process. In this article, we will walk you through the step-by-step instructions to help you complete this task hassle-free.
With the increasing storage capacity and high-resolution cameras on iPhones, many of us capture numerous photos and videos. However, the limited storage space on our devices may lead to a need to offload those pictures onto our computers. Not to worry, as we will provide you with detailed instructions on how to seamlessly transfer your photos from your iPhone to your computer.
By following these steps, you will be able to safely backup your photos, as well as organize them into folders on your computer for easy access and viewing. By moving your pictures to your computer, you can also free up space on your iPhone, enabling you to continue capturing more memories without worrying about running out of storage.
Whether you are a Windows or Mac user, the process to download pictures from your iPhone is quite similar. We will guide you through the necessary steps for both operating systems, making it easy for you to follow along regardless of what device you are using.
So, without further ado, let’s jump right into the step-by-step instructions on how to download pictures from your iPhone to your computer!
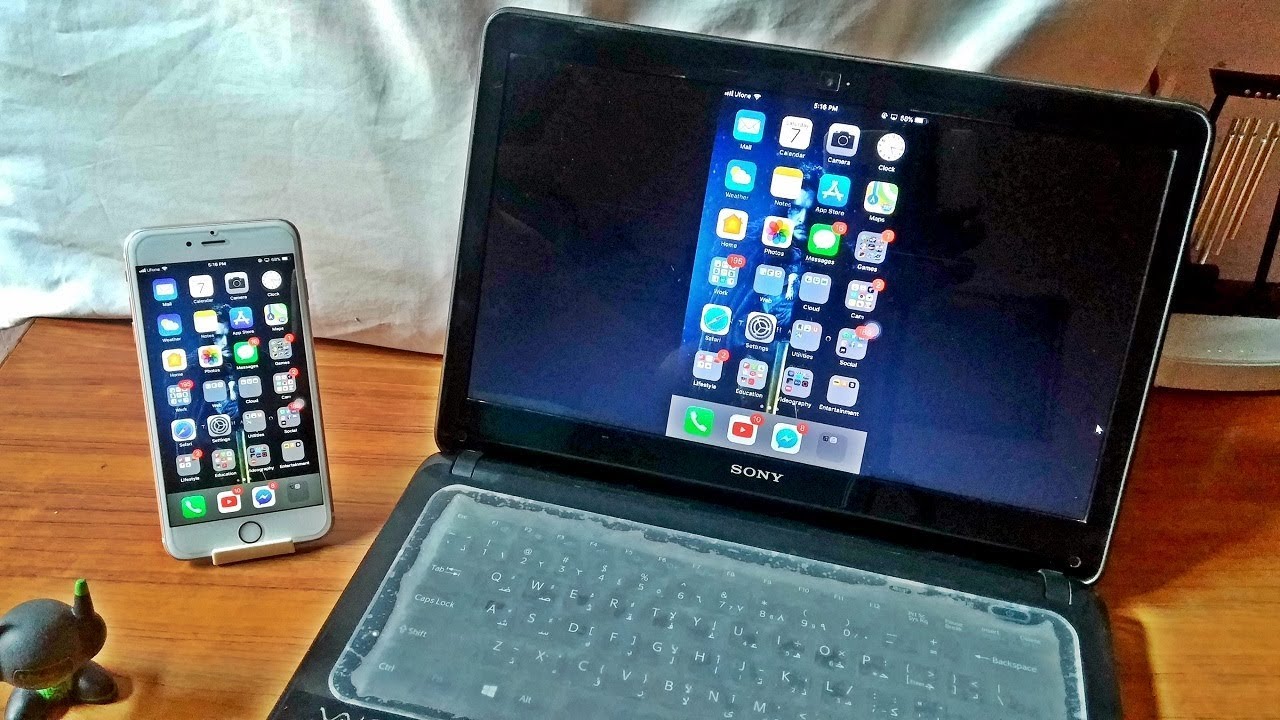
Step 1: Connect your iPhone to your computer
The first step in downloading pictures from your iPhone to your computer is to establish a physical connection between the two devices. To do this, you will need a USB cable that came with your iPhone. Follow these simple steps:
- Locate the USB port on your computer. It is usually located on the sides or back of the CPU for desktop computers, or on the sides or rear of your laptop.
- Take one end of the USB cable and insert it into the USB port on your computer.
- Take the other end of the USB cable and gently insert it into the charging port on your iPhone.
- Ensure that the USB connection is secure and snug on both ends.
- Once the physical connection is established, your iPhone should recognize that it is connected to a computer.
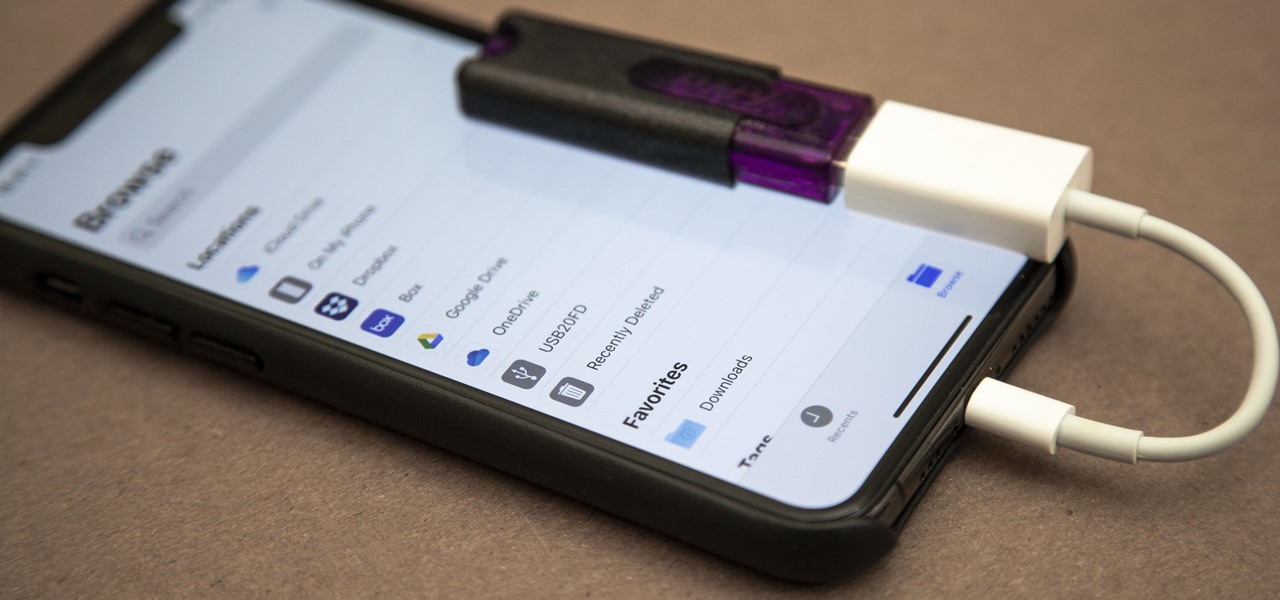
Note: If prompted, select “Trust” on your iPhone to establish trust between the computer and your device. This is necessary to give the computer permission to access your photos.
Now that your iPhone is connected to your computer, you are ready to move on to the next step and begin the process of downloading your precious pictures.
Step 2: Unlock your iPhone and trust the computer
Before proceeding with downloading pictures from your iPhone to your computer, you need to ensure that your iPhone is unlocked and that you have established trust between the device and the computer. Here’s what you need to do:
- Take your iPhone and wake it up by pressing the power button or home button.
- If you have a passcode set up on your iPhone, enter the passcode.
- Next, you will see a prompt on your iPhone asking if you trust the computer you have connected it to. This message is an important security feature and ensures that only trusted computers can access your device.
- Tap on the “Trust” option on your iPhone screen to establish trust between your device and the computer. If you do not trust the computer, the connection will not be permitted.
Once you have successfully unlocked your iPhone and trusted the computer, you can proceed to the next step and prepare for downloading your photos to your computer.
Step 3: Open the Photos app on your computer
After establishing a connection between your iPhone and computer, it’s time to open the appropriate application on your computer to transfer your photos. The specific software will vary depending on whether you are using a Windows PC or a Mac. Follow the instructions below based on your operating system:
For Windows:
- Click on the “Start” button located at the bottom left corner of your screen.
- Type “Photos” in the search bar and select the “Photos” app from the search results. If you don’t have the Photos app installed, you may need to download it from the Microsoft Store.
- Once the Photos app is open, click on the “Import” button at the top-right corner of the screen. The Photos app will automatically detect your connected iPhone and display the photos on your device.
For Mac:
- Click on the “Launchpad” icon in your dock, which resembles a spaceship.
- Search for and open the “Photos” app from the Launchpad. Alternatively, you can also find it in the Applications folder.
- Once the Photos app is open, click on the “Import” tab located at the top of the app window. Your connected iPhone should appear in the sidebar.
By following these steps, you will successfully open the Photos app on your computer, paving the way for the next steps in the process of downloading your iPhone photos to your computer.
Step 4: Select the photos you want to download
Now that you have the Photos app open on your computer, it’s time to choose the specific photos you want to download from your iPhone. Follow these instructions to complete this step:
- In the Photos app, navigate to the section that displays the photos on your connected iPhone. This is usually labeled as your iPhone’s name or as “Devices” in the sidebar.
- Click on the album or folder that contains the photos you want to download. If you want to select multiple albums or folders, hold down the “Ctrl” key (on Windows) or the “Command” key (on Mac) while clicking.
- Browse through the photos and click on each photo you want to download. You can select multiple photos by holding down the “Ctrl” key (on Windows) or the “Command” key (on Mac) while clicking each photo.
- If you want to select all the photos in the album or folder, press “Ctrl + A” (on Windows) or “Command + A” (on Mac) to select all the photos.
After following these steps, you will have successfully selected the photos you want to download. In the next step, you will learn how to choose the destination folder on your computer to save these photos.
Step 5: Choose where to download the photos
Once you have selected the photos you want to download from your iPhone, it’s time to choose where on your computer you want them to be saved. Follow these instructions to complete this step:
- In the Photos app, click on the “Import” button located at the top-right corner of the screen.
- A pop-up window will appear, prompting you to choose where you want the imported photos to be saved. You will see options to create a new folder or select an existing folder on your computer.
- Click on the “Browse” button or the folder icon to navigate to the desired location on your computer where you want to save the imported photos.
- If you want to create a new folder, click on the “New Folder” button and provide a name for the folder.
- Once you have selected the destination folder or created a new folder, click on the “OK” or “Import” button to confirm your selection.
By following these steps, you will have successfully chosen the location on your computer where the selected photos from your iPhone will be downloaded. In the next step, you will initiate the download process.
Step 6: Start the download process
With the photos selected and the destination folder chosen, it’s time to initiate the download process. Follow these instructions to start downloading the photos from your iPhone to your computer:
- In the Photos app, click on the “Import” or “Import Selected” button to begin the download process.
- You will see a progress bar indicating the status of the download. Depending on the number and size of the selected photos, the download process may take some time.
- Ensure that your iPhone stays connected to your computer throughout the download process.
- Once the download is complete, you will see a notification confirming the successful transfer of the selected photos to your computer.
It is important to note that during the download process, the Photos app will automatically organize the photos into subfolders based on the date and time they were taken. This helps keep your photos organized and easily accessible.
Now that you have successfully initiated the download process, you can move on to the next step and wait for the photos to finish downloading.
Step 7: Wait for the photos to finish downloading
After starting the download process in the previous step, it’s time to be patient and allow the selected photos from your iPhone to finish downloading onto your computer. Follow these instructions to complete this step:
- Once the download process has been initiated, the Photos app will start transferring the selected photos from your iPhone to the chosen destination folder on your computer.
- The time it takes for the photos to finish downloading will vary depending on factors such as the number of selected photos and their file sizes. Larger photo files or a large number of photos may take more time to transfer.
- During the download process, it’s important to keep your iPhone connected to your computer and avoid disconnecting it until the transfer is complete.
- You can monitor the progress of the download by checking the progress bar in the Photos app. This will give you an estimation of how much more time is needed for the transfer to finish.
While waiting for the photos to finish downloading, you can utilize this time to engage in other activities or take a break. Once the transfer is complete, you will be able to access the downloaded photos on your computer, as explained in the next step.
Now that you have patiently waited for the photos to finish downloading onto your computer, you can move on to the final step and access the downloaded photos.
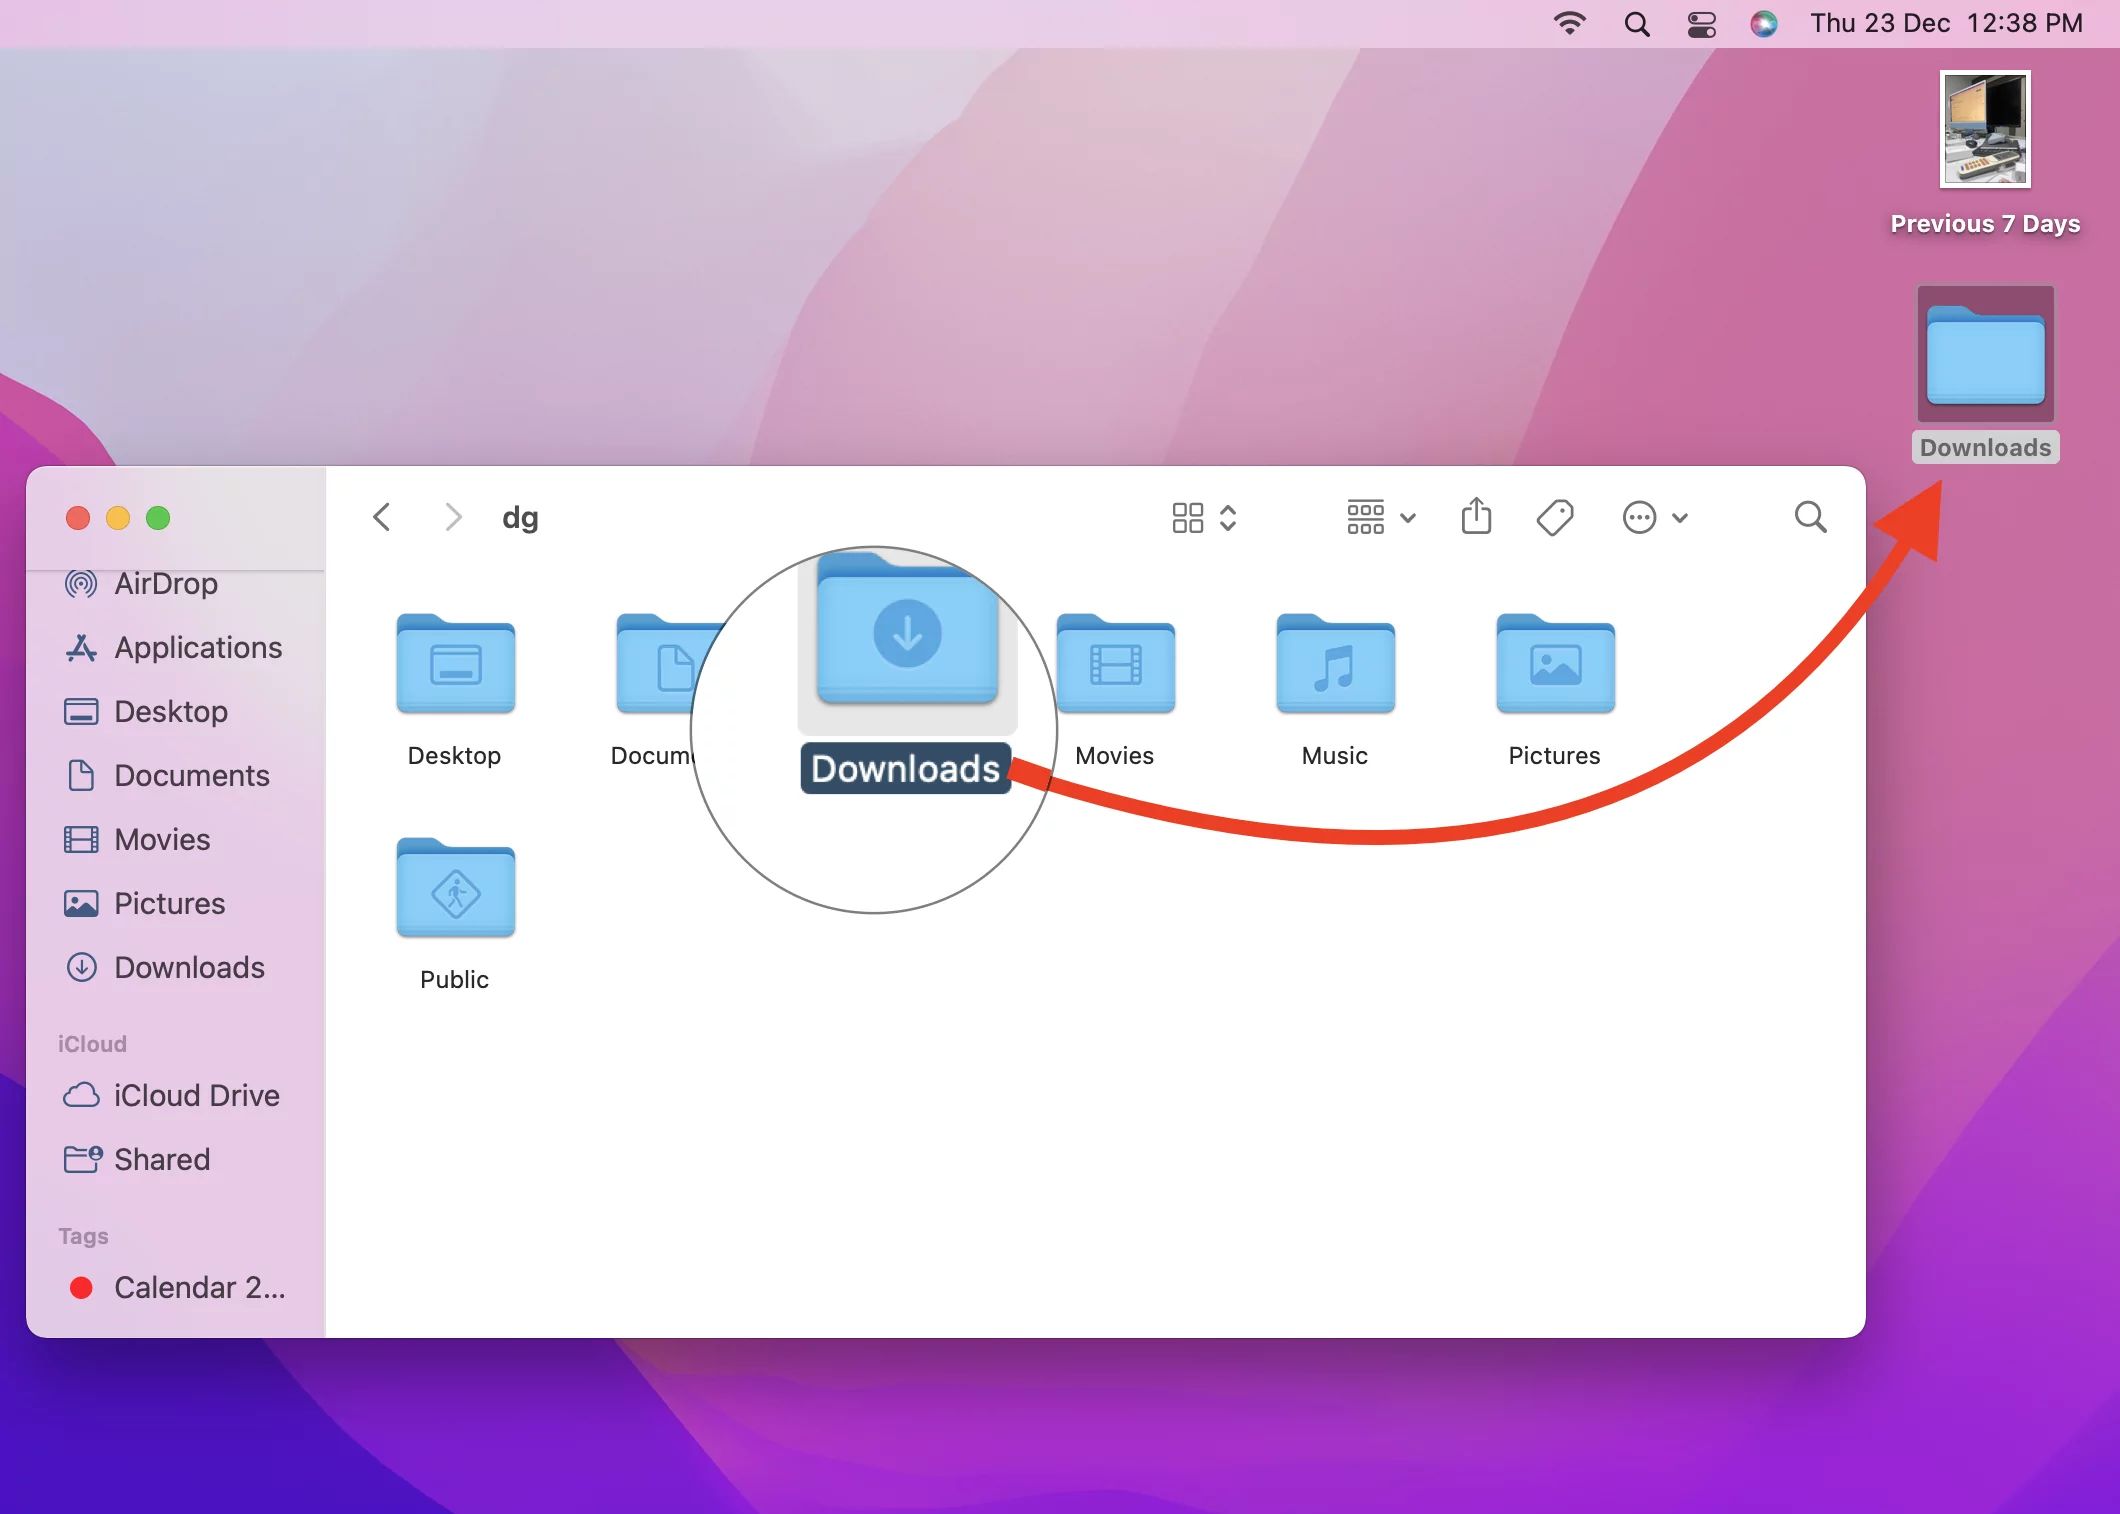
Step 8: Access the downloaded photos on your computer
Once the selected photos from your iPhone have finished downloading onto your computer, it’s time to access and view your newly transferred files. Follow these instructions to complete this final step:
- Navigate to the destination folder on your computer where you chose to save the downloaded photos. You can do this by opening the file explorer or Finder.
- Look for the folder that was created for the imported photos or the existing folder where you chose to save the photos.
- Double-click on the folder to open it and reveal the downloaded photos.
- You can now view, edit, and organize the photos on your computer, just like any other file.
Depending on your computer’s settings, you may also have the option to open the downloaded photos using image editing software or other photo viewing applications.
With the photos now accessible on your computer, you can freely manage them according to your preference. You can create subfolders, rename files, delete unwanted photos, or even import them into other photo management software for further organization and editing.
Congratulations! You have successfully downloaded and accessed the photos from your iPhone on your computer. You can now enjoy your memories and have peace of mind knowing that you have a backup of your precious photos.
It’s always a good practice to regularly transfer photos from your iPhone to your computer to free up space on your device and ensure the safety of your memories. Feel free to repeat these steps whenever you need to download more photos in the future.
Conclusion
Transferring photos from your iPhone to your computer is a straightforward process that allows you to create backups and free up space on your device. By following the step-by-step instructions provided in this guide, you can seamlessly download your precious memories and have them easily accessible on your computer.
We started by connecting your iPhone to your computer using a USB cable and ensuring that the devices are trusted. Then, we guided you through opening the Photos app on your computer and selecting the specific photos you wanted to download. After selecting the photos, you chose the destination folder on your computer to save them.
Next, we initiated the download process and advised you to be patient while the photos transferred from your iPhone to your computer. Once the transfer was complete, we explained how to access the downloaded photos in the designated folder on your computer.
By regularly transferring photos from your iPhone to your computer, you can keep your device clutter-free and have peace of mind knowing that your precious memories are safely backed up. Remember to safely disconnect your iPhone from the computer after the transfer is complete.
We hope that this guide has been helpful and that you are now confident in your ability to download pictures from your iPhone to your computer. If you have any further questions or need additional assistance, feel free to consult the documentation provided by your device and software manufacturers.
Happy downloading!