Introduction
Welcome to this comprehensive guide on how to download pictures on your Mac! Whether you want to save images from the web, transfer photos from your iPhone or iPad, import pictures from a digital camera, or download images from social media platforms, we’ve got you covered.
Downloading pictures is a common task for Mac users, and knowing the various methods available will empower you to effortlessly save and organize your favorite photos. In this article, we will walk you through six different methods, each tailored to specific scenarios, ensuring that you can download pictures with ease.
With so much visual content available online and the ever-increasing use of social media, having the know-how to download pictures on your Mac is essential. Whether you are a professional photographer, a social media enthusiast, or simply someone who wants to save memorable moments, we will guide you step-by-step through the entire process.
Before we dive into the methods, let’s take a moment to ensure that your Mac is up-to-date and ready for the tasks ahead. It’s always a good idea to keep your operating system and apps updated, as it can improve compatibility and security. You can easily check for updates by clicking on the Apple menu, selecting “System Preferences,” and then clicking on “Software Update.”
Now that you’re all set, let’s explore the different methods available for downloading pictures on your Mac!
Method 1: Downloading pictures from the web
Downloading pictures directly from the web is a common task for Mac users who want to save images from websites, online galleries, or search engines. Here is a step-by-step guide on how to do it:
- Open your preferred web browser on your Mac. Popular options include Safari, Chrome, and Firefox.
- Navigate to the webpage containing the picture you want to download.
- Right-click on the image you wish to save. A context menu will appear.
- Select “Save Image As” or a similar option from the menu. A dialog box will appear, allowing you to choose where to save the image on your Mac.
- Choose the desired destination folder and specify a file name for the image.
- Click on the “Save” button to start the download. The picture will be saved to the selected location on your Mac.
That’s it! You have successfully downloaded a picture from the web. Repeat these steps for any additional images you want to save.
It’s worth noting that some websites may have restrictions on downloading or using their images. Ensure that you have the necessary rights or permissions to download and use the pictures for your intended purpose. Additionally, make sure to respect copyright and intellectual property laws when downloading images from the web.
In some cases, you may come across websites that disable the usual right-click option to save images. However, there are alternative methods to download pictures from such sites:
- Use browser extensions or add-ons specifically designed for image downloading.
- Take a screenshot of the image and crop it afterward.
- Inspect the webpage’s source code to locate the image URL and download it manually.
Keep in mind that the availability of these alternative methods may vary depending on the web browser you are using and the specific site you are visiting.
Now that you know how to download pictures from the web, let’s move on to the next method: transferring pictures from an iPhone or iPad to your Mac.
Method 2: Transferring pictures from an iPhone/iPad to Mac
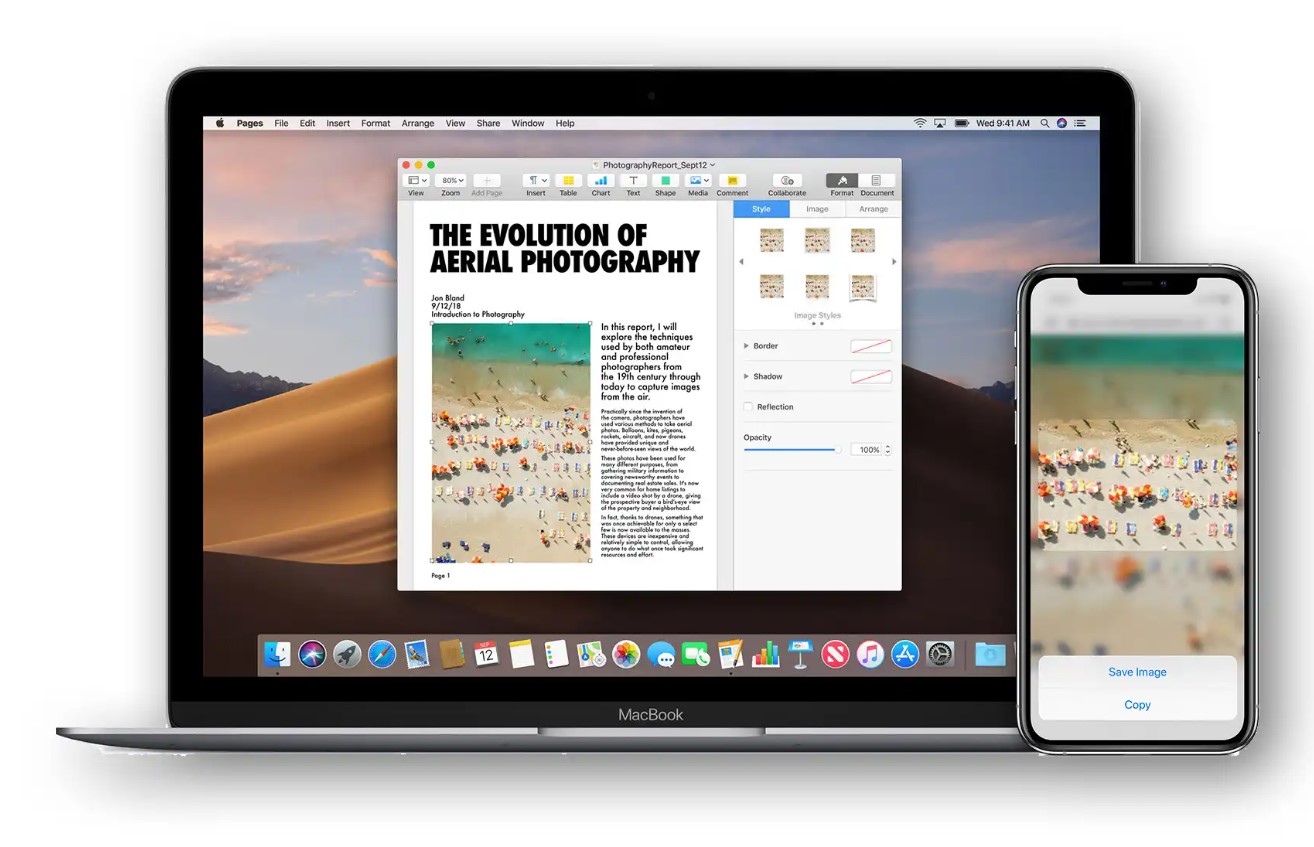
Transferring pictures from your iPhone or iPad to your Mac is a convenient way to backup your photos or free up space on your mobile device. Here’s how you can do it:
- Connect your iPhone or iPad to your Mac using a USB cable. Your Mac will automatically detect the device.
- If necessary, unlock your iPhone or iPad using your passcode or Touch ID/Face ID to establish the connection.
- On your Mac, the Photos app may automatically open. If not, open the Photos app from your Applications folder or by searching for it in Spotlight.
- In the Photos app, click on the “Import” tab located at the top. You’ll see a list of the photos and videos available for import from your device.
- Select the pictures you want to transfer. You can click on individual photos or use the “Import All New Items” button to import all the new photos at once.
- Choose the destination folder on your Mac where you want to save the pictures. You can create a new folder, select an existing one, or leave it as the default location.
- Click on the “Import Selected” or “Import All” button to start transferring the pictures from your iPhone or iPad to your Mac.
- Once the import process is complete, you can safely disconnect your iPhone or iPad from your Mac.
That’s it! Your selected pictures are now transferred from your iPhone or iPad to your Mac. You can access them in the designated folder within the Photos app or through the Finder.
Keep in mind that you can also choose to delete the photos from your iPhone or iPad after importing them to your Mac. The option to delete can be selected during the import process in the Photos app.
If you prefer not to use the Photos app, you can also transfer pictures from your iPhone or iPad to your Mac using third-party applications such as Image Capture or cloud storage services like iCloud Drive or Google Drive. These options provide additional flexibility and customization for managing your photos.
Now that you know how to transfer pictures from your iPhone or iPad to your Mac, let’s explore the next method: transferring pictures from a digital camera to your Mac.
Method 3: Transferring pictures from a digital camera to Mac
If you own a digital camera and want to transfer your pictures to your Mac, you can easily do so by following these steps:
- Connect your digital camera to your Mac using the provided USB cable or by inserting the camera’s memory card into the appropriate slot on your Mac.
- If you’re using a USB cable, ensure that the camera is turned on and set to the correct mode (e.g., USB Transfer or Mass Storage) for data transfer.
- On your Mac, the Photos app may automatically open. If not, open the Photos app from your Applications folder or by searching for it in Spotlight.
- In the Photos app, click on the “Import” tab located at the top. You’ll see a list of the photos and videos available for import from your digital camera.
- Select the pictures you want to transfer. You can click on individual photos or use the “Import All New Items” button to import all the new photos at once.
- Choose the destination folder on your Mac where you want to save the pictures. You can create a new folder, select an existing one, or leave it as the default location.
- Click on the “Import Selected” or “Import All” button to start transferring the pictures from your digital camera to your Mac.
- Once the import process is complete, you can safely disconnect your digital camera from your Mac.
That’s it! Your selected pictures are now transferred from your digital camera to your Mac. You can access them in the designated folder within the Photos app or through the Finder.
If you prefer not to use the Photos app, you can also transfer pictures from your digital camera to your Mac using third-party software provided by the camera’s manufacturer. These applications often offer additional features and functionalities tailored to your camera model.
Alternatively, if your digital camera supports Wi-Fi connectivity, you can transfer pictures wirelessly to your Mac using the camera’s dedicated mobile app or by enabling Wi-Fi transfer in the camera settings.
Now that you know how to transfer pictures from a digital camera to your Mac, let’s move on to the next method: importing pictures from an SD card to your Mac.
Method 4: Importing pictures from an SD card to Mac
If you have an SD card full of pictures that you want to transfer to your Mac, you can easily do so by following these steps:
- Insert the SD card into the SD card slot or adapter connected to your Mac. If your Mac doesn’t have an SD card slot, you may need to use a USB SD card reader.
- On your Mac, the Photos app may automatically open. If not, open the Photos app from your Applications folder or by searching for it using Spotlight.
- In the Photos app, click on the “Import” tab located at the top. The app will detect the SD card and display the photos available for import.
- Select the pictures you want to import. You can click on individual photos or use the “Import All New Items” button to import all the new photos at once.
- Choose the destination folder on your Mac to save the imported pictures. You can create a new folder, select an existing one, or leave it as the default location.
- Click on the “Import Selected” or “Import All” button to start importing the pictures from the SD card to your Mac.
- Once the import process is complete, you can safely remove the SD card from your Mac.
That’s it! Your selected pictures are now imported from the SD card to your Mac. You can access them in the designated folder within the Photos app or through the Finder.
If the Photos app doesn’t open automatically when you insert the SD card, you can manually import the photos by opening the app and selecting the “Import” tab. From there, you can choose the SD card as the source and follow the same steps as mentioned above.
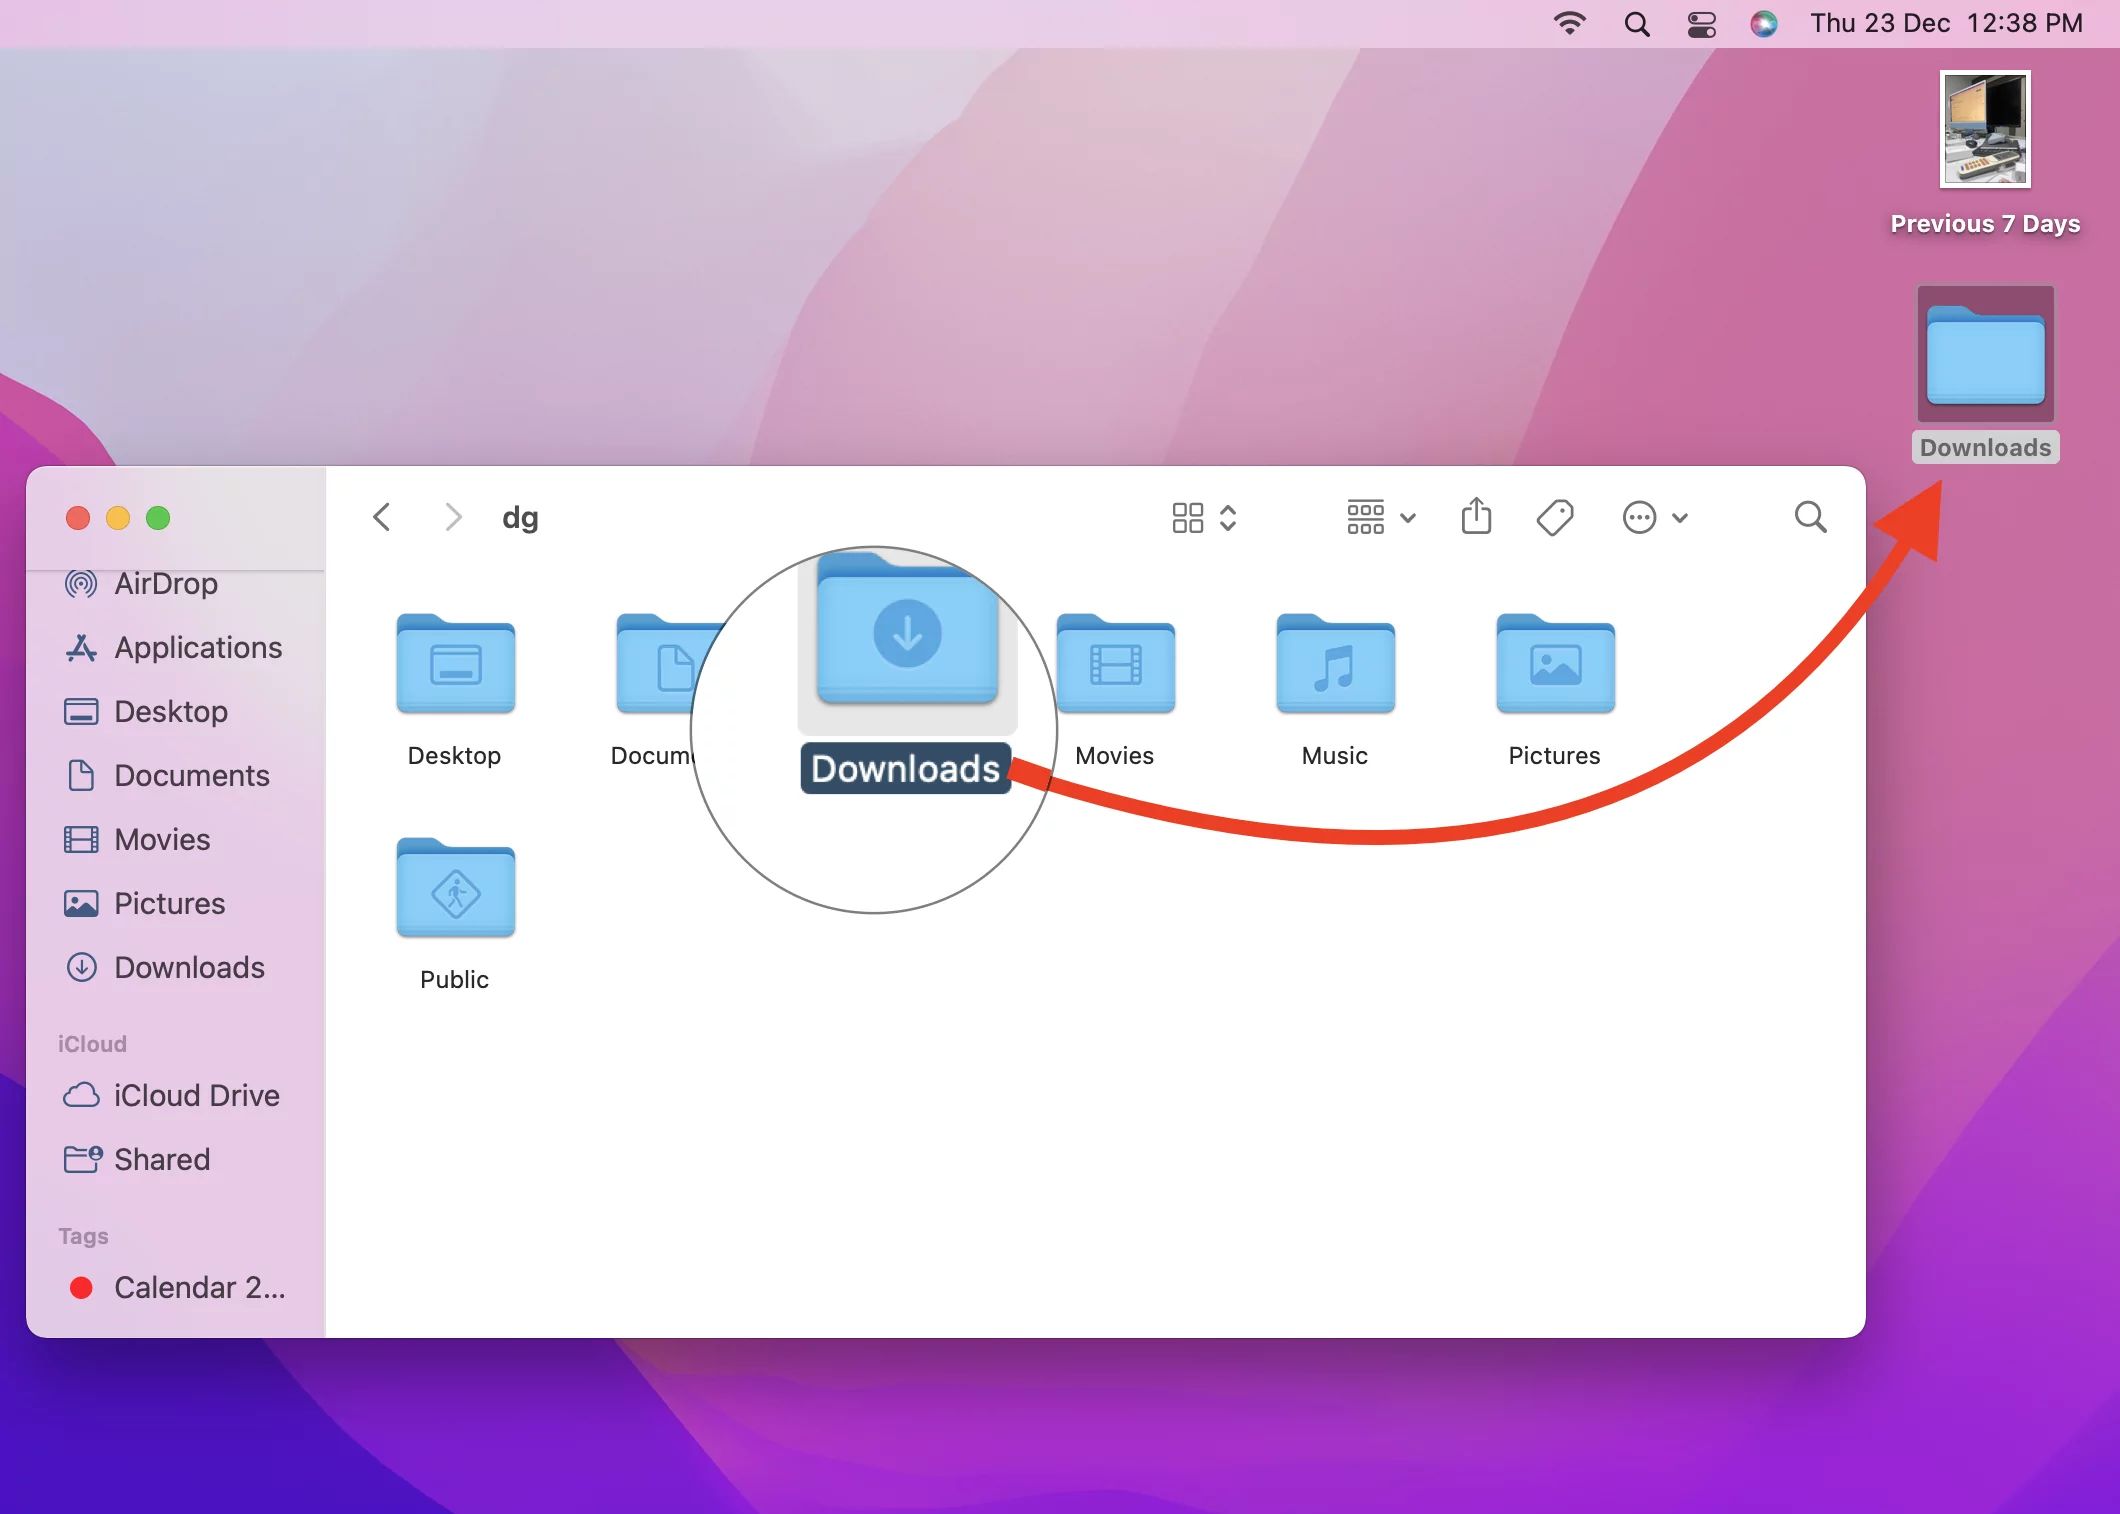
If you prefer not to use the Photos app, you can manually copy the pictures from the SD card to your Mac by locating the SD card in the Finder and dragging the desired photos to the desired location on your Mac.
It’s important to safely eject the SD card from your Mac before removing it physically to avoid any data corruption. You can do this by right-clicking on the SD card icon on your desktop or using the eject button in Finder.
Now that you know how to import pictures from an SD card to your Mac, let’s explore the next method: using iCloud to download pictures on your Mac.
Method 5: Using iCloud to download pictures on Mac
If you use iCloud to store your photos, you can easily download them onto your Mac by following these steps:
- Open a web browser on your Mac and go to the iCloud website (www.icloud.com).
- Sign in to your iCloud account using your Apple ID and password.
- Click on the “Photos” icon to access your iCloud photo library.
- Browse through your photos and select the ones you want to download. You can either click on individual photos or use the shift key to select multiple photos at once.
- Once you have selected the photos, click on the download button, usually represented by a cloud icon with an arrow pointing downward.
- Your selected photos will be downloaded to your Mac in their original quality and size.
You can also download entire albums or moments from your iCloud photo library by selecting them instead of individual photos.
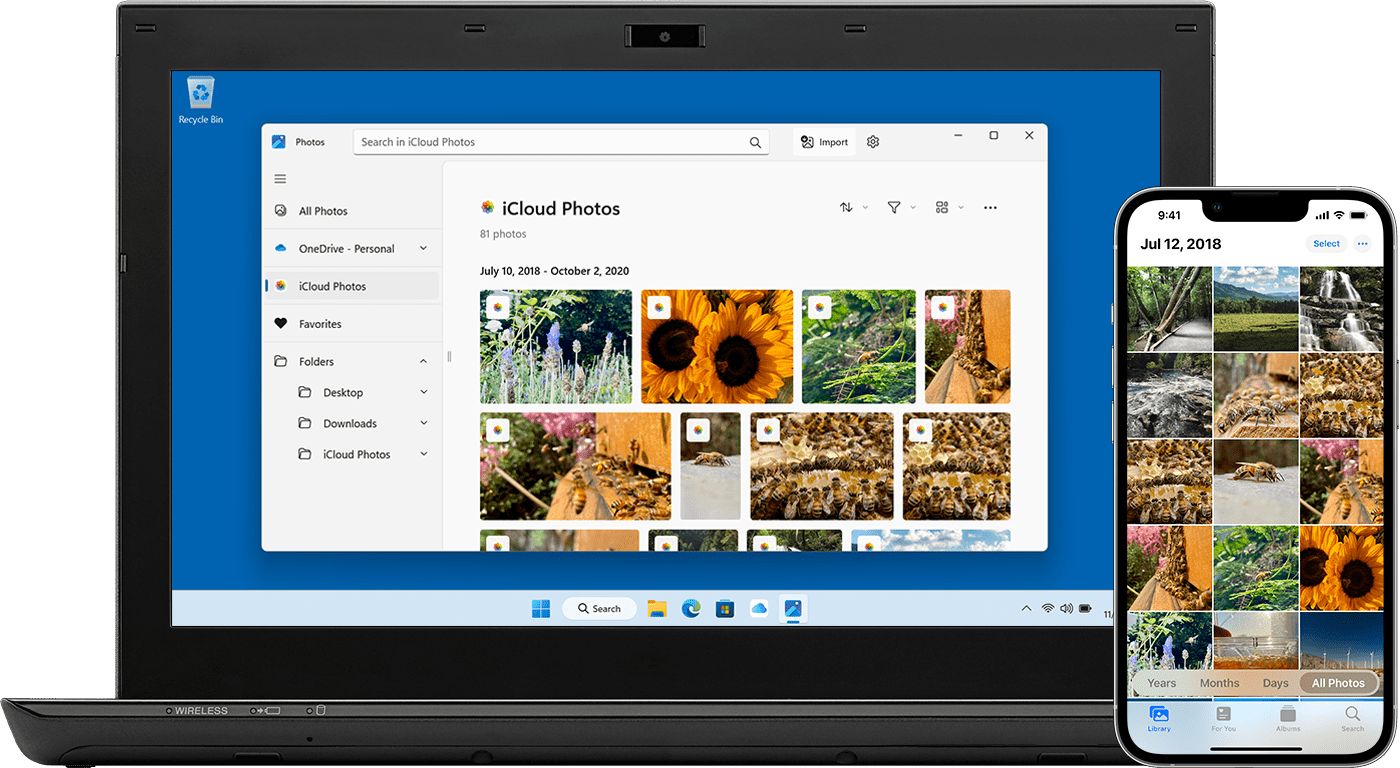
If you have the iCloud app installed on your Mac, you can access your iCloud photo library directly through the Photos app. Simply open the Photos app, click on the “Photos” tab, and select the “All Photos” or “iCloud Photos” album to view and download your pictures. The process of downloading photos from iCloud remains the same as described above.
It’s important to note that downloading photos from iCloud will use your internet bandwidth, so it may take some time depending on the size of the photos and the speed of your internet connection. If you have a large number of photos to download, it’s advisable to ensure that you have a stable and reliable internet connection.
Now that you know how to use iCloud to download pictures on your Mac, let’s move on to the next method: downloading pictures from social media platforms.
Method 6: Downloading pictures from social media platforms
Downloading pictures from social media platforms is a great way to save and share memorable moments. However, different platforms have different methods for downloading pictures. Here’s a general guide on how to download pictures from popular social media platforms:
Facebook:
- Open Facebook on your Mac and navigate to the photo you want to download.
- Click on the photo to open it in full size.
- Right-click on the photo and select “Save Image As” or a similar option from the context menu.
- Choose the destination folder on your Mac where you want to save the photo and click “Save”.
Instagram:
- Open Instagram on your Mac and find the photo you want to download.
- Click on the three dots (…) located at the top right corner of the photo and select “Go to post”.
- Right-click on the photo and choose “Save Image As” or a similar option.
- Select the folder on your Mac where you want to save the photo and click “Save”.
Twitter:
- Open Twitter on your Mac and locate the tweet containing the photo you want to download.
- Click on the photo to open it in full size.
- Right-click on the photo and select “Save Image As” or a similar option.
- Choose the destination folder on your Mac and click “Save”.
These are general steps, and the options may vary depending on the browser you are using and any extensions you have installed. Additionally, some social media platforms, like Snapchat, may restrict or prevent photo downloads due to privacy settings.
It’s essential to respect the copyright and ownership rights of the photos you download from social media. Only download and use photos for which you have proper permission or that are freely available for download.
Now that you know how to download pictures from social media platforms, you have a variety of options to save and enjoy your favorite photos!
Conclusion
Congratulations! You have now learned six different methods for downloading pictures on your Mac. Whether you want to save images from the web, transfer photos from your iPhone or iPad, import pictures from a digital camera or SD card, use iCloud to download pictures, or download pictures from social media platforms, you now have the tools and knowledge to do so.
Each method presented in this guide offers a unique way to download pictures onto your Mac, depending on your specific needs and preferences. Remember to always follow the appropriate steps for each method to ensure a smooth and successful download process.
It’s important to keep in mind that when downloading pictures, you should be aware of any copyright restrictions or usage rights associated with the images. Always respect the intellectual property of others and obtain appropriate permissions when necessary.
By mastering these methods, you can now effortlessly save and organize your favorite photos, whether they come from the web, your iPhone, a digital camera, an SD card, or social media platforms. Enjoy the freedom to curate a collection of memorable moments and stunning images on your Mac!
Keep exploring the world of digital photography, and don’t hesitate to refer back to this guide whenever you need a reminder or want to explore new techniques for downloading pictures on your Mac. Happy downloading!