Introduction
Welcome to the world of Mac and its incredible Photos app! If you’re a proud Mac user, you know that Photos is the go-to application for organizing and managing your precious memories. It not only allows you to view and edit your photos with ease but also provides a convenient way to download them to your Mac for offline access or sharing purposes.
Downloading pictures from the Photos app on your Mac is a simple and straightforward process. Whether you want to save a couple of images or an entire album, Photos offers an array of options to cater to your needs. In this guide, we will walk you through the step-by-step process of downloading pictures from the Photos app on your Mac.
Before we dive into the details, make sure you have the latest version of the Photos app installed on your Mac. This ensures that you have access to all the features and improvements that Apple regularly introduces.
With that said, let’s get started and learn how to download pictures from the Photos app on your Mac!
Step 1: Open the Photos app
The first step to downloading pictures from the Photos app on your Mac is to open the application. The Photos app is pre-installed on all Mac computers and can be found in the Applications folder or in the Dock.
To open the Photos app, you can either click on the Photos icon in the Dock or search for “Photos” using the Spotlight search (press Command + Spacebar and type “Photos”). Once you locate the app, simply click on it to open.
Upon opening the Photos app, you will be greeted with a beautiful interface displaying your photo library. If it’s your first time using the app or if your library is empty, you might not see any photos. But don’t worry, we’ll soon be downloading pictures to fill it up!
If you have multiple libraries in the Photos app, make sure to select the library from which you want to download pictures. You can do this by going to the “File” menu and choosing “Switch to Library.” From there, select the desired library or create a new one if needed.
Now that you have successfully opened the Photos app and selected the correct library, you’re ready to move on to the next step: selecting the pictures you want to download. We’ll cover this in detail in the next step.
Step 2: Select the pictures you want to download
Once you have the Photos app open and have selected the desired library, it’s time to choose the pictures you want to download. Whether you want to download a single photo, a group of photos, or an entire album, Photos offers various ways to make your selection.
To select a single photo, simply click on it. You will see a blue outline around the selected photo, indicating that it has been chosen. To deselect it, just click on it again.
If you want to select multiple photos, you have a couple of options. The first method is to hold down the Command key on your keyboard while clicking on the individual photos. This allows you to choose multiple non-consecutive photos.
The second method is to click on the first photo you want to select, then hold down the Shift key and click on the last photo. This will select all the photos between the first and last one, including the first and last photos themselves.
If you prefer a more automated approach, Photos also offers the option to create albums and select photos from there. You can create an album by going to the “File” menu and choosing “New Album.” Give your album a name and click “OK.” Then, simply drag and drop the desired photos into the album.
Once you have made your selection, you will see the photos highlighted or marked as selected. Now that you have chosen the pictures you want to download, it’s time to move on to the next step: using the Export option to save the photos to your Mac.
Step 3: Use the Export option to save the photos to your Mac
Now that you have selected the pictures you want to download, it’s time to use the Export option in the Photos app to save them to your Mac. The Export feature allows you to choose the file format, adjust the quality, and specify the location where you want to save your photos.
To access the Export option, go to the “File” menu in the Photos app and hover over the “Export” tab. A submenu will appear, presenting you with different exporting options.
If you want to download the selected photos in their original format and quality, simply choose the “Export [number] Photos” option. This will save the photos to your Mac exactly as they are, with no modifications.
However, if you prefer to have more control over the exported photos, you can select the “Export [number] Unmodified Originals” option. This allows you to specify additional settings such as the file format (JPEG, TIFF, etc.) and the quality level (High, Maximum, etc.).
After choosing the desired export option, a dialog box will appear where you can set the destination folder for your downloaded photos. You can select an existing folder or create a new one by clicking the “New Folder” button.
Once you have selected the folder, click the “Export” button to initiate the download process. Depending on the number and size of the photos, this may take some time. You will see a progress bar indicating the status of the export.
Once the export process is complete, you will find your downloaded photos in the designated folder on your Mac. Congratulations, you have successfully used the Export option to save your Photos app pictures to your computer!
Now that you have learned how to use the Export option, you can customize your download settings according to your preferences. In the next step, we will explore the various file formats and quality options available for exporting your photos.
Step 4: Choose the desired file format and quality for the download
When using the Export option in the Photos app, you have the flexibility to choose the file format and quality for the downloaded photos. This allows you to customize your download settings based on your preferences and specific requirements.
After selecting the photos you want to download and accessing the Export option, you will be presented with various choices for file format and quality.
The most commonly used file format for photos is JPEG (Joint Photographic Experts Group), which strikes a good balance between image quality and file size. This format is widely supported and compatible with most devices and online platforms.
If you require higher quality or lossless compression, you can opt for the TIFF (Tagged Image File Format) format. TIFF files retain more detail and offer greater flexibility for editing and manipulation, but they tend to have larger file sizes.
In addition to the file format, you can also select the quality level for the downloaded photos. The available options may vary depending on the chosen format. For JPEG, you typically have options like High, Medium, or Low, while TIFF files maintain their quality regardless of the chosen level.
Consider the purpose and intended use of the downloaded photos when selecting the file format and quality. If you plan to share the photos online or via messaging apps, JPEG with medium to high quality is usually sufficient. However, if the photos are for professional printing or advanced editing, TIFF with maximum quality is a better choice.
Keep in mind that higher quality settings and formats often result in larger file sizes, which may consume more storage space on your Mac or take longer to upload or transmit. Balance your desired quality with practical considerations.
Once you have made your preferences for the file format and quality, proceed to the next step where you will select the location where you want to save your downloaded photos.
Step 5: Select the location where you want to save the photos
After choosing the desired file format and quality for your downloaded photos, the next step is to decide where you want to save them on your Mac. By default, the Photos app offers a predefined location for saving exported photos, but you have the option to choose a different directory if you prefer.
When you initiate the export process, a dialog box will appear, allowing you to specify the location for saving the downloaded photos. The default location is typically the “Pictures” folder on your Mac, but you can easily navigate to a different directory if needed.
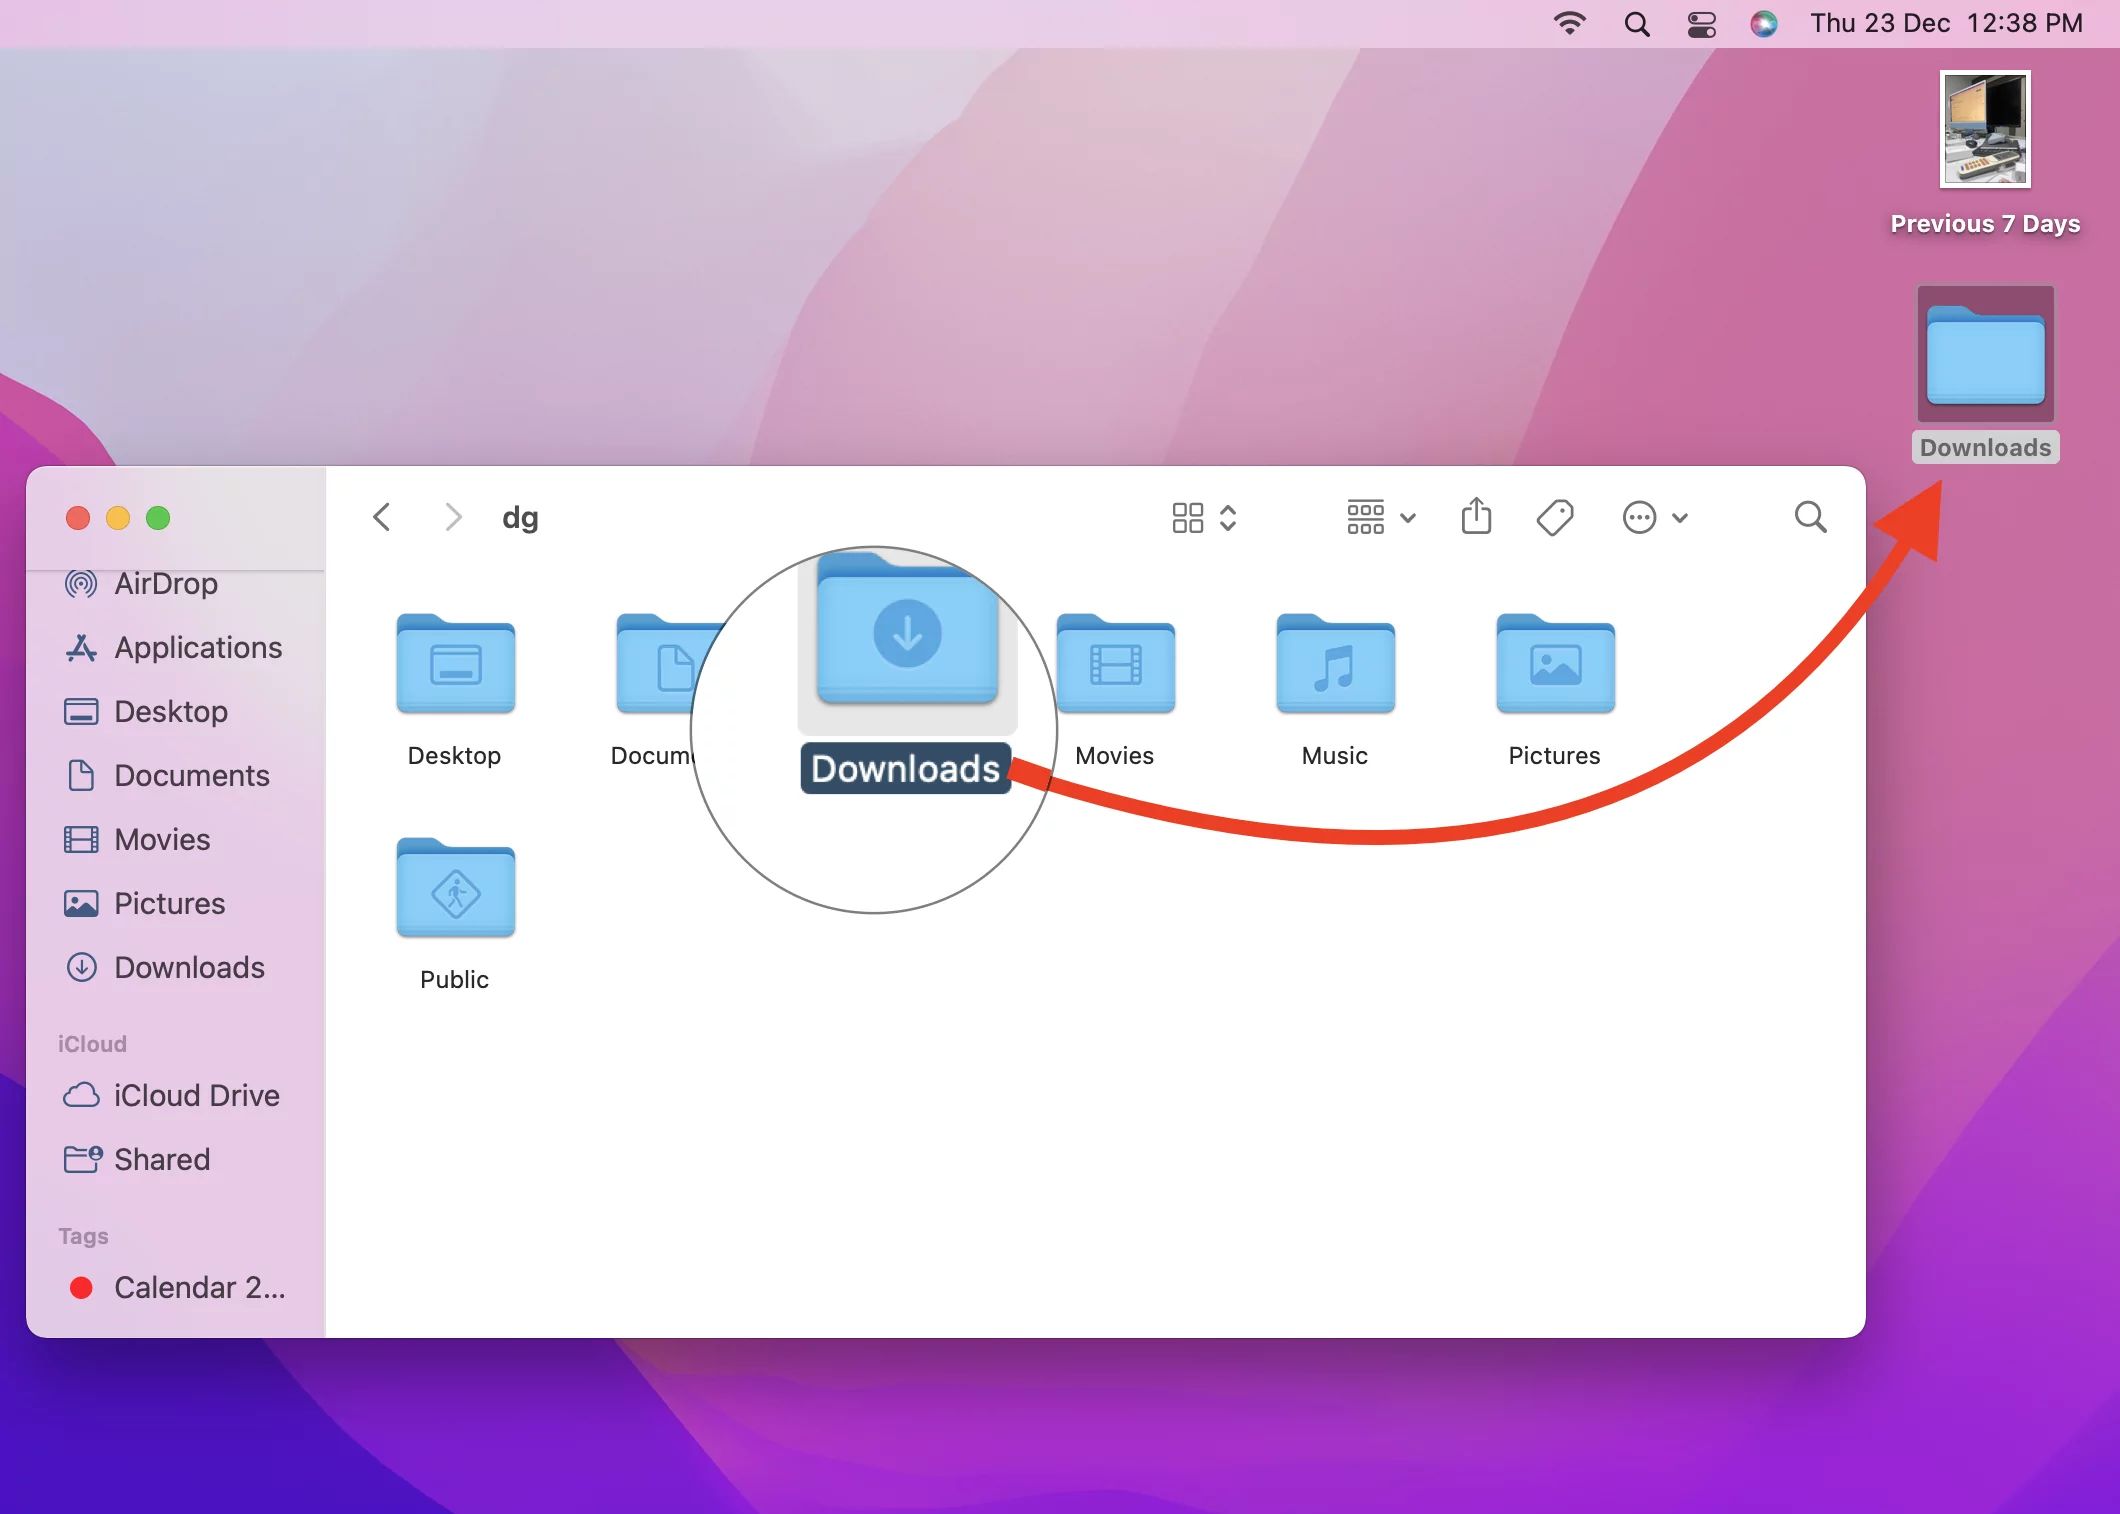
To select a different location, click the “Choose Folder” or “Other” button in the dialog box. This will open a Finder window where you can browse through your Mac’s file system and select the desired folder.
If you want to create a new folder specifically for the downloaded photos, you can do so by clicking the “New Folder” button within the Finder window. Give the folder an appropriate name and click “Create” to proceed.
When selecting the location for saving your photos, consider organizing them in a way that is logical and easy to navigate. You may choose to create separate folders for different events, trips, or categories to keep your photos organized and easily accessible.
Once you have selected the desired location and, if necessary, created a new folder, click the “OK” or “Choose” button in the dialog box to confirm your selection. The Photos app will save your downloaded photos to the specified location on your Mac.
Remember to take note of the location where you saved your photos, as this will make it easier for you to find and access them later on.
Now that you have chosen the location, it’s time to review and confirm the download settings before proceeding with the export process. We will cover this in detail in the next step.
Step 6: Review and confirm the download settings
Before you initiate the download process, it is essential to review and confirm the download settings to ensure that everything is in line with your preferences. The Photos app provides a final opportunity to double-check your choices before exporting the photos to your Mac.
After selecting the photos, choosing the file format and quality, and determining the location for saving the downloaded photos, the export dialog box will display a summary of your selected settings.
Take a moment to review the information presented. Verify that the correct photos are selected, ensuring that you haven’t accidentally included any unwanted images. Confirm that the chosen file format and quality match your requirements and that the destination folder is accurate.
If you wish to make any changes, you can use the “Back” or “Cancel” option in the dialog box to go back to the respective steps and adjust your settings as needed.
This review step is especially crucial when saving photos for specific purposes, such as professional projects or personal events, where accuracy and precision are vital. It helps to prevent any potential mistakes or regrets after the export process is complete.
If you are satisfied with the settings and ready to proceed with the download, click the “Export” or “OK” button in the export dialog box. This action will initiate the export process and save the selected photos to the designated location on your Mac.
Once the export process begins, a progress indicator will be displayed to show you the status of the download. Depending on the number of photos and their file sizes, this process may take some time. Patience is key during this step as you wait for the export to complete.
After the export process finishes, you will find your downloaded photos in the specified folder on your Mac. Congratulations, you have successfully reviewed and confirmed the download settings!
In the next step, we will cover the final action required to complete the process: clicking on the Export button to start the download.
Step 7: Click on the Export button to start the download process
After reviewing and confirming the download settings, it’s time to initiate the actual download process by clicking on the Export button. This step marks the final action required to save your selected photos from the Photos app to your Mac.
Once you have double-checked the photo selection, file format, quality, and destination folder, locate the Export button in the export dialog box.
Typically, the Export button is labeled as such or may display a variation like “Export [number] Photos” or “Export Originals”. The exact label may vary depending on the version of the Photos app and the export options you have chosen.
When you’re ready to proceed, simply click on the Export button. This action will begin the download process, and the Photos app will start exporting the selected photos to the designated location.
During the export process, a progress indicator will be displayed, keeping you informed about the status of the download. The duration of the export may vary depending on the number and size of the photos being downloaded.
While the export is in progress, it’s essential to avoid interrupting the process or closing the Photos app. Doing so may result in incomplete downloads or potential data loss.
After the export process is complete, you can navigate to the destination folder on your Mac and verify that the downloaded photos are now available. You can open and view them using any compatible image viewer or photo editing software.
Congratulations! You have successfully completed the process of downloading pictures from the Photos app on your Mac. Take a moment to enjoy and appreciate your newly saved photos.
Remember to properly organize and back up your downloaded photos to ensure their long-term preservation and accessibility. You can create additional folders, sort them by date or event, or even import them into other applications for further editing or sharing.
Now that you have mastered the art of downloading pictures from the Photos app, you can continue exploring its features and unleash your creativity with your captured memories.
Conclusion
Downloading pictures from the Photos app on your Mac is a simple and convenient process that allows you to save and access your precious memories offline. By following the step-by-step guide outlined above, you can effortlessly download and store your favorite photos with ease.
We started by opening the Photos app and selecting the desired library. Then, we moved on to selecting the pictures we wanted to download, using various methods such as single-click, Command + click, or Shift + click for multiple selections. After choosing the photos, we learned how to use the Export option to save them to our preferred file format and quality.
Next, we selected the location on our Mac where we wanted to save the downloaded photos, ensuring that it was easily accessible and well-organized. Then, we reviewed and confirmed our download settings to prevent any mistakes or regrets.
Finally, we clicked on the Export button to initiate the download process, patiently waiting for the export to finish. After completion, our downloaded photos were ready to be enjoyed and shared, bringing our memories to life in a tangible and accessible form.
Remember to regularly back up your downloaded photos and maintain an organized system for easy retrieval. Whether you’re preserving cherished moments or preparing them for professional projects, the Photos app on your Mac provides you with the tools and flexibility to curate your photo collection effortlessly.
Now that you are well-versed in downloading pictures from the Photos app, you can confidently navigate your way through your photo library, curating, organizing, and preserving your memories with ease.
So, go ahead and explore the wonderful features of the Photos app on your Mac, and let your creativity flourish as you preserve the moments that matter most to you.