Introduction
So, you've recently acquired the Aukey Sports Action Camera and are eager to transfer your captivating photos onto your Mac. This versatile camera is designed to capture your thrilling adventures, from mountain hikes to underwater explorations, and now you're ready to relive those moments on your Mac. Fortunately, the process of downloading pictures from the Aukey Sports Action Camera to your Mac is straightforward and hassle-free.
In this guide, we'll walk you through the seamless method of connecting your camera to your Mac and transferring your treasured photos. Additionally, we'll explore how to efficiently organize and edit your pictures once they're safely stored on your Mac. By the end of this tutorial, you'll be equipped with the knowledge and confidence to effortlessly manage your Aukey Sports Action Camera's photos on your Mac, allowing you to cherish and share your adventures with ease.
Let's dive into the step-by-step process of connecting your Aukey Sports Action Camera to your Mac and downloading those exhilarating pictures.
Connecting the Aukey Sports Action Camera to Your Mac
Before you can begin transferring your photos, you need to establish a seamless connection between your Aukey Sports Action Camera and your Mac. The camera comes equipped with a USB cable that facilitates this process. Here’s a step-by-step guide to help you get started:
- Prepare Your Camera: Ensure that your Aukey Sports Action Camera is powered on and ready for connection. If the camera has a removable memory card, make sure it’s inserted securely.
- Locate the USB Cable: Retrieve the USB cable that came with your camera. It typically features a standard USB connector on one end and a micro-USB connector on the other.
- Connect the Cable: Plug the standard USB connector into an available USB port on your Mac. Then, carefully insert the micro-USB connector into the corresponding port on your camera. Once connected, your Mac should recognize the camera as an external device.
- Access Your Camera’s Storage: Depending on your camera model and settings, you may need to navigate through the camera’s menu to select the appropriate mode for data transfer. This is usually indicated as “Mass Storage” or “PC Connect” mode.
- Verify the Connection: Once the camera is in the correct mode and connected to your Mac, you should see it appear as a removable storage device on your desktop or in the Finder window.
With these simple steps, you’ve successfully connected your Aukey Sports Action Camera to your Mac, laying the groundwork for effortlessly transferring your captivating photos. Now, let’s move on to the next phase of the process: transferring your pictures from the camera to your Mac.
Transferring Pictures from the Camera to Your Mac
Now that your Aukey Sports Action Camera is connected to your Mac, it’s time to transfer your breathtaking photos from the camera’s storage to your computer. Follow these straightforward steps to seamlessly download your pictures:
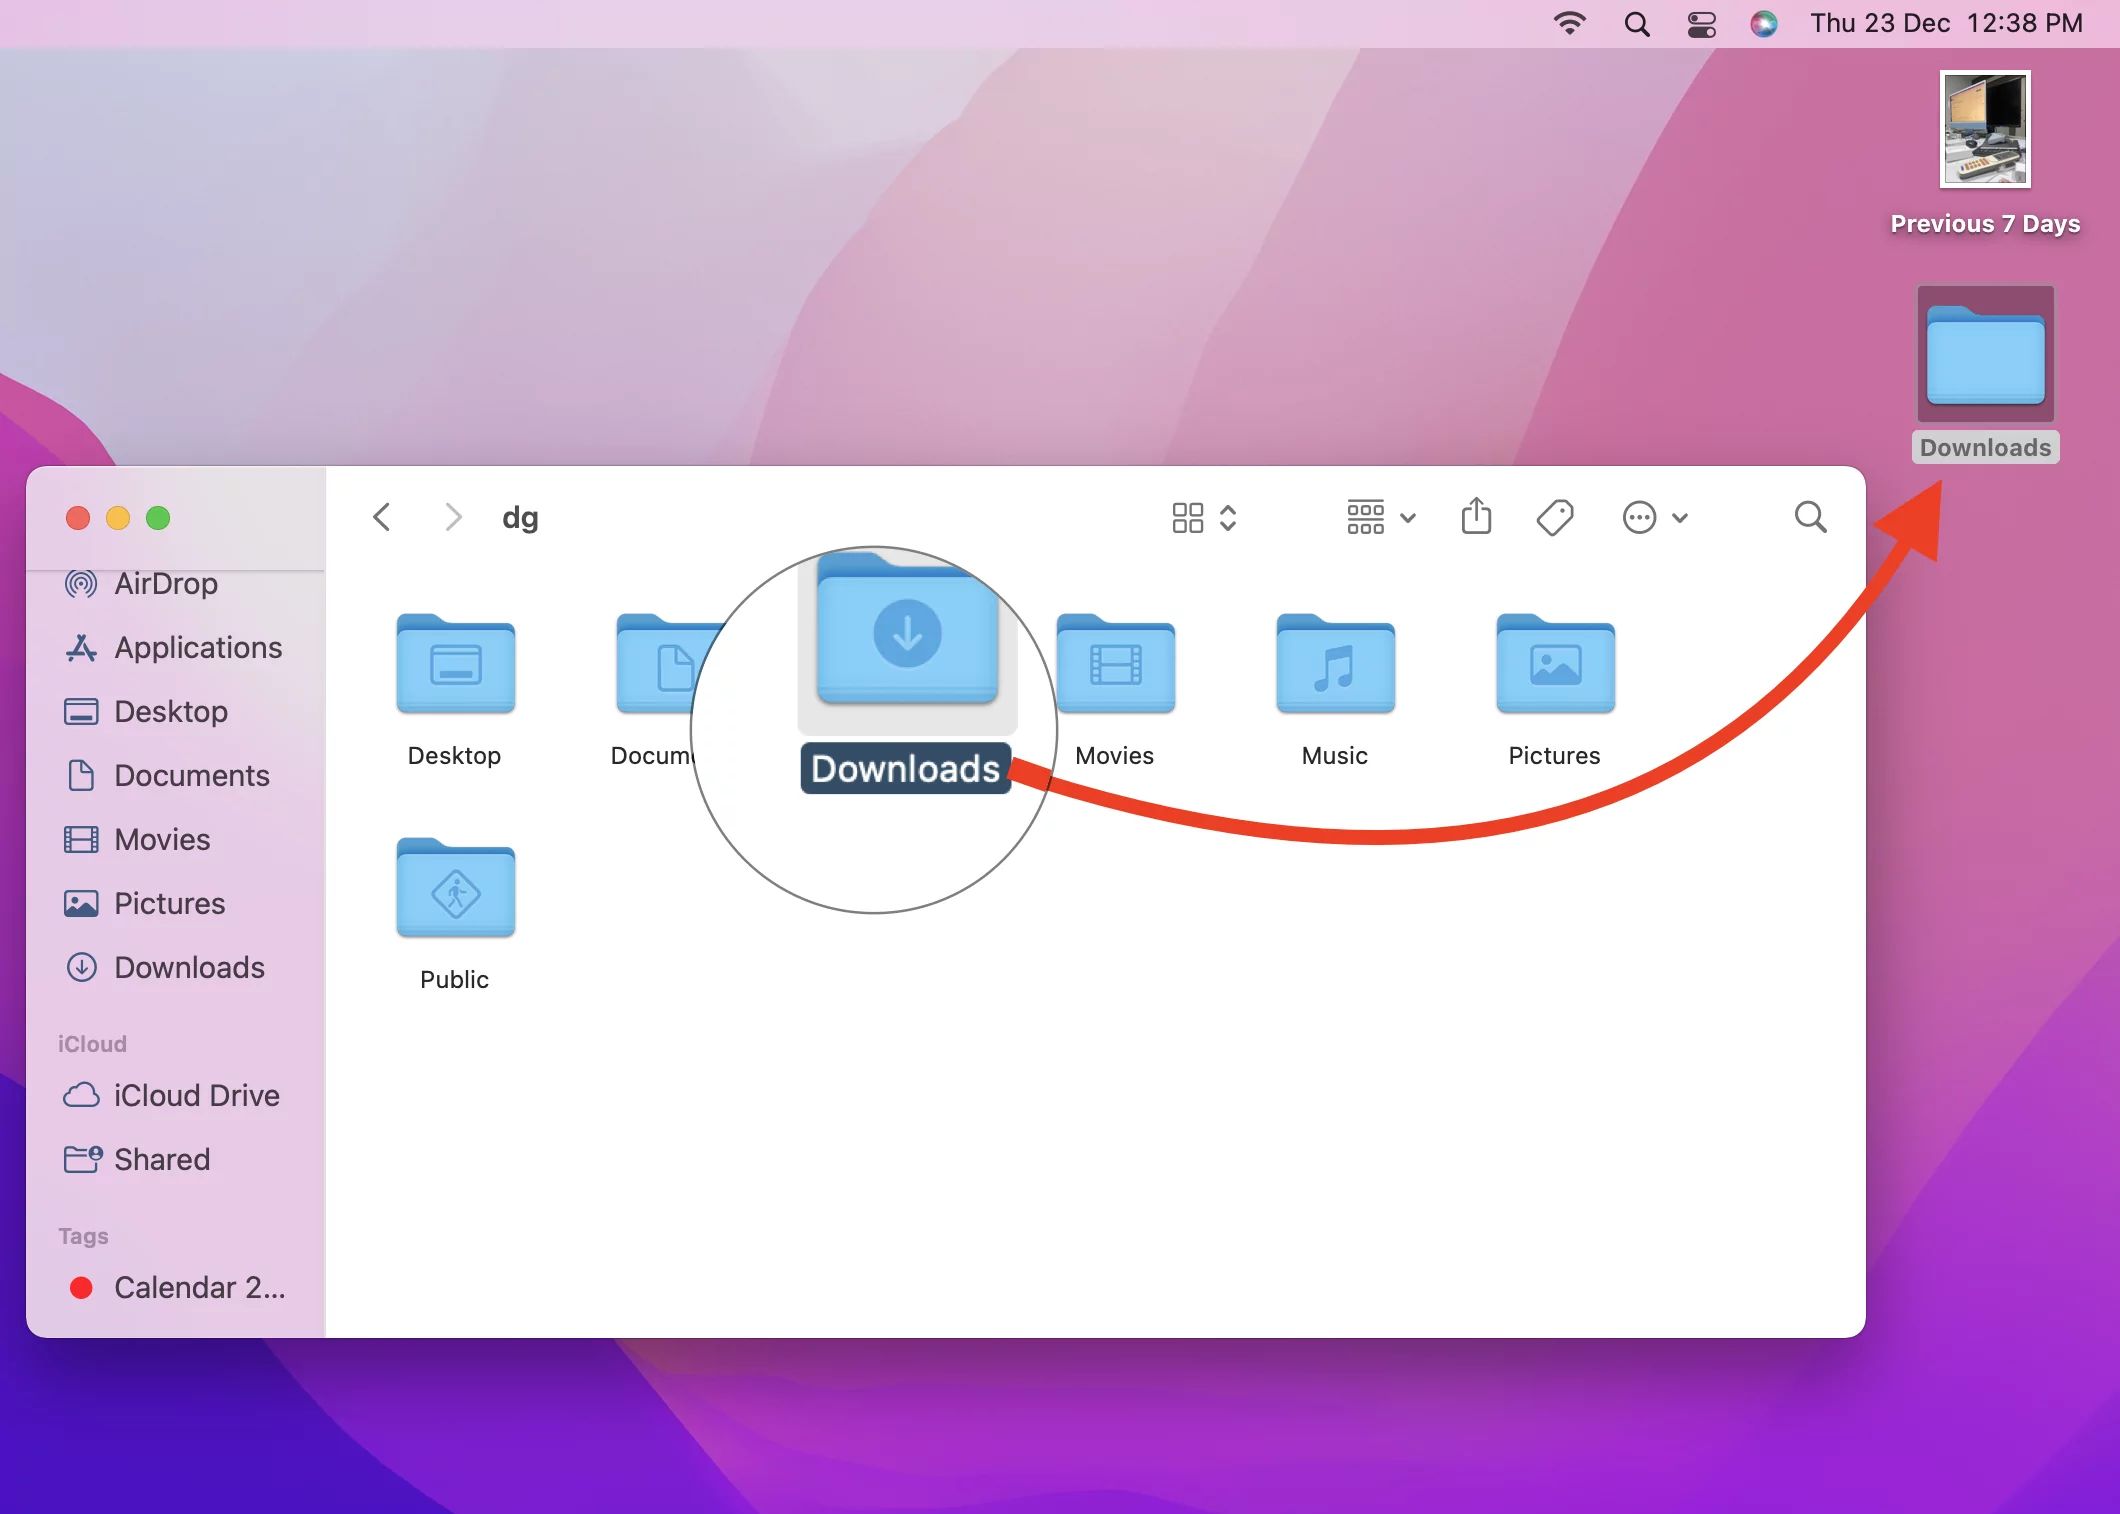
- Locate the Camera’s Storage: Open the Finder window on your Mac to access the connected camera. You should see it listed as a removable storage device. Click on the camera’s icon to reveal its contents.
- Select the Photos: Navigate through the camera’s folders to locate the photos you wish to transfer. Once you’ve found the desired pictures, you can either select individual photos or drag a selection box around multiple photos to choose them all.
- Copy the Photos: With the desired photos selected, right-click and choose “Copy” from the menu. Alternatively, you can press “Command” + “C” on your keyboard as a shortcut to copy the selected photos.
- Choose the Destination: Navigate to the folder on your Mac where you want to store the transferred photos. Right-click within the folder and select “Paste” from the menu to copy the photos from the camera to your Mac. Alternatively, you can press “Command” + “V” as a shortcut to paste the photos into the chosen folder.
- Monitor the Transfer: Depending on the number and size of the photos, the transfer process may take some time. You can monitor the progress of the transfer in the Finder window, which will display a status bar indicating the transfer’s completion.
With these simple steps, you’ve successfully transferred your captivating photos from your Aukey Sports Action Camera to your Mac. Now that your photos are securely stored on your computer, let’s explore how to efficiently organize and edit your pictures using the tools available on your Mac.
Organizing and Editing Pictures on Your Mac
Now that your exhilarating photos from the Aukey Sports Action Camera are safely stored on your Mac, it’s time to organize and enhance them using the versatile tools available on your computer. Here’s a guide to efficiently manage and edit your pictures:
- Organize Your Photos: Create a dedicated folder on your Mac to store the transferred pictures. Consider organizing them by date, location, or event to make it easier to locate specific photos in the future. You can also utilize the built-in “Photos” app on your Mac to create albums and categorize your pictures.
- Edit Your Photos: Use the pre-installed “Photos” app or other editing software on your Mac to enhance your pictures. You can adjust the brightness, contrast, and color balance to bring out the best in each photo. Additionally, explore the various filters and effects available to add a creative touch to your images.
- Backup Your Photos: It’s essential to create backups of your edited photos to prevent any loss of data. Consider utilizing cloud storage services or external hard drives to create redundant copies of your precious memories.
- Share Your Photos: Once your photos are organized and edited to your satisfaction, you can easily share them with friends and family. Utilize email, messaging apps, or social media platforms to showcase your adventures and relive the thrilling moments captured by your Aukey Sports Action Camera.
By following these steps, you can efficiently manage, enhance, and share your photos on your Mac, allowing you to cherish and showcase your adventures with ease. With the seamless process of connecting your camera, transferring photos, and utilizing the editing tools on your Mac, you’re well-equipped to relive and share your captivating moments captured by the Aukey Sports Action Camera.