Introduction
Are you looking to transfer your precious memories from your iPhone to your Mac? Whether it’s a collection of beautiful vacation photos, memorable family moments, or stunning nature shots, being able to download pictures from your iPhone to your Mac is a convenient and efficient way to preserve and organize your photos. In this article, we will guide you through the step-by-step process of downloading pictures from your iPhone to your Mac, ensuring that your cherished memories are safely transferred and easily accessible on your computer.
With the advancement of technology, capturing breathtaking photos on our iPhones has become easier than ever. However, with limited storage space on our devices, it’s essential to regularly transfer our photos to a computer to free up memory and create backups. Fortunately, Apple provides a seamless and user-friendly way to transfer pictures from your iPhone to your Mac using the Photos app.
The Photos app offers a range of features that allow you to import, organize, and edit your photos. Not only does it allow you to transfer pictures, but it also provides tools for organizing and enhancing your photo library. Whether you want to create albums, edit images, or share your pictures with friends and family, the Photos app on your Mac is your go-to tool.
In this step-by-step guide, we will walk you through the process of connecting your iPhone to your Mac, selecting and importing the desired photos, choosing a destination folder, and confirming the successful transfer. By following these simple steps, you will be able to effortlessly download your pictures from your iPhone to your Mac and gain peace of mind knowing that your precious memories are safely stored on your computer.
Step 1: Connect your iPhone to your Mac
The first step to downloading pictures from your iPhone to your Mac is to establish a physical connection between the two devices. To do this, you will need a Lightning to USB cable, which typically comes packaged with your iPhone.
Begin by locating the USB port on your Mac. This is usually found on the side or back of the computer, depending on the model. Plug one end of the Lightning to USB cable into the corresponding port on your Mac.
Next, take the other end of the cable, which has a Lightning connector, and insert it into the charging port on your iPhone. Ensure that the cable is securely connected on both ends to establish a stable connection.
Once the connection is established, you may see a pop-up dialog on your iPhone asking for permission to “Trust This Computer.” This is a security measure implemented by Apple to ensure the safety of your data. Tap “Trust” to proceed.
Additionally, you may need to unlock your iPhone by entering your passcode or using Face ID or Touch ID, depending on your device’s capabilities. This step is necessary to allow your Mac to recognize and access your iPhone’s contents.
At this point, your iPhone and Mac are now connected, and you’re ready to move on to the next step in the downloading process. Keep in mind that a stable and reliable USB connection is crucial for a successful transfer, so make sure the cable is securely connected and that there are no interruptions during the process.
Step 2: Open the Photos app on your iPhone
Now that your iPhone is connected to your Mac, it’s time to open the Photos app on your iPhone. The Photos app is where you can find and select the pictures you want to download to your Mac.
Locate the Photos app icon on the home screen of your iPhone. The icon resembles a multicolored flower and may be found in a folder labeled “Utilities” or on one of your home screens if you haven’t organized your apps into folders. Tap on the Photos app to launch it.
Once the Photos app is open, you will see different tabs at the bottom of the screen, such as Photos, For You, Albums, etc. The “Photos” tab is selected by default, showing you all the pictures in your camera roll in chronological order.
Using the scrollable grid or the timeline at the bottom of the screen, browse through your photos to locate the ones you wish to download. You can easily explore your photos based on specific dates, locations, or other criteria by tapping on the “Albums” or “For You” tabs.
To make your selection, tap on the “Select” button located at the top right corner of the screen. This will enable you to choose multiple photos at once. You can also select individual photos by tapping on them directly, which will highlight the selected photos with a blue checkmark.
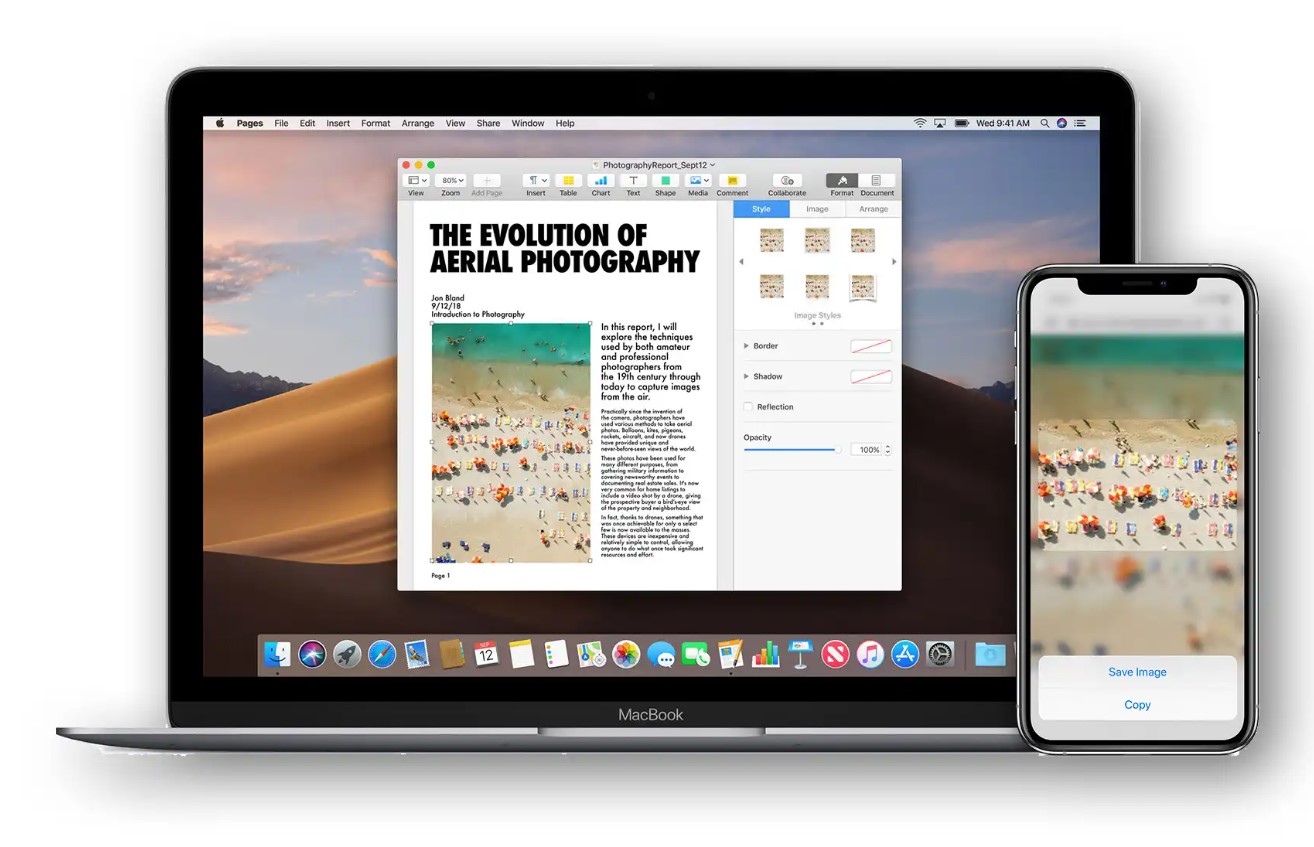
Once you’ve selected all the photos you want to download, tap on the “Share” button (represented by a square with an upwards arrow) at the bottom left corner of the screen. This will bring up a panel with various sharing options.
In the sharing panel, you will see various apps and actions you can perform with your selected photos. Look for the option that says “Save [X] Images” or “Save [X] Photos” (X represents the number of selected photos) and tap on it.
Congratulations! You have successfully opened the Photos app on your iPhone and selected the photos you want to download. Now, let’s proceed to the next step and import these photos onto your Mac.
Step 3: Select the photos you want to download
Now that you have opened the Photos app on your iPhone, it’s time to select the specific photos you want to download to your Mac. The Photos app provides a simple and intuitive way to choose the pictures that you wish to transfer.
In the Photos app, navigate to the album or section where your desired photos are located. You can do this by tapping on the “Albums” tab at the bottom and selecting the specific album, such as “Camera Roll” or “Favorites”.
Once you’re in the desired album, you will see a grid of thumbnail images. Scroll through the photos to find the ones you want to download. To select a photo, simply tap on it. A blue checkmark will appear on the selected photo, indicating that it has been chosen.
If you want to select multiple photos at once, you can tap on the “Select” button located in the top right corner of the screen. This will enable a selection mode, allowing you to choose multiple photos by tapping on them individually. The selected photos will be marked with a blue checkmark.
If you want to select all the photos in the album, tap on the “Select All” option, usually located in the top left corner of the screen. This will automatically select every photo in the album, saving you the time and effort of selecting them individually.
After you have selected the desired photos, you can review your selection by tapping on the “Selected” button at the bottom of the screen. This will display all the photos you have chosen for downloading, allowing you to make any necessary changes or additions.
Once you are satisfied with your selection, proceed to the next step to import the chosen photos from your iPhone to your Mac. Keep in mind that the number of selected photos will determine the amount of time it takes to complete the transfer, so make sure you have enough storage space on your Mac to accommodate the downloaded images.
Step 4: Import the selected photos to your Mac
Now that you have selected the desired photos on your iPhone, it’s time to import them onto your Mac. By following these simple steps, you will be able to transfer your chosen photos and make them accessible on your computer.
First, make sure that the Photos app is open on your Mac. You can launch it by clicking on the Photos icon in the Dock or by searching for it in the Applications folder. It’s essential to have the app open before proceeding with the import process.
Connect your iPhone to your Mac using the Lightning to USB cable that is securely plugged into both devices. Once connected, you may see a prompt on your iPhone asking for your device passcode or permission to “Trust This Computer.” Follow the on-screen instructions to proceed.
On your Mac, the Photos app will automatically detect your iPhone and display a pop-up window showing the photos available for import. If the pop-up window doesn’t appear, go to the top menu bar and click on the “File” tab. From the dropdown menu, select “Import” and choose your connected iPhone from the list of available devices.
By default, all your selected photos will be imported. However, if you want to import only specific photos, uncheck the ones you don’t want to transfer. You can also choose to import all photos by ticking the “Import All New Items” checkbox at the top. Additionally, you can organize the imported photos into new albums by checking the box next to “Import to” and giving the album a name.
Before finalizing the import, review the destination folder where the photos will be saved. By default, the Photos app will import them into the “Photos” library on your Mac. If you want to change the location, click on the “Import to” dropdown menu and select a different folder or create a new one.
Once you have made your desired selections, click on the “Import [X] Selected” button (X represents the number of selected photos) in the top right corner of the window. The import process will then begin, and a progress bar will show you the status of the transfer.
Depending on the number and size of the selected photos, the import process may take some time. It’s important not to disconnect your iPhone from your Mac until the transfer is complete to avoid data loss or corruption. Once the import is finished, you will see a notification confirming the successful transfer of your photos.
Congratulations! You have successfully imported the selected photos from your iPhone to your Mac. Now, you can easily access and manage your precious memories on your computer using the Photos app.
Step 5: Choose the destination folder on your Mac
After selecting the photos you want to import from your iPhone to your Mac in the previous step, it’s time to choose the destination folder where these photos will be saved. By selecting the appropriate folder, you can keep your photos organized and easily accessible on your computer.
When you initiate the import process in the Photos app on your Mac, a popup window will appear, displaying the photos available for import. Within this window, you have the option to customize the destination folder for the imported photos.
By default, the Photos app will import the selected photos into your system’s default “Photos Library”. This library is located in your “Pictures” folder and is the default location where all photos synced or imported through the Photos app are stored.
However, if you want to choose a specific folder or create a new one for the imported photos, you have the flexibility to do so. To select a different folder, click on the “Import to” dropdown menu at the top of the window.
Here, you will be presented with a list of available folders on your Mac. You can choose an existing folder by clicking on it, or you can create a new folder by selecting the “Other…” option at the bottom of the list.
If you decide to create a new folder, a file browser will open, allowing you to navigate your Mac’s directory structure and choose a location for your new folder. Once you have selected the desired location, click the “Choose” button to create the folder and set it as the destination for the imported photos.
Organizing your photos into specific folders can be useful for managing and easily locating them in the future. For example, you could create folders based on events, locations, or subjects, which can make it simpler to retrieve specific photos when needed.
It’s important to note that the chosen destination folder will remain the default location for future imports, unless you manually change it again during subsequent imports. This allows you to maintain a consistent organization structure for your photos on your Mac.
Once you have selected or created the destination folder for your imported photos, you can proceed with the import process. The Photos app will transfer the selected photos from your iPhone to the specified folder on your Mac, ensuring that they are easily accessible and organized according to your preferences.
Step 6: Wait for the import to complete
After selecting the destination folder for your imported photos in the previous step, it’s time to wait for the import process to complete. During this time, it’s important to be patient and avoid interrupting the transfer to ensure the successful and seamless import of your selected photos.
The duration of the import process can vary depending on factors such as the number of selected photos and their file sizes. It’s important to note that larger files or a larger quantity of photos may take longer to complete the transfer.
While the import is in progress, you will see a progress bar or status indicator within the Photos app. This indicator shows the current status of the import and provides an estimate of the remaining time until completion.
It’s important not to disconnect your iPhone from your Mac or close the Photos app during the import process. Doing so may interrupt the transfer and result in incomplete or corrupted photo files.
In some cases, you may experience a delay or a longer import time if you have a slower internet connection or if there are other processes running on your Mac that are consuming system resources. If your import takes longer than expected, it’s recommended to ensure that your Mac is connected to a stable internet connection and that no other resource-intensive activities are running in the background.
It’s also worth noting that if you have selected a large number of photos for import, it’s possible to pause or cancel the process if needed. At any time during the import, you can click on the “X” icon or the “Stop Import” button within the Photos app to halt the transfer.
Once the import process is complete, you will receive a notification or see a confirmation message indicating that the selected photos have been successfully imported to the chosen destination folder on your Mac. At this point, you can safely disconnect your iPhone from your Mac and access your newly imported photos from the specified folder.
Remember to double-check the imported photos and their organization in the chosen destination folder. This will ensure that all your desired photos were transferred correctly and that they are properly organized for easy access and management in the future.
Step 7: Verify the photos on your Mac
After successfully importing the selected photos from your iPhone to your Mac, it is important to verify that the transfer was completed accurately. This step allows you to ensure the integrity of your photos and confirms that they are now accessible on your Mac.
Navigate to the destination folder you selected during the import process. This is where your imported photos should be located. You can access the folder through the Finder application on your Mac or by using the Photos app.
In the Finder, open the folder containing the imported photos. Browse through the folder to confirm that all the photos you selected for import are present. Take a closer look at each photo to ensure that the content matches your expectations and that there are no issues with image quality or corruption.
If you have imported the photos into the Photos app, open the app and locate the imported photos within your library. Click on the “Photos” tab to view the entire collection of photos, including the ones you just imported. Scroll through the library to find the imported photos and click on them to verify their content and quality.
While verifying the photos, pay attention to any specific details, such as timestamps, locations, or any edits or modifications you made to the original images. This will help you confirm that the imported photos matched your intended selection and that there were no discrepancies or issues during the transfer process.
In some cases, you may encounter missing or corrupted photos. If this happens, double-check the destination folder or the Photos app to ensure that the imported photos are not located elsewhere. If you cannot locate the missing photos, it may be necessary to repeat the import process or transfer the photos from your iPhone again to rectify the issue.
It is essential to back up your imported photos regularly to avoid any potential data loss. Consider creating a backup of your photos on an external storage device or using cloud storage services to maintain a secure and reliable copy of your precious memories.
Once you have thoroughly verified the imported photos and confirmed their accuracy and accessibility, you can be assured that your pictures have been successfully transferred from your iPhone to your Mac.
Step 8: Safely disconnect your iPhone from your Mac
After completing the process of downloading and verifying the photos from your iPhone to your Mac, it is important to safely disconnect your iPhone from your computer. Following the proper steps ensures that there is no data loss or damage to your device.
To safely disconnect your iPhone, first, make sure that the import process is completed, and all photos are successfully transferred and verified on your Mac. You should also ensure that any syncing or data transfer processes have finished before proceeding.
Next, locate the USB cable connected to your iPhone and Mac. Carefully remove the cable by gently pulling it out from both ends. Be sure to grasp the cable by the connectors rather than pulling on the cable itself to avoid fraying or damage.
Once the cable is disconnected, you should see a notification or an indicator on your iPhone’s screen acknowledging the disconnection. This notification may also indicate that your device is no longer charging or connected to a computer.
Before disconnecting, it’s a good practice to double-check that all syncing or transfer processes related to your iPhone are completed and closed on your Mac. This helps ensure that there are no ongoing or pending actions that may cause data loss or corruption.
Finally, you can safely put away the USB cable or use it for other purposes. Store it in a safe place to protect it from damage and keep it readily accessible for future use.
It’s worth noting that regularly connecting and disconnecting your iPhone from your Mac can help preserve the battery life of your device. By disconnecting when the transfer or syncing process is complete, you can avoid unnecessary drain on your iPhone’s battery.
By following these steps to safely disconnect your iPhone from your Mac, you can ensure the longevity and integrity of your device and continue to enjoy the convenience of transferring photos and data between your iPhone and computer.
Conclusion
Downloading pictures from your iPhone to your Mac is a simple and effective way to transfer and organize your cherished photos. The step-by-step process outlined in this guide allows you to seamlessly import your selected photos from your iPhone to your Mac, ensuring their safety and accessibility for years to come.
By connecting your iPhone to your Mac using a Lightning to USB cable, opening the Photos app on your iPhone, and selecting the photos you want to download, you have the ability to choose and organize your photo library with ease. Importing the selected photos to your Mac and choosing the destination folder allows for efficient file organization and easy retrieval.
Throughout the process, it’s important to ensure a stable connection, have sufficient storage space on your Mac, and patiently wait for the import process to complete. Verifying the imported photos on your Mac helps confirm the successful transfer and assures the accuracy and quality of your images.
Remember to safely disconnect your iPhone from your Mac by removing the USB cable and following proper procedures. This helps prevent data loss or damage to your device, ensuring a seamless and reliable experience each time you transfer photos.
Whether you are backing up your photos for storage, creating albums for easy access, or simply freeing up space on your iPhone, downloading pictures from your iPhone to your Mac is an essential skill for any photographer or avid iPhone user. With the information provided in this guide, you are now equipped with the knowledge to effortlessly transfer your precious memories and optimize your photo management workflow.
So, grab your Lightning to USB cable, open the Photos app, and start downloading those captivating images from your iPhone to your Mac. Your photo library awaits, and your memories are ready to be preserved and enjoyed on your computer.