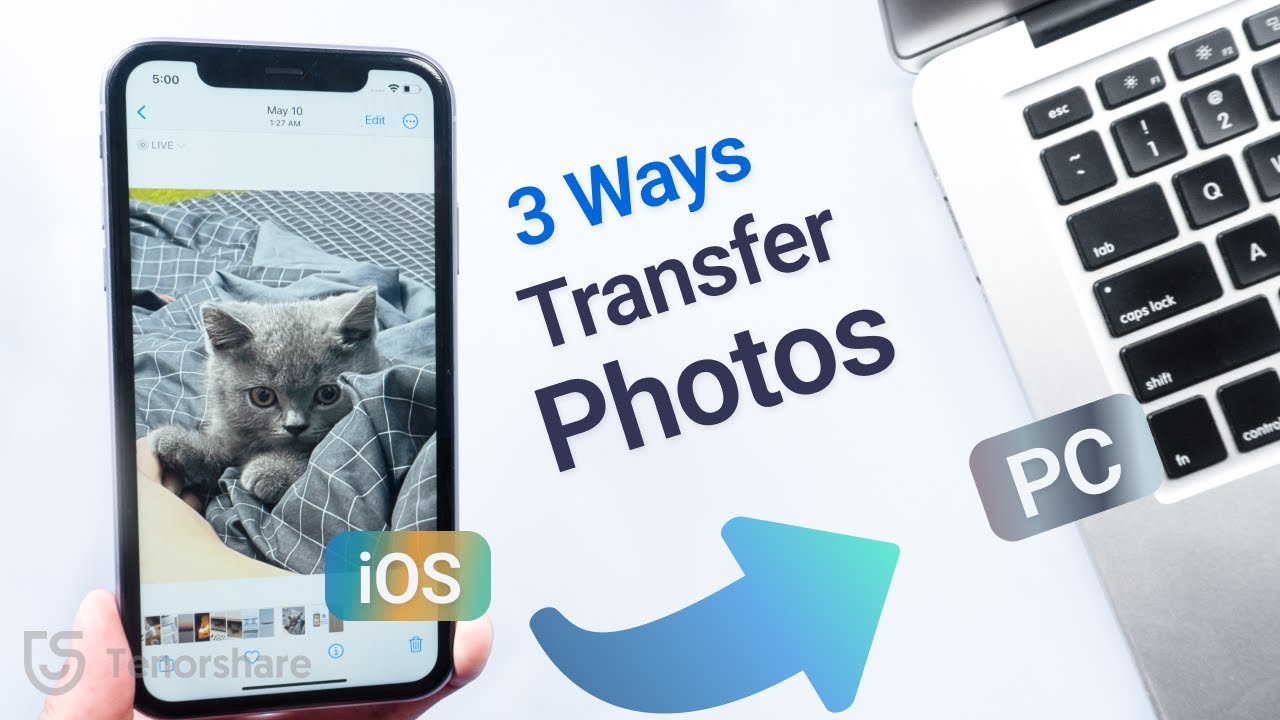
Introduction
Do you have a collection of precious photos on your iPhone 6 that you want to transfer to your Windows 7 computer? Look no further, as we are here to help you with a step-by-step guide on how to download photos from your iPhone 6 to your Windows 7 computer.
With the advancements in technology, capturing memories has become easier than ever. However, the challenge lies in transferring those memories from one device to another. iPhones, known for their exceptional camera quality, often house countless photos that nobody wants to lose. So, it’s essential to learn how to transfer them safely to your computer.
Windows 7, although an older operating system, is still widely used by many computer users. If you’re using this OS and want to know the best way to download photos from your iPhone 6, keep reading! We’ll guide you through the entire process, ensuring a seamless and hassle-free transfer.
Whether you want to create backups of your photos, organize them into albums, or simply free up iPhone storage space, transferring photos to your Windows 7 computer is the ideal solution. You’ll have easy access to your photos, and you can also edit and share them effortlessly.
Before we dive into the steps, it’s important to note that you’ll need a charging cable that can connect your iPhone 6 to your Windows 7 computer. Make sure to have it on hand before proceeding.
Now, let’s get started with the step-by-step process of downloading photos from your iPhone 6 to your Windows 7 computer!
Step 1: Connect your iPhone to your Windows 7 computer
The first step in downloading photos from your iPhone 6 to your Windows 7 computer is to establish a physical connection between the two devices. To do this, follow the steps below:
- Locate the charging cable that came with your iPhone 6.
- Connect one end of the charging cable to the charging port on your iPhone 6.
- Connect the other end of the charging cable to an available USB port on your Windows 7 computer.
Once the iPhone is connected to the computer, you should hear a notification sound indicating that the device has been recognized. Your iPhone’s screen may also display a prompt asking for your permission to allow the computer to access your photos. Tap “Allow” to proceed with the transfer.
If your computer doesn’t recognize the iPhone or if you encounter any issues during the connection process, try the following troubleshooting tips:
- Ensure that the USB cable is securely connected to both the iPhone and the computer.
- Try using a different USB port on your computer.
- Restart your iPhone and your computer to refresh the connection.
- If you’re using a Windows 7 computer, make sure it has the latest iTunes version installed. You can download iTunes from the Apple website.
Once you have successfully established a connection between your iPhone 6 and your Windows 7 computer, you’re ready to move on to the next step of the process. In the following step, we’ll explore how to open the Photos app on your iPhone 6 to prepare for the photo download.
Step 2: Open the Photos app on your iPhone
Now that your iPhone 6 is connected to your Windows 7 computer, it’s time to open the Photos app on your iPhone. The Photos app is the default app for managing and accessing your photo library on iOS.
To open the Photos app, follow these simple steps:
- Unlock your iPhone 6 by entering your passcode or using Touch ID (if enabled).
- Locate the Photos app icon on your iPhone’s home screen.
- Tap on the Photos app icon to launch the application.
Once you’ve opened the Photos app, you’ll be presented with various options and views to explore your photo library. The default view is typically the “Photos” tab, which displays all your captured photos in chronological order.
If you have organized your photos into albums or created specific folders, you can navigate to the “Albums” tab to access these collections. This can be helpful if you only want to download specific photos or albums to your Windows 7 computer.
Take your time to explore the Photos app and familiarize yourself with the different features and options available. It’s essential to have a clear understanding of your photo library’s organization to make the photo selection process in the next step easier.
Now that you have successfully opened the Photos app on your iPhone, it’s time to move on to the next step: choosing the photos you want to download to your Windows 7 computer.
Step 3: Choose the photos you want to download
With the Photos app open on your iPhone, you can now select the specific photos you want to download to your Windows 7 computer. The process is straightforward and allows you to choose multiple photos at once.
To select photos, follow these steps:
- Navigate to the “Photos” or “Albums” tab in the Photos app, depending on how your photos are organized.
- Browse through your photo library and tap on the first photo you want to download.
- To select multiple photos, swipe left or right and tap on each photo you want to include in the selection. A checkmark will appear on the selected photos.
- If you want to select all the photos in a particular album, tap on the “Select” option in the top-right corner and then tap “Select All”.
It’s important to note that you don’t have to select all of your photos at once. You can choose to download them in batches or select only a few photos at a time.
Additionally, you may want to organize your photos into albums on your iPhone before initiating the selection process. This can help you easily locate specific photos or groups of photos for downloading to your Windows 7 computer.
Once you have finished selecting the photos you want to download, proceed to the next step to transfer the selected photos from your iPhone to your Windows 7 computer.
Step 4: Transfer the selected photos to your Windows 7 computer
Now that you have chosen the photos you want to download from your iPhone, it’s time to transfer them to your Windows 7 computer. There are a few different methods you can use to accomplish this, and we’ll cover two of the most commonly used methods: using File Explorer and using the Photos app.
Method 1: Using File Explorer
- Make sure your iPhone is still connected to your Windows 7 computer via the USB cable.
- On your Windows 7 computer, open File Explorer by clicking on the folder icon in the taskbar or by pressing the Windows key + E.
- In the left sidebar of File Explorer, locate and click on “This PC” or “Computer”.
- Under “Devices and drives”, you should see your iPhone listed. Double-click on it to open it.
- You will see a folder named “DCIM” (which stands for Digital Camera Images). Double-click on this folder.
- You should now see folders with names like “100APPLE” or “101APPLE”. These are the folders where your photos are stored. Double-click on the folder that contains the photos you selected.
- Now, you can simply copy and paste the selected photos from your iPhone folder to a desired location on your Windows 7 computer, such as your Pictures folder.
Method 2: Using the Photos app
- Make sure your iPhone is still connected to your Windows 7 computer via the USB cable.
- On your Windows 7 computer, click on the Start button and open the Photos app.
- In the Photos app, click on the “Import” button located on the top-right corner.
- The Photos app will automatically detect your connected iPhone and display a list of the selected photos. You can choose to either Import All or select specific photos by clicking on each photo.
- Once you have made your selection, click on the “Continue” button to initiate the transfer process.
- Follow the on-screen prompts to choose a destination folder on your Windows 7 computer and complete the transfer.
These two methods provide you with different options for transferring your selected photos from your iPhone to your Windows 7 computer. Choose the one that suits your preferences and needs best.
After the transfer is complete, you can proceed to the final step to access and manage the downloaded photos on your Windows 7 computer.
Step 5: Access the downloaded photos on your Windows 7 computer
Now that you have successfully transferred the selected photos from your iPhone to your Windows 7 computer, it’s time to access and manage them. Here are the steps to help you access your downloaded photos:
- Open File Explorer on your Windows 7 computer by clicking on the folder icon in the taskbar or by pressing the Windows key + E.
- In the left sidebar of File Explorer, navigate to the folder where you copied or imported the photos from your iPhone. This could be your Pictures folder or any other location you chose during the transfer process.
- Double-click on the folder to open it and view the downloaded photos.
- If you copied the photos directly from your iPhone using File Explorer, you will see the photos in their original format. If you imported the photos using the Photos app, they will be organized by date and displayed in the Photos app interface.
Once you have accessed the downloaded photos, you can perform various actions on them, such as organizing them into folders, editing them using photo editing software, or sharing them with others.
If you want to further organize your photos, you can create new folders within the folder where you stored the transferred photos. To create a new folder, right-click on the empty space within the folder, select “New”, and then choose “Folder”. Give the folder a descriptive name and start organizing your photos accordingly. This will help you keep your photos organized and easily accessible in the future.
Furthermore, you can open the downloaded photos using any image-viewing software, such as the default Windows Photo Viewer or third-party applications like Adobe Photoshop or IrfanView. These programs allow you to view and edit your photos, apply filters, and enhance your images with various settings and features.
Lastly, don’t forget to back up your downloaded photos regularly to ensure their safety. Consider using an external hard drive, cloud storage services, or online backup solutions to keep your photos secure and accessible even in the event of a computer malfunction.
Congratulations! You have successfully downloaded and accessed your iPhone photos on your Windows 7 computer. Now you can enjoy managing, editing, and preserving your precious memories with ease.
Conclusion
Transferring photos from your iPhone 6 to your Windows 7 computer may seem like a daunting task, but it’s actually quite simple once you know the steps. By following the step-by-step guide we provided, you can easily download and access your precious photos on your Windows 7 computer.
Remember to connect your iPhone to your computer using the charging cable and navigate to the Photos app on your iPhone. From there, you can choose the photos you want to download and transfer them to your Windows 7 computer using either File Explorer or the Photos app.
Once the transfer is complete, you can access and manage your downloaded photos on your computer. Whether you want to organize them into folders, edit them with photo editing software, or back them up for safekeeping, the choice is yours.
By transferring photos from your iPhone to your computer, you not only free up storage space on your device but also gain more control over your photo library. You can easily organize and customize your photos, making them readily available for future use and sharing.
We hope this guide has been helpful in assisting you with downloading photos from your iPhone 6 to your Windows 7 computer. Remember to regularly back up your photos to avoid any potential data loss. Enjoy accessing, managing, and preserving your precious memories on your Windows 7 computer!