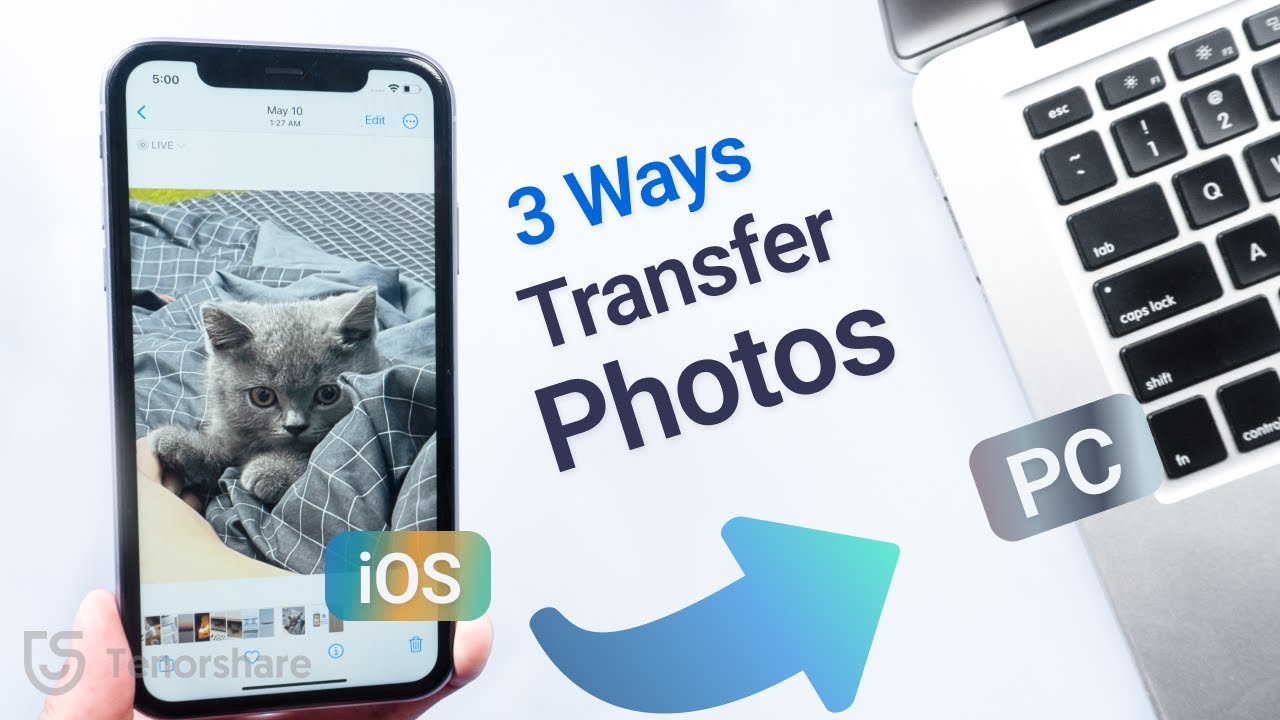
Introduction
Downloading photos from your computer to your iPhone can be a convenient way to access and enjoy your favorite memories on the go. Whether you want to transfer vacation photos, family portraits, or screenshots from your computer to your iPhone, the process is relatively straightforward. In this article, we will guide you through the step-by-step process to help you seamlessly download photos from your computer to your iPhone.
With the advancement of technology, smartphones have become an integral part of our daily lives, acting as our personal assistants, entertainment centers, and communication hubs. iPhones, in particular, have gained immense popularity for their powerful features and user-friendly interface. However, sometimes we may find ourselves needing to transfer photos from our computers to our iPhones, whether it’s for storing backups, sharing them with friends and family, or simply having quick access to our favorite images.
While there are various methods to transfer photos from computer to iPhone, one of the most commonly used methods is through iTunes. iTunes is a multimedia management software developed by Apple that allows users to manage their iPhone’s content, including photos, music, videos, and more. By following a few simple steps, you can easily transfer your photos from your computer to your iPhone using iTunes.
In the following sections, we will walk you through the step-by-step process of connecting your iPhone to your computer, opening iTunes, selecting your iPhone, navigating to the “Photos” tab, choosing the photos to download, applying the changes, and disconnecting your iPhone from the computer. Rest assured, by the end of this article, you will have a clear understanding of how to download photos from your computer to your iPhone, allowing you to cherish your precious moments wherever you go.
Step 1: Connect your iPhone to your computer
The first step in downloading photos from your computer to your iPhone is to establish a physical connection between the two devices. To do this, you will need a compatible USB cable that came with your iPhone or a Lightning to USB cable.
Start by locating the USB port on your computer and plug one end of the USB cable into the computer’s USB port. Next, take the other end of the USB cable, which is a Lightning connector, and connect it to the charging port of your iPhone.
Once the cable is securely connected, you should see a notification on your iPhone asking whether you trust this computer. Tap on “Trust” to authorize the connection between your iPhone and the computer.
If this is the first time you are connecting your iPhone to the computer, you may need to enter your device passcode for added security.
After successfully establishing the connection, your iPhone will appear as a device on your computer.
It is important to note that for a successful connection, both your iPhone and computer should be turned on and awake. Also, make sure you are using a reliable USB cable and try connecting to a different USB port on your computer if the connection is not recognized.
Now that your iPhone is connected to your computer, let’s move on to the next step of the process.
Step 2: Open iTunes
With your iPhone successfully connected to your computer, it’s time to open iTunes, the multimedia management software developed by Apple. iTunes allows you to manage various aspects of your iPhone, including photos, music, videos, and more.
If you’re using a Mac, you can find iTunes in your Applications folder. On a Windows PC, you can typically find iTunes in the Start menu or by searching for it in the search bar.
Once you locate and open iTunes, you will be presented with a user-friendly interface that showcases various options and tabs.
Take a moment to familiarize yourself with the different features and navigation options in iTunes. The interface may vary slightly depending on the version of iTunes you are using, but the general layout and functionality should remain consistent.
In the upcoming steps, we will be using iTunes to manage and transfer photos from your computer to your iPhone, so keep iTunes open and ready for the subsequent steps.
If you do not have iTunes installed on your computer, you can download the latest version from the Apple website, ensuring compatibility with your operating system.
Now that iTunes is open and ready, let’s proceed to the next step of the process.
Step 3: Select your iPhone
After opening iTunes, the next step is to select your iPhone within the software. This will allow you to access and manage your iPhone’s content, including the ability to transfer photos from your computer to your device.
Within the iTunes interface, you will find a toolbar at the top of the window. Look for the device icon that represents your iPhone. It should be located towards the top left of the iTunes window, next to the category drop-down menu.
Click on the device icon to select your iPhone. Once selected, you will see a summary page displaying various details about your iPhone, such as its model, serial number, and storage capacity.
By selecting your iPhone, you are essentially telling iTunes that you want to manage and modify the content on your device, including photos.
If you have multiple devices connected to your computer, make sure to choose the correct iPhone from the list of connected devices in iTunes. Double-check the device name and model to ensure you’re selecting the right device.
If for any reason you cannot see your iPhone listed in iTunes, disconnect it from your computer, reconnect it, and wait for iTunes to detect and display your device.
Now that your iPhone is selected within iTunes, you’re ready to move on to the next step, where we’ll specifically focus on transferring photos from your computer to your device.
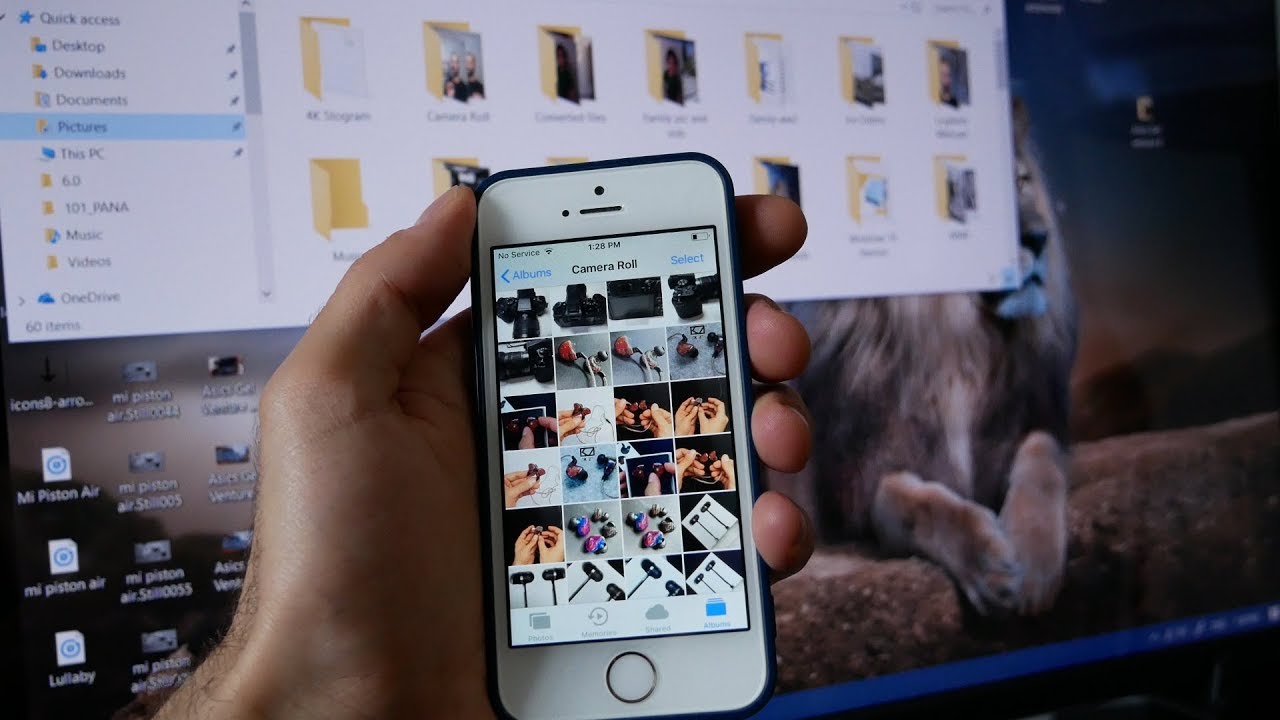
Step 4: Go to the “Photos” tab
Once you have selected your iPhone within iTunes, it’s time to navigate to the “Photos” tab. This tab allows you to manage and transfer photos between your computer and your iPhone.
Within the iTunes interface, you will find a series of tabs along the top of the window, such as Summary, Music, Movies, TV Shows, Photos, and more. Click on the “Photos” tab to access the photo management options.
After clicking on the “Photos” tab, you will see a variety of settings and options for managing your iPhone’s photo library. These options include syncing photos from specific folders on your computer, selecting photo albums to sync, and even converting photos to a compatible format for optimal viewing on your iPhone.
Take a moment to explore the different options and settings available within the “Photos” tab.
Please note that if you are using a more recent version of macOS, you may not see the “Photos” tab in iTunes. In this case, you can use the Photos app on your Mac to sync photos to your iPhone.
If you do not want to sync all your photos, you can create a specific folder on your computer and select it under the “Sync Photos” option in iTunes. This allows you to have more control over which photos are transferred to your iPhone.
Now that you have successfully accessed the “Photos” tab, it’s time to move on to the next step and choose the specific photos you want to download to your iPhone.
Step 5: Choose the photos you want to download
Once you have reached the “Photos” tab in iTunes, you can now select the specific photos that you want to download and transfer from your computer to your iPhone.
Under the “Photos” tab, you will find different options to manage and sync your photos. One of the options is to sync photos from specific folders on your computer to your iPhone. You can choose to sync entire folders or specific photo albums depending on your preferences.
To select specific photos, you can create a folder on your computer and move the desired photos into that folder. Then, in the “Photos” tab, select the option to sync photos from that specific folder.
If you prefer to sync entire folders, you can select the option to sync the entire folder containing your desired photos. Keep in mind that this will transfer all the photos within that folder to your iPhone.
Alternatively, if you are using a Mac, you can also use the Photos app to create albums or select specific photos to sync to your iPhone.
Whether you choose to sync specific photos or entire folders, ensure that you have ample storage space available on your iPhone to accommodate the photos you wish to transfer.
Remember to review the selected photos before proceeding to the next step. Double-check that you have chosen the correct photos and folders to avoid any confusion during the syncing process.
Once you have chosen the photos you want to download, it’s time to apply the changes and initiate the syncing process.
Step 6: Click on “Apply” or “Sync”
After selecting the photos you want to download to your iPhone, it’s time to apply the changes and initiate the syncing process. Depending on the version of iTunes you are using, you may see either an “Apply” button or a “Sync” button.
If you see an “Apply” button, click on it to apply the changes you made to the photo syncing settings. This tells iTunes to update your iPhone with the selected photos.
On the other hand, if you see a “Sync” button, click on it to initiate the synchronization process. This will synchronize the selected photos from your computer to your iPhone.
During the syncing process, iTunes will analyze the selected photos and copy them to your iPhone’s photo library. The time it takes to complete the sync will depend on the number and size of the photos you are transferring, so be patient and let the process run its course.
It’s important not to disconnect your iPhone or interrupt the syncing process while it’s in progress, as this could result in incomplete transfers or data loss. Wait until iTunes confirms that the sync is complete before moving on to the next step.
If you encounter any issues or errors during the syncing process, double-check your iTunes settings and ensure that your iPhone is properly connected to your computer. You can also consult Apple Support or relevant forums for troubleshooting assistance.
Now that the syncing process is underway, let’s move on to the next step and wait for the photos to download to your iPhone.
Step 7: Wait for the photos to download
After clicking on the “Apply” or “Sync” button in iTunes, you need to be patient and allow the software to download the selected photos to your iPhone. The time it takes for the photos to download will vary depending on the size and number of photos being transferred.
While the download is in progress, it is crucial not to disconnect your iPhone from the computer or interrupt the process. Doing so could result in incomplete transfers or data loss.
During the download, you can monitor the progress by looking at the progress bar or indicator within iTunes. It will display the number of photos being synced and the estimated time remaining.
You might also notice a small sync icon on your iPhone’s screen, indicating that the photos are being transferred to your device.
If you have a large number of photos to download or if your internet connection is slow, it might take some time for all the photos to be transferred. In such cases, it is best to remain patient and allow the process to complete.
It’s worth noting that if you’re transferring a significant number of photos or if the file sizes are large, it’s advisable to connect your iPhone to a power source to ensure that it doesn’t drain the battery during the download process.
Once the download is complete, you will receive a notification or confirmation message in iTunes that the photos have been successfully transferred to your iPhone.
Now that you have patiently waited for the photos to download, it’s time to move on to the final step of disconnecting your iPhone from the computer.
Step 8: Disconnect your iPhone from the computer
After the photos have finished downloading to your iPhone, it’s time to safely disconnect your device from the computer. Follow these steps to ensure a proper disconnection:
- First, ensure that the syncing process in iTunes is complete and that all the photos have been successfully transferred to your iPhone.
- In iTunes, go to the top toolbar and click on the “Eject” icon next to your iPhone’s name. This will safely eject your device from iTunes.
- Once you have ejected your iPhone from iTunes, you can close the software by clicking on the “X” button in the top left corner of the iTunes window.
- Next, on your iPhone, swipe up from the bottom of the screen (or from the top-right on iPhone X or later models) to access the Control Center.
- Tap on the “Disconnect” button or the Wi-Fi icon with a vertical line to disable the connection between your iPhone and your computer. This will effectively disconnect your device from the computer.
- Finally, unplug the USB cable from your computer’s USB port and gently remove the other end from your iPhone’s charging port.
With these steps, you have safely disconnected your iPhone from the computer. Your downloaded photos are now accessible on your iPhone for you to enjoy, share, or organize as you wish.
Remember to store your USB cable in a safe place for future use and consider keeping backups of your important photos on both your computer and an external storage device to ensure their safety.
Congratulations! You have successfully downloaded photos from your computer to your iPhone. Now you can relish the convenience of having your favorite memories at your fingertips wherever you go.
Conclusion
Transferring photos from your computer to your iPhone can greatly enhance your ability to access and enjoy your cherished memories on the go. With the help of iTunes, the multimedia management software developed by Apple, the process becomes seamless and straightforward.
In this article, we have provided you with a step-by-step guide on how to download photos from your computer to your iPhone. We covered the process of connecting your iPhone to your computer, opening iTunes, selecting your iPhone, navigating to the “Photos” tab, choosing the photos you want to download, clicking on “Apply” or “Sync”, waiting for the photos to download, and disconnecting your iPhone from the computer.
By following these steps, you can easily transfer your favorite photos to your iPhone, allowing you to carry your memories with you wherever you go. Remember to take caution when disconnecting your device and ensure that the syncing process is complete before doing so.
Additionally, it’s always a good idea to back up your photos regularly to ensure their safety and to free up space on your device. Consider organizing your photos into albums on your iPhone for easier access and management.
Now that you have mastered the art of downloading photos from your computer to your iPhone, you can enjoy reliving your precious moments, sharing them with loved ones, or simply having quick access to your favorite images at any time.
So go ahead, get started, and let your iPhone become a repository of your cherished memories!