Introduction
Welcome to our guide on how to download iPhone photos to a flash drive. If you’re running out of storage space on your iPhone or simply want to backup your precious memories, transferring photos to a flash drive is a great solution. There are several methods you can use to accomplish this, depending on your preferences and the tools available to you. In this article, we’ll explore four different options to help you easily transfer your iPhone photos to a flash drive.
With the continuous improvement of iPhone cameras, it’s no surprise that we often find ourselves with hundreds or even thousands of photos taking up valuable space on our devices. Additionally, if your iPhone is synced to iCloud, you may have limited local storage space available. By transferring your photos to a flash drive, you can free up space on your iPhone and have a secure backup all in one.
Whether you want to transfer all your photos at once or select specific ones, there’s a method that will suit your needs. In the following sections, we’ll walk you through each option, providing step-by-step instructions so you can easily follow along. You don’t need to be a tech wizard – these methods are user-friendly and accessible to everyone.
Before we dive into the various methods, please make sure you have a compatible flash drive and a computer. Different methods may require different tools, so be sure to check the requirements before getting started. It’s also a good idea to back up your iPhone before transferring photos, just in case anything goes wrong.
Now that we’ve covered the basics, let’s explore the different options available for downloading your iPhone photos to a flash drive. Whether you prefer using built-in apps or third-party solutions, we’ve got you covered. Let’s jump right in!
Option 1: Using the Files App
If you’re running iOS 11 or later, your iPhone comes with a built-in app called Files, which allows you to manage and organize your files, including your photos. This app provides a seamless way to transfer your iPhone photos to a flash drive.
To get started, connect your flash drive to your computer and ensure it is formatted in a compatible file system (such as FAT32 or exFAT) that both your iPhone and computer can read.
Here’s how you can transfer your iPhone photos to a flash drive using the Files app:
- On your iPhone, open the Files app. If you can’t find it on your home screen, swipe down and search for “Files”.
- Navigate to the location where your photos are stored. This could be in the “On My iPhone” folder or synced cloud storage folders like iCloud Drive or Google Drive.
- Select the photos you want to transfer by tapping on them. You can select multiple photos by tapping and dragging your finger or by tapping the “Select” button and choosing the desired photos.
- Tap on the “Share” button, usually represented by a square with an arrow pointing upward.
- From the Share menu, scroll down and select “Save to Files”.
- In the Save to Files screen, select your flash drive from the available locations.
- Choose the desired folder or create a new folder on your flash drive to save the photos.
- Tap “Add” to start the transfer process. This may take some time depending on the size of your photos.
- Once the transfer is complete, you can safely disconnect your flash drive from your iPhone and view your photos on any computer or device that supports the file format.
Using the Files app is a convenient method to transfer your iPhone photos to a flash drive directly from your device. However, keep in mind that this method might have limitations, such as the need for sufficient storage space on your iPhone and the ability to only transfer photos that are stored on your device.
Option 2: Using the Photos App
If you prefer a more straightforward method and have your photos stored in the native Photos app on your iPhone, you can easily transfer them to a flash drive using your computer.
Here’s how you can transfer your iPhone photos to a flash drive using the Photos app:
- Connect your iPhone to your computer using a USB cable.
- Unlock your iPhone and, if prompted, enter your passcode to allow access to your device.
- On your computer, open the Photos app (on Mac) or Windows Photos (on PC). These apps should automatically launch and detect your iPhone.
- In the Photos app, navigate to the “Import” or “Library” tab, making sure your iPhone is selected as the source device.
- Select the photos you want to transfer. You can click and drag to select multiple photos or use the “Shift” key to select a range of photos.
- Click on the “Import” button to transfer the selected photos to your computer.
- Once the import process is complete, disconnect your iPhone from your computer.
- Next, connect your flash drive to your computer.
- Navigate to the location where your imported photos are stored on your computer.
- Select the imported photos and copy them by right-clicking and choosing “Copy” or using the “Ctrl+C” shortcut.
- Open your flash drive and navigate to the desired folder where you want to save the photos.
- Right-click inside the folder and select “Paste” or use the “Ctrl+V” shortcut to paste the copied photos into the flash drive.
- Wait for the photos to finish copying to the flash drive.
- Once the transfer is complete, safely disconnect your flash drive from your computer.
Using the Photos app on your computer provides a simple method to transfer your iPhone photos to a flash drive while allowing you to organize and choose the specific photos you want to transfer. This method also gives you the added benefit of creating a backup of your photos on your computer.
Option 3: Using iCloud Drive
If you have iCloud turned on and your photos are being synced to your iCloud account, you can easily access and transfer them to a flash drive using iCloud Drive. This method allows you to access your photos from any device with an internet connection, making it a convenient option.
Here’s how you can transfer your iPhone photos to a flash drive using iCloud Drive:
- On your computer, open a web browser and visit iCloud.com.
- Sign in to your iCloud account using your Apple ID and password.
- Click on the “Photos” app icon.
- Browse and select the photos you want to download to your computer.
- Click on the download icon (a cloud with an arrow pointing downward) to save the selected photos to your computer.
- Once the photos are downloaded to your computer, connect your flash drive to your computer.
- Navigate to the location where you saved the downloaded photos on your computer.
- Select the downloaded photos and copy them by right-clicking and choosing “Copy” or using the “Ctrl+C” shortcut.
- Open your flash drive and navigate to the desired folder where you want to save the photos.
- Right-click inside the folder and select “Paste” or use the “Ctrl+V” shortcut to paste the copied photos into the flash drive.
- Wait for the photos to finish copying to the flash drive.
- Once the transfer is complete, safely disconnect your flash drive from your computer.
Using iCloud Drive provides a seamless way to access and transfer your iPhone photos to a flash drive, allowing you to easily manage and download your photos from any device. Just remember that you may require an active internet connection and sufficient storage space on your computer to download your photos from iCloud Drive.
Option 4: Using Third-Party Apps
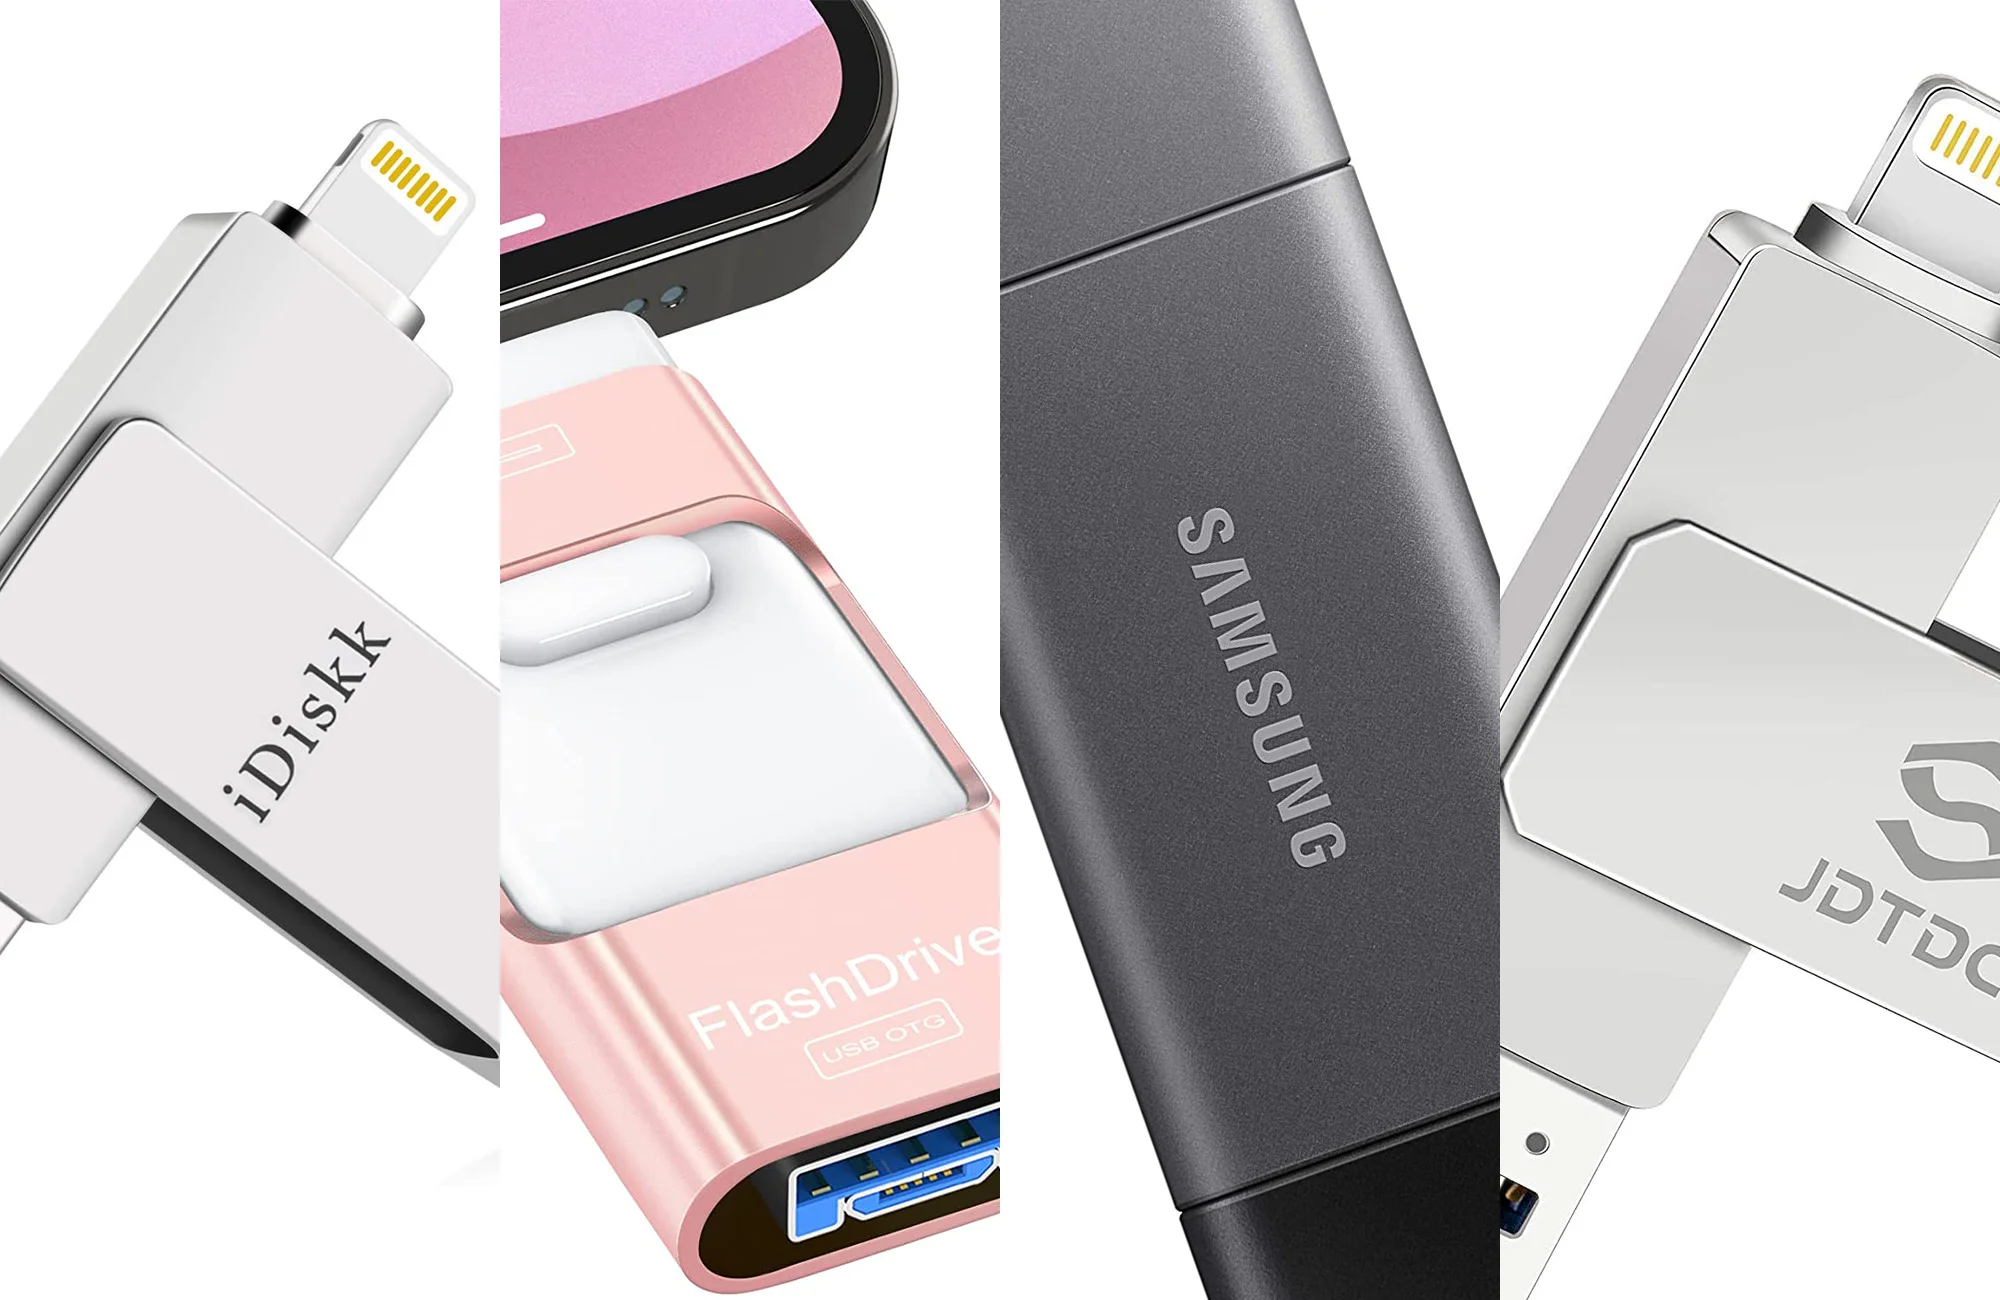
If you prefer to explore alternative options beyond the built-in Apple apps, there are several third-party apps available on the App Store that can help you transfer your iPhone photos to a flash drive. These apps provide additional features and flexibility, allowing you to customize your photo transfer process.
Here’s a general guide on how you can transfer iPhone photos to a flash drive using a third-party app:
- Launch the App Store on your iPhone and search for a third-party app that allows photo transfers to external storage.
- Choose and install an app that suits your needs. Some popular apps include File Manager, Documents by Readdle, and iFile.
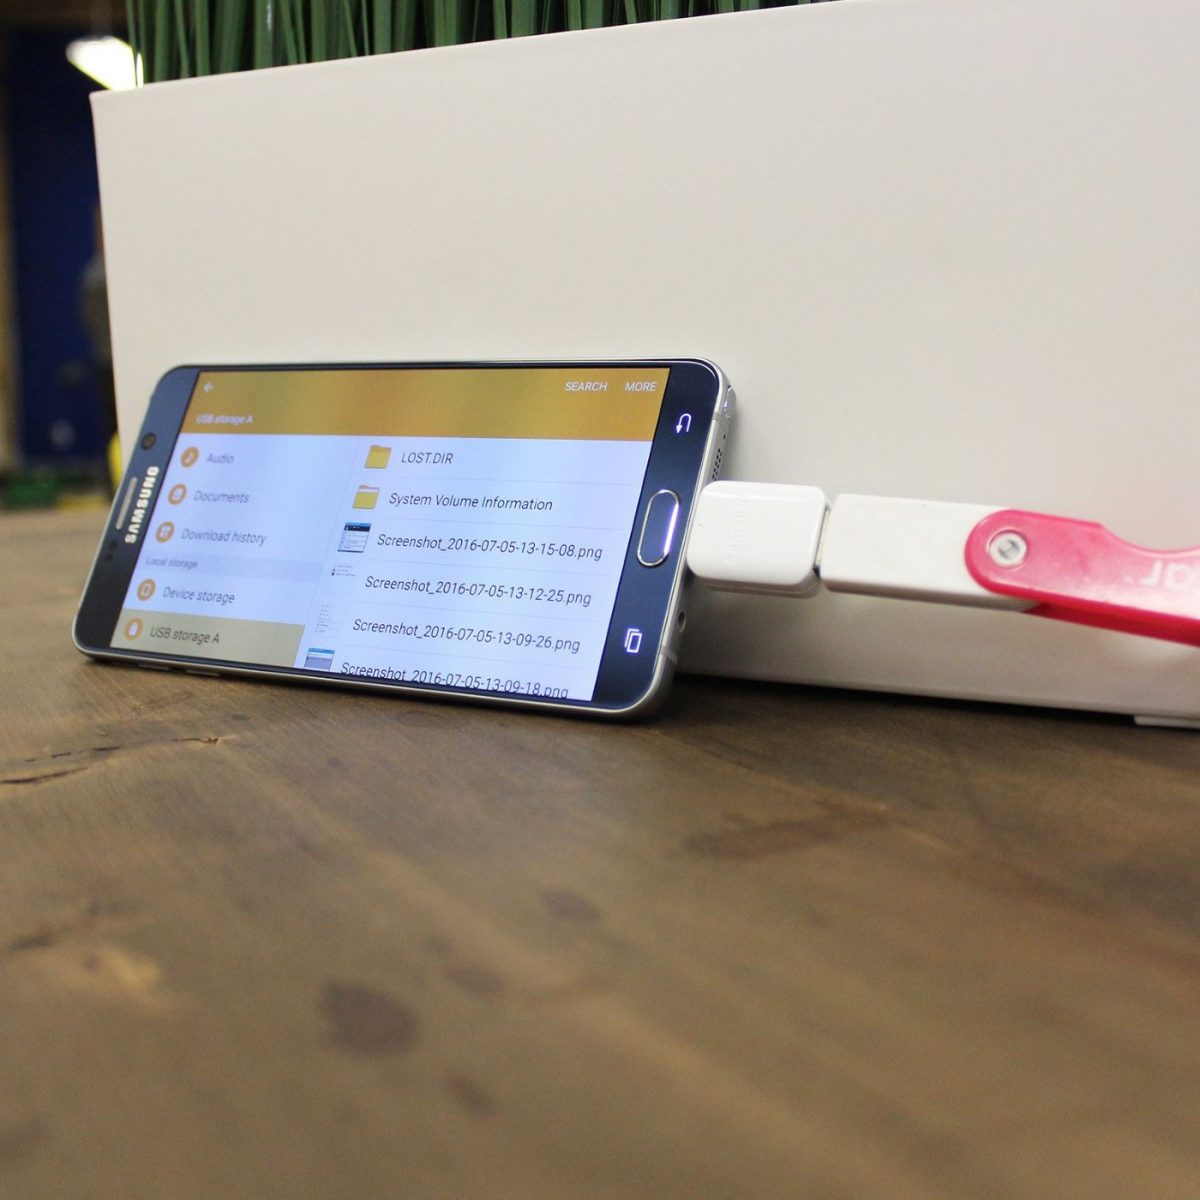
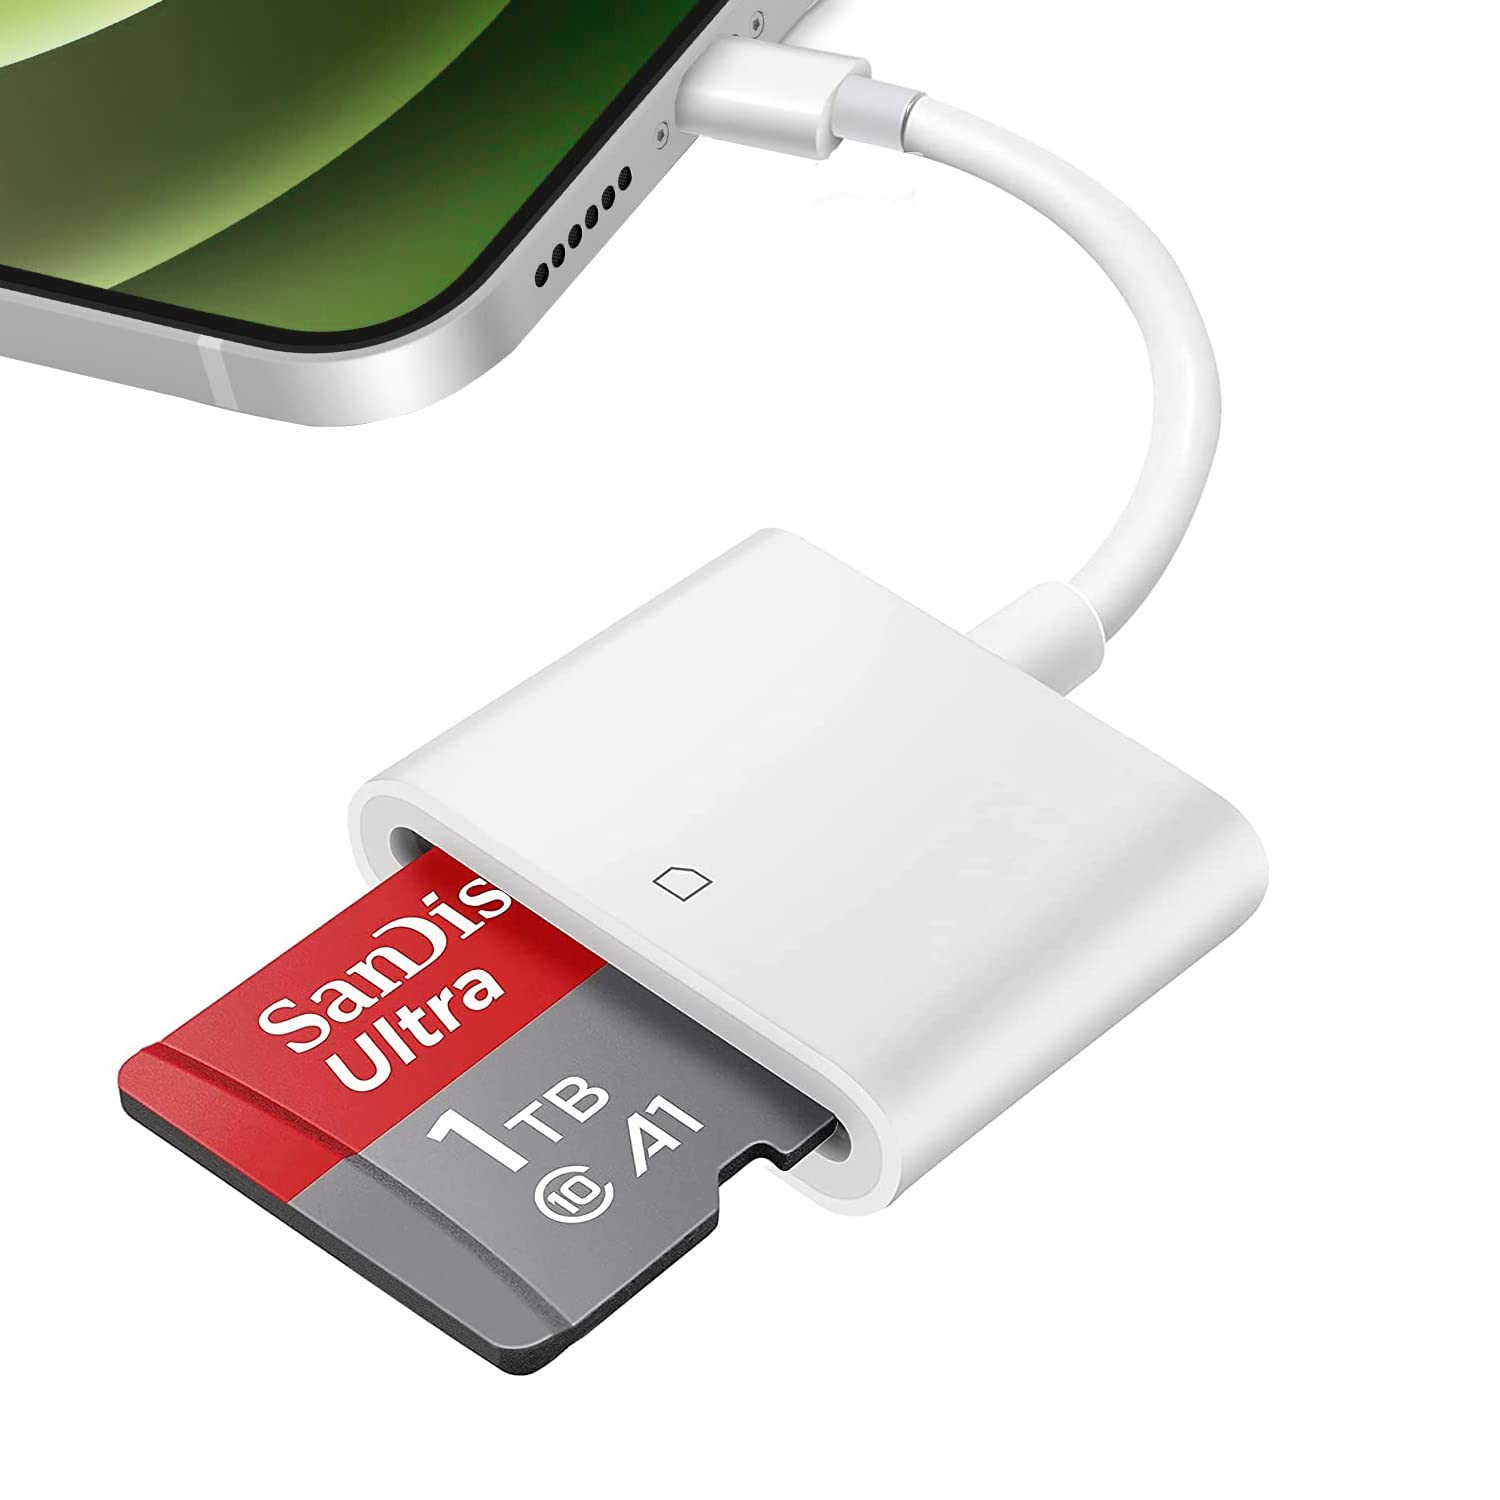
- Open the third-party app and follow the instructions to connect your flash drive to your iPhone. This may involve using an external accessory or a lightning to USB adapter.
- Navigate to the location where your photos are stored within the app.
- Select the photos you want to transfer to the flash drive.
- Look for an option to “Export” or “Save” the selected photos.
- Choose the flash drive as the destination for the photos.
- Follow the on-screen prompts to complete the transfer process. This may vary depending on the app you are using.
- Once the transfer is complete, safely disconnect your flash drive from your iPhone.
By utilizing third-party apps, you have the flexibility to choose an app that meets your specific requirements. These apps often offer additional features such as encryption, file management, and even the ability to transfer other types of files. Before choosing a third-party app, make sure to read reviews and ensure it is reputable and trustworthy.
Keep in mind that the exact steps and options may vary depending on the third-party app you choose. Make sure to follow the instructions provided by the app developer for the best results.
Whether you’re looking for advanced features or a more tailored experience, using third-party apps can provide you with more control and customization when transferring your iPhone photos to a flash drive.
Conclusion
Transferring your iPhone photos to a flash drive is a practical solution for storing and backing up your precious memories while freeing up space on your device. In this guide, we explored four different options for transferring photos to a flash drive: using the Files app, the Photos app, iCloud Drive, and third-party apps.
The Files app, available on iOS 11 and later, allows you to directly transfer photos from your iPhone to a flash drive. This method is convenient and user-friendly, providing a seamless way to manage and organize your files.
If you prefer to transfer photos using your computer, the Photos app offers a straightforward method. By importing your iPhone photos to your computer and then copying them to a flash drive, you can easily create a backup and free up space on your device.
For those who rely on iCloud to store their photos, using iCloud Drive is an efficient way to access and transfer your photos to a flash drive. Accessible from any device with an internet connection, this method allows you to manage your photos remotely.
If you’re looking for more flexibility and customization, third-party apps from the App Store can provide additional features and options. These apps often offer advanced file management capabilities and give you more control over the transfer process.
Remember to choose the method that best suits your preferences and requirements. Consider factors such as ease of use, available storage space, and the need for additional features when making your decision.
With the techniques and options outlined in this guide, you can now confidently transfer your iPhone photos to a flash drive and enjoy the benefits of extra storage and peace of mind knowing your memories are backed up securely. So, go ahead and give it a try!