Introduction
Welcome to our guide on how to download pictures from your iPhone to a USB drive. Whether you want to backup your precious memories, free up space on your device, or transfer images to another device, having a convenient method to offload your photos is essential. In this article, we will explore various options that allow you to easily transfer pictures from your iPhone to a USB drive.
With advancements in technology, the process of transferring photos has become increasingly straightforward. You no longer need to rely solely on your computer or cloud storage to store your images. Now, you can directly transfer photos from your iPhone to a USB drive, providing you with a portable and secure storage solution.
Throughout this guide, we will outline several methods that cater to different preferences and needs. From utilizing built-in apps to third-party tools, you can choose the method that suits you best. We will explore options such as using the Files app, leveraging iCloud Photos, utilizing the Photos app, and even incorporating third-party apps.
It is important to note that the methods outlined in this guide are applicable to iPhones running iOS 13 or later. If you are using an older version of iOS, some steps may vary.
Whether you are a novice or tech-savvy individual, our step-by-step instructions will ensure a seamless and hassle-free experience in transferring your photos to a USB drive. So, let’s dive in and explore the various options available to download pictures from your iPhone to a USB drive!
Option 1: Using the Files App
If you are running iOS 13 or later, your iPhone comes with a built-in app called “Files” that allows you to manage and organize your files. This app provides a straightforward method to transfer pictures from your iPhone to a USB drive.
Follow these steps to transfer your photos using the Files app:
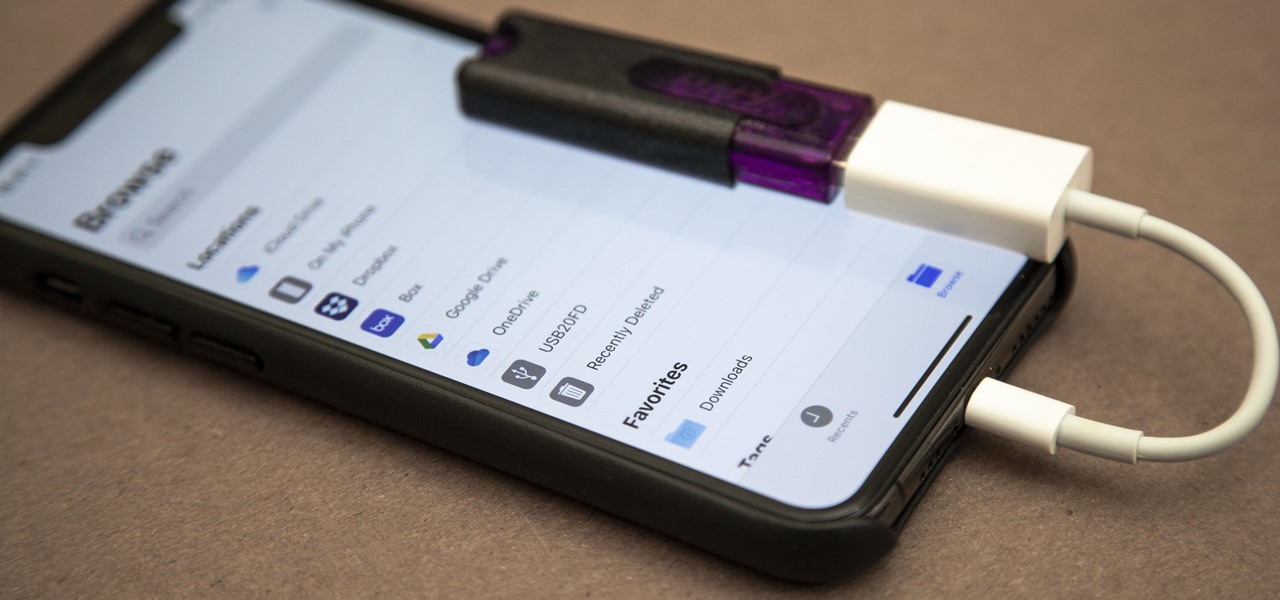
- Connect your USB drive to your iPhone using a Lightning to USB adapter, or if you have a newer iPhone with a USB-C port, use a USB-C to USB adapter.
- Launch the Files app on your iPhone. You can find it on your home screen or by swiping down and typing “Files” in the search bar.
- Navigate to the location on your iPhone where your photos are stored. This could be your Camera Roll or a specific photo album.
- Select the photos you want to transfer by tapping on them. You can select multiple photos by tapping and dragging to highlight a group or by individually tapping on each photo.
- Tap on the ellipsis (…) icon in the bottom-right corner.
- From the pop-up menu, select “Copy” to copy the selected photos.
- Go back to the main screen of the Files app and tap on “Browse” at the bottom.
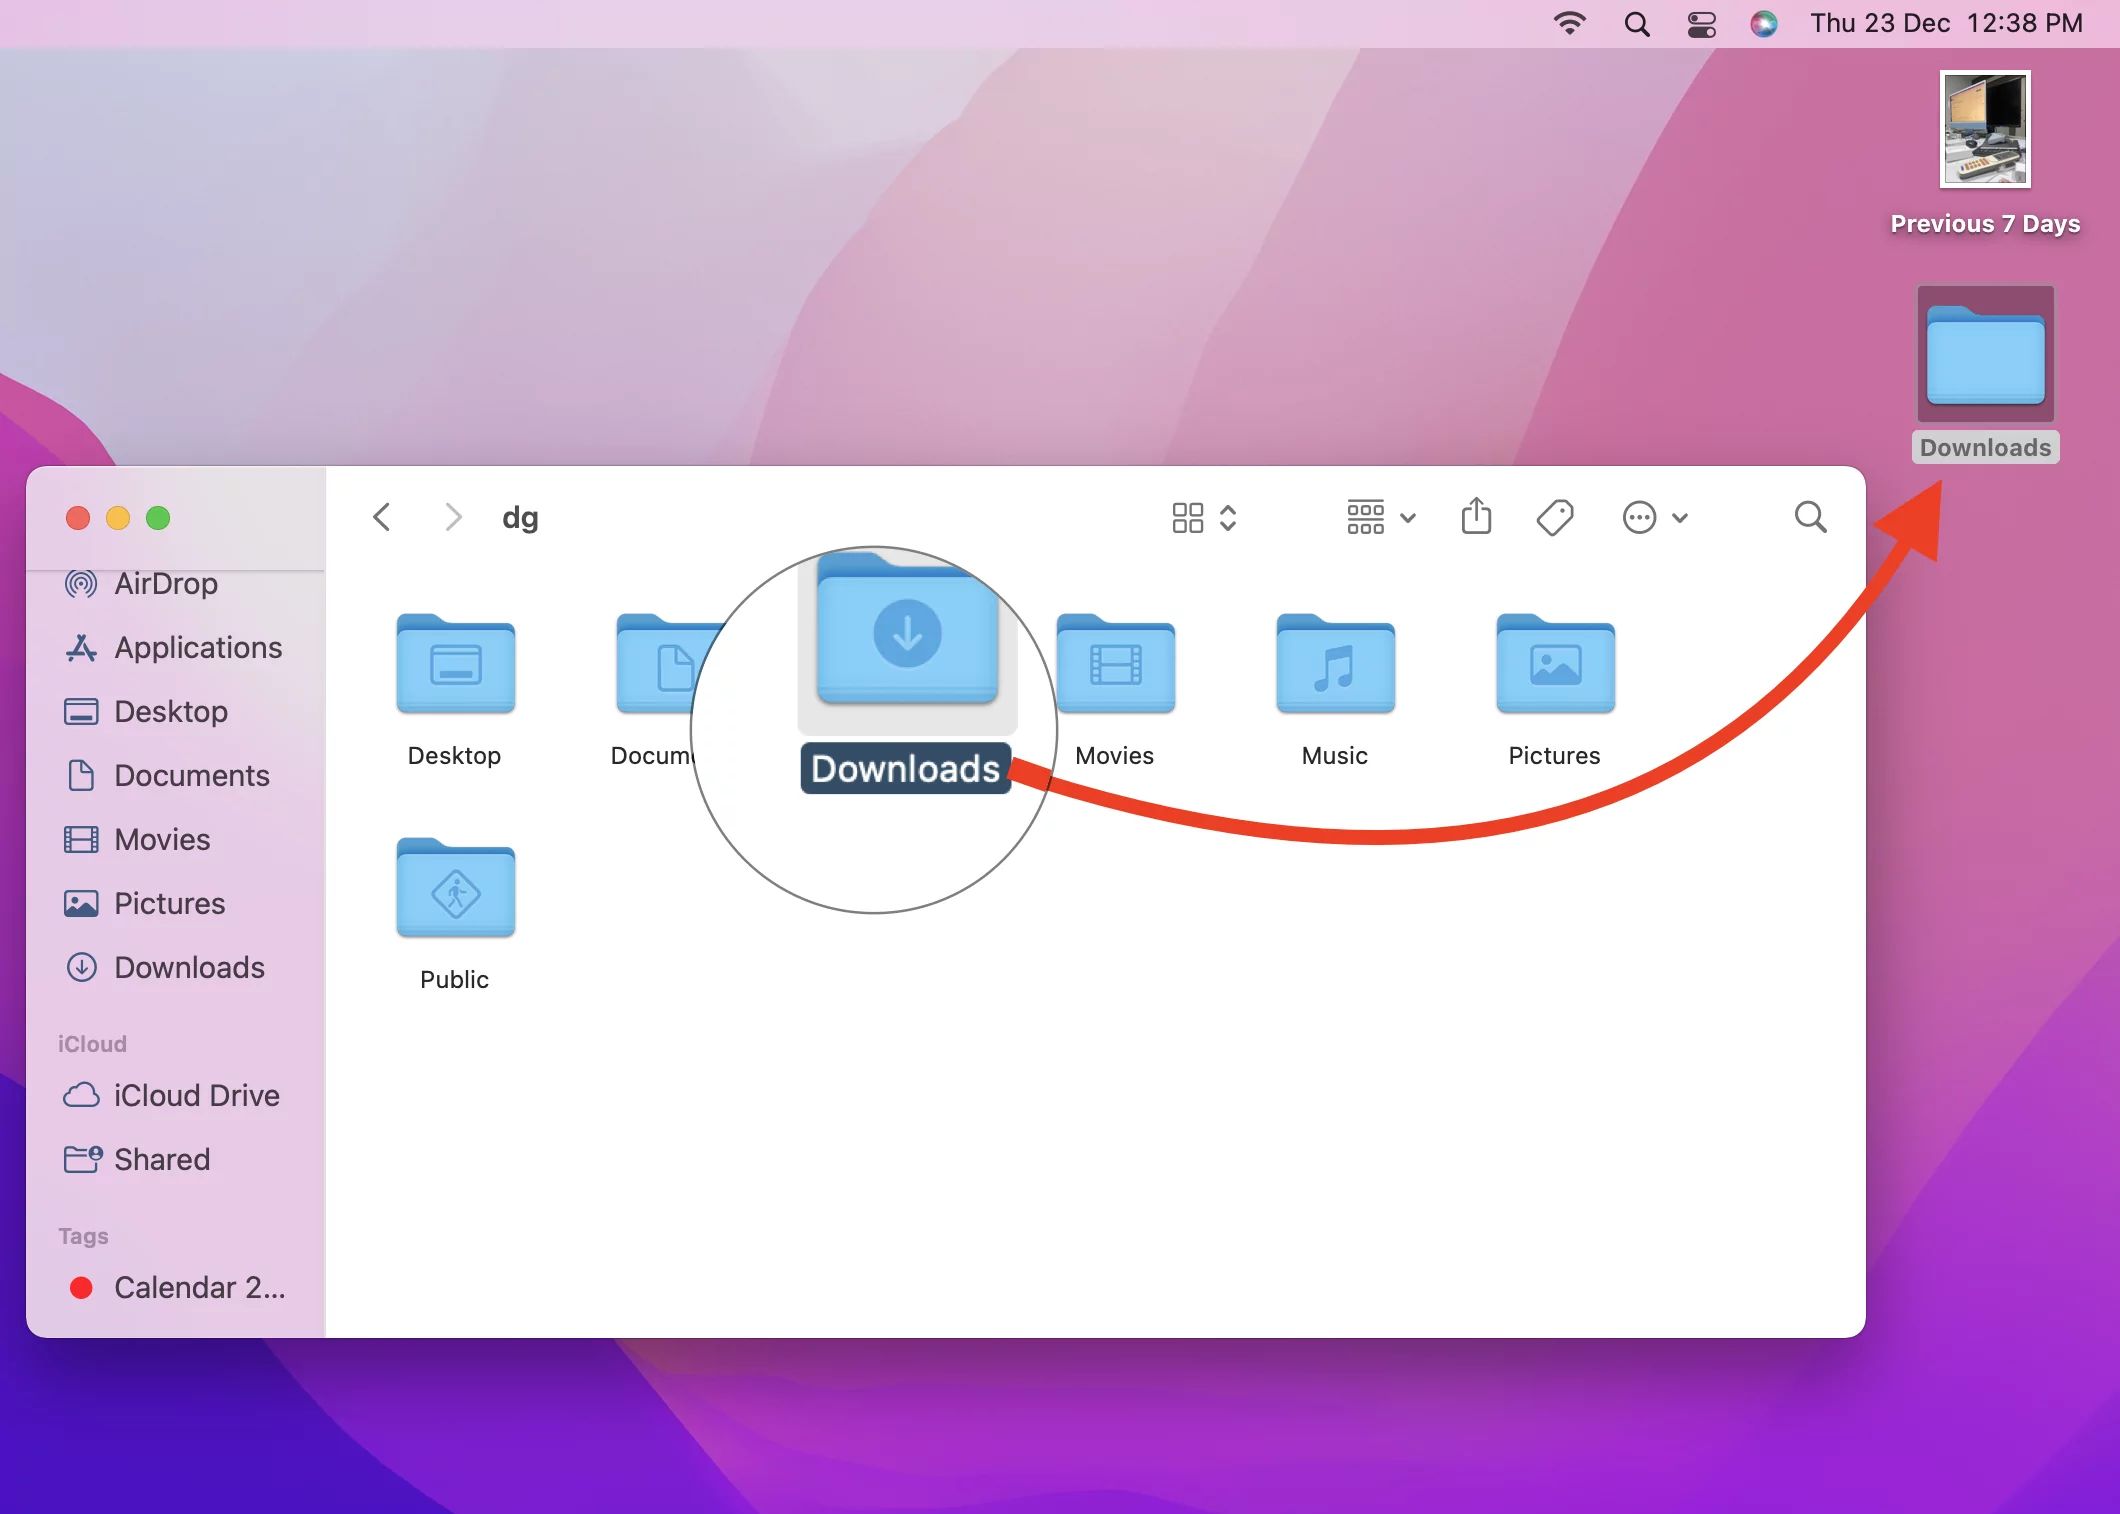
- Navigate to your USB drive, which should appear under the “Locations” section.
- Tap on the USB drive to open it.
- Tap on “Paste” to transfer the copied photos from your iPhone to the USB drive.
- Wait for the transfer to complete. The time taken will depend on the number and size of the photos.
- Once the transfer is finished, you can safely disconnect your USB drive from your iPhone.
Using the Files app provides a straightforward and intuitive method to transfer photos from your iPhone to a USB drive. It allows you to easily select and transfer specific photos or entire albums, giving you control over the content you wish to transfer. This method is particularly useful when you want to backup or transfer a large number of photos without relying on other applications.
Now that you are familiar with using the Files app, let’s explore another option – using iCloud Photos – to download pictures from your iPhone to a USB drive.
Option 2: Using iCloud Photos
If you have iCloud Photos enabled on your iPhone, you can easily download your pictures from the cloud and transfer them to a USB drive. iCloud Photos syncs your images across all your Apple devices, making it a convenient option for accessing your photos from anywhere.
Here’s how you can download pictures from iCloud Photos to a USB drive:
- On your iPhone, go to Settings and tap on your name at the top of the screen.
- Select “iCloud” and then “Photos.”
- Ensure that the “iCloud Photos” toggle is enabled. If it’s already enabled, your photos are being backed up to iCloud.
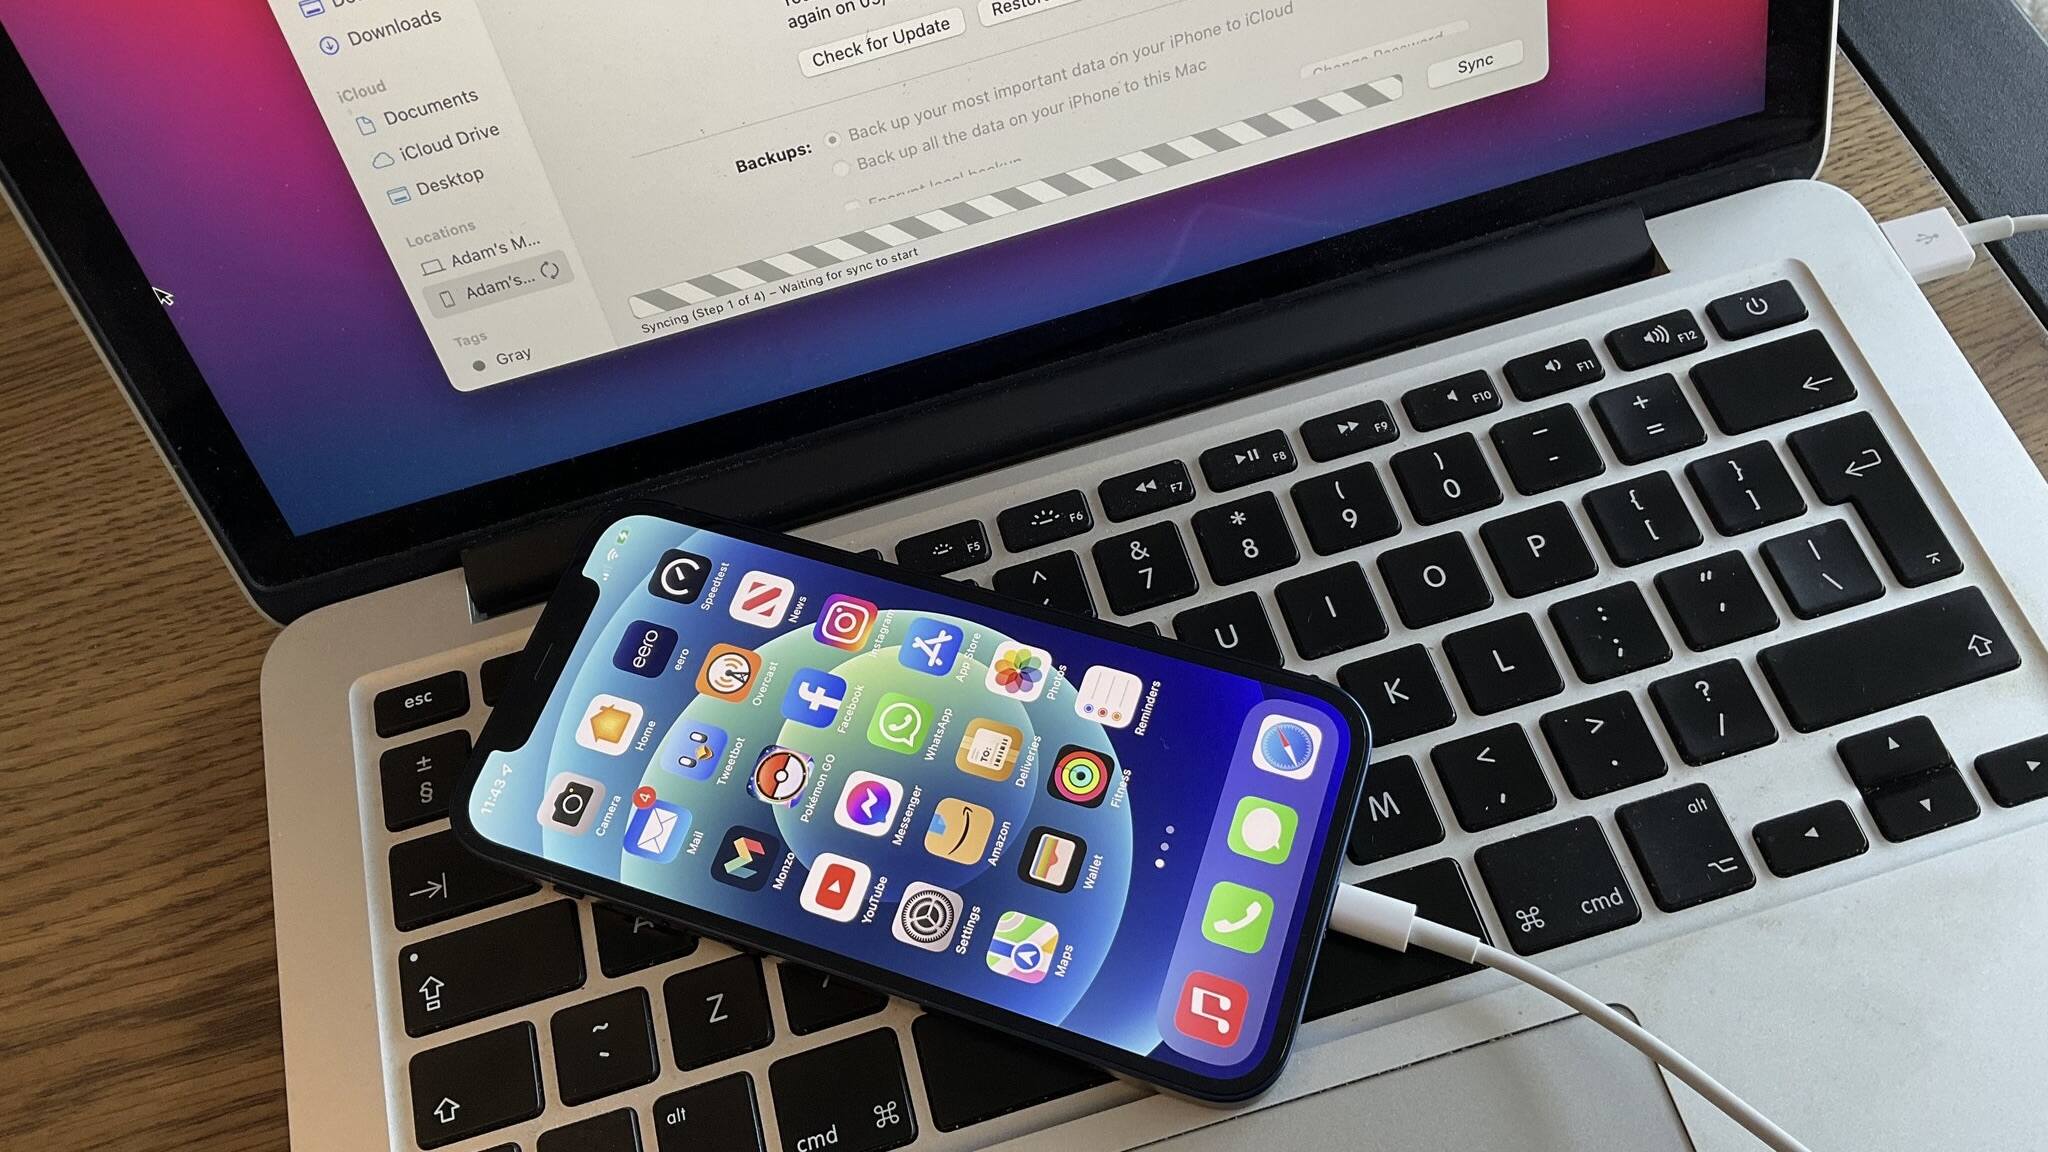
- Connect your USB drive to your computer using a USB cable.
- Open a web browser on your computer and visit iCloud.com.
- Sign in with your iCloud account and password.
- Click on “Photos” to access your iCloud photo library.
- Select the photos you want to download. You can select individual photos by holding down the Command (⌘) key on a Mac or the Control (Ctrl) key on a PC and clicking on the desired photos. To select multiple photos, click on one photo, hold down the Shift key, and click on the last photo.
- Click on the download icon (a cloud with a downward arrow) located at the top-right corner of the screen. This will start the download process of the selected photos.
- Choose the location on your computer where you want to save the downloaded photos.
- Once the download is complete, safely eject the USB drive from your computer.
- Connect the USB drive to your iPhone using a Lightning to USB adapter.
- Open the Files app on your iPhone.
- Navigate to your USB drive, which should appear under the “Locations” section.
- Tap on the downloaded photos to open them.
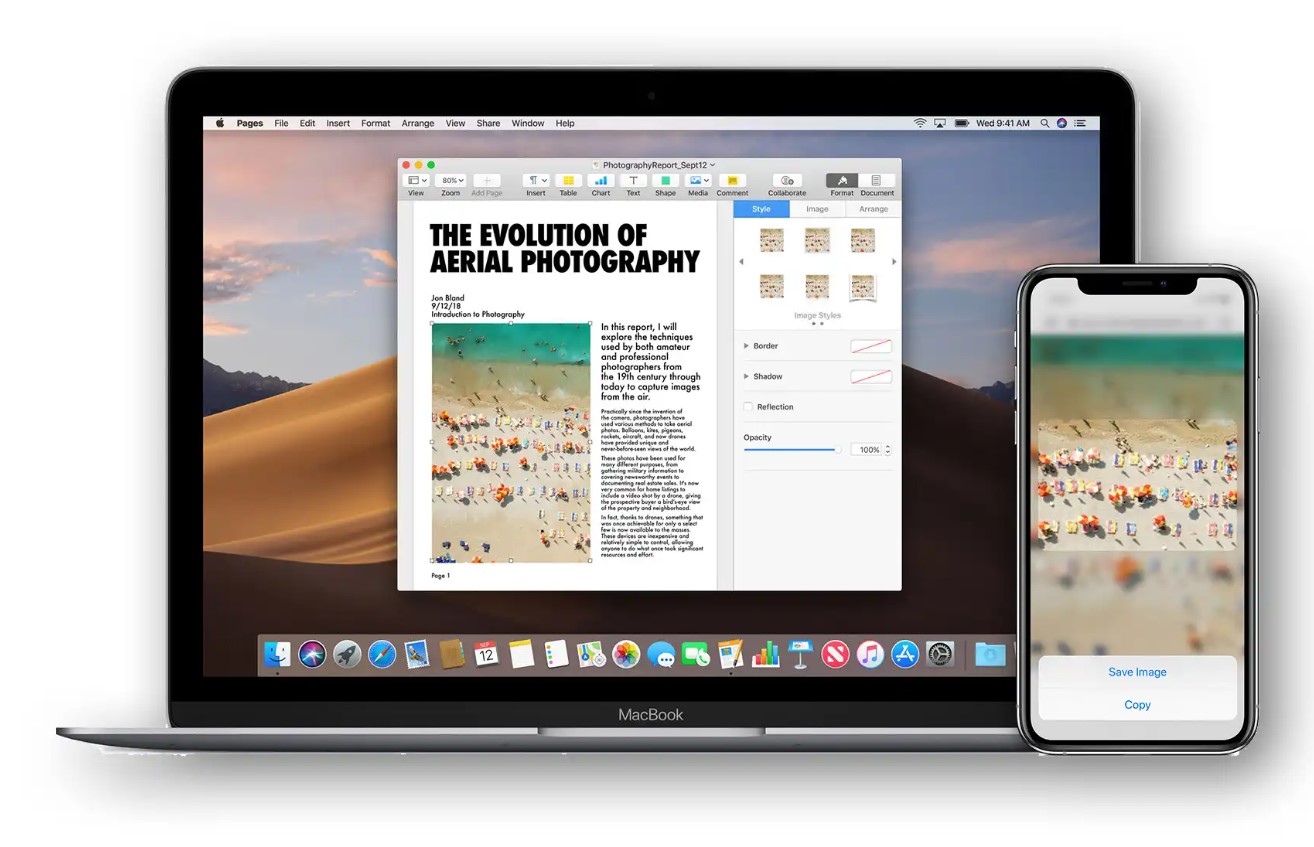
- Tap on the Share icon (a square with an arrow pointing upwards) to access the sharing options.
- Select “Save Image” to save the photos to your iPhone’s camera roll.
By utilizing iCloud Photos, you can easily access and download your pictures from any computer with an internet connection. This method is particularly useful if you have a large iCloud photo library and want to selectively download specific photos or albums to your USB drive.
Now that you’ve learned about using iCloud Photos, let’s move on to another option – using the Photos app – to download pictures from your iPhone to a USB drive.
Option 3: Using the Photos App
If you prefer using the built-in Photos app on your iPhone, you can transfer pictures from your device to a USB drive using this method. The Photos app offers a user-friendly interface and allows you to manage and organize your photos with ease.
Follow these steps to transfer your pictures using the Photos app:
- Connect your USB drive to your computer using a USB cable.
- Open the Photos app on your iPhone.
- Tap on the “Albums” tab at the bottom of the screen.
- Select the album from which you want to transfer photos.
- Tap on “Select” located at the top-right corner of the screen.
- Choose the photos you want to transfer by tapping on them. You can select multiple photos by tapping on additional images.
- Once you have selected the photos, tap on the Share icon (a square with an arrow pointing upwards).
- From the sharing options, scroll down and tap on “Save to Files.”
- A file browser will appear. Tap on your connected USB drive to navigate to it.
- Select the folder on the USB drive where you want to save the photos.
- Tap on “Save” to initiate the transfer of the selected photos to the USB drive. The transfer time will depend on the number and size of the photos.
- Once the transfer is complete, safely disconnect the USB drive from your computer.
- Connect the USB drive to your iPhone using a Lightning to USB adapter.
- Open the Files app on your iPhone.
- Navigate to your USB drive, which should appear under the “Locations” section.
- Tap on the transferred photos to view them.
- If desired, tap on the Share icon to access sharing options, such as sending the photos via email or messaging apps.
The Photos app offers a seamless way to transfer photos from your iPhone to a USB drive, giving you control over the specific images you want to transfer. With its organizing and editing features, you can manage your photos effectively before transferring them to the USB drive.
Now that you’ve explored using the Photos app, let’s move on to another option – utilizing third-party apps – to download pictures from your iPhone to a USB drive.
Option 4: Using Third-Party Apps
If you’re looking for alternative methods to transfer pictures from your iPhone to a USB drive, utilizing third-party apps can provide additional features and flexibility. There are several apps available on the App Store that specialize in file management and photo transfers, making the process quick and efficient.
Here’s how you can use third-party apps to transfer your photos:
- Open the App Store on your iPhone and search for file management or photo transfer apps. Some popular options include Documents by Readdle, File Manager & Browser, or iTransfer.
- Download and install the app that best suits your needs.
- Launch the app and grant necessary permissions to access your photos.
- Connect your USB drive to your computer using a USB cable.
- Open the app and navigate to the “Photos” section or a similar option.
- Select the photos you want to transfer to the USB drive.
- Look for the option to export or save the selected photos to an external or connected device.
- Choose your USB drive as the destination for the transfer.
- Wait for the app to complete the transfer process. The time required will depend on the number and size of the photos.
- Once the transfer is finished, safely disconnect the USB drive from your computer.
- Connect the USB drive to your iPhone using a Lightning to USB adapter.
- Open the Files app or the app you used for the file transfer on your iPhone.
- Navigate to your USB drive, which should appear under the “Locations” section.
- Tap on the transferred photos to view or further manage them.
- Depending on the app you used, you may have additional options for organizing, editing, or sharing the photos.
By using third-party apps, you can unlock additional features and functionalities that may not be available in the built-in options. These apps often provide a user-friendly interface and advanced file management capabilities, allowing you to transfer photos seamlessly to your USB drive.
Now that you’ve explored various methods, including using the Files app, iCloud Photos, the Photos app, and third-party apps, you can choose the option that best suits your preferences and requirements. These methods provide you with the flexibility and convenience to easily download your pictures from your iPhone to a USB drive.
Conclusion
Transferring pictures from your iPhone to a USB drive is a practical solution for backing up your memories, freeing up storage space, or transferring photos to another device. Throughout this guide, we have explored various options that allow you to easily download your pictures from your iPhone to a USB drive.
Using the built-in Files app, you can directly copy and paste your selected photos to a USB drive, providing a straightforward and efficient method. Additionally, iCloud Photos offers the convenience of accessing and downloading your pictures from any computer with an internet connection.
If you prefer using the Photos app, you can easily transfer photos to a USB drive by selecting the desired images and saving them to a connected USB drive through the Files app. Lastly, utilizing third-party apps can offer additional features and flexibility, enhancing the photo transfer process.
Regardless of the method you choose, always ensure that your USB drive is properly connected and compatible with your iPhone. Additionally, consider organizing your photos into folders or albums beforehand to make the transfer process more efficient.
Remember, the methods outlined in this guide are applicable to iPhones running iOS 13 or later. If you are using an older version of iOS, some steps may differ.
We hope this guide has provided you with valuable insights and step-by-step instructions to download pictures from your iPhone to a USB drive. Enjoy the convenience and peace of mind that comes with having your cherished memories securely stored on a portable storage solution!