Introduction
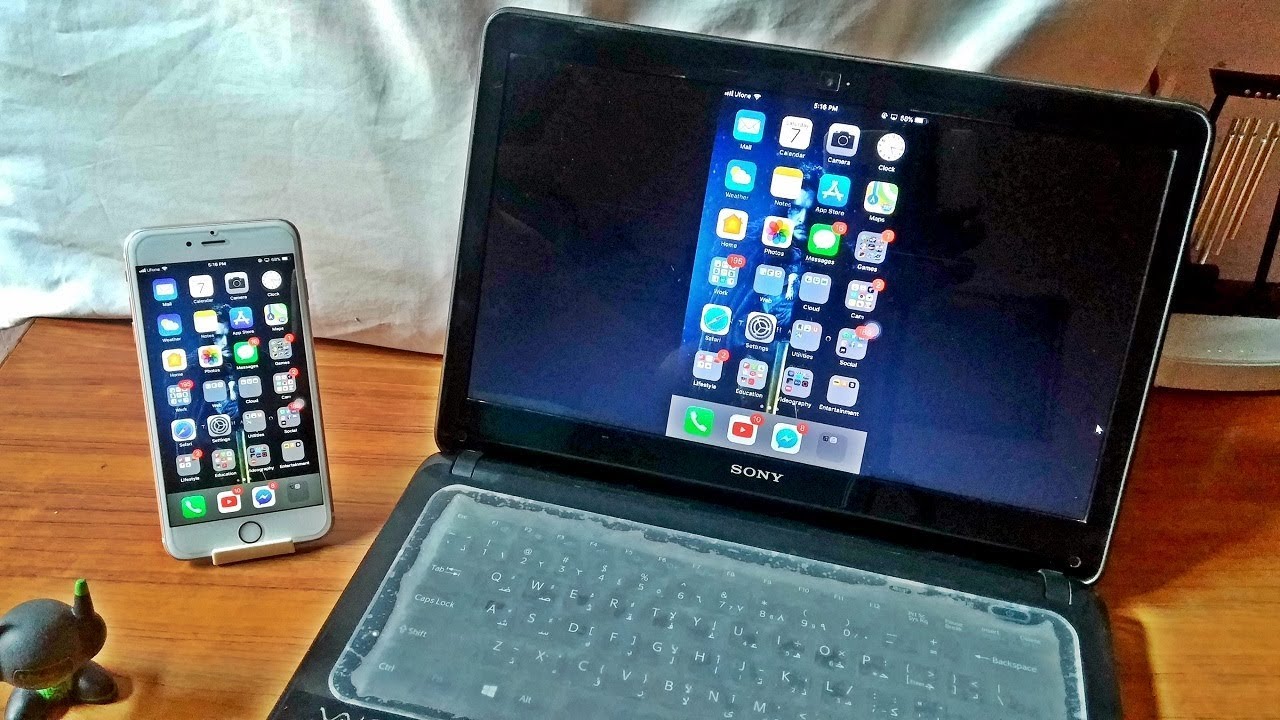
Welcome to this step-by-step guide on how to download pictures from your iPhone to your HP laptop. With the increasing usage of smartphones as our primary camera, it’s important to know how to transfer our precious memories to our laptops for safekeeping or sharing with others.
Connecting your iPhone to your HP laptop and accessing your photos may sound like a daunting task, but fear not! In this article, we will walk you through the process, making it straightforward and hassle-free.
Whether you are a professional photographer, an avid traveler, or simply enjoy capturing moments with friends and family, being able to transfer your pictures to your laptop is essential. It allows you to free up space on your iPhone and have a backup of your photos, ensuring they are secure.
We understand that technology can sometimes be overwhelming, especially when it comes to transferring files between devices. However, rest assured that by following these simple steps, you’ll have your iPhone pictures downloaded onto your HP laptop in no time.
So, without further ado, let’s get started on this journey of transferring and preserving your cherished memories!
Step 1: Connect your iPhone to your HP laptop
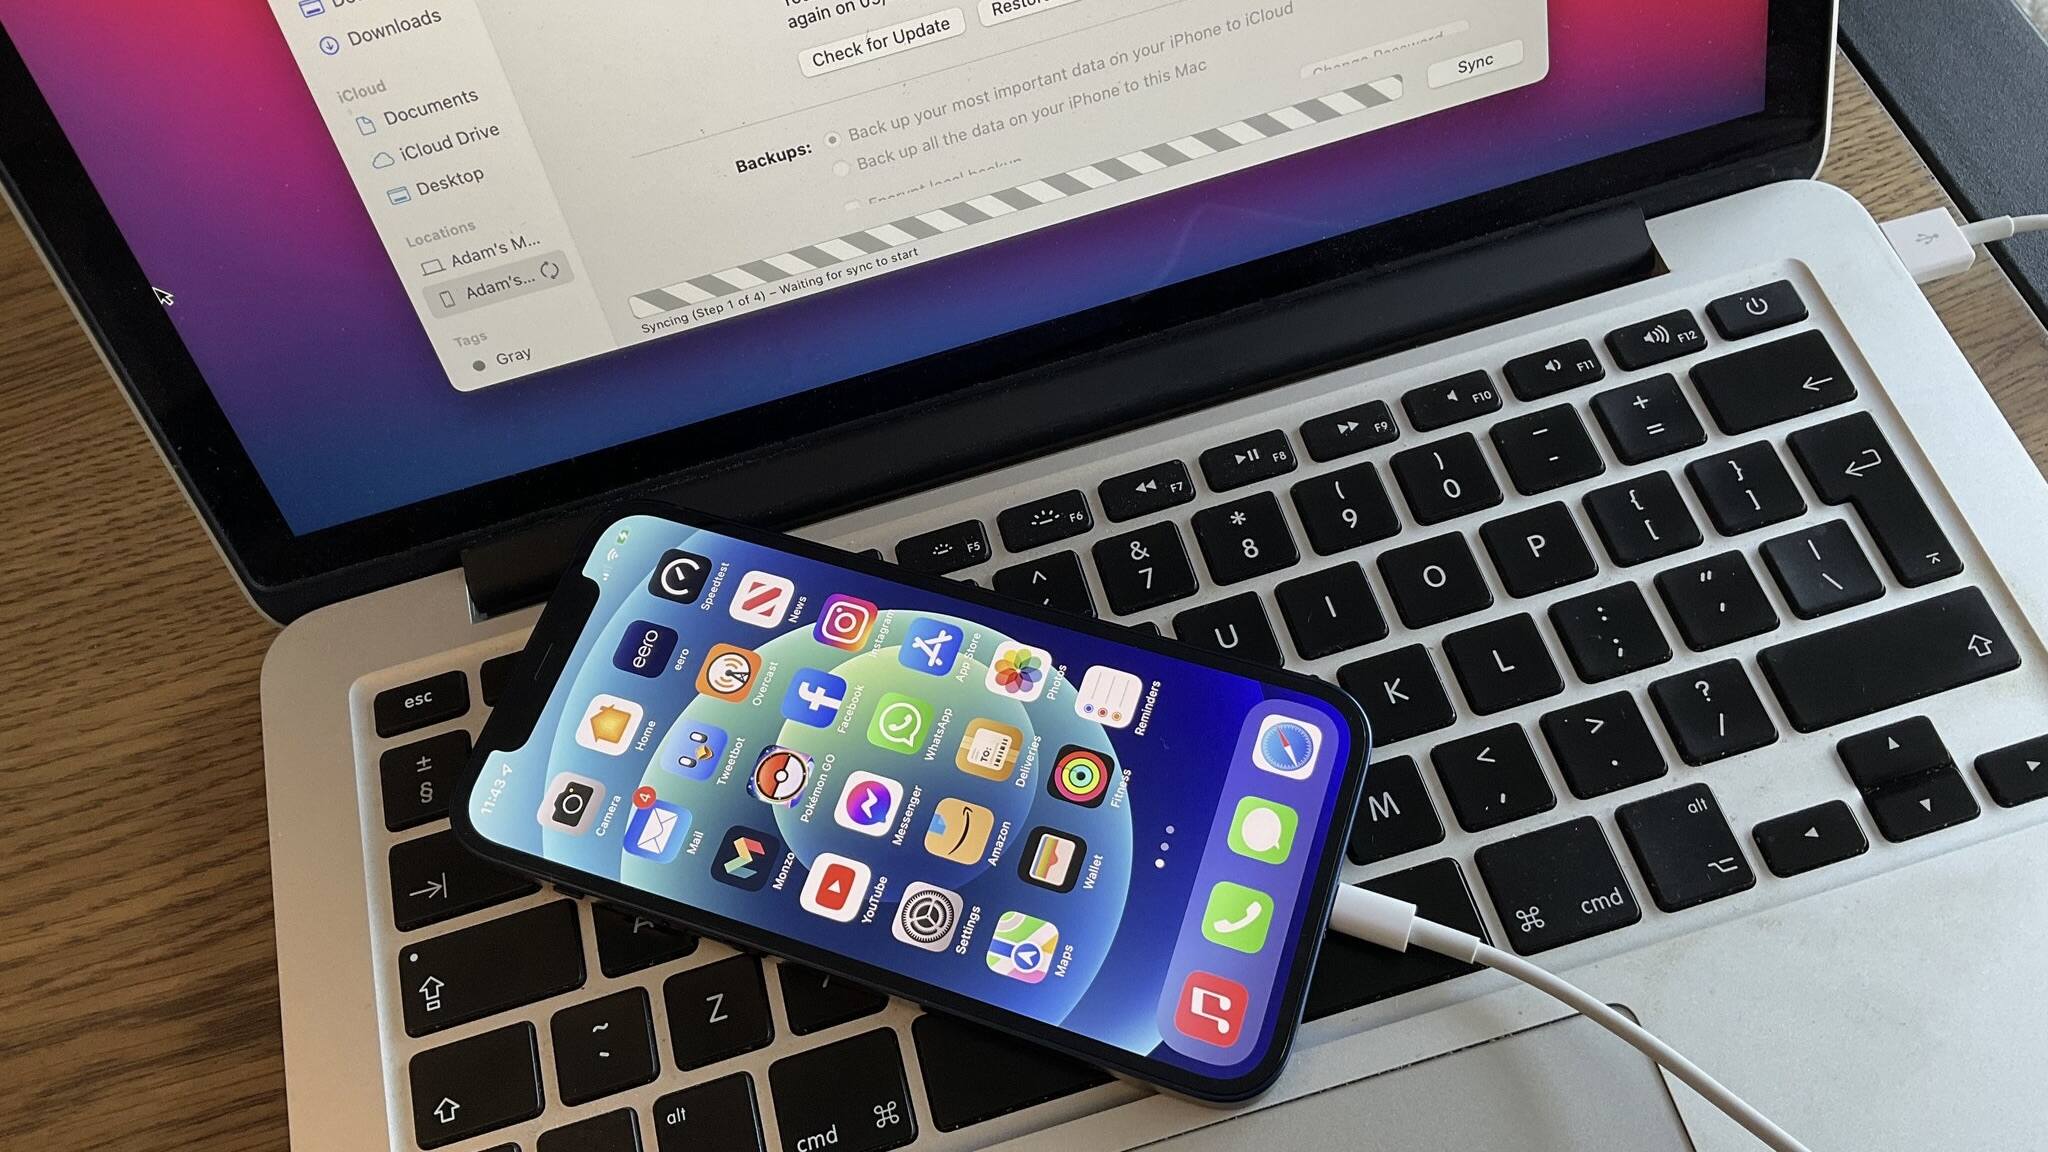
The first step in downloading pictures from your iPhone to your HP laptop is to establish a physical connection between the two devices. Follow these instructions:
- Locate the charging cable that came with your iPhone. It typically has a USB connector on one end and a Lightning connector on the other.
- Connect the USB end of the cable to one of the USB ports on your HP laptop.
- Connect the Lightning end of the cable to the charging port on your iPhone.
- Your HP laptop should recognize the presence of an external device (your iPhone) and prompt you with options for how you want to proceed.
- Ensure that your iPhone is unlocked and tap on the “Trust” or “Allow” button when prompted on your device screen. This step is important to establish a secure connection between your iPhone and your HP laptop.
Once you have successfully connected your iPhone to your HP laptop, you are ready to move on to the next step: accessing your iPhone’s photos on your laptop.
Step 2: Access your iPhone’s photos on your HP laptop
Now that your iPhone is connected to your HP laptop, it’s time to access the photos stored on your device. Follow these steps:
- On your HP laptop, open the default file explorer or file manager. You can usually find it by clicking on the “File Explorer” or “This PC” icon on your desktop or by searching for it in the start menu.
- In the file explorer, look for the section or category labeled “Devices and Drives.” Your iPhone should be listed as a device under this section.
- Click on your iPhone’s name or icon to view its contents.
- Navigate to the “DCIM” folder, which stands for “Digital Camera Images.” This is where your iPhone stores the photos taken with its camera.
Once you have reached the “DCIM” folder, you will be able to see all the photos and videos on your iPhone. However, accessing them directly from this folder can be cumbersome, especially if you have a large number of pictures.
To simplify the process and make it easier to select the photos you want to download, we recommend creating a new folder on your HP laptop specifically for this purpose. This way, you can conveniently transfer and organize the pictures without having to search through the entire “DCIM” folder each time.
Next, let’s move on to Step 3: selecting the pictures you want to download.
Step 3: Select the pictures you want to download
Now that you have accessed your iPhone’s photos on your HP laptop, it’s time to choose the pictures you want to download. Follow these steps:
- In the “DCIM” folder on your HP laptop, create a new folder with a descriptive name that represents the photos you intend to download. For example, you could name it “Vacation Photos” or “Family Gathering.”
- Open both the newly created folder on your HP laptop and the “DCIM” folder on your iPhone side by side, either by resizing the windows or using the split-screen feature on your laptop.
- Now, browse through the photos in the “DCIM” folder on your iPhone, and as you come across the pictures you wish to download, simply drag and drop them into the folder you created on your HP laptop.
- If you want to select multiple photos at once, hold down the “Ctrl” key (Windows) or the “Command” key (Mac) while clicking on the photos you want to download.
- Continue this process until you have selected all the desired photos for download.
By manually selecting the photos you want to download, you have more control over the process and can avoid cluttering your HP laptop with unnecessary files. This step allows you to curate your collection and download only the pictures that truly matter to you.
Now that you have selected the pictures, it’s time to transfer them from your iPhone to your HP laptop. In the next step, we will cover the process of transferring the selected pictures.
Step 4: Transfer the selected pictures to your HP laptop
With the selected photos in your designated folder on your HP laptop, it’s time to transfer them from your iPhone. Follow these steps to complete the transfer:
- Make sure the selected photos are still in the folder you created on your HP laptop. Double-check that all the pictures you want to transfer are present.
- Once you have confirmed the selection, right-click on the folder and select “Copy” from the context menu. Alternatively, you can use the keyboard shortcut “Ctrl+C” (Windows) or “Command+C” (Mac) to copy the folder.
- Navigate to the desired location on your HP laptop where you want to save the transferred photos. It can be your Pictures folder, Desktop, or any other directory of your choice.
- Right-click in the destination folder and select “Paste” from the context menu or use the keyboard shortcut “Ctrl+V” (Windows) or “Command+V” (Mac) to paste the copied folder into the desired location.
- The selected photos will begin transferring from your iPhone to your HP laptop. The transfer speed will depend on the number and size of the photos.
- Once the transfer is complete, you can safely disconnect your iPhone from your HP laptop by removing the USB cable.
By following these steps, you have successfully transferred the selected pictures from your iPhone to your HP laptop. Now, they are securely stored on your laptop, allowing you to further organize, edit, and share them as desired.
Now that you have successfully transferred the photos, let’s move on to the final step: organizing and saving the downloaded pictures on your HP laptop.
Step 5: Organize and save your downloaded pictures on your HP laptop
Having transferred the selected pictures from your iPhone to your HP laptop, it’s important to organize and save them properly. Follow these steps to ensure your downloaded pictures are well-organized:
- Open the folder where you transferred the photos on your HP laptop.
- If necessary, create subfolders within the main folder to further categorize your pictures. This can be done by right-clicking within the main folder and selecting “New Folder” from the context menu. Give each subfolder a name that accurately represents its contents.
- Move the transferred photos into their respective subfolders based on the event, date, or any other meaningful categorization system that suits your preference. This will help you locate specific pictures easily in the future.
- Consider renaming the photos if you wish to add more descriptive or specific names. This can be especially helpful when you have multiple photos with similar names or if you want to include additional information in the filename.
- It is recommended to create a backup of your organized photo collection by regularly copying it to an external hard drive, cloud storage service, or another reliable storage medium. This will ensure that your precious memories are safe even if something happens to your HP laptop.
Organizing and saving your downloaded pictures not only saves you time when searching for specific photos but also helps preserve them for the long term. By following these steps, you can create a well-structured and easily accessible photo library on your HP laptop.
Congratulations! You have successfully downloaded, transferred, and organized your iPhone pictures on your HP laptop. Now you can enjoy reliving those cherished moments whenever you desire.
Conclusion
Transferring pictures from your iPhone to your HP laptop may initially seem like a complex process, but with the help of these step-by-step instructions, it becomes a seamless and straightforward task.
By connecting your iPhone to your HP laptop and accessing the photos, you can easily select the pictures you want to download and transfer them to your laptop. Organizing and saving the downloaded pictures ensures easy retrieval and long-term preservation of your precious memories.
Remember, it’s important to regularly back up your photo collection to ensure the safety of your memories. Consider using external storage or cloud services to create duplicate copies in case of any unforeseen incidents.
Now that you are equipped with the knowledge and skills to download pictures from your iPhone to your HP laptop, you can enjoy the freedom of managing and sharing your photos with ease.
We hope this guide has been helpful to you. Preserve those unforgettable moments captured on your iPhone and continue creating new memories knowing that your pictures are securely stored on your HP laptop.
Happy downloading!


