Introduction
Are you tired of running out of storage space on your iPhone due to a multitude of photos? Do you wish to transfer your precious memories to your laptop for safekeeping or editing purposes? Well, look no further! In this article, we will guide you through the step-by-step process of downloading pictures from your iPhone to your laptop.
With the increasing popularity of iPhones as a primary camera tool, it is essential to have a seamless method to transfer photos. Thankfully, Apple offers an easy-to-use Photos app that allows you to manage and transfer your photos effortlessly. Whether you want to free up space on your iPhone or simply want to have a backup, this guide will help you accomplish that.
Before we begin, make sure you have a compatible USB cable to connect your iPhone to your laptop. Additionally, ensure that your laptop is running on a compatible operating system and has sufficient storage space to accommodate the transferred photos.
Without further ado, let’s dive into the step-by-step process of downloading pictures from your iPhone to your laptop.
Step 1: Connect your iPhone to your laptop
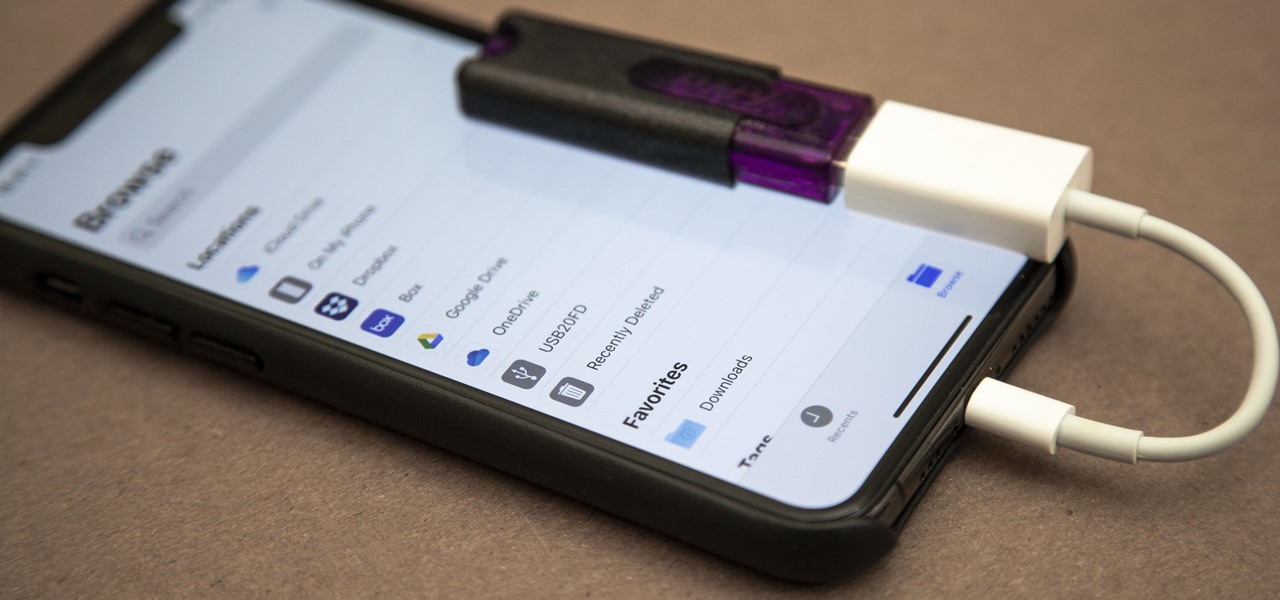
The first step in downloading pictures from your iPhone to your laptop is to establish a physical connection between the two devices. To do this, you’ll need a compatible USB cable that came with your iPhone or an appropriate third-party cable.
Take one end of the USB cable and plug it into the charging port of your iPhone. Then, locate an available USB port on your laptop and connect the other end of the cable to it. Make sure the connection is secure on both ends.
Once the devices are connected, your iPhone may prompt you to “Trust This Computer” or enter your passcode. Follow the on-screen instructions and grant the necessary permissions to establish a connection between your iPhone and laptop.
In some cases, you may also need to unlock your iPhone with your passcode or use your Face ID or Touch ID to authorize the connection.
Once the connection is established, your iPhone will appear as a new device on your laptop. This indicates that your laptop recognizes the presence of your iPhone and is ready to perform data transfer tasks.
Now that you have successfully connected your iPhone to your laptop, it’s time to move on to the next step: opening the Photos app on your laptop.
Step 2: Open the Photos app on your laptop
After connecting your iPhone to your laptop, the next step is to open the Photos app on your laptop. The Photos app is a built-in application available on most laptops and allows you to manage and import photos from external devices like your iPhone.
The method of opening the Photos app may vary depending on the operating system of your laptop. Here are the steps for common operating systems:
- Windows: On Windows laptops, you can usually find the Photos app in the Start menu or search for it in the taskbar. Once you locate the app, click on it to open it.
- macOS: If you’re using a Mac laptop, you can find the Photos app in your Applications folder or by searching for it using Spotlight search. Once you locate the app, click on it to open it.
When the Photos app opens, it will automatically detect the connected iPhone and display it as a device or source from which you can import photos.
In some cases, your laptop may prompt you to “Allow” or “Trust” the device connection. If you see such a prompt, click on the appropriate button to proceed.
Now that you have opened the Photos app on your laptop and established a connection between your iPhone and laptop, you’re ready to select the photos you want to download. This is our next step in the process.
Step 3: Select the photos you want to download
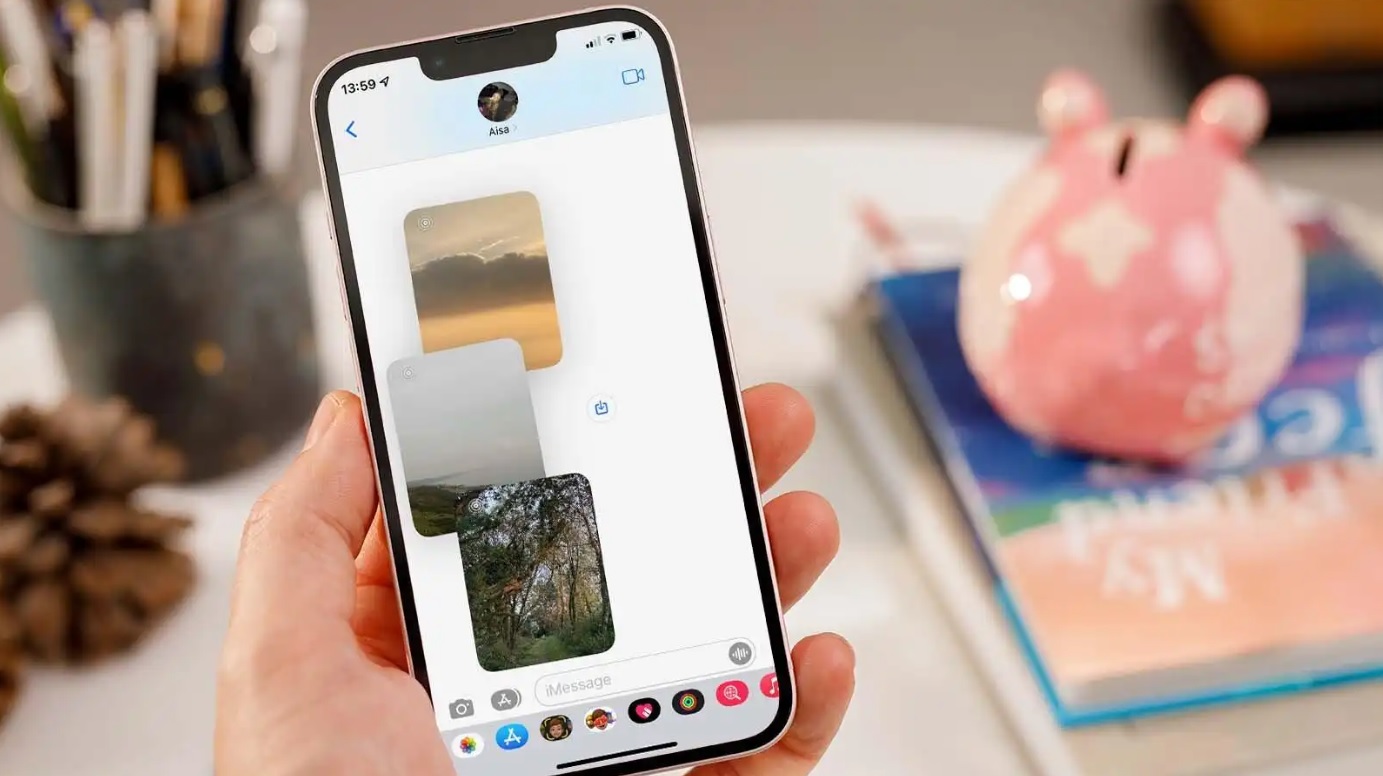
With the Photos app open on your laptop and your iPhone connected, it’s time to choose the specific photos you want to download from your iPhone. The Photos app provides various options for selecting and organizing your photos before initiating the download process.
Here’s how you can select the photos:
- Windows: In the Photos app on Windows, you will typically see your connected iPhone under the “Devices” or “Sources” section. Click on your iPhone’s name to access the photos on your device. You can then navigate through different albums or the entire Camera Roll to find the photos you want. To select multiple photos, hold down the Ctrl key on your keyboard and click on each photo you want to download. Once you have made your selections, release the Ctrl key.
- macOS: If you’re using a Mac, the Photos app will also display your iPhone under the “Devices” or “Sources” section. Click on your iPhone’s name to view the photos stored on it. Similar to the Windows Photos app, you can browse through albums or the Camera Roll to find the desired photos. To select multiple photos, hold down the Command key on your keyboard and click on each photo. Release the Command key when you have finished making your selections.
As you select the photos, you may notice that they appear highlighted or marked in some way to indicate that they are chosen for download. This visual feedback helps you keep track of your selections.
Take your time to browse through your photos and choose the ones you want to download to your laptop. Once you’ve made your selections, it’s time to proceed to the next step: choosing the location to save the downloaded photos.
Step 4: Choose the location to save the photos on your laptop
After selecting the photos you want to download from your iPhone, it’s important to choose the location on your laptop where you want to save these photos. The Photos app allows you to specify the destination folder or album to ensure that the downloaded photos are organized and easily accessible.
Follow these steps to choose the location to save the photos:
- Windows: In the Photos app on Windows, click on the “Import” or “Import Selected” button, typically located in the top-right corner of the app’s window. A dialog box will appear, allowing you to choose the destination folder. Browse through your computer’s file system to select the folder where you want the photos to be saved. Once you have selected the desired folder, click on the “Import” or “Continue” button to initiate the download process.
- macOS: If you’re using a Mac, the Photos app provides a similar process. Once you have selected the photos you want to download, click on the “Import Selected” button or drag the selected photos to the desired album in the sidebar. You can also create a new album to organize the downloaded photos. The Photos app will then begin importing the selected photos into the chosen location.
By choosing the location in advance, you can ensure that the downloaded photos end up where you expect them to be and avoid any confusion or hassle later on.
Now that you have chosen the location to save the downloaded photos, it’s time to proceed to the next step: transferring the photos from your iPhone to your laptop.
Step 5: Transfer the photos from your iPhone to your laptop
With the photos selected and the destination folder chosen, it’s time to transfer the photos from your iPhone to your laptop. The Photos app provides a seamless and efficient way to initiate the transfer process.
Follow these steps to transfer the photos:
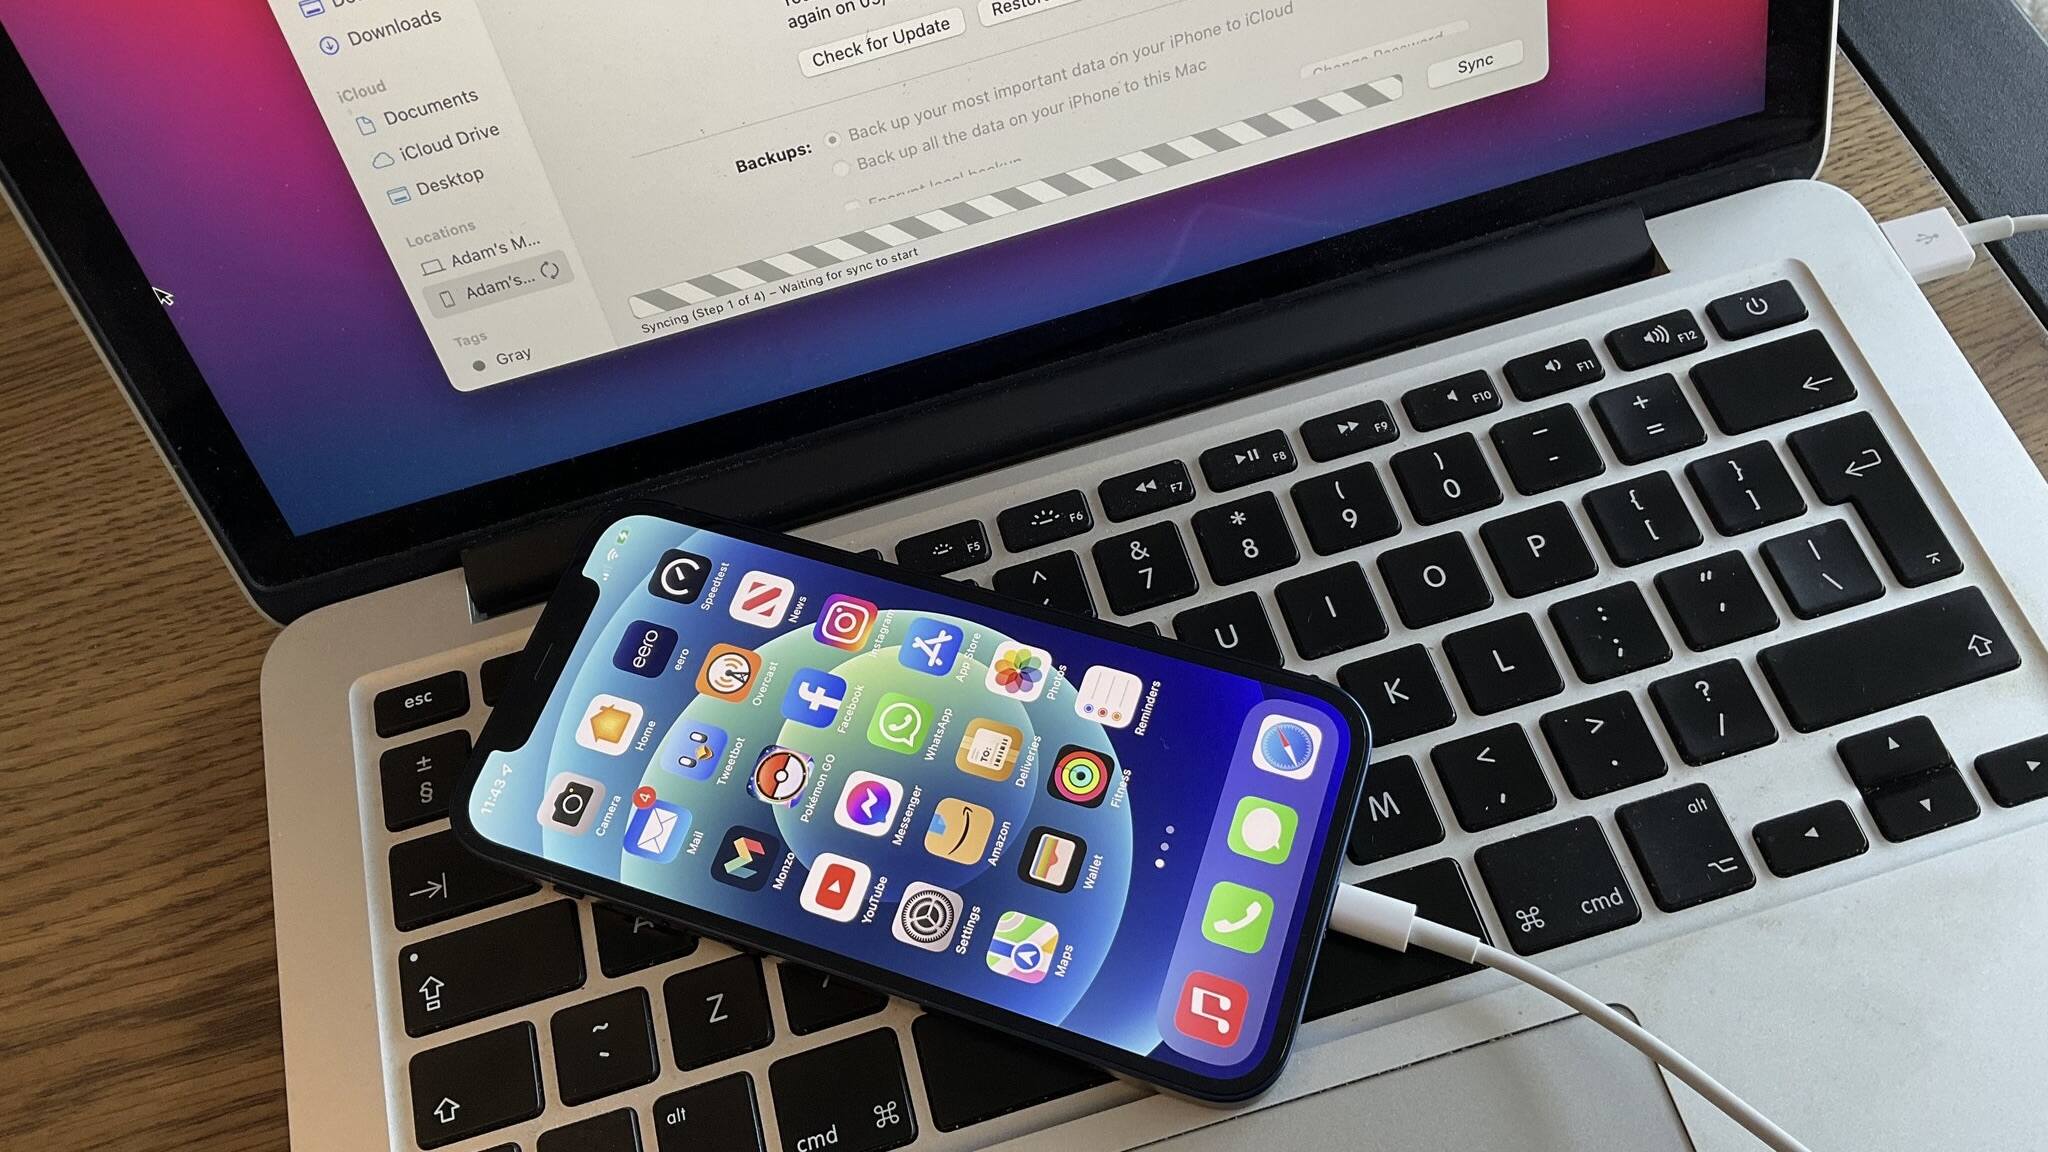
- Windows: In the Photos app on Windows, after selecting the destination folder, click on the “Import” or “Continue” button. The app will then start transferring the selected photos from your iPhone to your laptop. A progress bar or status indicator may appear, keeping you informed about the transfer process. Once the transfer is complete, the Photos app will notify you, and the downloaded photos will be accessible in the chosen destination folder.
- macOS: If you’re using a Mac, the transfer process is similar. After selecting the photos and choosing the destination, click on the “Import Selected” button in the Photos app on your Mac. The app will commence the transfer, and you can monitor the progress through a status indicator. Once the transfer is finished, the downloaded photos will be available in the selected location.
During the transfer process, it’s important to keep the connection between your iPhone and laptop intact. Disconnecting the USB cable prematurely may interrupt the transfer and potentially cause data loss or corruption. Wait until the transfer is complete and ensure that the Photos app confirms the successful download before disconnecting your iPhone.
Congratulations! You have successfully transferred the selected photos from your iPhone to your laptop. Now let’s move on to the final step: verifying that the photos have been successfully downloaded.
Step 6: Verify that the photos have been successfully downloaded
After transferring the photos from your iPhone to your laptop, it is crucial to verify that the download process was successful. This step ensures that all the selected photos are successfully saved and accessible on your laptop.
To verify the successful download of your photos, follow these steps:
- Windows: In the Windows Photos app, navigate to the destination folder where you chose to save the downloaded photos. Open the folder and check if all the transferred photos are present. You can preview the photos by double-clicking on them. Additionally, you can try opening the photos using a software of your choice (e.g., image viewer or photo editing software) to ensure they open without any issues.
- macOS: On a Mac, use Finder to navigate to the location where you saved the downloaded photos. Open the folder and confirm that all the transferred photos are visible. You can preview them by clicking on them or use a different photo viewer or editing software to ensure they open correctly.
Take a moment to review each photo to ensure that it is the correct image and that it has been downloaded properly without any corruption. Check for any missing or incomplete photos that may require a retransfer.
If you encounter any issues or missing photos, repeat the transfer process from the beginning, ensuring that you have a stable and uninterrupted connection between your iPhone and laptop.
Once you have verified that all the selected photos have been successfully downloaded and are properly accessible, you can safely disconnect your iPhone from your laptop.
And there you have it! You have successfully downloaded and transferred your photos from your iPhone to your laptop. You can now enjoy your precious memories, edit them, or create backups without worrying about limited storage space on your iPhone.
Remember, following these simple steps will not only help you declutter your iPhone but also ensure that your cherished photos are safely stored on your laptop for easy access and preservation.
Conclusion
Downloading pictures from your iPhone to your laptop is a straightforward process that allows you to save and organize your photos more effectively. By following the steps outlined in this guide, you can ensure that your precious memories are safely transferred from your iPhone to your laptop.
We started by connecting your iPhone to your laptop using a compatible USB cable. Then, we opened the Photos app on your laptop and selected the photos you wanted to download. Next, we chose the location where the photos would be saved on your laptop, ensuring easy accessibility. We then initiated the transfer process to download the selected photos from your iPhone to your laptop. Finally, we verified that the download was successful by checking the transferred photos in the designated destination folder.
By following these steps, you can free up storage space on your iPhone, create backups of your photos, and easily access them for editing or sharing. This process also provides a practical solution for safeguarding your memories and ensuring they are stored on a separate device.
Remember to handle the transfer process with care, ensuring a stable connection and waiting for the transfer to complete before disconnecting your iPhone. This will help prevent any data loss or corruption during the transfer process.
Now that you have mastered the art of downloading pictures from your iPhone to your laptop, you can enjoy the benefits of a decluttered phone and have peace of mind knowing that your precious memories are safely stored on your laptop. So, go ahead and try it out for yourself!