Introduction
Welcome to the digital age, where our photos reside in the cloud, safe and sound. iCloud, Apple’s cloud storage service, offers a convenient way to back up and access our precious memories anytime, anywhere. But what happens when you want to download all your pictures from iCloud? Whether you’re looking to create a local backup or simply want offline access, we’ve got you covered.
In this guide, we’ll walk you through the steps to download all your pictures from iCloud effortlessly. From accessing your iCloud photos to recovering deleted albums, we’ll provide you with all the necessary information to make this process a breeze.
Before we delve into the details, it’s worth noting that iCloud Photos syncs seamlessly across all your Apple devices, including iPhones, iPads, and Macs. This means that any changes you make on one device will be reflected across the board. So, rest assured that downloading your photos from iCloud won’t affect their accessibility on your other devices.
Now, let’s get started on the path to retrieving all those precious memories. Follow the simple steps outlined in this guide, and you’ll have your photos downloaded and offline in no time!
Step 1: Access iCloud Photos
The first step in downloading all your pictures from iCloud is to access your iCloud Photos library. To do this, you’ll need to take the following steps:
- On your iPhone or iPad, open the Settings app and tap on your Apple ID at the top of the screen.
- Next, tap on iCloud and then select Photos.
- Ensure that the toggle switch for iCloud Photos is turned on. This will ensure that all your photos in the Photos app are synced with your iCloud account.
- For Mac users, open the Apple menu and go to System Preferences. Click on your Apple ID and then select iCloud. Check the box next to Photos to enable iCloud Photos.
Once you’ve enabled iCloud Photos on your devices, all your photos will automatically sync with your iCloud account. This may take some time depending on the number of photos you have and your internet connection speed.
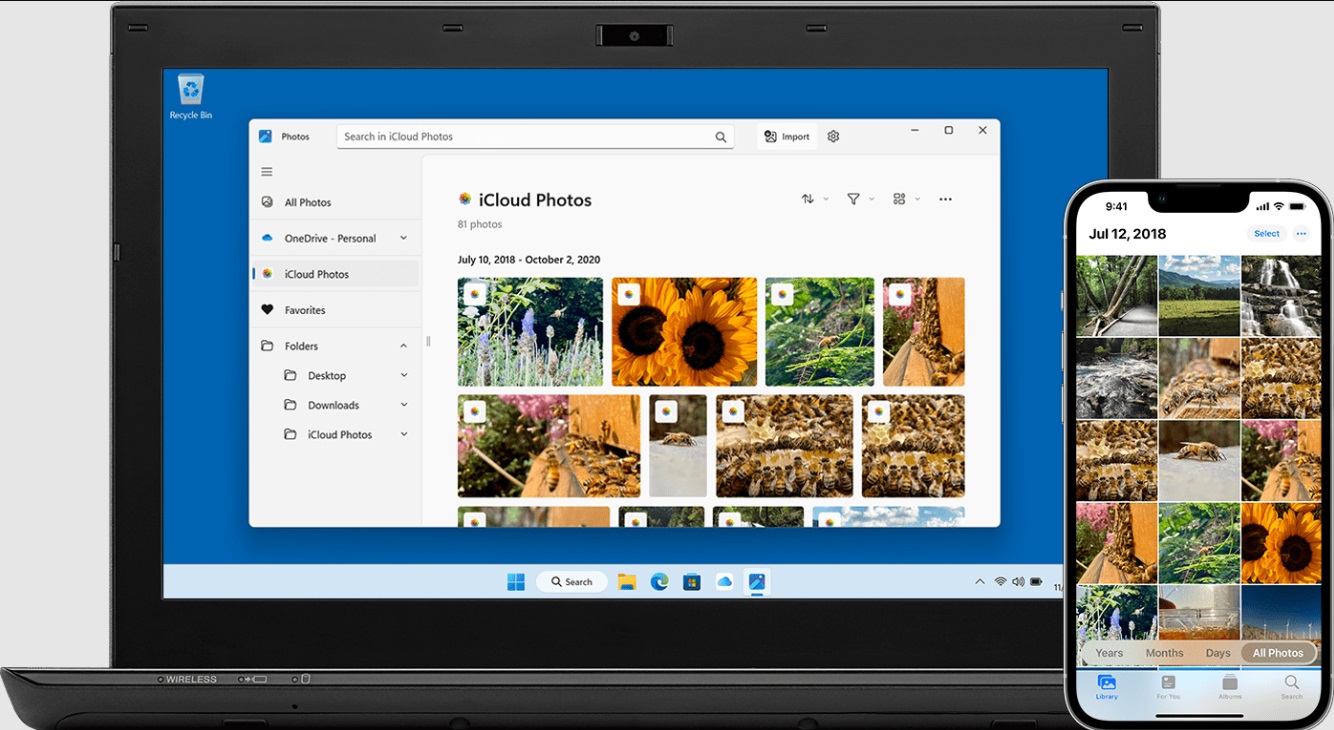
After the syncing process is complete, you can access your iCloud Photos library from any device with an internet connection. Simply open the Photos app on your iPhone, iPad, or Mac, and you’ll be able to view all your synced photos.
It’s important to note that iCloud Photos uses a technology called “Optimize iPhone Storage” or “Optimize Mac Storage” to save space on your devices. This means that the full-resolution versions of your photos may not be stored on your device unless you specifically choose to download them. Instead, your device will store smaller, optimized versions of the photos, while the full-resolution versions will be stored in iCloud.
Now that you’ve successfully accessed your iCloud Photos library, you’re ready to move on to the next step: selecting all your photos for download.
Step 2: Select All Photos
Now that you have accessed your iCloud Photos library, it’s time to select all the photos you want to download. To do this, follow the steps below:
- Open the Photos app on your iPhone, iPad, or Mac, and navigate to the “Photos” or “All Photos” tab.
- On your iPhone or iPad, tap on “Select” at the top right corner of the screen. If you’re using a Mac, click on “Select” in the top toolbar.
- With the “Select” option enabled, you can now tap or click on each photo to select them individually. Alternatively, if you want to select all the photos at once, simply tap or click on the first photo and then swipe or scroll to the last photo while holding down the “Shift” key.
- After selecting all the photos you want to download, you can verify the selection by checking if a blue checkmark appears on each photo.
Keep in mind that if you have a large number of photos in your iCloud Photos library, selecting all of them at once may take some time depending on your device’s performance. Be patient while the selection process completes.
Furthermore, if you want to download specific albums or moments instead of selecting all photos, you can explore the different organizational options within the Photos app. This allows you to download only the specific photos you need, giving you more control over the downloading process.
With all your desired photos selected, you’re ready to move on to the next step: downloading them in batches.
Step 3: Download Photos in Batches
Now that you’ve selected all the photos you want to download from your iCloud Photos library, it’s time to start the downloading process. The best way to ensure a smooth and efficient download is to do it in batches. Here’s how:
- On your iPhone, iPad, or Mac, tap on the “Share” button (represented by a square with an arrow pointing upward) or right-click on the selected photos.
- From the pop-up menu that appears, select the “Save [X] Images” or “Download [X] Items” option, where [X] represents the number of photos you have selected.
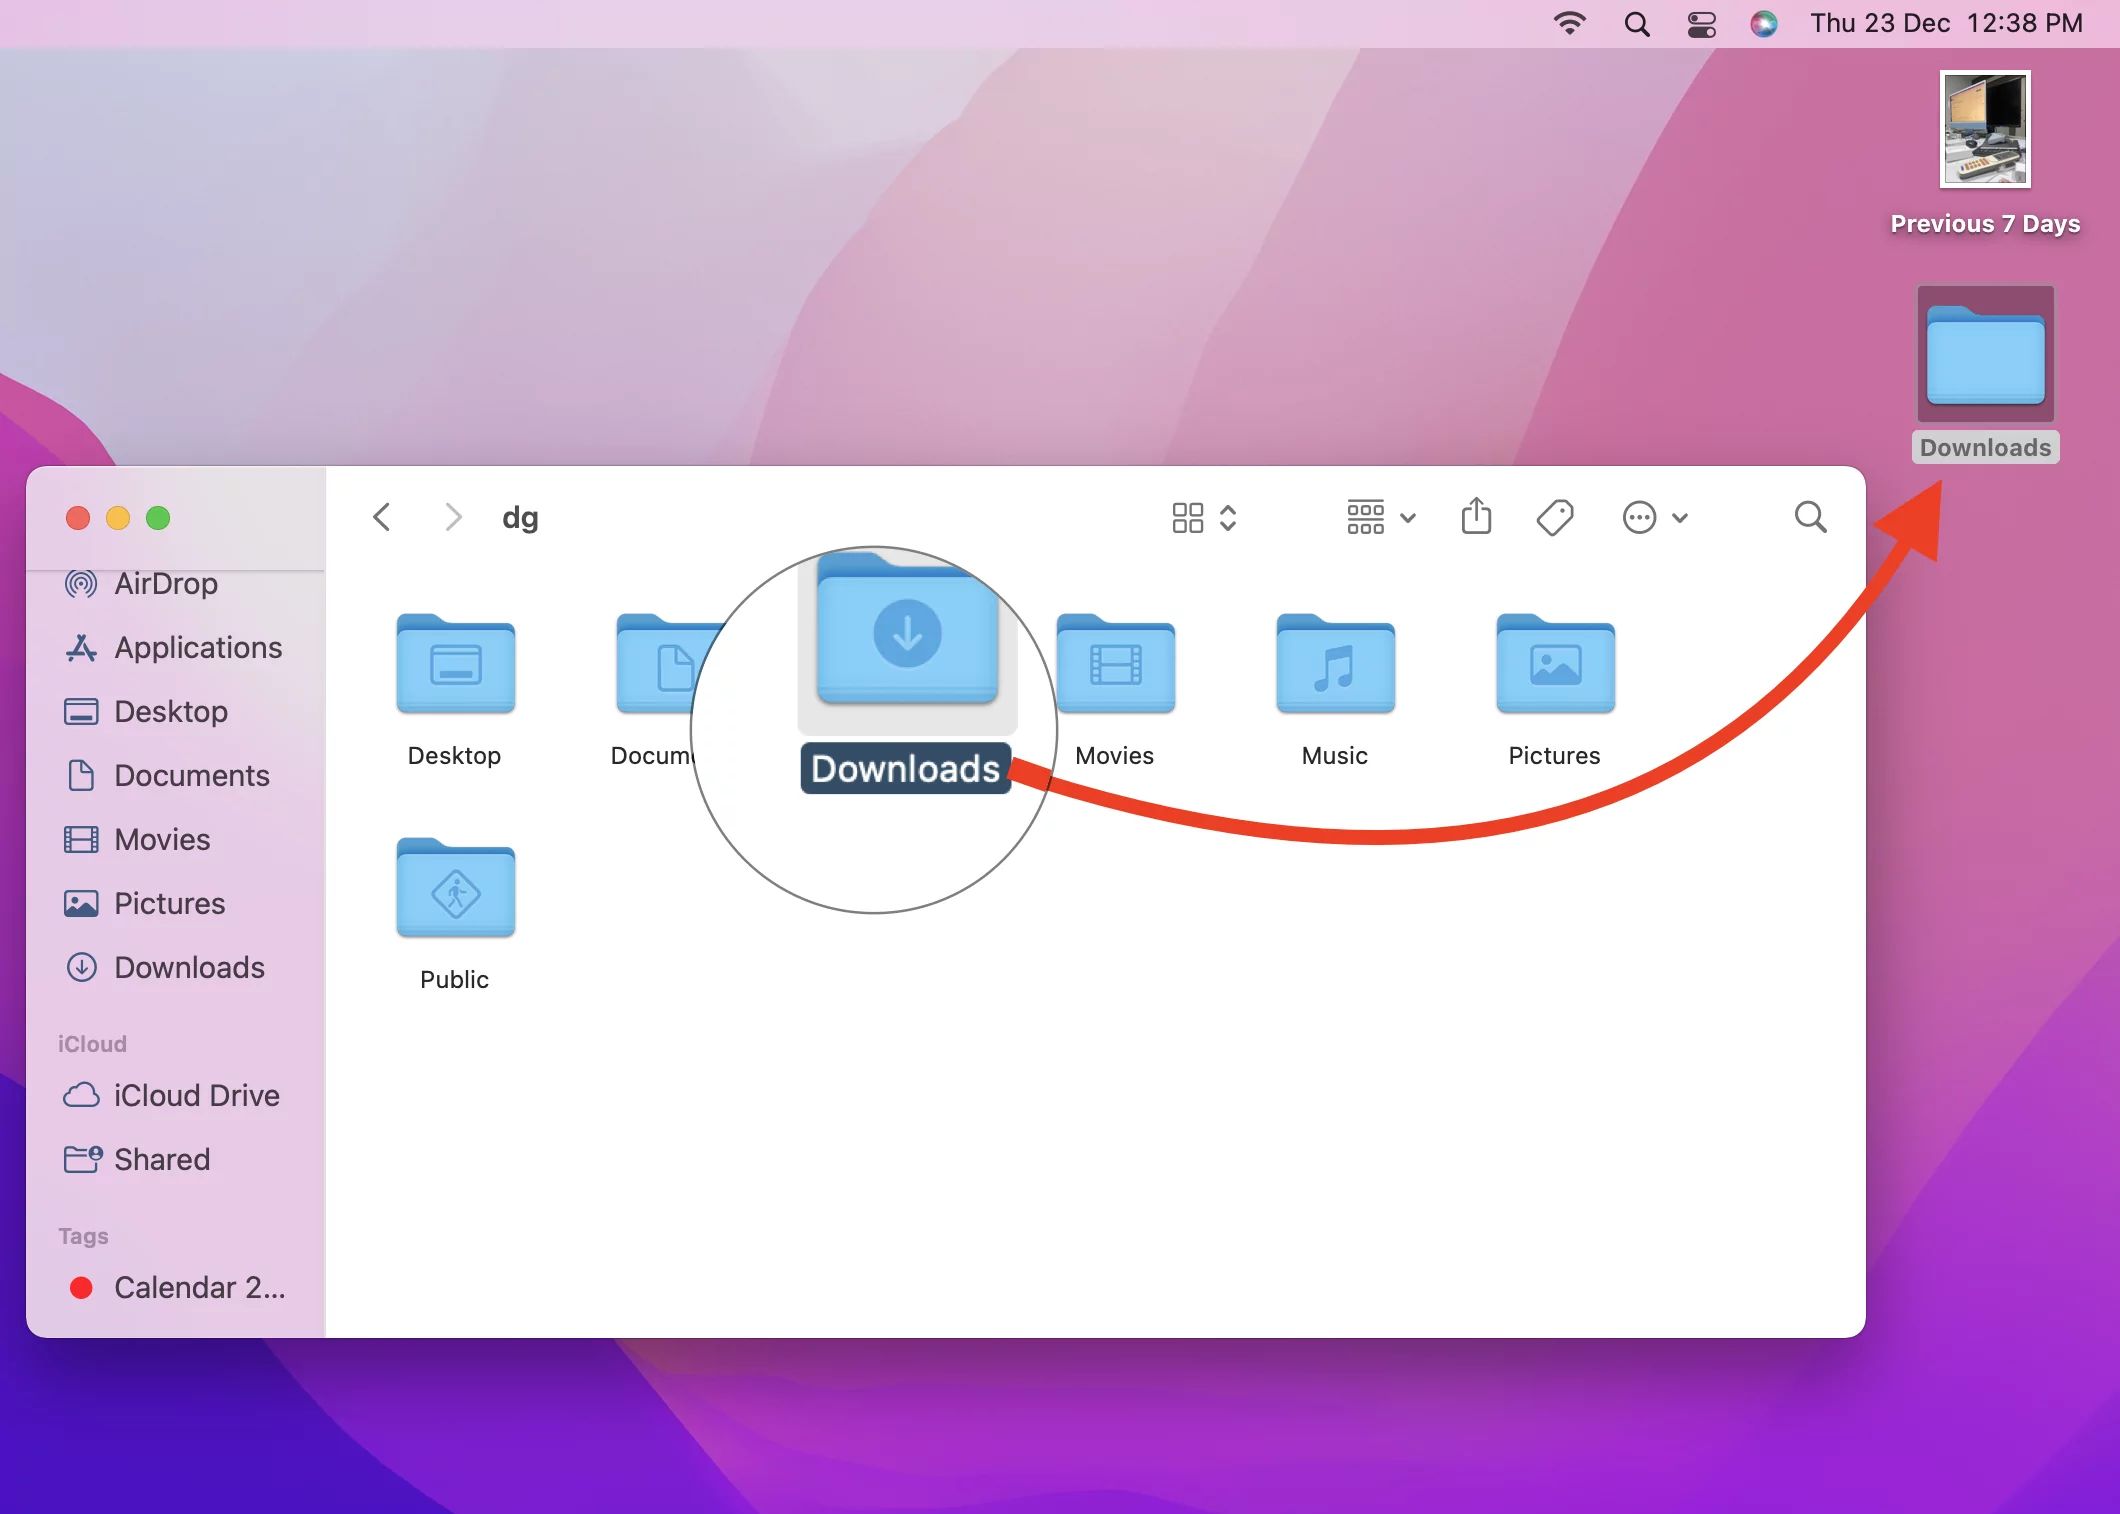
- Depending on your device, you’ll be prompted to choose the destination for the downloaded photos. You can select to save them to your device’s Photos app or choose a specific folder on your computer.
- Confirm your selection and wait for the download process to complete. The time it takes will depend on the number and size of the photos you’re downloading, as well as your internet connection speed.
By downloading your photos in batches, you can better manage the process and avoid overwhelming your device or experiencing any slowdowns. This method also allows you to organize your downloaded photos more effectively, especially if you have a large photo library.
It’s worth noting that while downloading, you may see a progress bar or indicator to track the status of the download. You can monitor this to see how much time is remaining until the process is complete.
Once the download is finished, you can now access your photos locally on your device or in the designated folder on your computer. Congratulations! You have successfully downloaded a batch of photos from your iCloud Photos library.
If you have more photos left to download, simply repeat the steps above to select, save, and download the remaining batches until you have all your desired photos safely stored offline.
Now that you’ve learned how to download your photos in batches, let’s move on to the next step: recovering any photos from your Recently Deleted albums.
Step 4: Recover Photos from Recently Deleted Albums
Accidents happen, and you may have unintentionally deleted some photos from your iCloud Photos library. Fortunately, Apple provides a safety net with the “Recently Deleted” albums. In this step, we’ll guide you on how to recover any photos that you may have mistakenly deleted:
- Open the Photos app on your iPhone, iPad, or Mac.
- Navigate to the “Albums” tab and scroll down until you find the “Recently Deleted” album. Tap or click on it to open.
- Inside the “Recently Deleted” album, you’ll find all the photos that were deleted within the past 30 days. Keep in mind that after 30 days, the photos will be permanently deleted and cannot be recovered.
- With the album open, you can select individual photos to recover or choose to recover all deleted photos by tapping on “Select” at the top right corner and then tapping on “Recover All”.
- Confirm the recovery action, and the selected photos will be restored to your iCloud Photos library.
It’s important to note that once you recover photos from the “Recently Deleted” album, they will be moved back to their original location in your iCloud Photos library. If you had previously organized your photos into albums or categorized them, the recovered photos will return to their respective albums.
By utilizing the “Recently Deleted” album, you can have peace of mind knowing that you have a chance to recover any accidentally deleted photos. However, remember that the 30-day recovery window is limited, so act promptly if you need to restore any deleted photos.
With this step completed, you’ve successfully recovered any photos from your “Recently Deleted” album. Congratulations!
Now that you’ve downloaded all your photos from iCloud and recovered any accidentally deleted ones, you have successfully completed the process. You can now enjoy easy access to your photos offline and have the peace of mind that your precious memories are safely stored.
We hope this guide has been helpful in assisting you with downloading all your pictures from iCloud. If you have any further questions or need additional support, Apple’s customer service team is always available to help you.
Conclusion
Downloading all your pictures from iCloud may seem like a daunting process, but with the right steps, it can be a straightforward and rewarding experience. In this guide, we’ve taken you through the process, step by step, from accessing your iCloud Photos library to recovering deleted albums.
By following the steps outlined in this guide, you can easily download all your photos from iCloud and have them stored offline for easy access. Whether you’re looking to create a local backup, free up space in your iCloud storage, or simply want to have your photos available offline, this guide has provided you with the necessary information to achieve your goal.
Remember to access your iCloud Photos library through your device’s settings, select all the photos you want to download, and then proceed to download them in batches to ensure a smooth and efficient process. In case you have accidentally deleted any photos, the “Recently Deleted” album serves as a safety net, allowing you to recover them before they are permanently deleted.
Now that you have successfully completed the process, you can sit back, relax, and enjoy your offline photo collection. Whether you’re reminiscing about past adventures, sharing memories with loved ones, or simply organizing your photos for easy access, having your pictures downloaded from iCloud gives you greater flexibility and control over your digital memories.
We hope this guide has been helpful in assisting you with downloading all your pictures from iCloud. If you have any further questions or need additional support, Apple’s customer service team is always available to help you.
Happy downloading!