Introduction
Welcome to the exciting world of iCloud, Apple’s cloud-based storage and file-sharing service. With iCloud, you can securely store your personal and professional files, such as photos, videos, documents, and more, and access them from any Apple device with an internet connection. One of the great features of iCloud is the ability to easily download files and folders to your device for offline use or sharing with others.
In this guide, we will walk you through the step-by-step process of downloading files from iCloud. Whether you want to retrieve a memorable photo from your iCloud Photo Library, access an important document from your iCloud Drive, or download an app backup from iCloud, we’ve got you covered. By following our instructions, you’ll be able to navigate through iCloud’s user-friendly interface and effortlessly retrieve your desired files.
Keep in mind that in order to access and download your files from iCloud, you’ll need to sign in with your Apple ID. If you don’t have an Apple ID yet, you can easily create one for free on Apple’s website or directly from your Apple device. Once you’re signed in, you’ll have the freedom to explore all the data you’ve stored in iCloud and download it to your heart’s content.
So, whether you’re a new iCloud user or just need a refresher on how to download files, let’s dive in and unleash the power of iCloud!
Step 1: Sign in to iCloud
Before you can start downloading files from iCloud, you’ll need to sign in to your iCloud account. Here’s how:
- Open a web browser on your computer or launch the iCloud app on your Apple device.
- Enter the URL www.icloud.com in the browser’s address bar or select the iCloud app from your device’s home screen.
- On the iCloud sign-in page, enter your Apple ID and password.
- If you have enabled two-factor authentication, you may be prompted to enter a verification code sent to your trusted device or phone number.
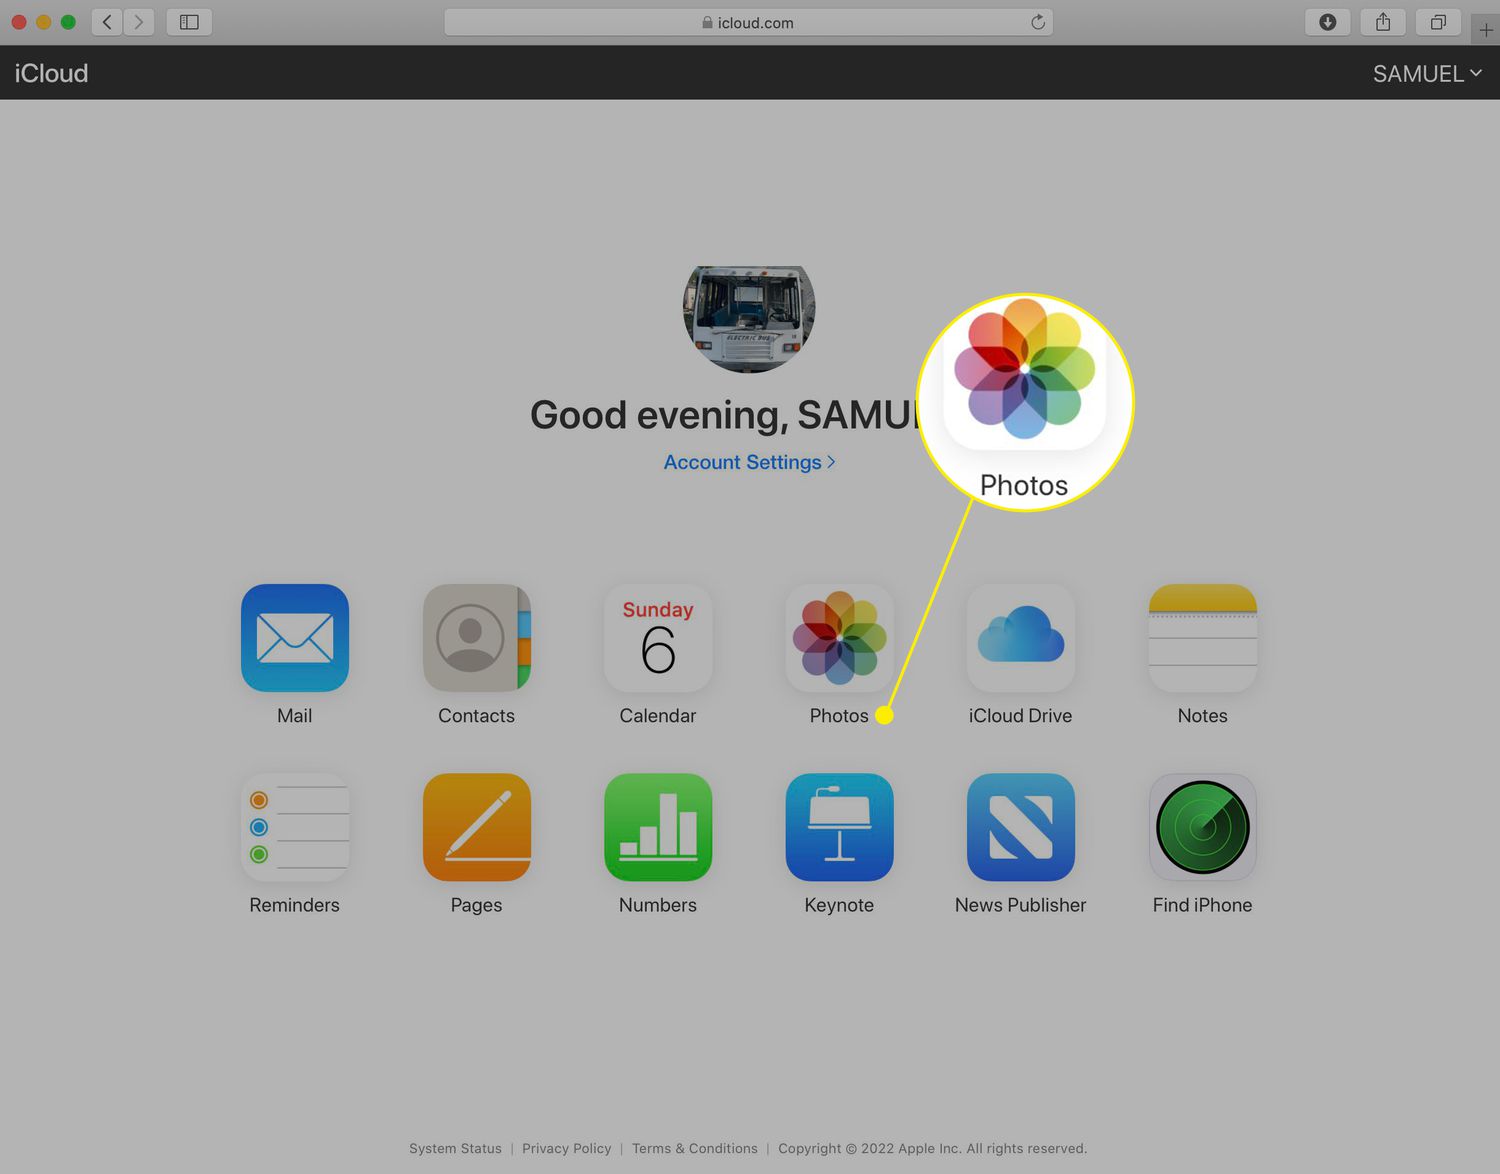
- After successfully signing in, you will be taken to the iCloud homepage where you can access your files, photos, contacts, and more.
Note: If you are signing in from a shared or public computer, make sure to uncheck the “Keep me signed in” option to protect your privacy.
Once you have signed in, you are ready to explore the various features of iCloud and download your files.
Pro Tip: To streamline the sign-in process, you can enable the “Remember me” option on your personal device. This way, you won’t have to enter your Apple ID and password every time you want to access iCloud.
Step 2: Access iCloud Drive
Now that you’re signed in to iCloud, it’s time to access the iCloud Drive, where your files and folders are stored. Follow these simple steps to access iCloud Drive:
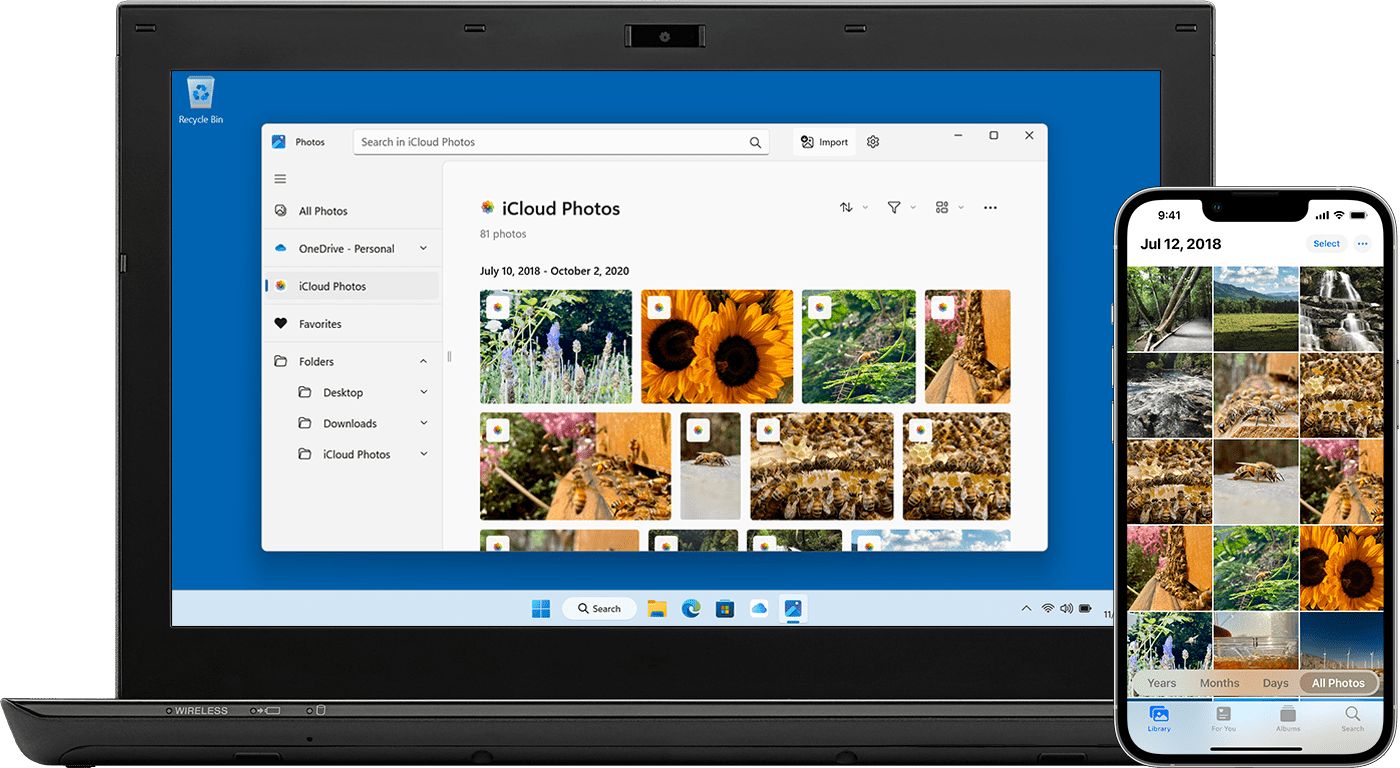
- Once you’re on the iCloud homepage, click on the “iCloud Drive” icon. It resembles a cloud-shaped icon with an upward arrow inside it.
- Alternatively, if you’re using an iOS device, you can tap on the “Files” app to access your iCloud Drive.
- After clicking on the icon or opening the “Files” app, you will be taken to the iCloud Drive interface. Here, you can see all the files and folders that are stored in your iCloud account.
- If you have organized your files into folders, you can navigate through the folders by double-clicking on them.
- To go back to the previous folder or level, click on the arrow icon at the top-left corner of the screen.
It’s worth mentioning that iCloud Drive not only allows you to store and access files from your Apple devices, but it also syncs the files across all your devices, ensuring that you have the most up-to-date versions handy. This means that any changes you make to a file in iCloud Drive on one device will automatically be reflected on all your other devices.
With iCloud Drive, you can have a centralized and synchronized hub for all your important files, making it easy to access them from anywhere at any time. Now that you’ve accessed your iCloud Drive, let’s move on to the next step to download files from it.
Step 3: Select the desired file or folder
Now that you have accessed your iCloud Drive, it’s time to select the file or folder that you want to download. Follow these steps to choose the desired file or folder:
- Browse through the list of files and folders in your iCloud Drive to locate the one you want to download.
- If the file or folder is directly visible on the main screen, you can simply click on it to select it.
- If the file or folder is located within a subfolder, double-click on the folder to open it and reveal its contents. Then, click on the file or folder you want to download.
- Alternatively, you can use the search functionality at the top-right corner of the page to quickly find the desired file or folder. Simply enter the name or part of the name in the search bar, and iCloud will narrow down the results accordingly.
- If you’re on an iOS device, you can use the “Browse” tab in the “Files” app to navigate through your iCloud Drive and select the file or folder you want to download.
- Once you have located and selected the desired file or folder, we can move on to the next step to start the actual downloading process.
Having the ability to select specific files or folders from your iCloud Drive allows you to download only what you need, saving time and storage space on your device. Whether it’s a single document or a whole folder of photos, selecting the right file or folder is an important step to ensure an efficient and organized downloading experience.
Step 4: Download the file or folder
Now that you have selected the file or folder you want to download from your iCloud Drive, it’s time to initiate the downloading process. Follow these simple steps to download your desired file or folder:
- Once you have the file or folder selected, you can simply right-click on it (or control-click on Mac) to open a context menu.
- In the context menu, choose the “Download” or “Download a Copy” option. This action will prompt iCloud to start downloading the file or folder to your computer or device.
- If you prefer a quicker method, you can also use a keyboard shortcut. Select the file or folder, then press the following keys:
- On a Windows computer: Ctrl + S
- On a Mac computer: Command + S
- If you’re on an iOS device using the “Files” app, you can tap on the share icon (a square with an arrow pointing upwards) and select the “Save to Files” or “Download” option.
- Depending on the file size and your internet connection speed, the download process may take a few moments to complete. You can monitor the progress in your browser’s download manager or in the notifications on your device.
- Once the download is finished, the file or folder will be saved to your default download location on your computer or to the designated folder in the “Files” app on your iOS device.
Congratulations! You have successfully downloaded the file or folder from your iCloud Drive. You can now access it locally on your computer or device for offline use or further processing.
Remember to check your download location or the “Files” app to locate the downloaded file or folder. If you encounter any issues during the download process, make sure to check your internet connection and try again.
Now that you’ve learned how to download files from iCloud, let’s move on to the last step to choose a download location.
Step 5: Choose a download location
Once you’ve successfully downloaded the file or folder from your iCloud Drive, it’s time to choose the location where you want to save it on your computer or device. Follow these steps to select the desired download location:
- By default, your downloaded file or folder will be saved to your computer’s designated download folder. This location is often set in your browser’s settings. You can check your browser’s preferences or settings to verify or change the default download location.
- If you want to save the file or folder in a different location, you can click on the “Save As” option in your browser’s download manager or file-saving dialog box.
- In the “Save As” dialog box, you can choose a specific folder or directory where you would like to save the file or folder. You can navigate through the folder structure on your computer to select the desired location.
- If you’re using an iOS device, you can choose the location within the “Files” app where you want to save the downloaded file or folder. You can select an existing folder or create a new one to keep your files organized.
- Once you have selected the desired download location, click on the “Save” or “OK” button to finalize the process. The file or folder will be saved in the chosen location on your computer or iOS device.
Choosing the right download location is important to ensure easy access and organization of your downloaded files. Whether you prefer to keep them in your default download folder or organize them in specific directories, having control over the download location gives you the flexibility to manage your files effectively.
Now that you have successfully completed all the steps, you are ready to enjoy your downloaded file or folder from iCloud at your chosen location.
Conclusion
Downloading files from iCloud is a simple and convenient process that allows you to access your important documents, photos, and other files from anywhere, anytime. By following the step-by-step instructions in this guide, you can effortlessly retrieve files from your iCloud account and save them on your computer or iOS device.
We started by signing in to iCloud with your Apple ID, ensuring that you have access to all the files and folders stored in your account. Then, we explored the iCloud Drive and learned how to navigate through its interface to locate the specific file or folder you want to download. From there, we initiated the download process and guided you on how to choose the download location.
Remember, iCloud offers not only a secure storage space for your files but also a seamless synchronization across all your Apple devices, keeping your data up to date and readily available. Whether you need to download a photo, a document, or a whole folder, iCloud’s user-friendly interface makes it easy to access and retrieve your files and keeps them organized.
So, next time you want to download files from iCloud, simply follow these steps and enjoy the convenience of having your important data at your fingertips. Harness the power of iCloud and make the most out of this versatile storage and file-sharing service.
Thank you for using this guide, and we hope that downloading files from iCloud has become a seamless and efficient process for you. Happy file downloading!