Introduction
Have you ever needed to download important messages from your iCloud account? Whether you’re switching devices, saving precious memories, or simply organizing your digital communication, having a way to download messages from iCloud can be incredibly useful.
iCloud, Apple’s cloud storage and computing service, provides a convenient way to store and access various data, including messages, on your devices. However, downloading messages from iCloud is not as straightforward as other file types.
In this guide, we will walk you through the process of downloading messages from iCloud on different devices and platforms. Whether you’re using a Mac, Windows PC, iPhone, or iPad, we’ve got you covered.
Before we dive into the steps, it’s important to note that downloading messages from iCloud requires an internet connection and access to your iCloud account. Additionally, make sure you have enough available storage space on your device to store the downloaded messages.
Let’s get started and learn how to download messages from iCloud!
Step 1: Access iCloud on your device
The first step to downloading messages from iCloud is to access your iCloud account on the device you want to download the messages to. Here’s how you can do it:
- On a Mac: Open the “System Preferences” and click on “Apple ID” or “iCloud.” Enter your Apple ID and password to sign in to your iCloud account.
- On a Windows PC: Open your preferred web browser and go to the iCloud website (icloud.com). Enter your Apple ID and password to log in.
- On an iPhone or iPad: Go to the Settings app and tap on your name at the top of the screen. Then, select “iCloud” and enter your Apple ID and password when prompted.
Once you’ve successfully logged in to your iCloud account, you can proceed to the next steps to download your messages.
It’s worth mentioning that accessing iCloud requires a stable internet connection. If you’re using a device that’s not connected to the internet, make sure to connect to a Wi-Fi network or enable cellular data before proceeding.
Now that you’re signed in to iCloud, let’s move on to the specific steps for downloading messages to your device.
Step 2: Download iCloud Messages to Mac
If you’re using a Mac and want to download iCloud messages to your computer for offline access or backup purposes, follow these steps:
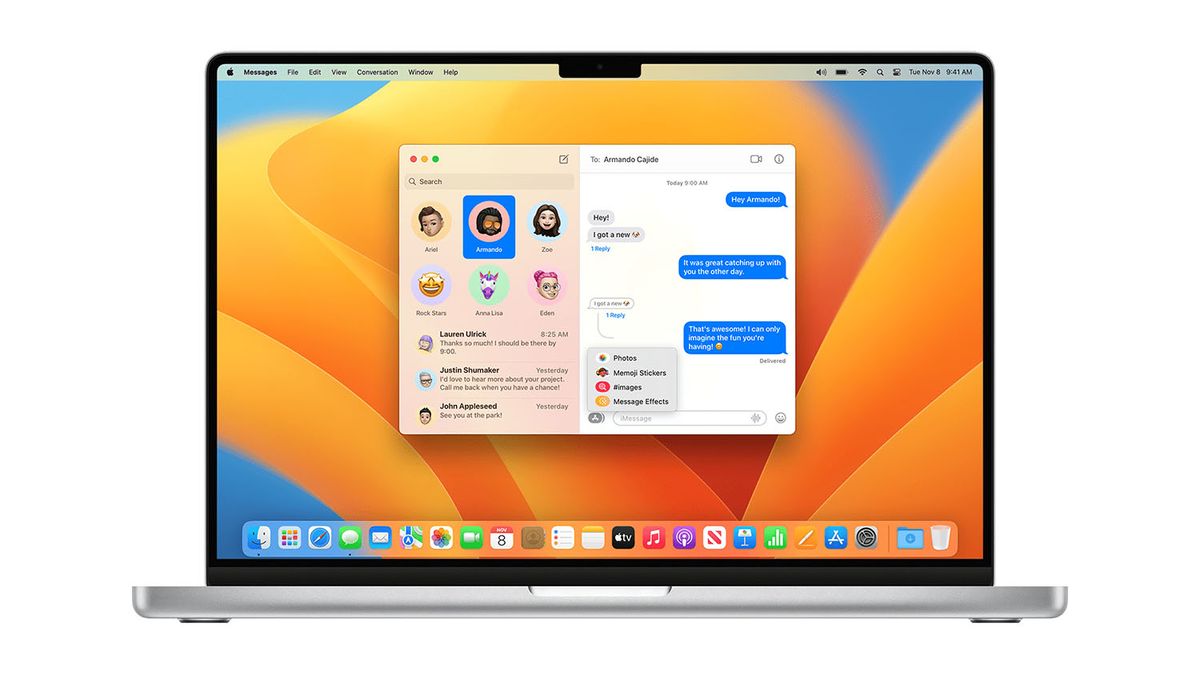
- Open the “Messages” app on your Mac. If you don’t have it already, you can download it from the Mac App Store.
- In the menu bar at the top of the screen, click on “Messages” and then select “Preferences.”
- In the Preferences window, go to the “Accounts” tab and make sure your iCloud account is selected in the sidebar.
- Under the “Enable Messages in iCloud” section, check the box next to “Enable Messages in iCloud” to sync your messages with iCloud.
- Wait for your messages to sync with iCloud. This process may take some time, depending on the size of your message database.
- Once the syncing is complete, all your iCloud messages will be available in the Messages app on your Mac.
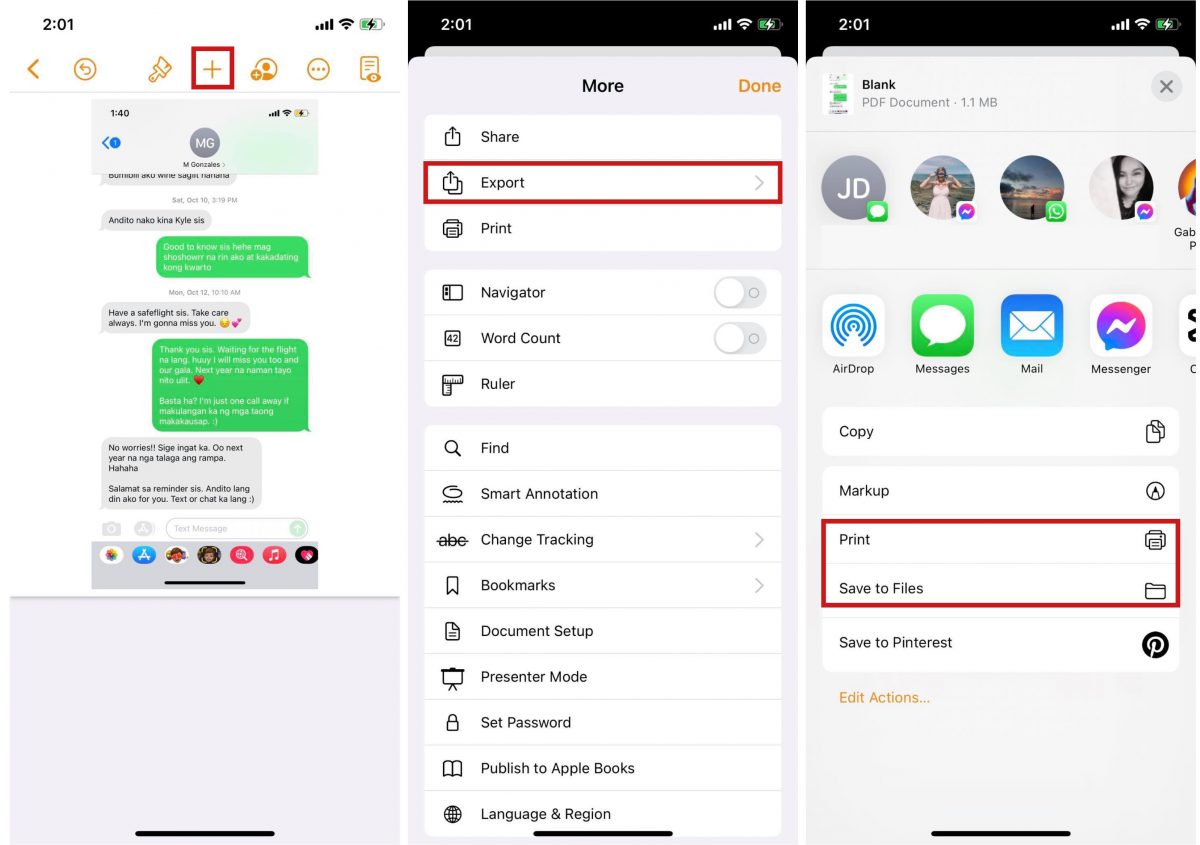
- To download specific messages or conversations, select them in the Messages app and choose “File” > “Export” > “Messages” from the menu bar. Choose a location on your Mac to save the downloaded messages.
By following these steps, you can easily download your iCloud messages to your Mac and access them at any time, even without an internet connection. It’s a great way to have a local backup of your important conversations or simply free up some space on your iCloud storage.
Now that you know how to download iCloud messages on a Mac, let’s move on to the next step for downloading iCloud messages on a Windows PC.
Step 3: Download iCloud Messages to Windows PC
If you’re using a Windows PC and want to download your iCloud messages to your computer, you can do so with the help of Apple’s iCloud for Windows application. Follow these steps:
- First, make sure you have iCloud for Windows installed on your PC. You can download it from the Apple website if you haven’t already.
- Launch the iCloud for Windows application on your computer.
- Sign in with your Apple ID and password to access your iCloud account.
- In the iCloud for Windows app, make sure the “Mail” option is enabled. This will allow you to access your iCloud emails, which include your iCloud messages.
- Click on the “Apply” button to save the changes and initiate the syncing process.
- Wait for the syncing process to complete. This may take some time, depending on the size of your message database and your internet connection speed.
- Once the syncing is finished, you can find your iCloud messages in the Mail app on your Windows PC.
- To download specific messages or conversations, select them in the Mail app, right-click, and choose the option to save or export them to a local folder on your PC.
By following these steps, you can easily download your iCloud messages to your Windows PC and have them readily accessible. Whether you’re archiving important conversations or simply want to have a backup of your messages, iCloud for Windows provides a convenient solution.
Now that you know how to download iCloud messages on a Windows PC, let’s move on to the next step for downloading iCloud messages on an iPhone or iPad.
Step 4: Download iCloud Messages to iPhone or iPad
If you’re using an iPhone or iPad and want to download your iCloud messages directly to your device, follow these steps:
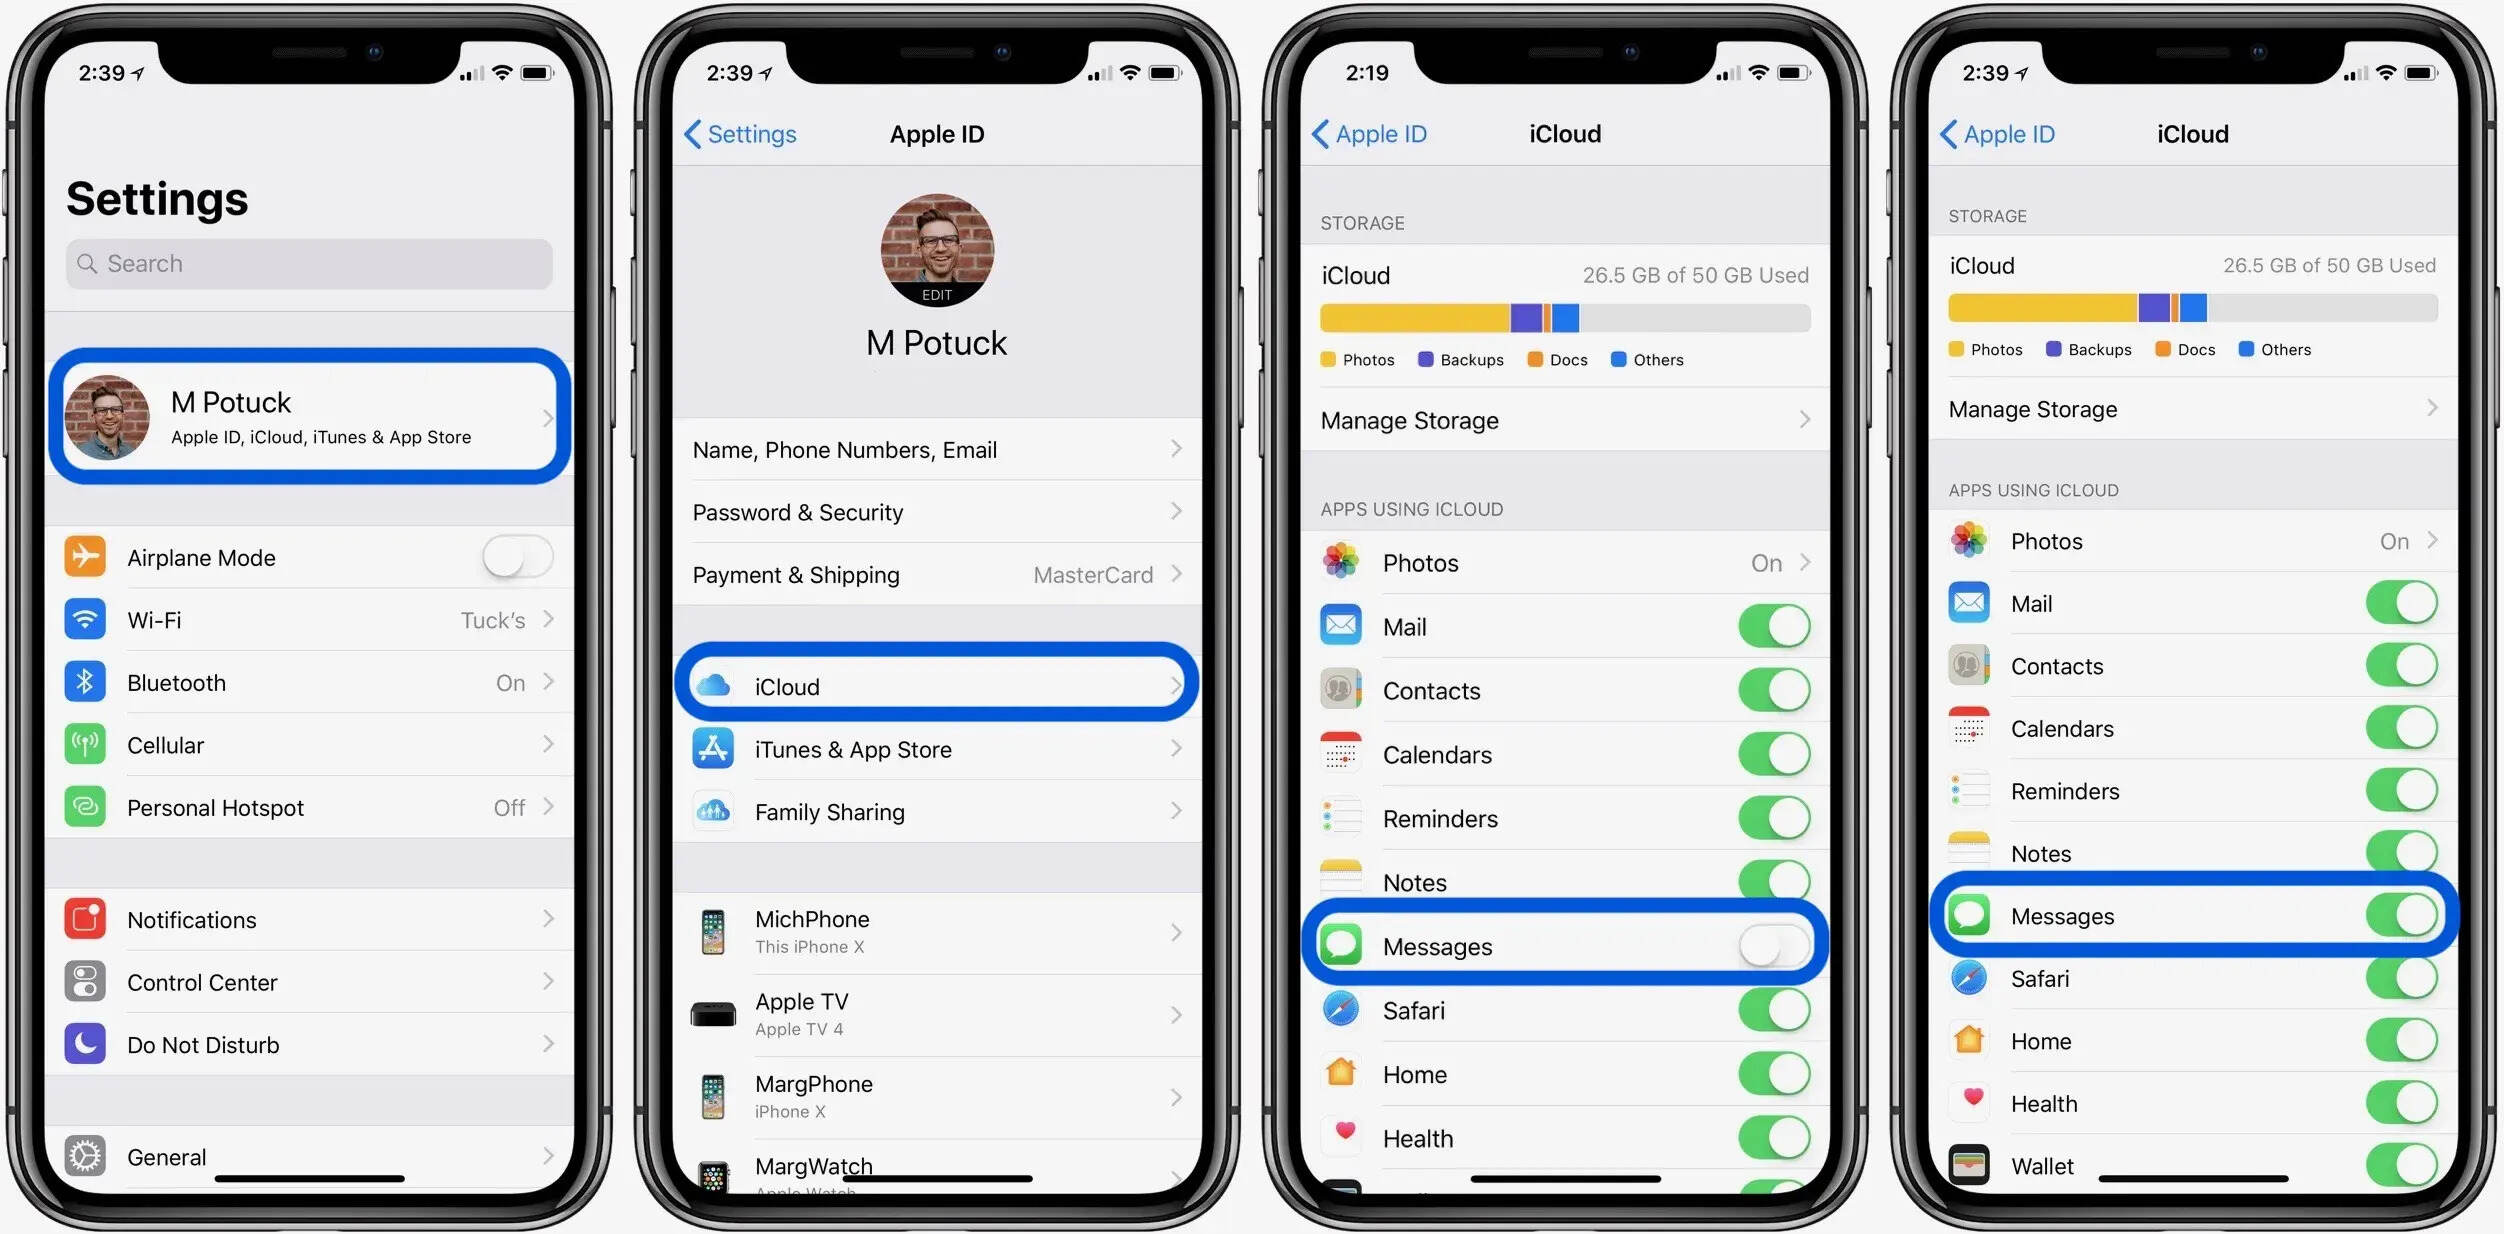
- On your iPhone or iPad, go to the “Settings” app.
- Tap on your name at the top of the screen to access your Apple ID settings.
- Scroll down and select “iCloud.”
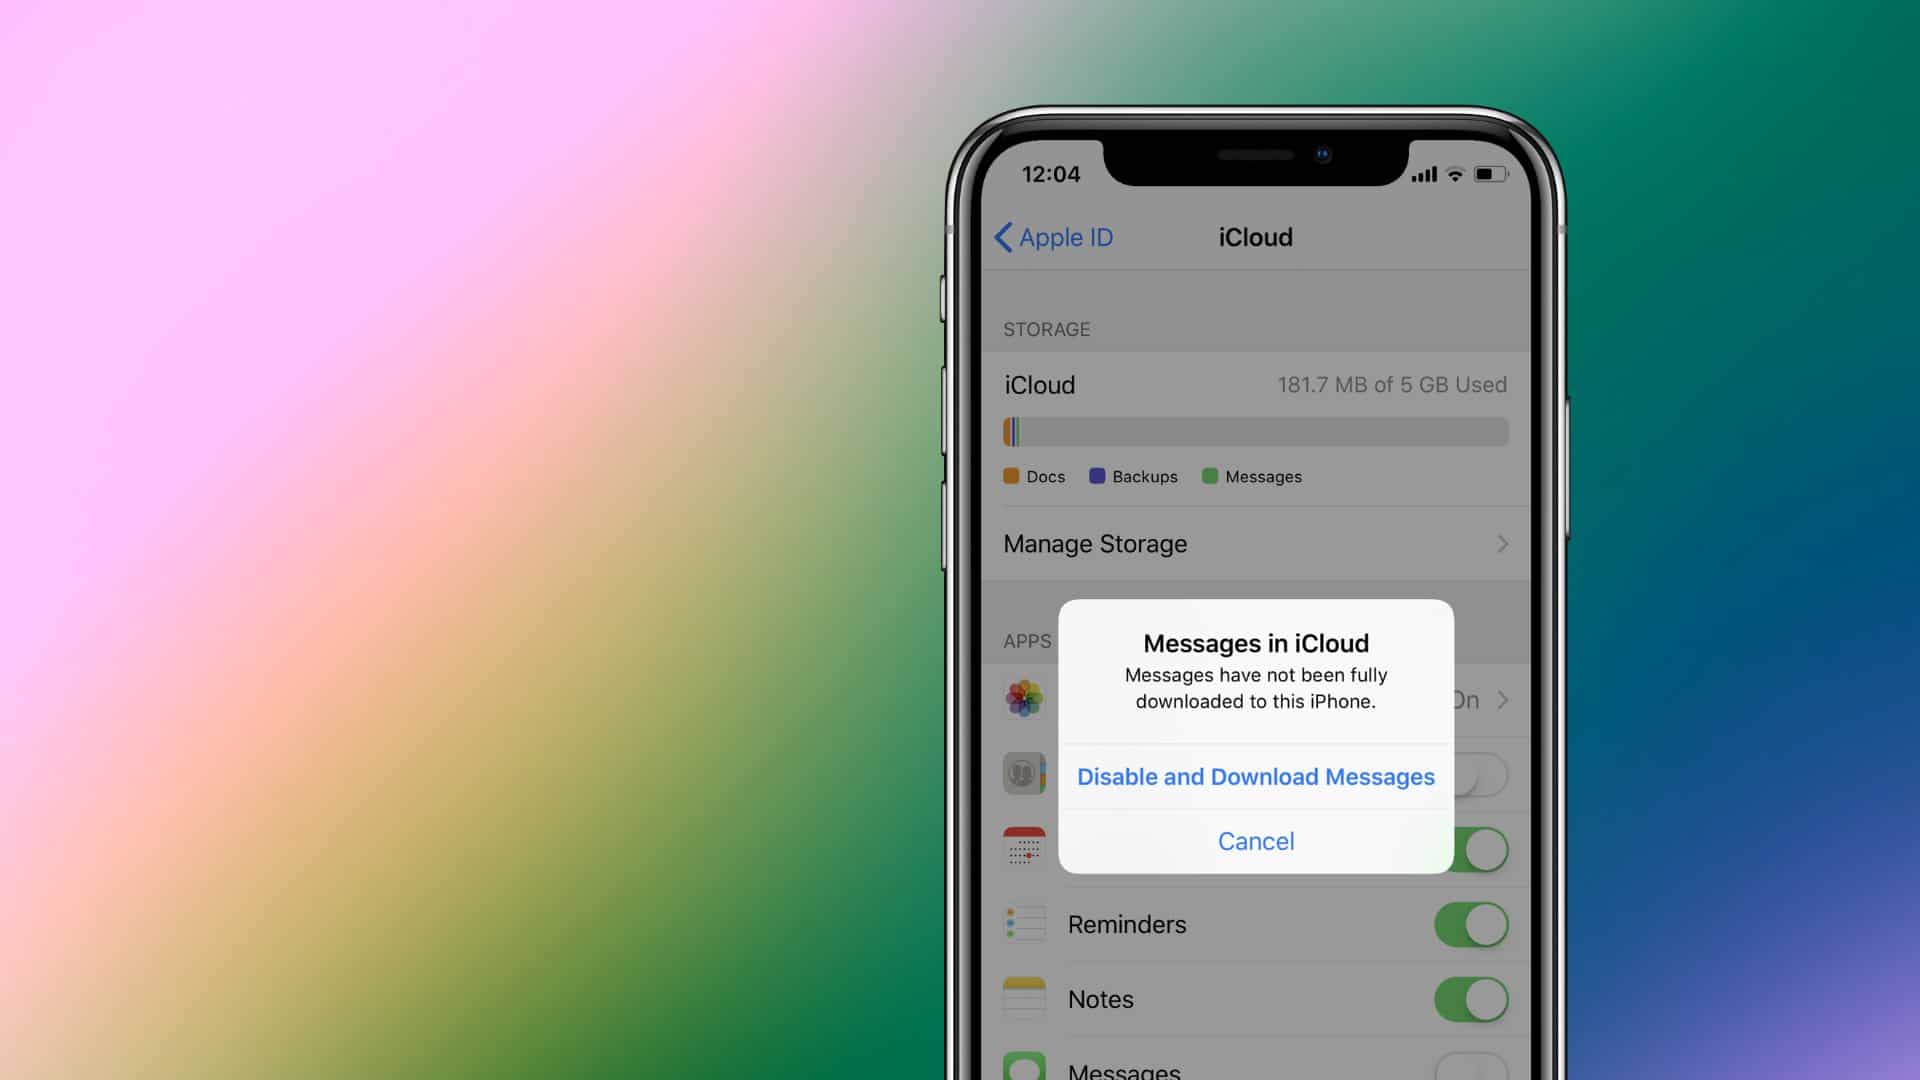
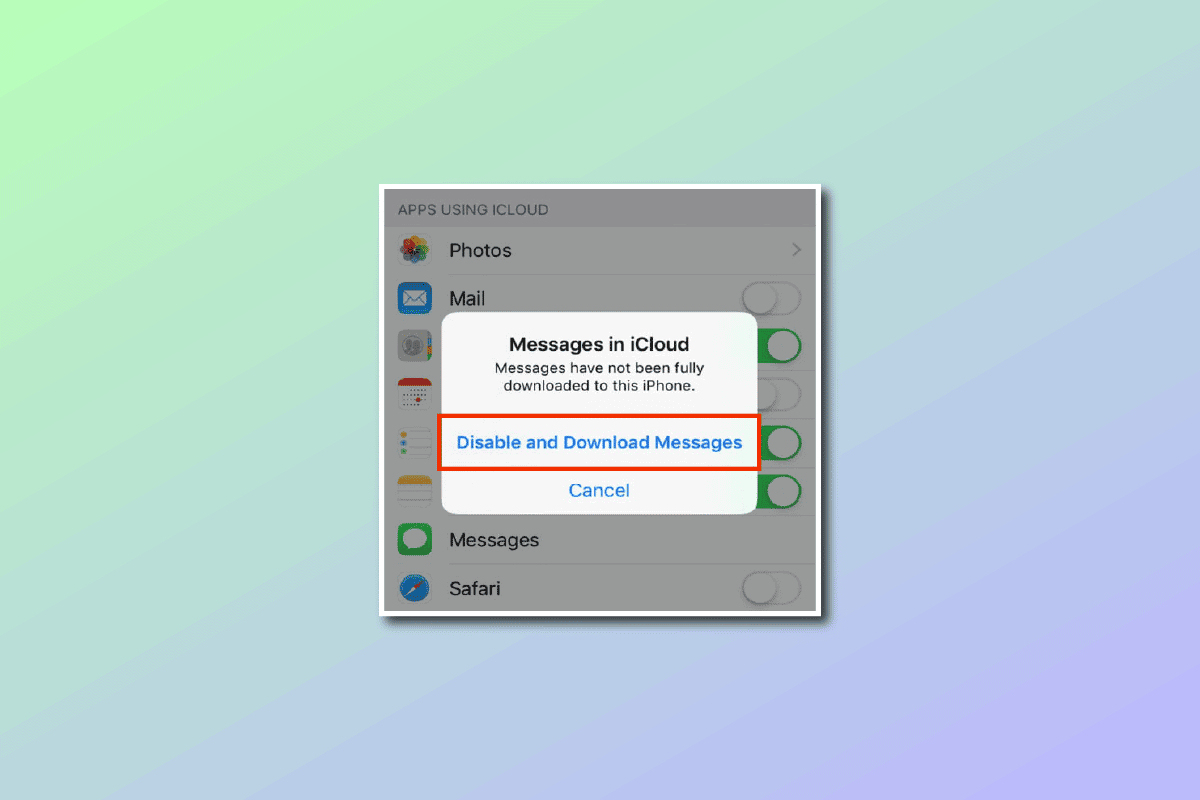
- Make sure the toggle switch for “Messages” is enabled. If not, tap on it to enable it.
- You may see a message asking whether you want to merge your messages with iCloud. Choose the option that suits your preferences.
- Wait for your device to sync your messages with iCloud. This process may take some time, depending on the size of your message database and your internet connection speed.
- Once the syncing is complete, you can access your iCloud messages via the “Messages” app on your iPhone or iPad.
With these steps, you can easily download your iCloud messages directly to your iPhone or iPad. This allows you to have instant access to your conversations, even when you’re offline or without an internet connection.
Downloading iCloud messages to your device ensures that you have a local copy of your messages, which can be helpful for various reasons, such as archiving important conversations or transferring messages to a new device.
Now that you know how to download iCloud messages on an iPhone or iPad, you have the knowledge to access your messages from any device or platform.
Conclusion
Downloading messages from iCloud provides a convenient way to access and preserve your important conversations. Whether you’re switching devices, backing up your messages, or simply organizing your communication, knowing how to download iCloud messages is a valuable skill.
In this guide, we covered the steps to download iCloud messages on different devices and platforms. We learned how to access iCloud on your device, download iCloud messages to a Mac, Windows PC, and iPhone or iPad.
By following these steps, you can have your iCloud messages readily available, even without an internet connection. Having a local copy of your messages ensures that you can access them anytime and anywhere, offering peace of mind and convenience.
Remember to keep your iCloud account secure by using a strong password and enabling two-factor authentication. This will help protect your messages and other data stored in your iCloud account.
Now that you have the knowledge to download iCloud messages, you can easily manage and organize your digital communication. Whether you want to save important conversations or simply clear up space on your iCloud storage, downloading iCloud messages is a helpful solution.
So, go ahead and start downloading your messages from iCloud and make the most of your digital communication!