Introduction
Welcome to the digital age, where our messages have migrated from traditional SMS to cloud-based platforms like iCloud. With iCloud Messages, users can securely store their iMessages and text messages in the cloud, allowing for seamless syncing across all their Apple devices. This means that whether you’re using your iPhone, iPad, or Mac, you can access and download your messages from anywhere.
In this article, we will guide you through the process of downloading iCloud Messages to your devices. Whether you want to save important conversations, free up storage space on your iPhone, or simply have a backup of your messages, this step-by-step guide will show you how.
Before we dive into the instructions, it’s important to note that iCloud Messages requires an Apple ID and an active iCloud account. Additionally, this feature is only available for devices running on iOS 11.4 or later and macOS High Sierra (10.13.5) or later.
Now, let’s get started on downloading your iCloud Messages!
Overview of iCloud Messages
iCloud Messages is a feature provided by Apple that allows users to store their iMessages and text messages in the iCloud. This means that all your conversations, including text, photos, and attachments, are securely saved in the cloud and can be accessed from any Apple device. Whether you start a conversation on your iPhone and want to continue it on your Mac or iPad, iCloud Messages ensures that your messages are always in sync.
One of the key benefits of using iCloud Messages is that it helps free up storage space on your iPhone. As messages accumulate over time, they can take up a significant amount of storage. By enabling iCloud Messages, you can offload older messages to the cloud, making more room on your device for other important data.
Additionally, iCloud Messages acts as a reliable backup solution. If you accidentally delete a message or lose your device, you can rest assured knowing that your conversations are safely stored in the cloud. You can easily restore your messages on a new device and continue where you left off.
Moreover, iCloud Messages offers a seamless and convenient way to access your messages from any device. Whether you’re using your iPhone, iPad, or Mac, you can view and reply to your messages without any hassle. This cross-device compatibility makes it easier than ever to stay connected and respond to messages regardless of which Apple device you have at hand.
It’s important to note that iCloud Messages uses end-to-end encryption, ensuring the privacy and security of your conversations. This means that only you and the recipient can access and read the messages. Apple cannot read your messages, even if they are stored in the iCloud.
Now that you have a better understanding of what iCloud Messages is and its benefits, let’s move on to the step-by-step process of enabling and downloading your messages.
Step 1: Enable iCloud Messages on your iPhone or iPad
To start using iCloud Messages, you need to enable the feature on your iPhone or iPad. Here’s how:
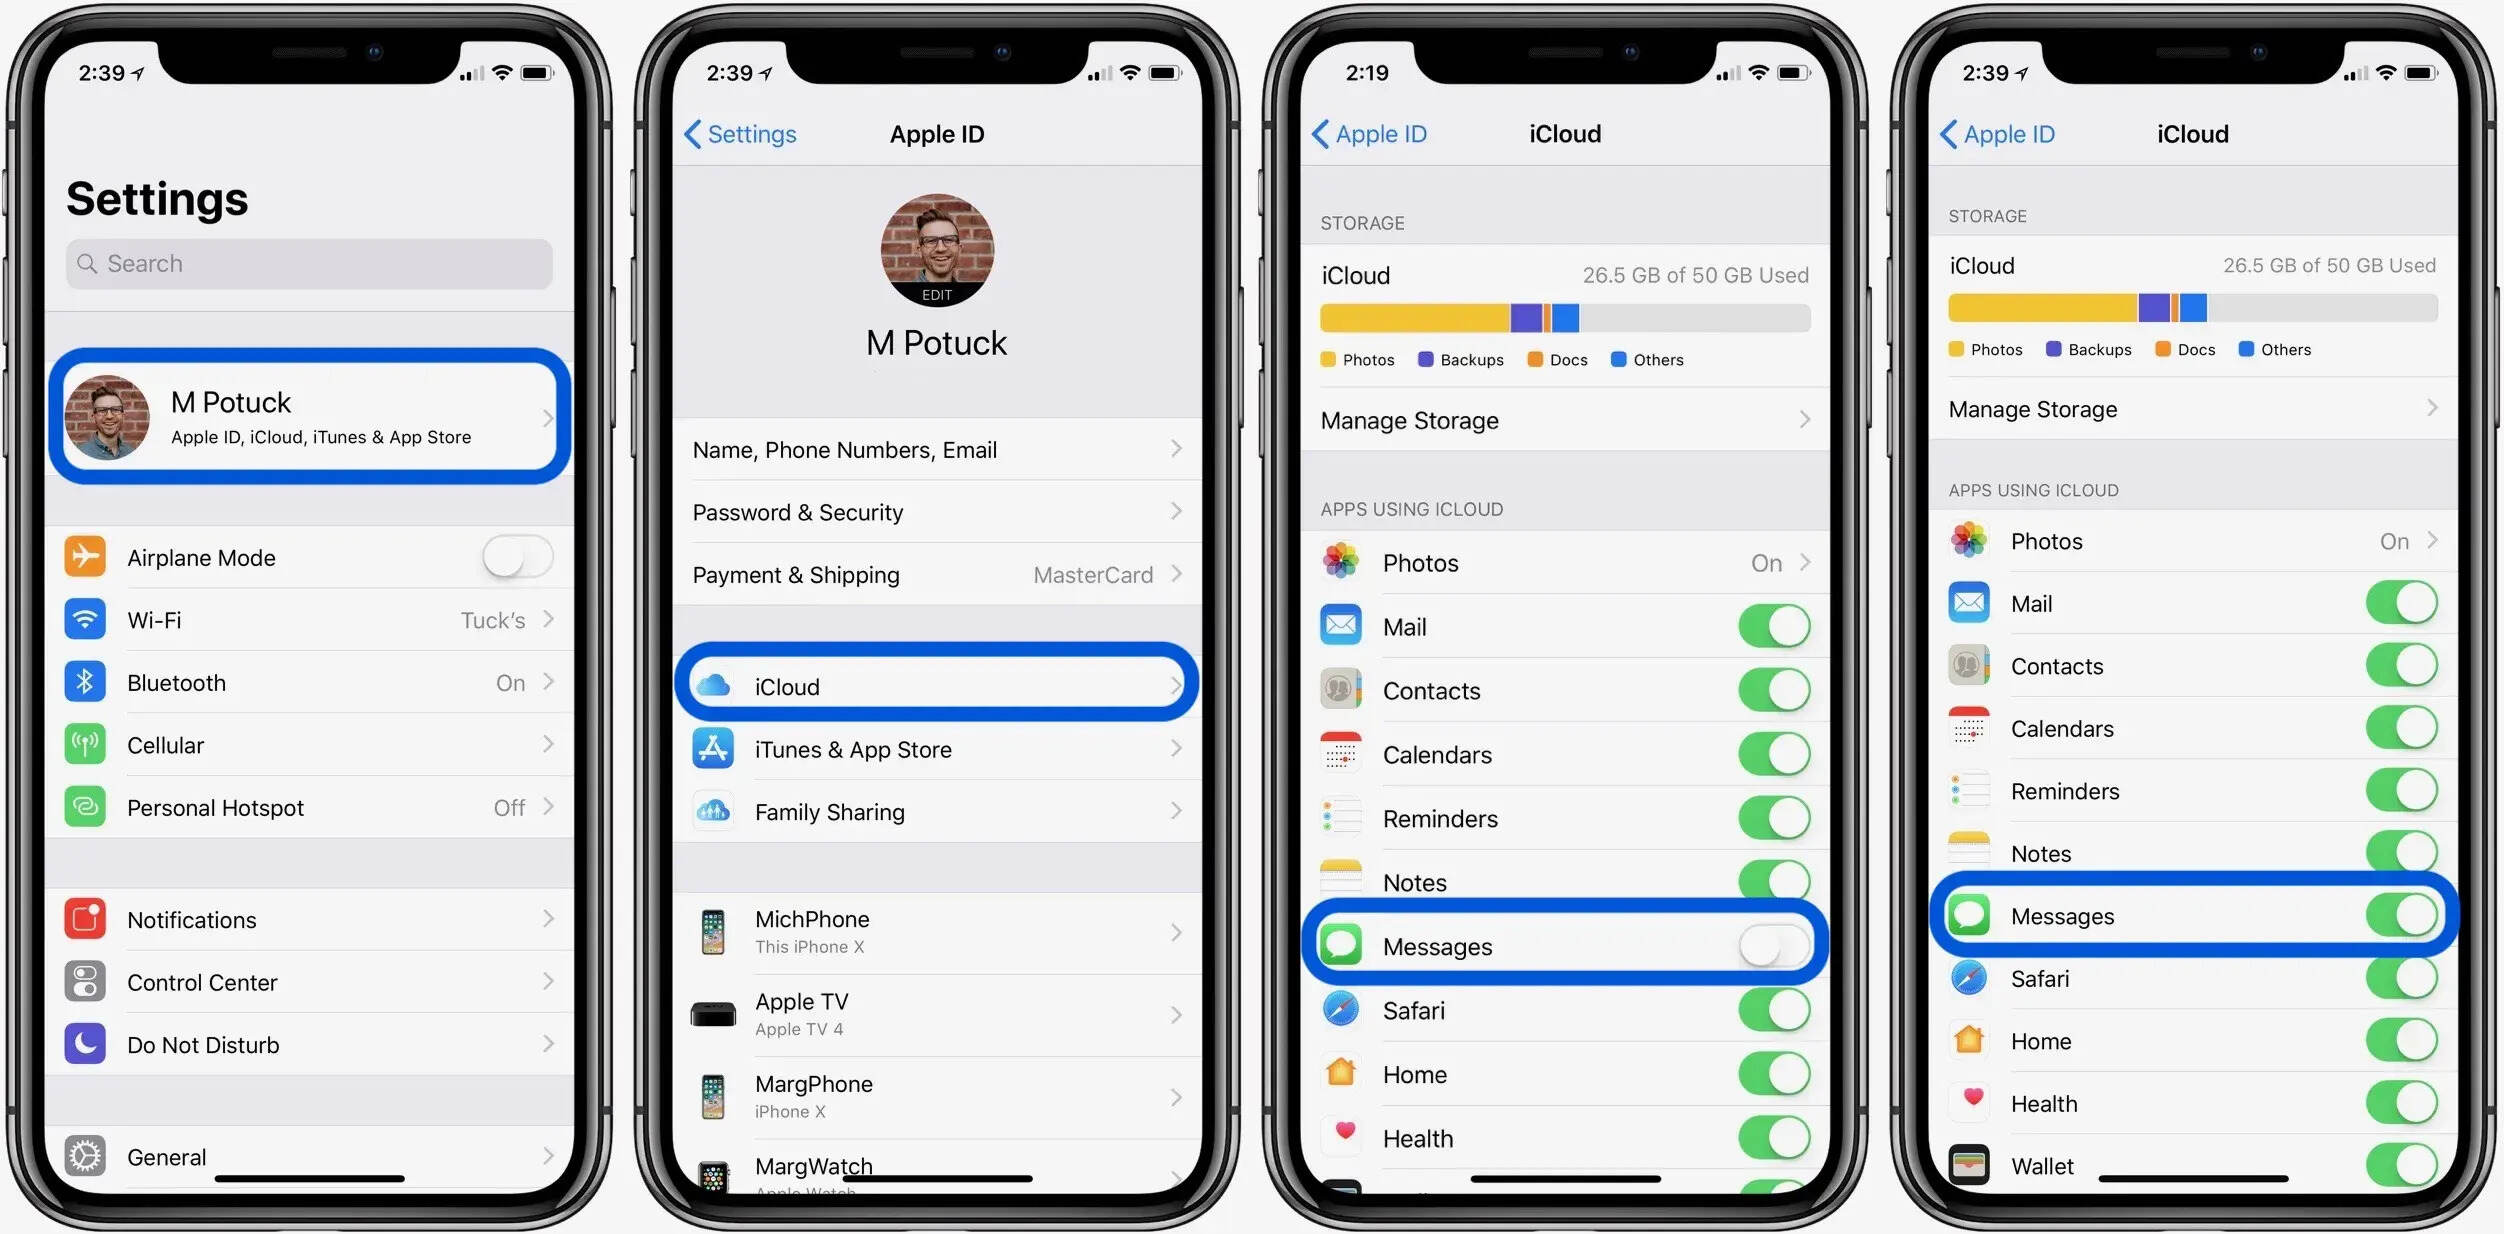
- Open the “Settings” app on your device.
- Tap on your Apple ID at the top of the screen.
- Select “iCloud” from the list of options.
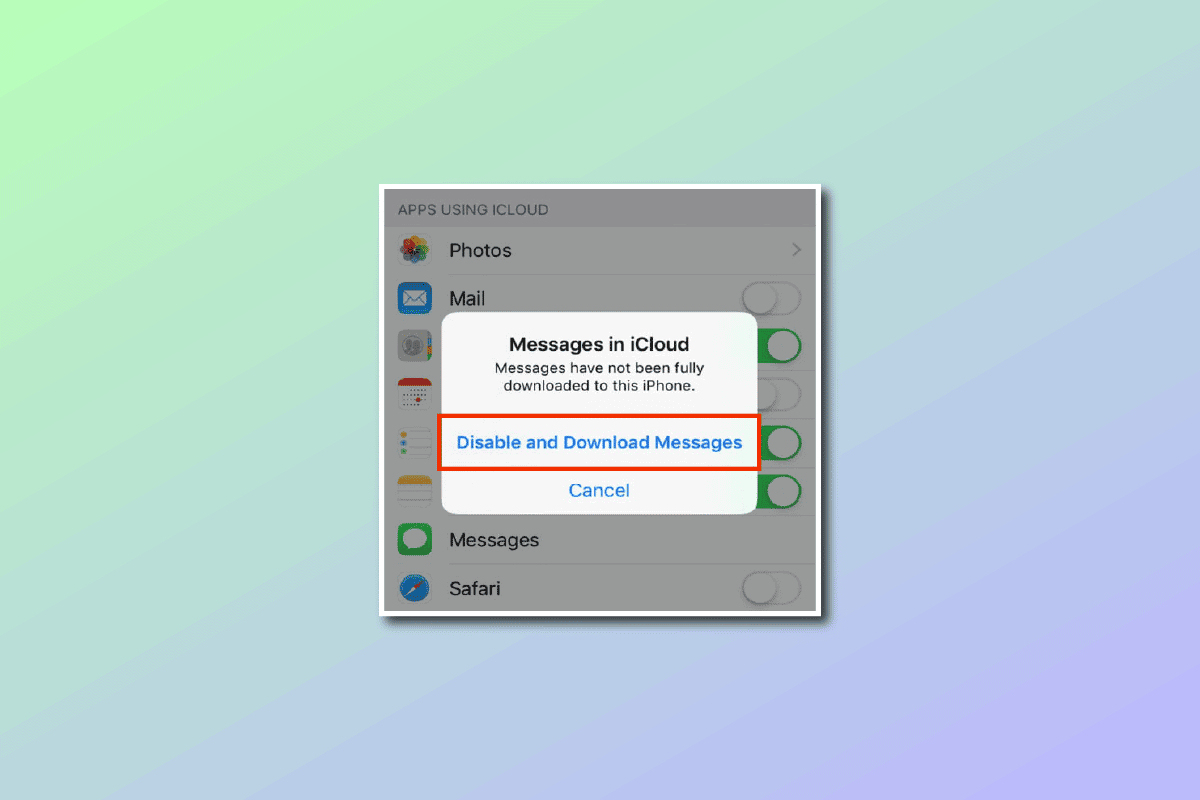
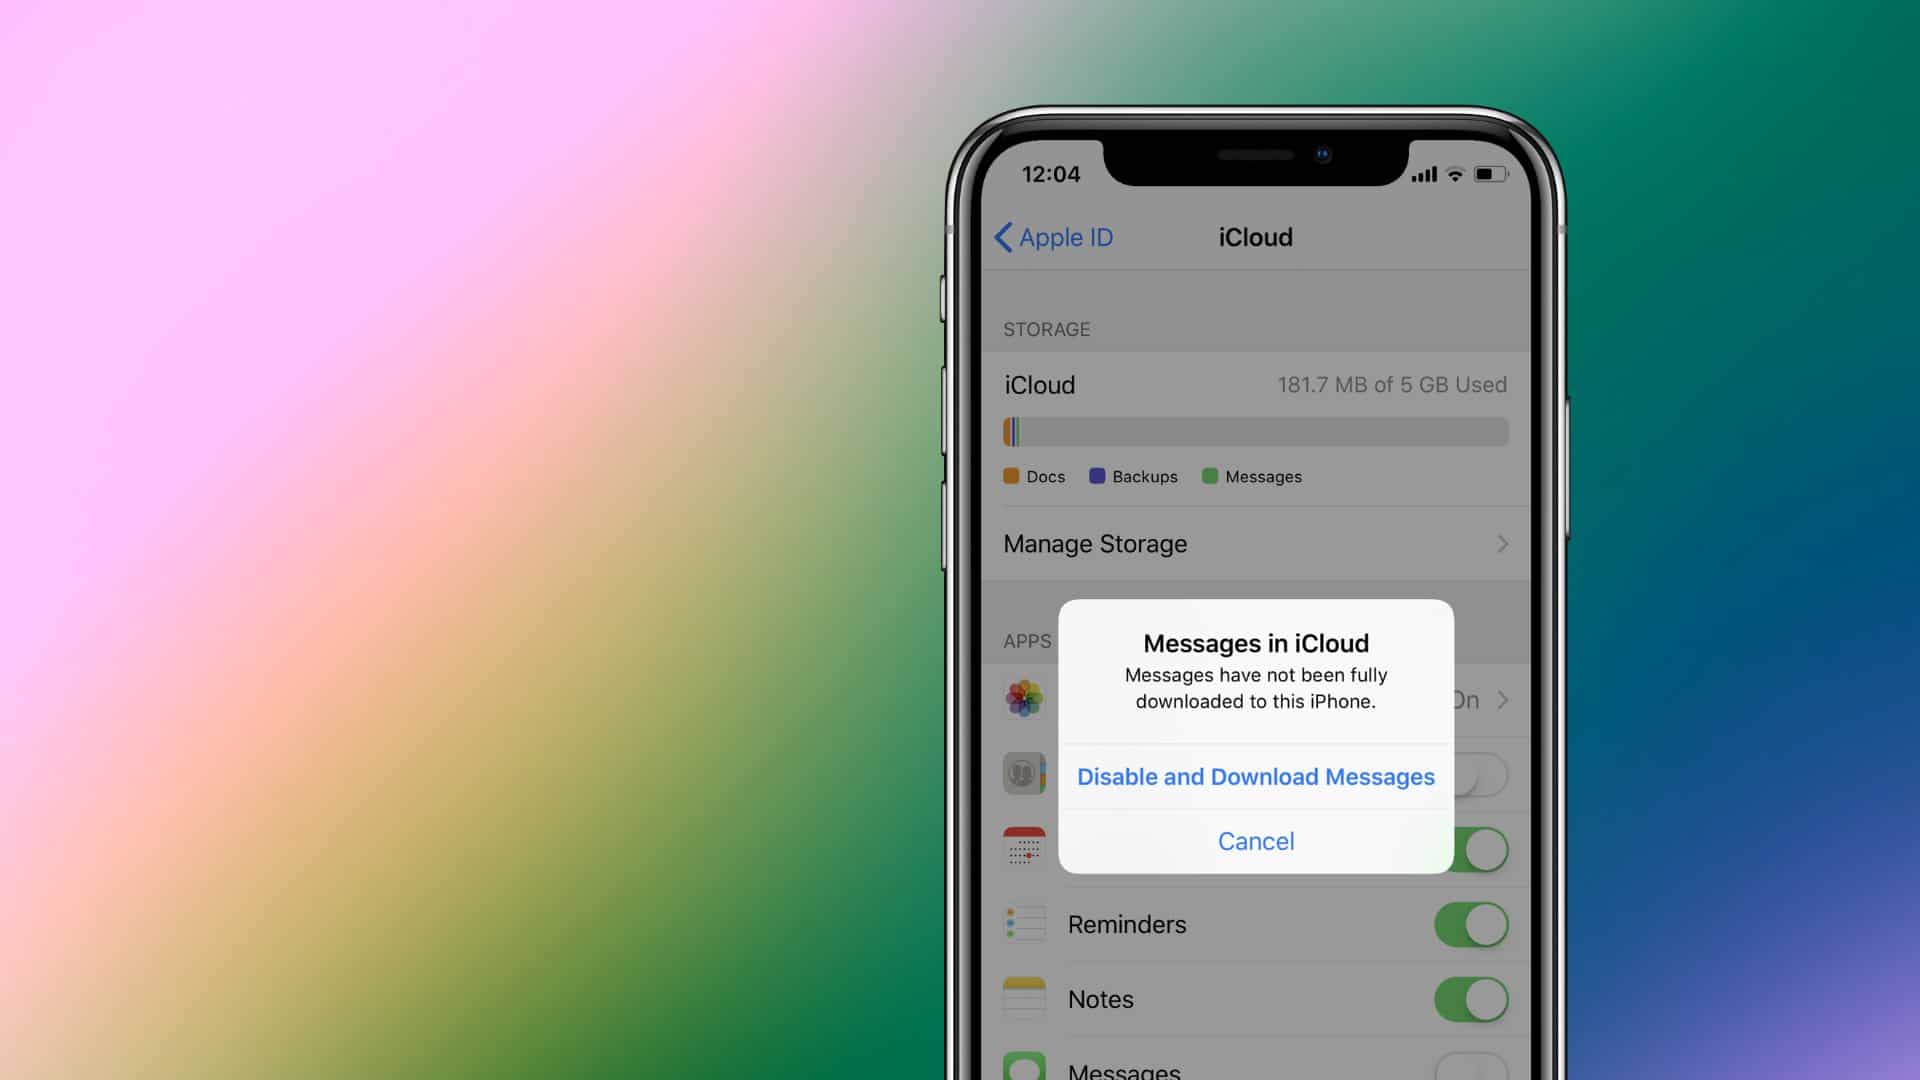
- Scroll down and find “Messages”.
- Toggle the switch next to “Messages” to enable iCloud syncing for your messages.
- You may see a prompt asking whether you want to enable Messages in iCloud. Tap on “Enable” to proceed.
After enabling iCloud Messages on your iPhone or iPad, your device will start uploading your existing messages to the iCloud. This process may take some time depending on the number of messages you have.
Once the syncing is complete, all your new iMessages and text messages will be stored in the iCloud instead of taking up space on your device.
Note that enabling iCloud Messages on your iPhone or iPad means that your messages will only be available on other devices connected to the same Apple ID and iCloud account. If you switch to a different Apple ID or turn off iCloud Messages, your messages will no longer sync across your devices.
Now that you have enabled iCloud Messages on your iPhone or iPad, let’s move on to the next step to set up iCloud Messages on your Mac.
Step 2: Set up iCloud Messages on your Mac
Once you have enabled iCloud Messages on your iPhone or iPad, you can easily set it up on your Mac to sync your messages across all your Apple devices. Here’s how:
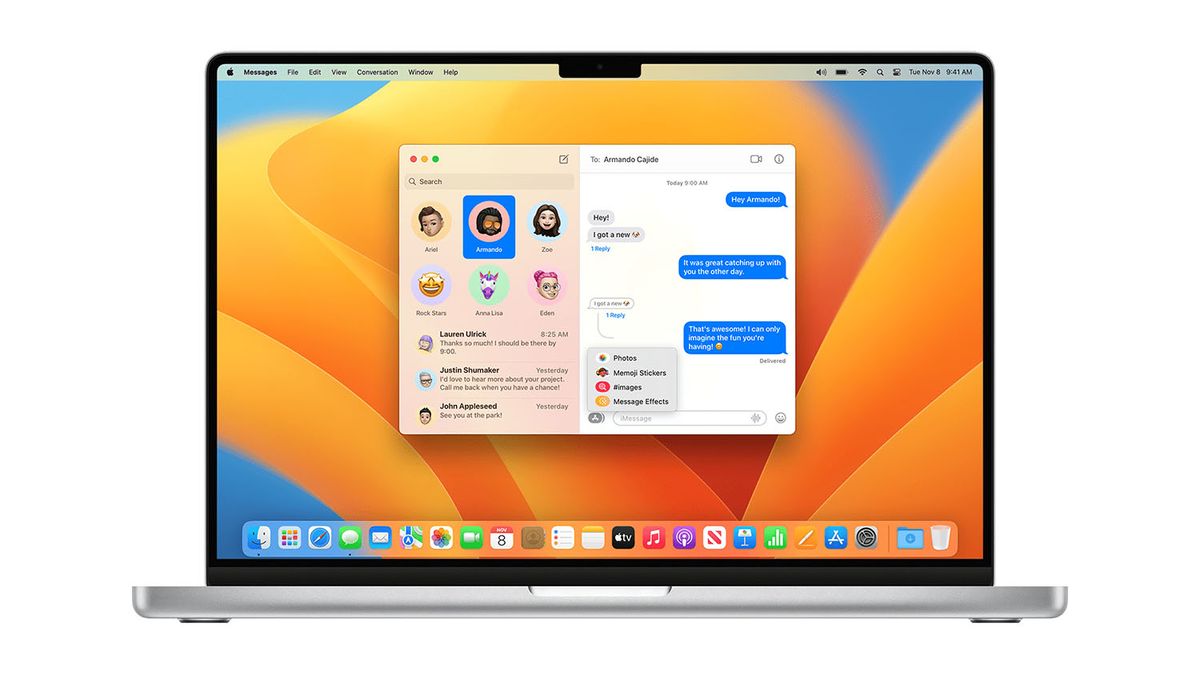
- Open the Messages app on your Mac. You can find it in the Applications folder or by using Spotlight search.
- In the top menu bar, click on “Messages” and then select “Preferences”.
- Go to the “Accounts” tab in the Preferences window.
- Make sure your Apple ID is selected in the left sidebar.
- Check the box next to “Enable Messages in iCloud” to enable iCloud syncing for your messages on your Mac.
Once you have enabled iCloud Messages on your Mac, it will start syncing your messages with the iCloud. The process may take some time depending on the number of messages that need to be uploaded.
From now on, any new iMessages or text messages you send or receive on your Mac will also be synced with your other Apple devices that have iCloud Messages enabled.
It’s important to note that your Mac needs to be running macOS High Sierra (10.13.5) or later to use iCloud Messages. Additionally, make sure you are logged in with the same Apple ID and iCloud account that you used to enable iCloud Messages on your iPhone or iPad.
Now that you have set up iCloud Messages on your Mac, you are ready to access your messages on iCloud.com. Let’s move on to the next step.
Step 3: Access iCloud Messages on iCloud.com
In addition to your iPhone, iPad, and Mac, you can also access your iCloud Messages on iCloud.com. This allows you to view and manage your messages from any computer with an internet connection. Here’s how you can access iCloud Messages on iCloud.com:
- Open a web browser on your computer and go to the iCloud website (www.icloud.com).
- Sign in to your iCloud account using your Apple ID and password.
- Once you’re logged in, click on the “Messages” icon on the iCloud home page.
On the Messages page, you will be able to see all your conversations, including both iMessages and text messages. You can read and reply to messages, delete individual messages or entire conversations, and even start new conversations.
It’s important to note that accessing iCloud Messages on iCloud.com is a handy option if you don’t have access to your Apple devices or if you’re using a non-Apple computer. However, keep in mind that this feature is web-based and requires an active internet connection.
Now that you know how to access iCloud Messages on iCloud.com, let’s move on to the next step to download your iCloud Messages on your Mac or PC.
Step 4: Download iCloud Messages on your Mac or PC
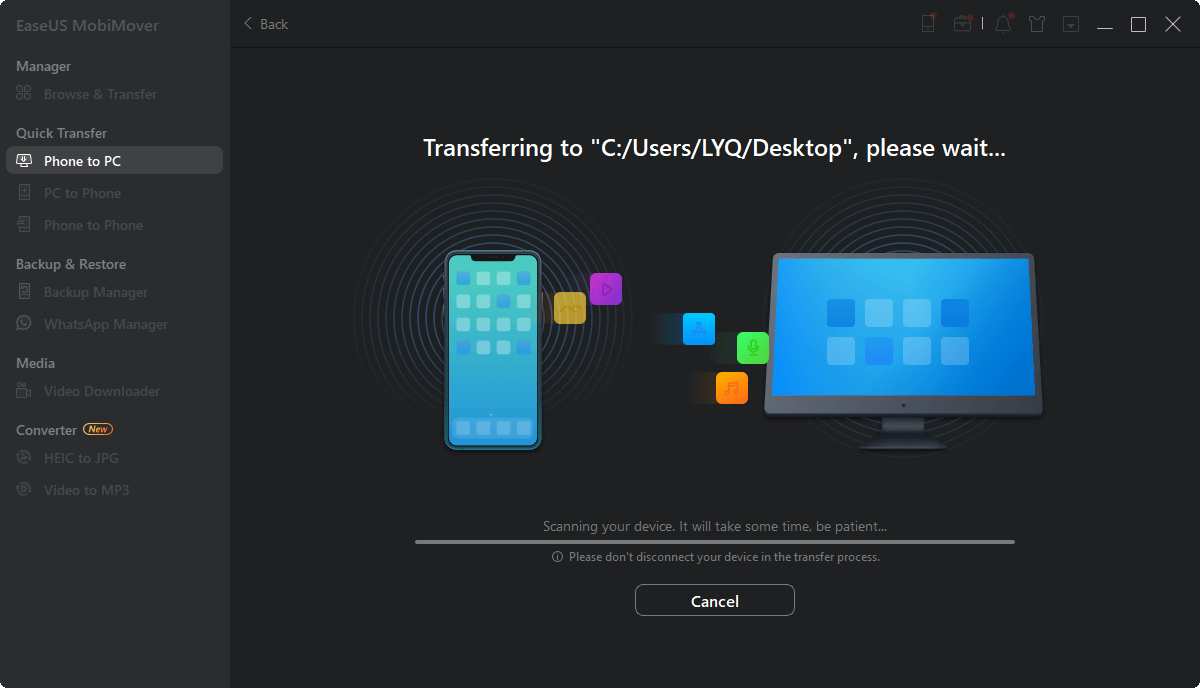
If you want to have a local copy of your iCloud Messages on your computer, you can download them to your Mac or PC. Here’s how you can do it:
- On your Mac, open the Messages app and select the conversation you want to download.
- In the top menu bar, click on “File” and then select “Export”.
- Choose the format you want to export the messages in, such as PDF, Text, or CSV.
- Specify the location where you want to save the exported messages and click “Save”.
If you’re using a PC, you can use the iCloud for Windows application to download your iCloud Messages. Here’s how:
- Download and install the iCloud for Windows application from the official Apple website.
- Launch the iCloud for Windows application and sign in with your Apple ID.
- Check the box next to “Messages” and click “Apply”.
- Open File Explorer and navigate to the iCloud Drive folder.
- Find the Messages folder and open it.
- You will see separate folders for each contact or conversation. Open the desired folder to access the message files.
Once you have downloaded your iCloud Messages to your Mac or PC, you can access them offline and have a local backup for future reference.
It’s important to note that while you can download individual conversations, there is no direct way to bulk download all your iCloud Messages at once. You need to export or download them one conversation at a time.
Now that you know how to download your iCloud Messages on your Mac or PC, let’s move on to the final step to download and view your iCloud Messages on your iPhone or iPad.
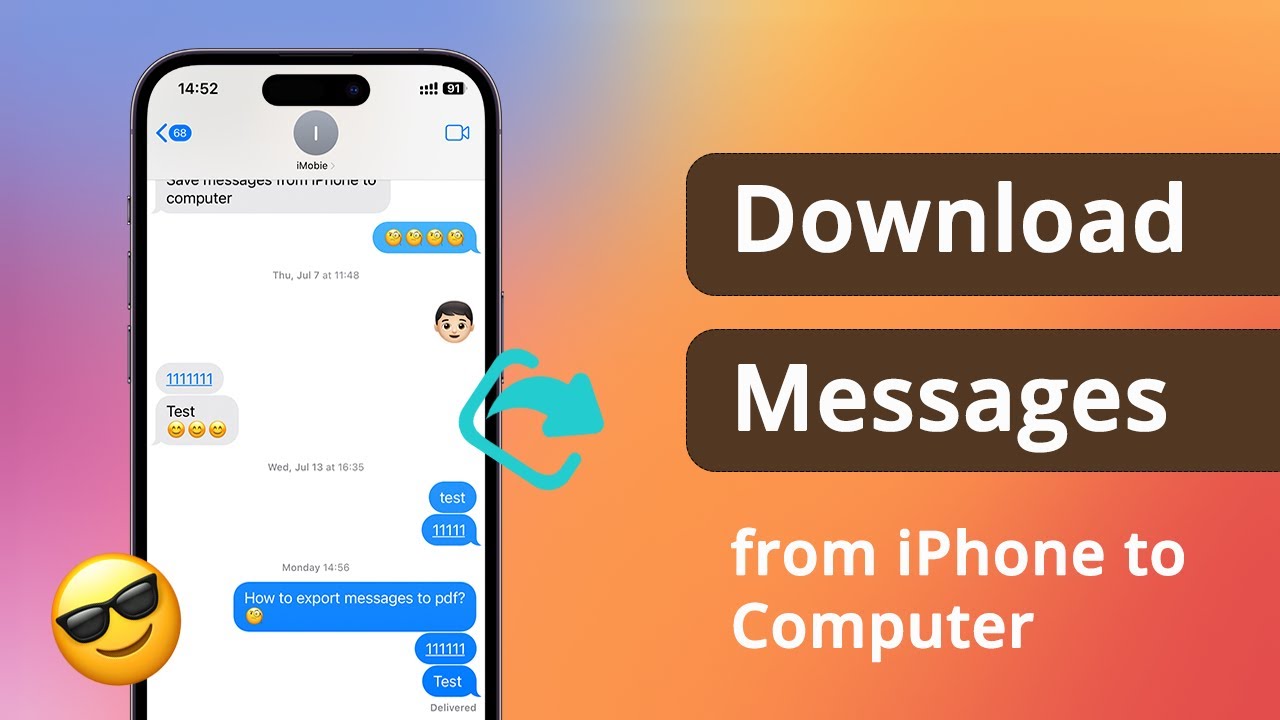
Step 5: Download and view iCloud Messages on your iPhone or iPad
If you want to download and view your iCloud Messages on your iPhone or iPad, follow these steps:
- Open the Messages app on your iPhone or iPad.
- Tap on the search bar at the top of the screen.
- Type the name or keyword of the conversation you want to download.
- Scroll down to the search results and find the conversation.
- Tap on the conversation to open it.
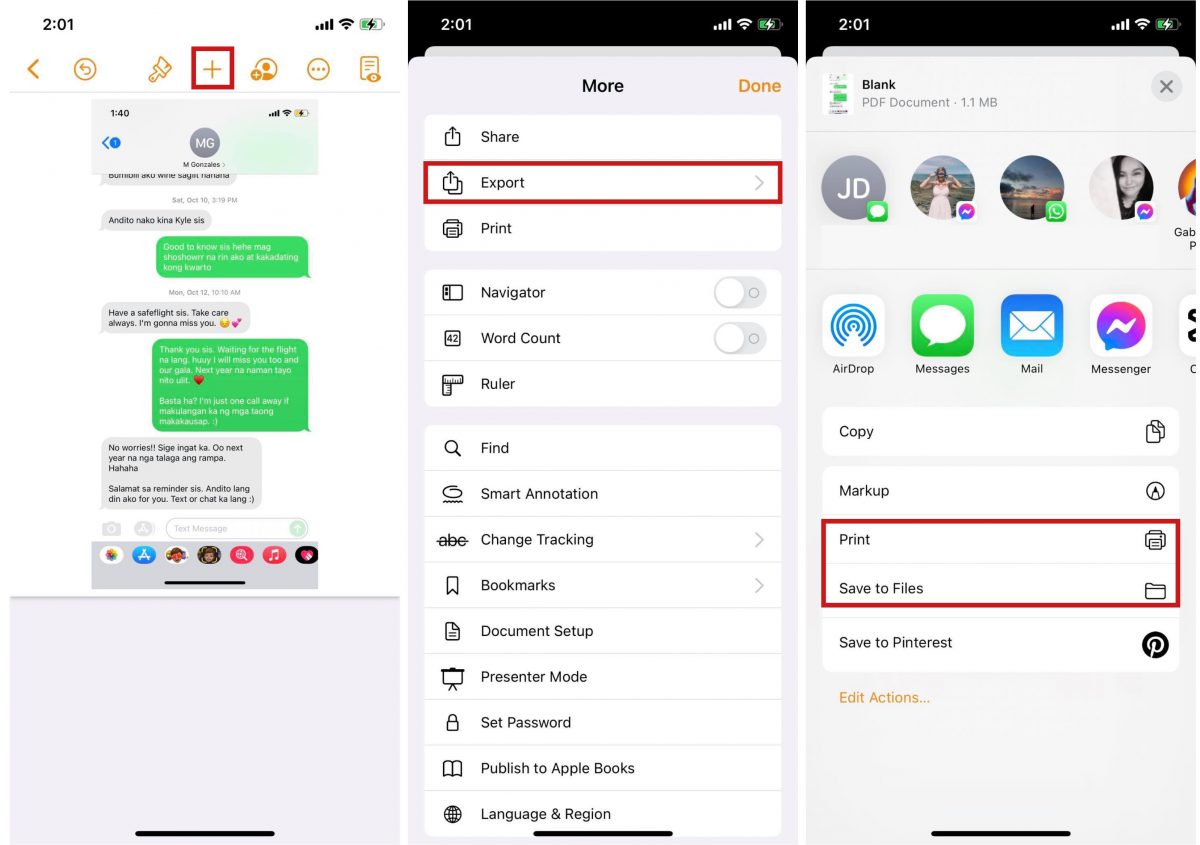
- Tap and hold on any part of the conversation until the pop-up menu appears.
- Tap on “More” from the menu options.
- Select the messages you want to download by tapping on the circles next to each message.
- Once you have selected all the messages you want to download, tap on the forward arrow icon in the bottom right corner.
- Choose the option to save the messages as a PDF, in Notes, or in another app of your choice.
By saving the messages, you can access them offline on your iPhone or iPad and refer to them whenever you need to.
If you want to view your entire iCloud Messages history on your iPhone or iPad, follow these steps:
- Open the Settings app on your iPhone or iPad.
- Tap on your Apple ID at the top of the screen.
- Select “iCloud” from the list of options.
- Scroll down and tap on “Manage Storage”.
- Under “Messages”, tap on “Messages & Attachments”.
- You will see a list of conversations with the amount of storage they take up.
- To view the messages in a conversation, tap on it.
From here, you can view the entire conversation history, including text messages, photos, and attachments.
Now that you know how to download and view your iCloud Messages on your iPhone or iPad, you can easily access and reference your conversations on-the-go.
Conclusion
Congratulations, you have successfully learned how to download and access iCloud Messages on your Apple devices! With iCloud Messages, you can securely store your iMessages and text messages in the cloud, freeing up valuable storage space on your devices while ensuring that your conversations are always in sync. Whether you want to save important conversations, have a backup of your messages, or simply access your messages from any Apple device, iCloud Messages provides a convenient and reliable solution.
In this guide, we walked through the step-by-step process of enabling iCloud Messages on your iPhone or iPad, setting it up on your Mac, accessing your messages on iCloud.com, downloading your messages on your Mac or PC, and viewing them on your iPhone or iPad. By following these instructions, you can enjoy the benefits of iCloud Messages and have greater control over your messaging experience.
Remember to ensure that you have an active Apple ID and iCloud account, as well as devices that meet the system requirements for iCloud Messages. Additionally, be aware that enabling iCloud Messages means that your messages are only accessible on devices linked to the same Apple ID and iCloud account.
Now that you have the knowledge to effectively manage your iCloud Messages, you can easily retrieve and reference your conversations whenever you need to. Enjoy the convenience, security, and flexibility that iCloud Messages provides and make the most out of your Apple devices!