Introduction
Welcome to the world of iPhone messaging! If you’re like most iPhone users, you probably have a treasure trove of messages containing precious memories, important information, or sentimental conversations. But what happens when you want to backup and download those messages onto your computer? Fortunately, you’ve come to the right place.
In this article, we will guide you through the process of downloading iPhone messages onto your computer. Whether you want to keep a record of your conversations as a backup, transfer them to a new device, or simply free up some valuable storage space on your iPhone, we’ve got you covered.
Over the next few sections, we will explore different methods that allow you to transfer your iPhone messages to your computer. Whether you prefer using built-in Apple services like iCloud and iTunes or third-party software options, we will provide you with clear step-by-step instructions.
Backing up and downloading your iPhone messages is a wise decision for several reasons. Firstly, it acts as an insurance policy against accidental deletion, device loss, or damage. Secondly, it allows you to easily access and search for important information within your messages, such as addresses, phone numbers, or business conversations. And finally, transferring messages to your computer can significantly free up storage space on your iPhone, ensuring it continues to run smoothly.
Now that you understand the importance of backing up and downloading your iPhone messages, let’s dive into the various methods available to make this process a breeze. Whether you’re a tech-savvy user or completely new to the world of Apple devices, we’ll guide you every step of the way.
Part 1: Backup iPhone Messages
Before we can download iPhone messages onto our computer, it’s essential to create a backup of these messages. This backup ensures that we have a secure copy of all our messages in case anything goes wrong during the download process. Here’s how you can easily back up your iPhone messages:
- Connect your iPhone to a stable Wi-Fi network so that the backup process doesn’t get interrupted.
- Open the “Settings” app on your iPhone and tap on your Apple ID at the top of the screen.
- Scroll down and tap on “iCloud.”
- Inside the iCloud settings, scroll down and tap on “iCloud Backup.”
- Ensure that the “iCloud Backup” toggle switch is enabled. If not, tap on it to turn it on.
- Tap on “Back Up Now” to start the backup process. This step may take some time, depending on the size of your message database.
- Ensure that the backup is completed successfully by going back to the main iCloud settings and checking the “Last Backup” date and time. It should reflect the recent backup you just initiated.
Once you’ve successfully backed up your iPhone messages to iCloud, you can proceed to download them onto your computer using various methods, which we will explore in the following sections.
Backing up your iPhone messages is not only crucial for the downloading process but also serves as an added layer of protection for your valuable conversations. In case you accidentally delete messages or experience a device malfunction, having a recent backup ensures that you can easily restore your messages without losing any important information.
Part 2: Download iPhone Messages onto Computer
Now that you’ve successfully backed up your iPhone messages, it’s time to download them onto your computer. There are several methods available, depending on your preference and the tools you have at your disposal. Let’s explore a few options:
- iTunes: If you prefer using Apple’s official software, you can download your iPhone messages onto your computer using iTunes. Launch iTunes on your computer, connect your iPhone using a USB cable, and select your device. From the device summary page, click on “Back Up Now” to create a local backup on your computer. Once the backup process is complete, you can access the backup files on your computer, locate the messages database, and extract the messages you want to save or view.
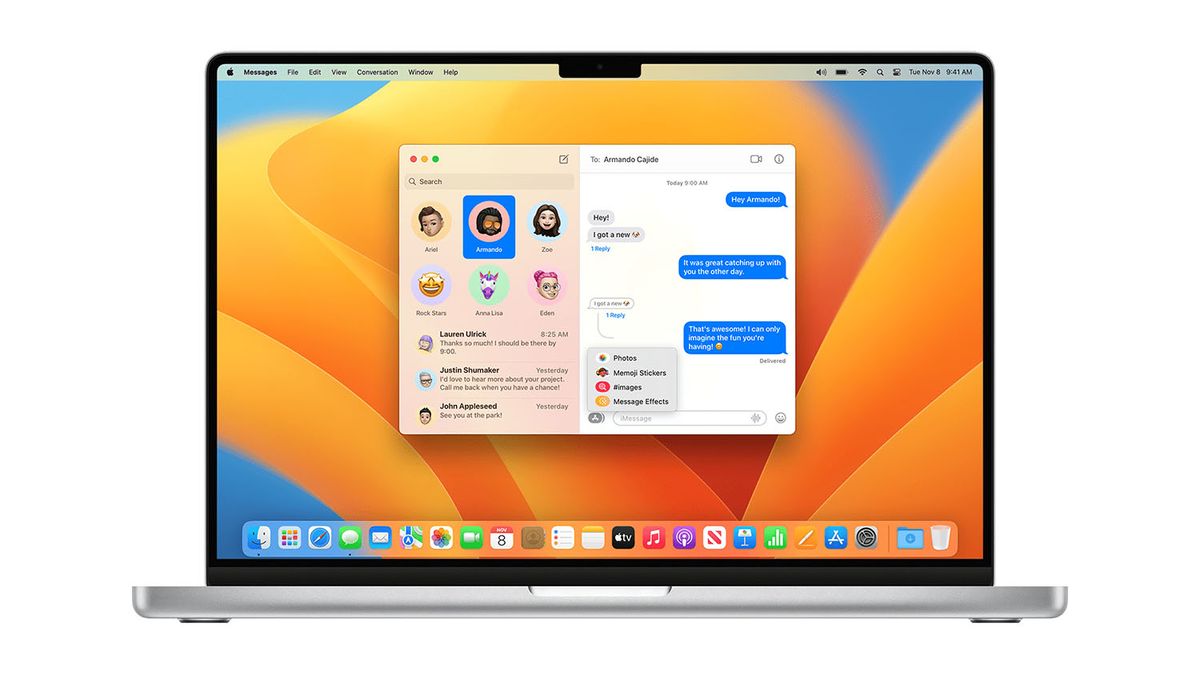
- iCloud: If you’ve enabled iCloud backup on your iPhone, you can download your messages from the iCloud website. Open a web browser on your computer, visit iCloud.com, and log in with your Apple ID. Click on “Messages” to access your messages from any web browser. You can view and download individual messages or conversations as needed.
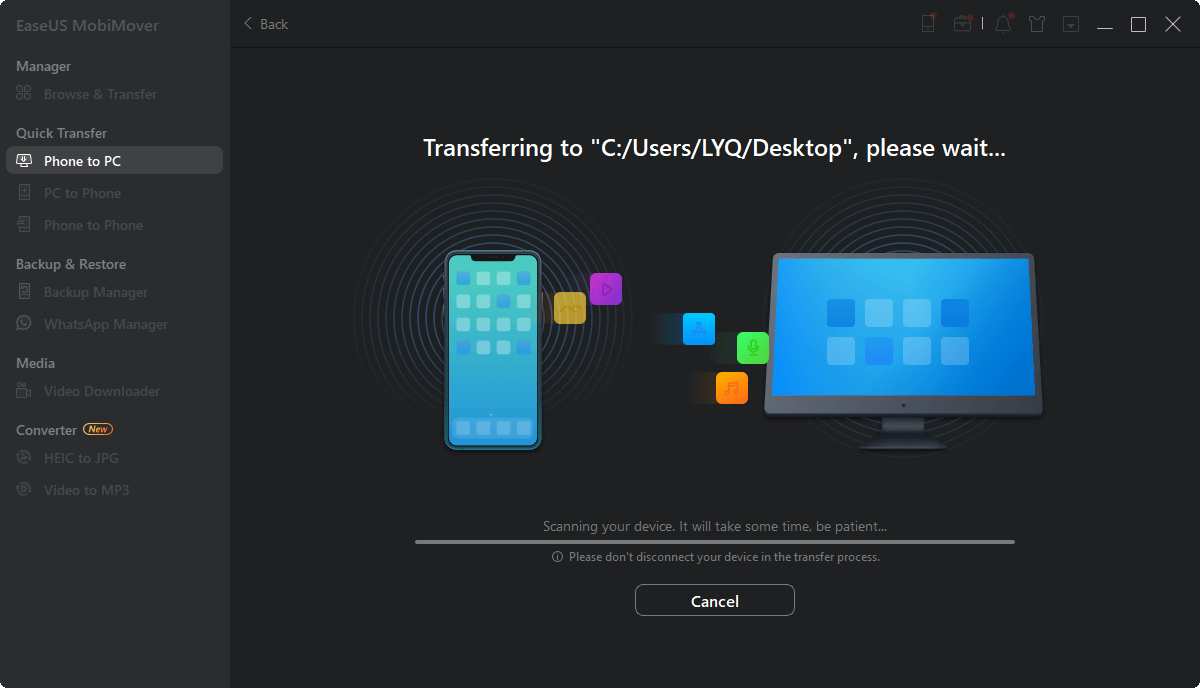
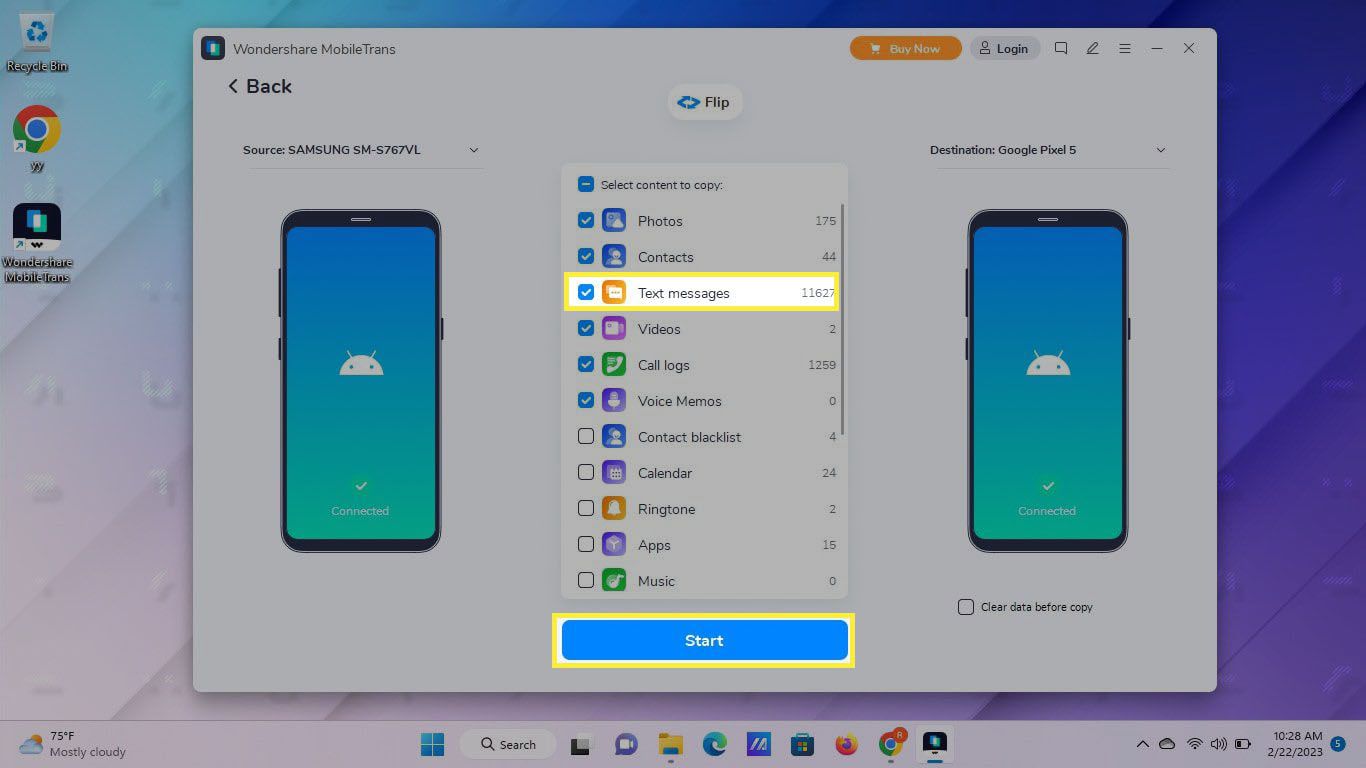
- Third-Party Software: There are various third-party software options available that can help you download and manage your iPhone messages on your computer. These tools offer advanced features such as selective message extraction, message search, and export options in various formats. Some popular options include iExplorer, iMazing, and AnyTrans. Download and install the software on your computer, connect your iPhone, and follow the software’s instructions to download and access your iPhone messages.
Each method mentioned above has its advantages and may suit different user preferences. Choose the method that aligns with your needs and technical abilities. Remember to always prioritize the security and privacy of your messages when using third-party software or online services.
Downloading your iPhone messages onto your computer not only provides you with a local copy of your conversations but also allows for easier management, searchability, and archiving. You can save these messages securely on your computer and access them at any time, even without an active internet connection.
Part 3: Transfer iPhone Messages to Computer via iCloud
If you’ve enabled iCloud backup and want to transfer your iPhone messages to your computer using Apple’s cloud-based services, you’re in luck. iCloud offers a convenient way to access and download your messages from any web browser. Here’s how you can do it:
- On your computer, open a web browser and visit icloud.com.
- Sign in to iCloud using your Apple ID and password.
- Once you’re logged in, click on the “Messages” icon to access your iPhone messages.
- You’ll see a list of your conversations, arranged similarly to how they appear on your iPhone.
- To view a specific conversation, simply click on it.
- If you want to download the conversation, select the desired messages, and then click on the “Download” button located at the top of the window. The messages will be saved to your computer.
Transferring your iPhone messages to your computer via iCloud provides you with the convenience of accessing your messages from any web browser. You can easily view and download individual conversations, making it ideal for those who want a simple and straightforward method for accessing their messages.
It’s important to note that iCloud only allows you to download your messages in the form of conversations or threads. If you need to extract specific messages or have more advanced management options, you might need to consider using third-party software, as we’ll discuss in the next section.
With iCloud, you can conveniently transfer your iPhone messages to your computer with just a few clicks. This method is particularly useful if you prefer using Apple’s cloud-based services and want a seamless integration between your iPhone and computer experience.
Part 4: Transfer iPhone Messages to Computer using iTunes
For those who prefer using Apple’s official software, iTunes provides a reliable method to transfer iPhone messages to your computer. By creating a backup of your iPhone using iTunes, you can access and extract your messages from the backup file. Here’s how you can do it:
- Connect your iPhone to your computer using a USB cable and launch iTunes.
- Click on the iPhone icon located in the upper-left corner of the iTunes window to access your device’s summary page.
- In the “Backups” section, choose the option to “Back Up Now” to create a local backup of your iPhone on your computer. Make sure to select the option to “Encrypt iPhone Backup” to include your messages in the backup file.
- Once the backup process is complete, you can access the backup files on your computer.
- To locate the backup on your computer, navigate to the appropriate directory based on your operating system:
- Windows: Go to “Users\[Username]\AppData\Roaming\Apple Computer\MobileSync\Backup\”.
- Mac: Go to “~/Library/Application Support/MobileSync/Backup/”.
- In the backup folder, you’ll find a series of folders with random alphanumeric names. Look for the most recent backup folder based on the date and time.
- Open the backup folder and locate the file named “3d0d7e5fb2ce288813306e4d4636395e047a3d28” or “ChatStorage.sqlite”.
- Copy this file to a desired location on your computer.
- To view the messages, you’ll need a SQLite database viewer or a specialized software that can read the content of the file.
Using iTunes to transfer iPhone messages to your computer offers a straightforward method, especially for those who are already familiar with Apple’s ecosystem. By creating a local backup on your computer, you can access and extract the messages stored within the backup file.
Keep in mind that manually accessing the backup files and extracting the messages can be more technical compared to other methods. If you prefer a simpler and more user-friendly approach, consider third-party software options as we’ll discuss in the next section.
With iTunes, you have the ability to create a local backup of your iPhone messages and access them on your computer. This method provides a reliable and secure way to transfer your messages while utilizing Apple’s official software.
Part 5: Transfer iPhone Messages to Computer using Third-Party Software
If you’re looking for more advanced features and flexibility in transferring iPhone messages to your computer, third-party software options are worth exploring. These specialized tools offer a range of functionalities, such as selective message extraction, message search, and export options in various formats. Here’s how you can transfer iPhone messages to your computer using third-party software:
- Research and choose a reliable third-party software that suits your needs. Some popular options include iExplorer, iMazing, and AnyTrans.
- Download and install the software onto your computer following the provided instructions.
- Connect your iPhone to your computer using a USB cable.
- Launch the third-party software and wait for it to detect your iPhone.
- Follow the software’s instructions to establish a connection and grant necessary permissions on your iPhone.
- Navigate to the section or feature within the software that allows you to access your iPhone messages.
- Depending on the software, you can browse through your messages, search for specific conversations or keywords, and select the messages you want to transfer.
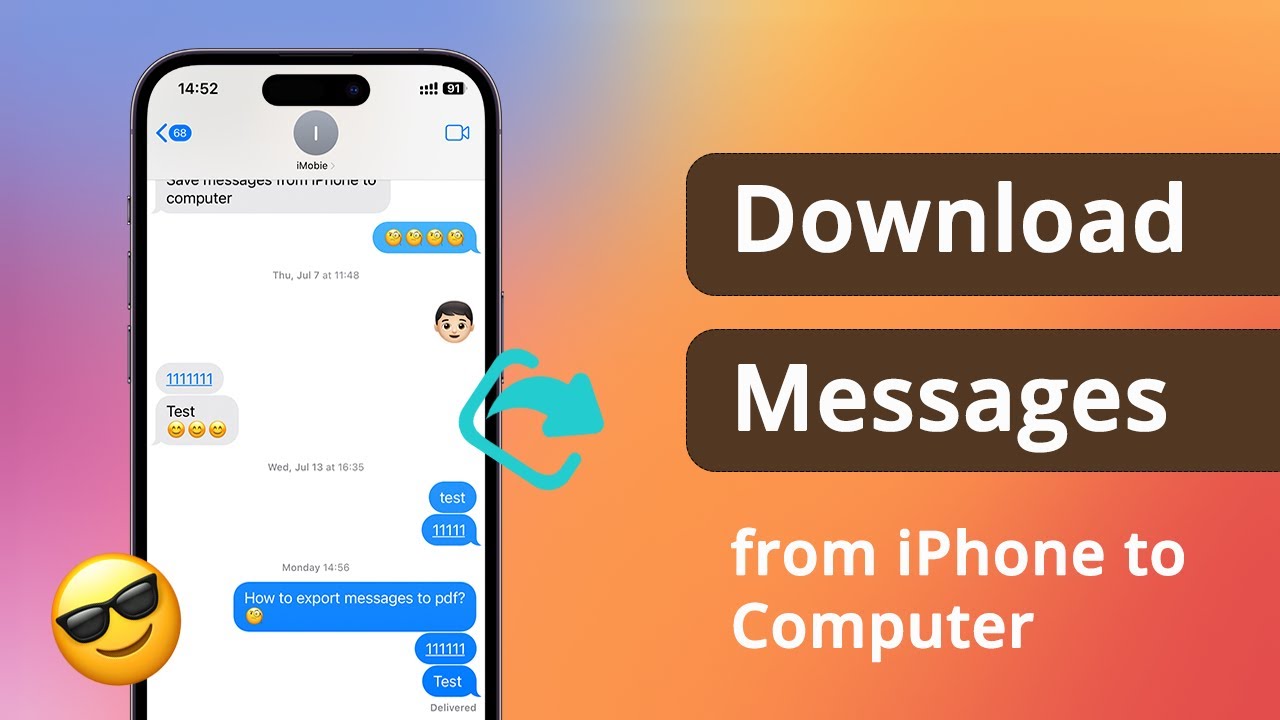
- Choose the option to export or save the selected messages to your computer. Most software options provide multiple export formats, such as PDF, HTML, CSV, or plain text.
- Select the desired location on your computer to save the exported messages.
- Wait for the software to complete the export process, which may take a few moments depending on the size of your message database.
- Once the export is complete, you can open and view the messages on your computer using the appropriate software or file viewer.
Using third-party software to transfer iPhone messages to your computer provides you with more control and customization options. These tools are particularly useful if you need to extract specific messages, perform advanced searches, or export your messages in various formats for further analysis or archiving.
Keep in mind that third-party software options may come with associated costs or subscription fees. It’s important to do thorough research and choose reputable software from trusted sources to ensure the security and privacy of your messages.
With third-party software, you can have a more comprehensive and feature-rich experience in transferring your iPhone messages to your computer. Explore the available options and choose the software that best fits your requirements.
Conclusion
Transferring your iPhone messages to your computer is a valuable practice that allows you to have a secure backup, easier management, and the ability to access your messages across devices. We have explored various methods to accomplish this task, each offering its own advantages and considerations.
If you prefer using Apple’s native solutions, iCloud and iTunes provide convenient ways to backup and download your iPhone messages onto your computer. iCloud allows you to access your messages from any web browser, while iTunes creates local backups that can be accessed and extracted on your computer.
For a more advanced and customizable experience, third-party software options offer additional features and flexibility. These tools allow you to selectively extract messages, perform searches, and export your messages in various formats.
Ultimately, the method you choose will depend on your preferences, technical abilities, and specific requirements. It’s important to consider factors such as convenience, security, and the level of control you desire over your messages.
Regardless of the method you choose, the process of transferring your iPhone messages to your computer is essential to safeguard your valuable conversations, free up storage space on your device, and enable easier access and management of your messages.
Remember to always prioritize the security and privacy of your messages. Be cautious when using third-party software and ensure that you download reputable options from trusted sources. Additionally, regularly backing up your iPhone messages will provide an extra layer of protection against accidental loss or device failure.
Now that you have the knowledge and tools at your disposal, you can confidently proceed with transferring your iPhone messages to your computer. Enjoy the peace of mind and convenience that comes with having your messages securely stored and easily accessible whenever you need them.