Introduction
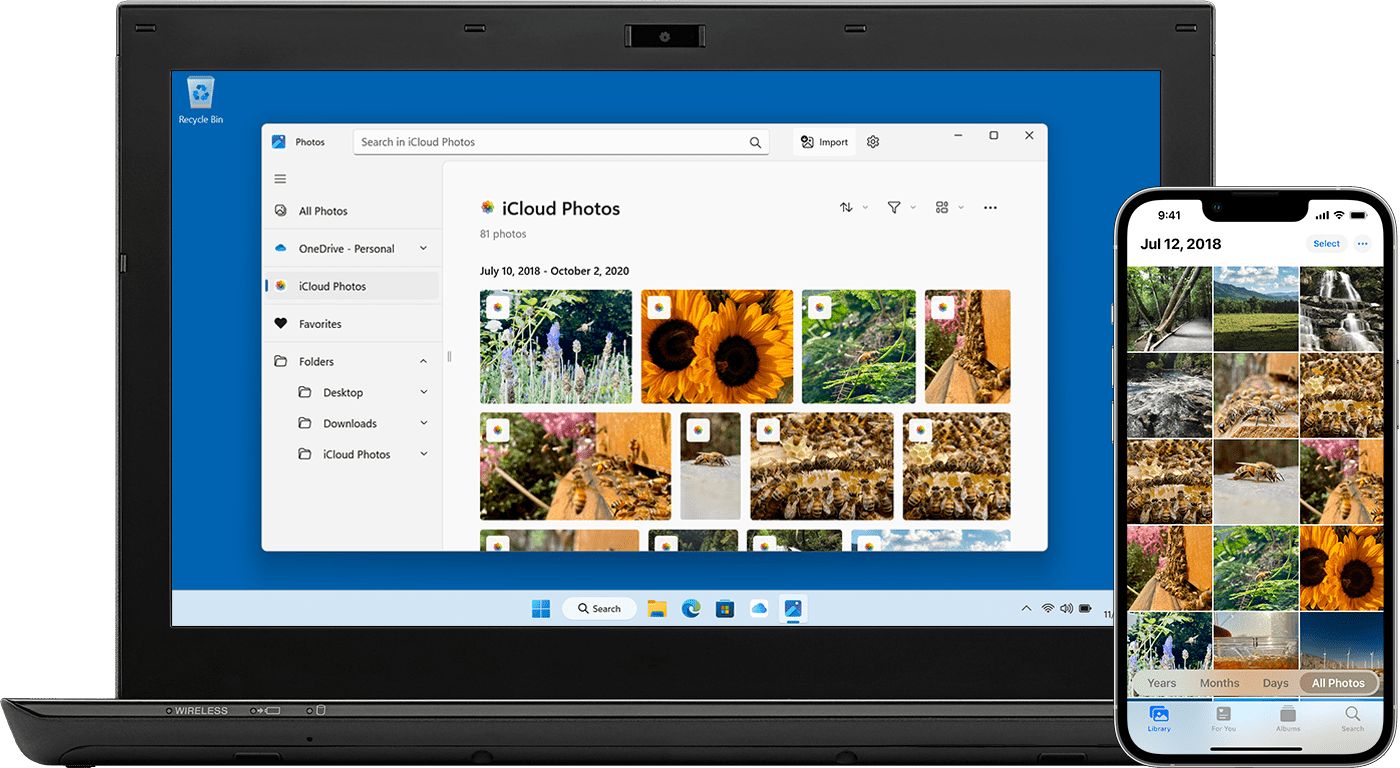
With the increasing popularity of cloud storage, many people are using iCloud as a convenient way to store and access their photos across multiple devices. While iCloud seamlessly syncs photos between Apple devices, you may wonder how to access your iCloud photos on a PC.
Fortunately, Apple provides several methods for PC users to access their iCloud photos, allowing you to view, download, and manage your precious memories right from your computer. In this article, we will explore different methods that you can use to access your iCloud photos on a PC.
Whether you have Windows 10 or an older version of Windows, you can easily access your iCloud photos with the help of iCloud for Windows software. This official software by Apple enables you to synchronize your iCloud photos with your PC’s Photo app. By following a few simple steps, you can have your entire iCloud photo library readily available on your PC.
If you prefer accessing your iCloud photos without installing any additional software, you can use the iCloud.com website. As long as you have a compatible web browser, you can log in to your iCloud account and access your photos without any hassle. This method is particularly useful when you are using a public or shared computer.
For users who want more control over downloading and managing their iCloud photos on their PC, the iCloud Control Panel is a great option. With this software installed on your PC, you can customize settings, download specific albums or photos, and even upload new photos from your PC to iCloud.
Lastly, if you prefer a more direct approach, you can transfer your iCloud photos to your PC using File Explorer. This method allows you to browse through your iCloud photos like any other files on your computer. It gives you the freedom to organize, edit, and share your photos using your preferred photo management software.
By exploring these different methods, you will have the flexibility to choose the one that best suits your needs and preferences. Whether you want a seamless sync between devices, a web-based access, or more control over your photo library, accessing your iCloud photos on your PC has never been easier.
Method 1: Using iCloud for Windows
If you have a PC running Windows 10 or an earlier version, you can access your iCloud photos by using the iCloud for Windows software. This software allows you to seamlessly sync your iCloud photos with your PC’s Photo app.
To get started, you will need to download and install the iCloud for Windows software from the official Apple website. Once the installation is complete, follow these steps:
- Launch the iCloud for Windows application on your PC.
- Sign in to your iCloud account using your Apple ID and password.
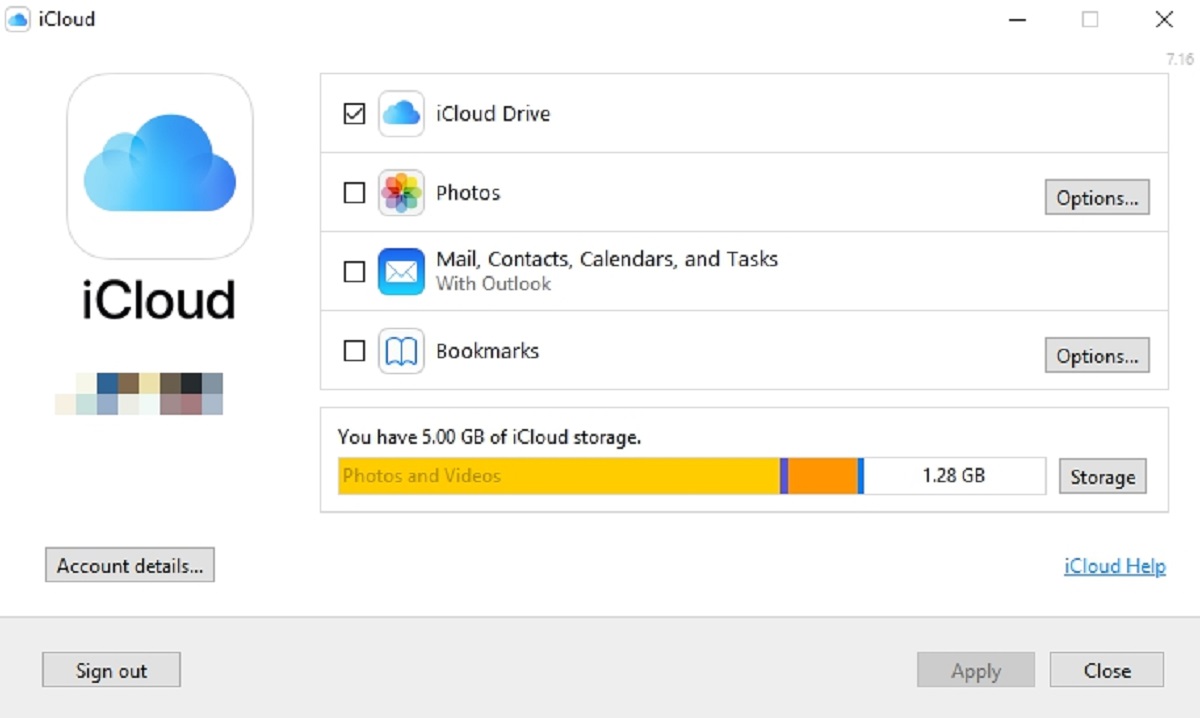
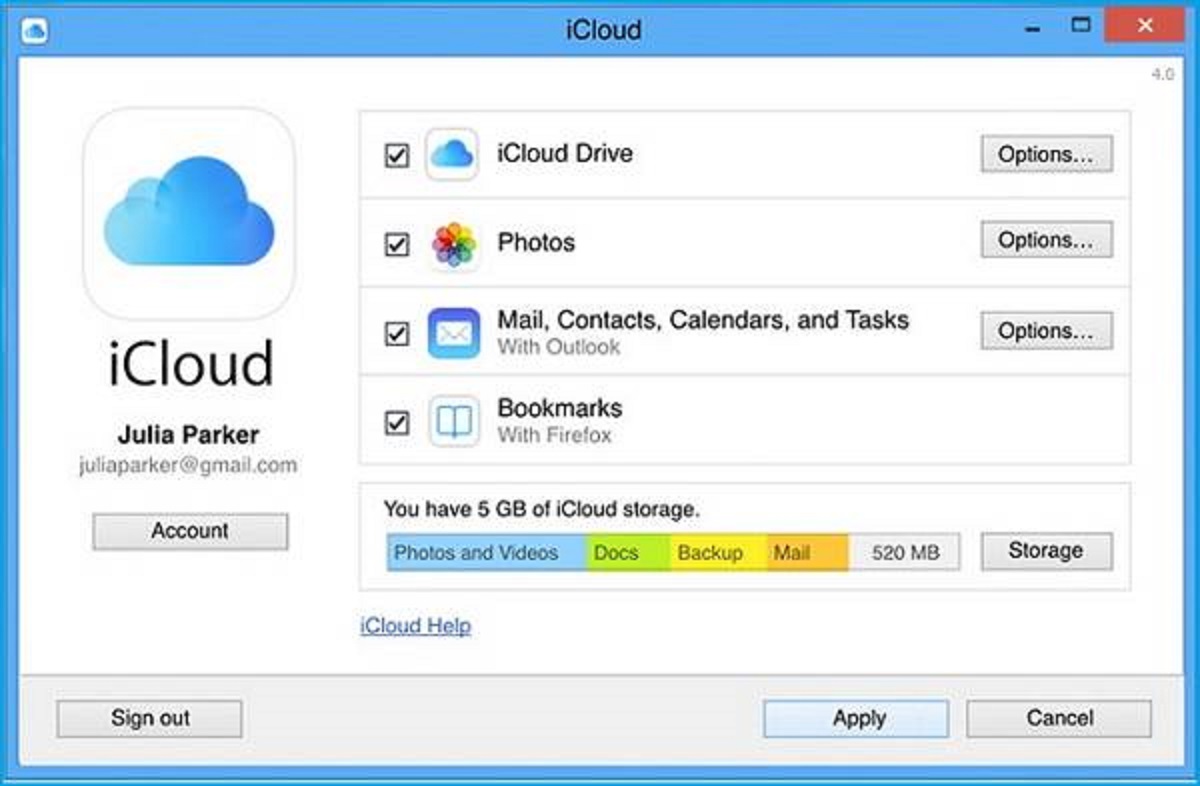
- Select the options for iCloud features you want to enable on your PC, such as Photos, Contacts, and Mail.
- Enable the “Photos” option and click on the “Options” button next to it.
- In the Photos Options window, choose whether you want to download new photos and videos or upload photos to iCloud from your PC.
- Select the iCloud Photo Library option to sync your entire iCloud photo library with your PC, or choose the “Download new photos and videos to my PC” option if you only want to download new additions.
- Choose the location on your PC where you want to store the downloaded iCloud photos.
- Click on the “Apply” button to save your settings.
Once you have completed these steps, your iCloud photos will start syncing with your PC. Depending on the size of your photo library and internet connection speed, it may take some time for all your photos to download. You can monitor the progress in the iCloud for Windows application.
After the initial synchronization, any changes you make to your iCloud photos will be automatically updated on your PC. You can view and manage your iCloud photos directly from the Photo app on your PC, just as you would with any other locally stored photos.
Using iCloud for Windows provides a seamless way to access and manage your iCloud photos on your PC. You can enjoy the convenience of having all your photos available across your Apple devices and your PC without any extra effort.
Method 2: Accessing iCloud Photos via iCloud.com
If you don’t want to install any additional software on your PC, you can access your iCloud photos directly through the iCloud.com website. This method allows you to log in to your iCloud account using a compatible web browser and access your photos from anywhere.
To access your iCloud photos via iCloud.com, follow these steps:
- Open a web browser on your PC and go to icloud.com.
- Sign in to your iCloud account using your Apple ID and password.
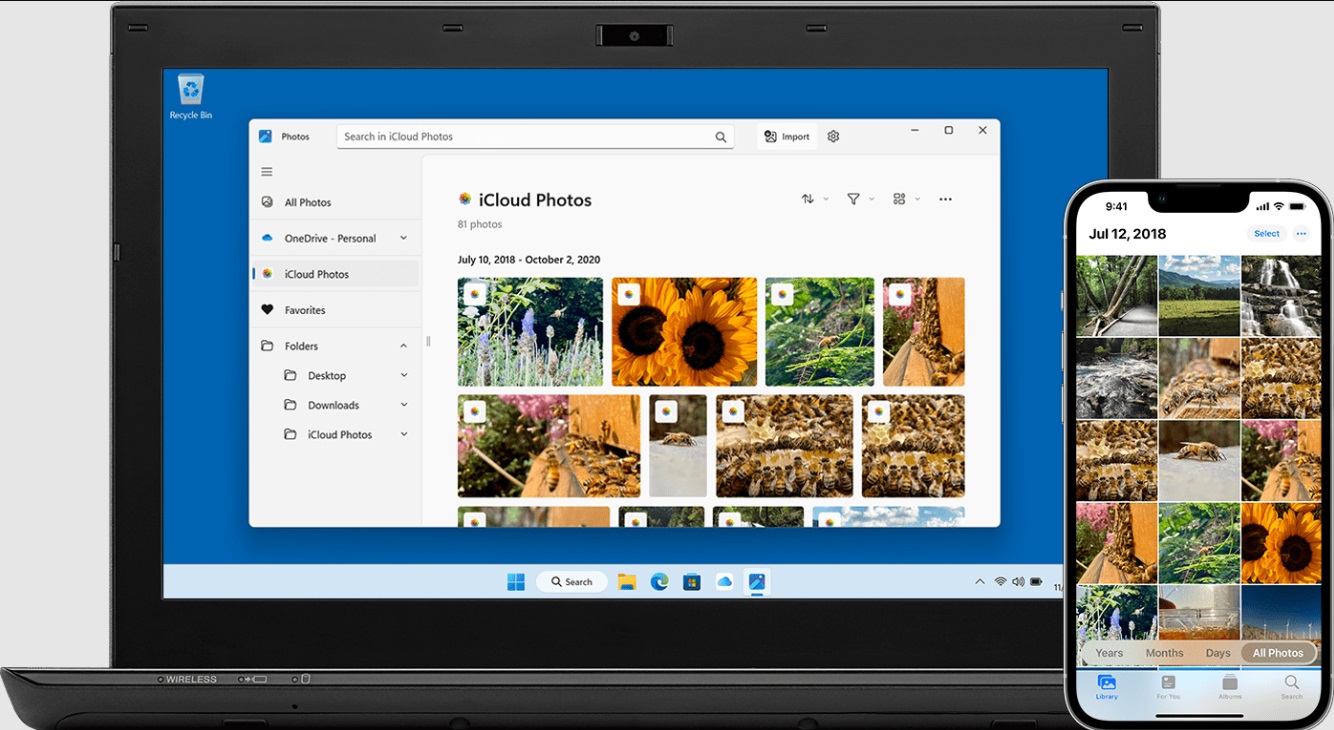
- Once logged in, click on the “Photos” icon to access your iCloud photo library.
- You will now see all your iCloud photos organized by date in the “All Photos” view.
- You can browse through your photos by scrolling or using the arrow buttons on the screen.
- If you have organized your photos into albums, you can click on the “Albums” tab to view and access specific albums.
- To download a photo, simply select it and click on the download icon.
- You can also select multiple photos by holding down the Shift or Ctrl key and clicking on the desired photos.
- After selecting the photos, click on the download icon to save them to your PC.
Using the iCloud.com website gives you the flexibility to access your iCloud photos from any PC with an internet connection. It also allows you to download specific photos or entire albums directly to your PC for offline access.
Remember to sign out of your iCloud account when you are done to ensure the security of your personal information. This method is particularly useful when you are using a public or shared computer.
By accessing your iCloud photos via iCloud.com, you can enjoy the convenience of viewing and downloading your photos on any PC, without the need for any software installation.
Method 3: Downloading iCloud Photos using the iCloud Control Panel
If you prefer more control over downloading and managing your iCloud photos on your PC, you can use the iCloud Control Panel software provided by Apple. This software allows you to customize settings, download specific albums or photos, and even upload new photos from your PC to iCloud.
To download iCloud photos using the iCloud Control Panel, follow these steps:
- Download and install the iCloud Control Panel software from the official Apple website.
- Once the installation is complete, open the iCloud Control Panel on your PC.
- Sign in to your iCloud account using your Apple ID and password.
- Select the checkbox next to “Photos” to enable the photo synchronization feature.
- Click on the “Options” button next to “Photos” to customize your settings.
- In the “Photos Options” window, choose whether you want to download new photos and videos or upload photos to iCloud.
- If you want to download your entire iCloud photo library, select the “Download new photos and videos to my PC” option.
- Choose the location on your PC where you want to store the downloaded iCloud photos.
- Click on the “Apply” button to save your settings.
After you have completed these steps, the iCloud Control Panel will start downloading your iCloud photos to your specified location on your PC. Depending on the size of your photo library and the speed of your internet connection, this process may take some time.
Once the download is complete, you can access and manage your iCloud photos directly from your PC’s file explorer. The iCloud Control Panel creates a folder on your PC where it stores your downloaded photos, organized by date and album.
You can browse through your downloaded iCloud photos, delete unwanted photos, or even add new photos from your PC to your iCloud photo library. Any changes you make will be reflected across all your Apple devices connected to the same iCloud account.
The iCloud Control Panel gives you complete control over your iCloud photos, allowing you to download, manage, and upload photos from your PC. It’s a great option if you want a more hands-on approach to organizing and accessing your iCloud photo library on your PC.
Method 4: Transferring iCloud Photos using File Explorer
If you prefer a more direct approach to accessing your iCloud photos on your PC, you can transfer them using File Explorer. This method allows you to browse through your iCloud photos just like any other files on your computer, giving you the freedom to manage, edit, and share them using your preferred photo management software.
To transfer iCloud photos using File Explorer, follow these steps:
- Install iCloud for Windows on your PC if you haven’t already. This software provides the necessary tools to access your iCloud photos through File Explorer.
- Open File Explorer on your PC by clicking on the folder icon in the taskbar or pressing the Windows key + E.
- Under “Quick Access” or “This PC,” you should see an entry for “iCloud Photos” or “iCloud Drive.” Double-click on it to open it.
- If prompted, sign in to your iCloud account using your Apple ID and password.
- You will now see your iCloud photos organized by date and album.
- Browse through the folders to find the specific photos or albums you want to transfer.
- Select the photos or albums you want to transfer by holding down the Ctrl or Shift key and clicking on them.
- Once you have selected the desired photos, right-click on one of them and choose “Copy” from the context menu.
- Navigate to the folder on your PC where you want to transfer the photos.
- Right-click on the destination folder and choose “Paste” from the context menu to transfer the selected photos.
By transferring your iCloud photos using File Explorer, you have full control over organizing and managing them on your PC. You can edit them using your favorite photo editing software, share them with others, or simply store them locally for easy access and backup.
It’s important to note that transferring photos using File Explorer does not delete them from your iCloud photo library or impact the syncing between your Apple devices. It is simply a way to make a local copy of your iCloud photos on your PC.
This method is particularly useful if you want to work with your iCloud photos in a more customized way and have access to powerful photo management features offered by various software applications available for PCs.
Using File Explorer to transfer iCloud photos gives you the freedom to work with your photos on your PC, making it a convenient option for users who want more control over their iCloud photo library.
Conclusion
Accessing your iCloud photos on a PC is easier than ever thanks to the various methods provided by Apple. Whether you prefer seamless syncing through iCloud for Windows, web-based access via iCloud.com, customized settings using the iCloud Control Panel, or direct file transfer using File Explorer, there is a method to suit your needs.
iCloud for Windows allows for seamless synchronization of your iCloud photos with your PC’s Photo app, making it easy to view and manage your entire photo library. This method is great if you want your photos to be accessible across all your Apple devices and your PC, without the need for manual transfer.
If you prefer to access your iCloud photos without any software installation, iCloud.com provides a convenient web-based solution. By logging into your iCloud account through a compatible web browser, you can view and download your photos from anywhere.
The iCloud Control Panel gives you more control over your iCloud photos on your PC. You can customize settings, download specific albums or photos, and even upload new photos from your PC to iCloud, giving you flexibility in managing your photo library.
For users who want a more direct approach, transferring iCloud photos using File Explorer allows you to browse and manage your photos just like any other files on your PC. This method is perfect if you want to have full control over organizing, editing, and sharing your iCloud photos using your preferred photo management software.
Choose the method that best suits your preferences and needs. Whether you want seamless synchronization, web-based access, more control, or direct file transfer, accessing your iCloud photos on a PC has never been easier.
Now, you can enjoy your precious memories stored in your iCloud photo library on your PC, whether it’s for editing, sharing, or simply keeping them safe and easily accessible.