Introduction
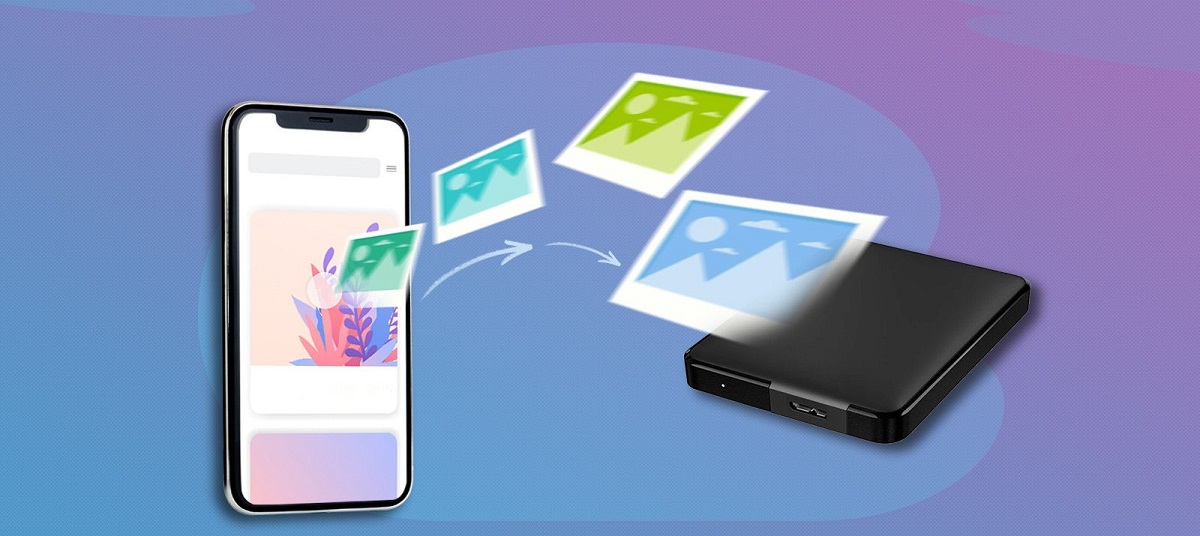
Welcome to the digital age, where capturing and storing memories has become a seamless process with the help of cloud storage solutions like iCloud. With iCloud Photos, you can store and access your precious moments from any device connected to your iCloud account. But what if you want to download those photos from iCloud and save them to your hard drive? In this article, we will guide you through the process of downloading photos from iCloud to your hard drive.
Whether you’re looking to free up some iCloud storage space or simply want to have a local backup of your photos, downloading them to your hard drive is a practical solution. By following a few simple steps, you can have your photos safely stored on your computer for easy access and peace of mind.
Before we dive into the step-by-step process, make sure you have a stable internet connection and enough storage space on your hard drive to accommodate the downloaded photos. Now, let’s get started on downloading your photos from iCloud to your hard drive!
Step 1: Access iCloud Photos
The first step in downloading your photos from iCloud is to access your iCloud Photos library. There are multiple ways to do this, depending on the device you are using. Let’s explore a couple of options.
If you are using a Mac computer, you can access iCloud Photos by following these steps:
- Open the Photos app on your Mac.
- Click on the “Photos” tab in the top navigation bar.
- You will see a sidebar on the left-hand side with various options. Click on “All Photos” under the “Library” section.
If you are using a Windows computer, you can access iCloud Photos by following these steps:
- Download and install the iCloud for Windows application from the Apple website if you haven’t already.
- Open the application and sign in with your iCloud account.
- Check the box next to “Photos” and click on the “Options” button next to it.
- In the next window, make sure the box next to “iCloud Photo Library” is checked. Click on “Done” and then “Apply” to save the changes.
- Open the File Explorer on your computer and click on “iCloud Photos” under the “Quick Access” section.
Once you have accessed iCloud Photos, you will be able to view all your photos and albums stored in your iCloud account. Now that you have successfully reached this step, let’s move on to the next step – selecting the photos you want to download.
Step 2: Select Photos to Download
Now that you have accessed your iCloud Photos library, it’s time to select the photos you want to download to your hard drive. Whether you want to download a few specific photos or an entire album, iCloud Photos provides you with the flexibility to choose exactly what you need.
Here’s how you can select photos to download from iCloud:
- Open the album or folder in your iCloud Photos library where the desired photos are located.
- If you want to download individual photos, simply click on each photo you want to download to select them. You can hold down the “Command” key (Mac) or the “Ctrl” key (Windows) to select multiple photos at once.
- If you want to download an entire album, click on the album to open it and then click on the “Select Photos” button in the top right corner. This will select all the photos in the album.
It’s important to note that if you’re downloading a large number of photos, it may take some time depending on your internet connection speed. Patience is key.
Once you have selected the photos you want to download, it’s time to proceed to the next step and download them to your hard drive. Follow along to find out how.
Step 3: Download to Hard Drive
Now that you have selected the photos you want to download from iCloud, it’s time to save them to your hard drive. The process may vary slightly depending on the operating system you are using. Let’s explore the steps for both macOS and Windows:
If you are using a Mac computer, follow these steps to download photos from iCloud to your hard drive:
- With the selected photos still highlighted, go to the top menu and click on “File”.
- Hover over the “Export” option and choose either “Export [number] Photos” or “Export Unmodified Original”. The former will allow you to choose the export settings, while the latter will download the photos in their original format.
- Choose the destination folder on your hard drive where you want to save the downloaded photos.
- Click on the “Export” button to start the download process. The progress will be displayed, and once completed, your photos will be saved to the specified folder on your hard drive.
If you are using a Windows computer, follow these steps to download photos from iCloud to your hard drive:
- With the selected photos still highlighted, right-click on any of the photos and choose “Export” from the context menu.
- Choose the destination folder on your hard drive where you want to save the downloaded photos.
- Click on the “Export” button to start the download process. The progress will be displayed, and once completed, your photos will be saved to the specified folder on your hard drive.
With these steps, you have successfully downloaded the selected photos from iCloud to your hard drive. But before we conclude, let’s explore the next step – organizing the downloaded photos for easy access and management.
Step 4: Organize Downloaded Photos
Now that you have successfully downloaded your photos from iCloud to your hard drive, it’s time to organize them for easy access and management. By organizing your photos in a systematic manner, you can quickly find specific photos and maintain a clutter-free photo library on your computer.
Here are a few tips to help you organize your downloaded photos:
- Create Folders: Consider creating folders based on categories, events, or dates. For example, you can have separate folders for family photos, vacation photos, or photos from a specific year. This allows you to keep your photos organized and easily locate them when needed.
- Rename Files: If you prefer a more personalized approach, you can rename the downloaded photos to something that describes the content or occasion. This can make it easier to identify the photos when browsing through your folder.
- Add Tags or Keywords: Another way to organize your photos is by adding tags or keywords to them. This can be done through the file properties or using photo management software. Tags and keywords allow you to search for specific photos based on certain criteria, such as location, people, or event.
- Sort by Date: Sorting your photos by date can be a convenient way to organize them chronologically. This can be especially useful when you want to find photos from a specific time period or event.
It’s important to establish a system that works best for you and aligns with your preferences. Regularly organizing and maintaining your downloaded photos will help keep your hard drive tidy and make it easier to locate and enjoy your cherished memories.
With the completion of this step, you are now equipped with the knowledge to download photos from iCloud to your hard drive and organize them in a way that suits your needs. Enjoy the convenience and peace of mind that comes with having your photos readily available on your computer!
Conclusion
Congratulations! You have successfully learned how to download photos from iCloud to your hard drive. By following the step-by-step guide provided in this article, you can now ensure the safety and accessibility of your precious photos.
Remember, accessing your iCloud Photos library is the first step in the process. Whether you’re using a Mac or a Windows computer, there are specific steps you need to take to access your photos. Once you have accessed your library, you can easily select the photos you want to download, whether it’s individual photos or entire albums.
After selecting the photos, the next step is to download them to your hard drive. The process may differ slightly for Mac and Windows users, but the end result remains the same: your photos will be safely stored on your computer.
Once the photos are downloaded, organizing them is vital for easy access and management. Creating folders, renaming files, adding keywords or tags, and sorting by date are all effective ways to keep your photo library organized and clutter-free.
Having your photos stored on your hard drive provides peace of mind and allows for offline access. It also gives you more control over your photo collection, as you can easily organize and manage it according to your preferences.
So go ahead and download those wonderful memories from iCloud to your hard drive. Enjoy the convenience of having them readily available, and take the time to organize them in a way that suits your needs. Happy photo downloading!