Introduction
Having a backup of your precious photos is crucial in today’s digital age. iCloud offers a convenient way to store and sync your photos across your Apple devices. However, it’s always a good idea to have an additional backup on an external hard drive. This ensures that your precious memories are safe even in the event of a device failure or data loss.
In this article, we will guide you through the process of downloading pictures from iCloud to an external hard drive. By following these steps, you can easily transfer your iCloud photos to a secure location and free up space on your computer or mobile device.
Whether you want to create more storage space on your devices or simply have a backup of your photos, the process of downloading pictures from iCloud to an external hard drive is relatively straightforward. You’ll need to set up iCloud on your computer, download the iCloud photos to your computer, and then transfer them to an external hard drive.
Now, let’s dive into the step-by-step process to download your pictures from iCloud to an external hard drive so that you can preserve your cherished memories and have peace of mind.
Step 1: Set up iCloud on your computer
The first step in downloading pictures from iCloud to an external hard drive is to set up iCloud on your computer. By doing so, you’ll be able to access your iCloud photos and easily download them to your computer.
Here’s how to set up iCloud on your computer:
- Open your web browser and visit www.icloud.com.
- Sign in to your iCloud account using your Apple ID and password.
- Once you’ve successfully signed in, you’ll see the iCloud home screen. From here, click on the “Photos” icon.
- In the Photos app, you’ll be able to view and manage your iCloud photo library. Make sure that your photos are properly organized and synced.
- Next, navigate to the settings on your computer and open the iCloud settings.
- Ensure that the “Photos” option is checked to enable iCloud photo syncing on your computer.
- Choose the options that suit your needs, such as whether to download full-resolution photos or optimize storage space on your computer.
- Wait for the synchronization process to complete. This may take some time depending on the size of your iCloud photo library and the speed of your internet connection.
Once you have set up iCloud on your computer, your iCloud photo library will be accessible, and you’ll be able to proceed to the next step of downloading the photos to your computer.
Keep in mind that you’ll need sufficient storage space on your computer to store the iCloud photos temporarily before transferring them to an external hard drive. Make sure you have enough space available or consider clearing out unnecessary files to free up space.
Step 2: Download iCloud Photos to your computer
Now that you have set up iCloud on your computer, you can proceed to download your iCloud photos and save them to your computer before transferring them to an external hard drive. Here’s how you can do it:
- Open the Photos app on your computer (Mac) or open the iCloud for Windows app (Windows) on your PC.
- Sign in to your iCloud account if prompted.
- In the Photos app, you should see your iCloud photo library. If you don’t, make sure that you have enabled iCloud photo syncing in your computer’s settings.
- Select the photos you want to download. You can choose individual photos or select multiple photos by holding down the Command key (Mac) or Ctrl key (Windows) while clicking on the photos.
- Once you have selected the photos, click on the “Download” button. The selected photos will be downloaded to your computer.
- Wait for the download process to complete. The time it takes will depend on the number and size of the selected photos and the speed of your internet connection.
- After the download is complete, you can locate the downloaded photos on your computer. By default, they are usually saved in the “Downloads” folder.
It’s important to note that the downloaded photos will be in their original quality and size. If you have limited storage space on your computer, you may consider optimizing your photos before downloading them to save space. This can be done in the iCloud settings on your computer.
Once your iCloud photos are successfully downloaded to your computer, you’re now ready to transfer them to an external hard drive for backup and safekeeping.
Step 3: Transfer iCloud Photos to external hard drive
After downloading your iCloud photos to your computer, the next step is to transfer them to an external hard drive. This will provide you with an additional backup and ensure that your photos are safe and secure. Here’s how you can transfer your iCloud photos to an external hard drive:
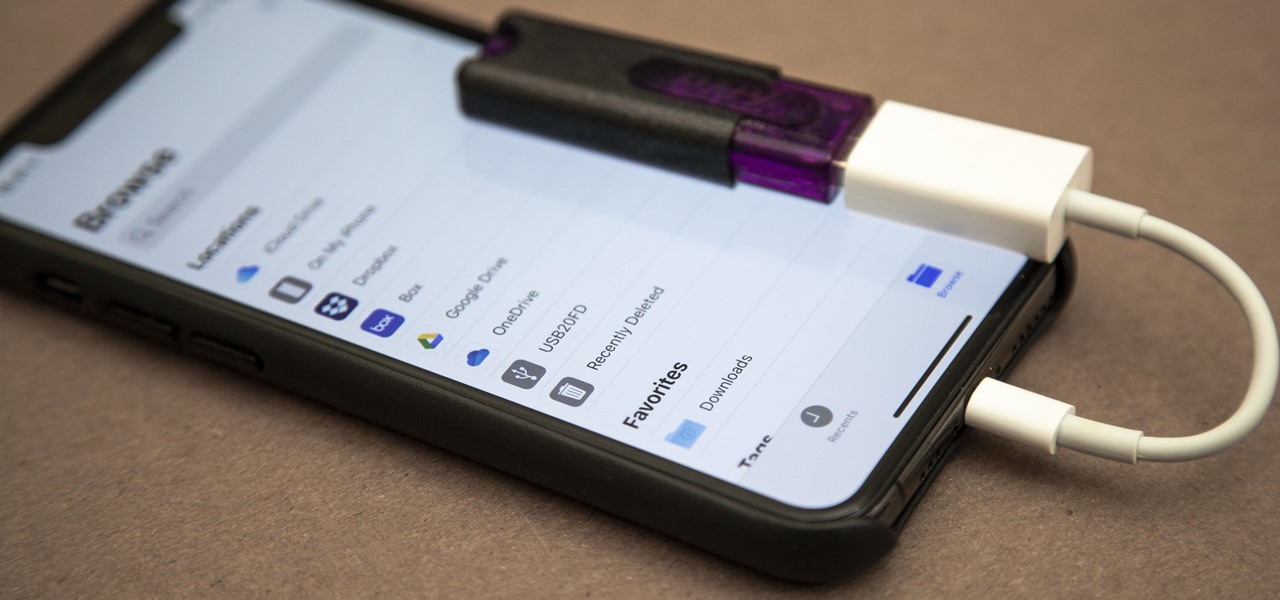
- Connect your external hard drive to your computer using the appropriate cable.
- Ensure that the external hard drive is recognized by your computer and appears as a storage device.
- Open the folder where you have downloaded your iCloud photos.
- Select the photos that you want to transfer to the external hard drive. You can select individual photos or use a combination of the Command key (Mac) or Ctrl key (Windows) and the mouse click to select multiple photos.
- Once you’ve selected the photos, right-click and choose the “Copy” option.
- Open the window for your external hard drive and right-click inside the window. Choose the “Paste” option to transfer the photos to the external hard drive.
- Wait for the transfer process to complete. The time it takes will depend on the number and size of the selected photos.
- After the transfer is complete, you can safely disconnect the external hard drive from your computer.
It’s important to remember that the external hard drive should be properly formatted and have enough storage space to accommodate your iCloud photos. Make sure to check the compatibility and available space on the external hard drive before starting the transfer process.
By transferring your iCloud photos to an external hard drive, you not only create an additional backup but also free up space on your computer or mobile device, allowing you to continue capturing and storing new memories without any storage constraints.
With your iCloud photos safely transferred to an external hard drive, you can have peace of mind knowing that your precious memories are securely stored and easily accessible whenever you need them.
Conclusion
Downloading pictures from iCloud to an external hard drive is a straightforward process that ensures the safety and accessibility of your cherished photos. By following the steps outlined in this guide, you can create an additional backup and free up storage space on your computer or mobile device.
Setting up iCloud on your computer enables you to access and sync your iCloud photo library. Downloading your iCloud photos to your computer allows you to have a local copy of your precious memories. Finally, transferring those photos to an external hard drive provides an extra layer of security and protection.
Remember to regularly update your backup and transfer new photos to your external hard drive to keep your collection up to date. It’s essential to keep your external hard drive in a safe place to prevent any loss or damage.
By following these steps, you can ensure that your iCloud photos are preserved and accessible even in the event of device failure, data loss, or accidental deletion. You’ll have peace of mind knowing that your memories are securely stored in multiple locations.
Take the time to organize and manage your iCloud photo library, as this will make the downloading and transferring process more efficient. Additionally, consider optimizing your photos to save storage space on your computer and external hard drive.
Downloading pictures from iCloud to an external hard drive is a valuable practice for anyone who values their photos and wants to safeguard them from potential loss. By taking the extra step to create a backup, you can enjoy peace of mind and confidently capture new memories knowing that your treasured photographs are protected.