Before You Begin
Before you embark on the journey of downloading macOS Sierra on your Mac, there are a few important things to consider. Taking the necessary steps before the installation process will ensure a smooth and successful upgrade. So, let’s dive in and explore what you need to do before you begin the download.
1. Check for System Requirements:
First and foremost, it’s crucial to check if your Mac meets the system requirements for macOS Sierra. This will guarantee that your device can handle the upgrade and run the new operating system without any issues. Visit the Apple website or consult your Mac’s user manual to find out the specific requirements for Sierra.
2. Backup Your Data:
Before you make any changes to your Mac’s operating system, it’s essential to back up your data. This ensures that you don’t lose any valuable files or documents during the installation process. Consider using Time Machine or another reliable backup method to create a copy of your files on an external hard drive or cloud storage service.
3. Make Sure You Have Enough Storage Space:
macOS Sierra requires a certain amount of free storage space to be installed on your Mac. Before downloading the operating system, check how much free space you currently have on your device. If it’s not sufficient, consider deleting unnecessary files or apps to free up space. Alternatively, you can connect an external hard drive to your Mac to store any excess data.
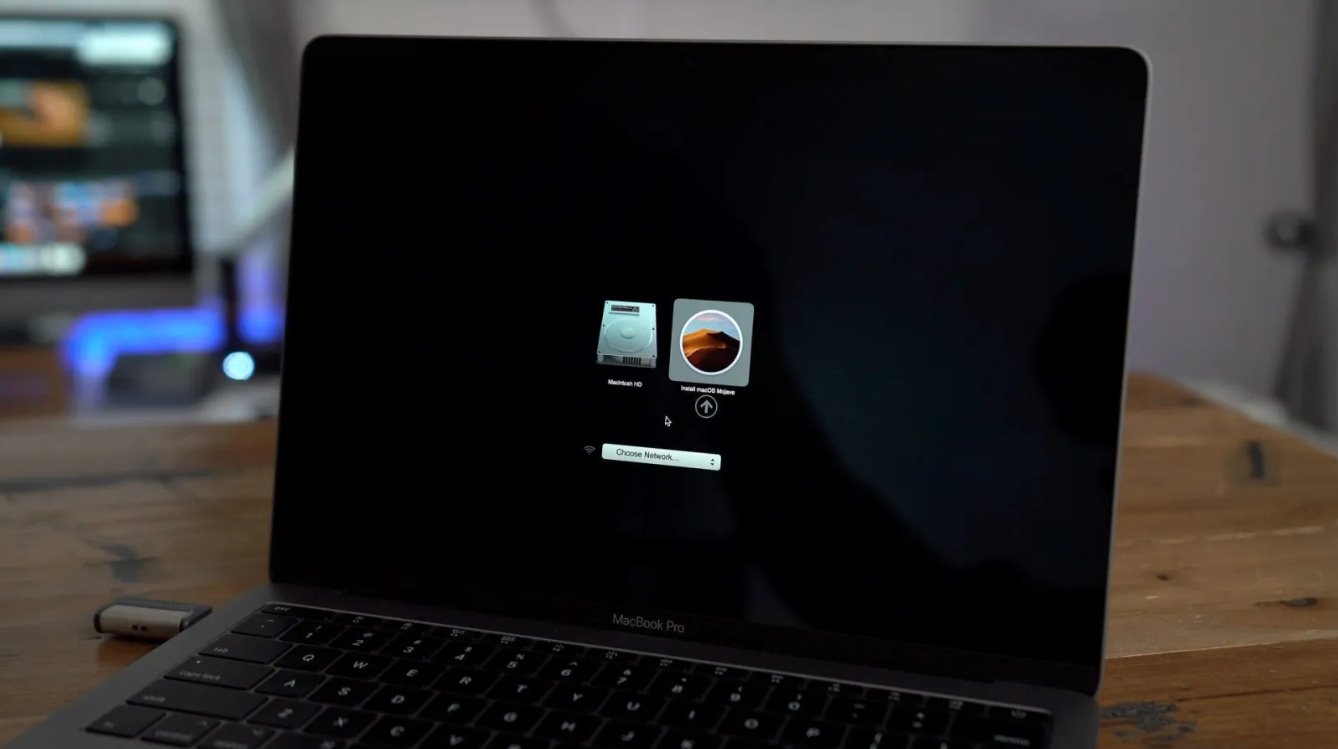
4. Create a macOS Sierra Bootable Installer:
A bootable installer allows you to install macOS Sierra on multiple machines without having to download it individually each time. It can also come in handy if you encounter any issues during the installation process. Follow the instructions provided by Apple to create a bootable installer using a USB drive or an external hard drive.
Once you have completed the above steps, you are ready to download macOS Sierra. Visit the official Apple website or the App Store to find the download link for Sierra. Click on the download button, and the installation file will begin downloading to your Mac. Ensure that you have a stable internet connection to avoid any interruptions.
6. Install macOS Sierra:
After the download is complete, the macOS Sierra installation file will be saved in your Applications folder. Locate the file and double-click on it to start the installation process. Follow the on-screen instructions to install Sierra on your Mac. It may take some time, so be patient and avoid interrupting the installation.
By following these steps, you will be well-prepared to download and install macOS Sierra on your Mac. Make sure to read the system requirements and backup your data to ensure a smooth transition. Stay tuned for the next steps in our guide to successfully downloading and installing macOS Sierra.
Step 1: Check for System Requirements
Before downloading macOS Sierra, it’s crucial to ensure that your Mac meets the system requirements. The compatibility of your device will affect how smoothly the operating system runs and whether all its features are available. Here are the key aspects to check:
1. Mac Model:
First and foremost, verify that your Mac model is compatible with macOS Sierra. Apple provides a list of supported models on their website. If your Mac is older and not on the list, it may not be able to run Sierra. However, if your Mac is relatively recent, it should meet the requirements.
2. Processor and RAM:
Check the minimum processor requirement for macOS Sierra. The operating system demands a specific processor generation or newer. Additionally, it’s important to have adequate RAM to ensure smooth performance. A minimum of 2GB of RAM is generally required, but having more will enhance the overall experience.
3. Available Storage Space:
Ensure that you have enough free storage space on your Mac to accommodate macOS Sierra. The installation process requires a certain amount of space, and if your device is already running low on storage, it may hinder the installation or cause issues later on. Use the “About This Mac” feature or the “Storage” tab in “About This Mac” to check your available storage.
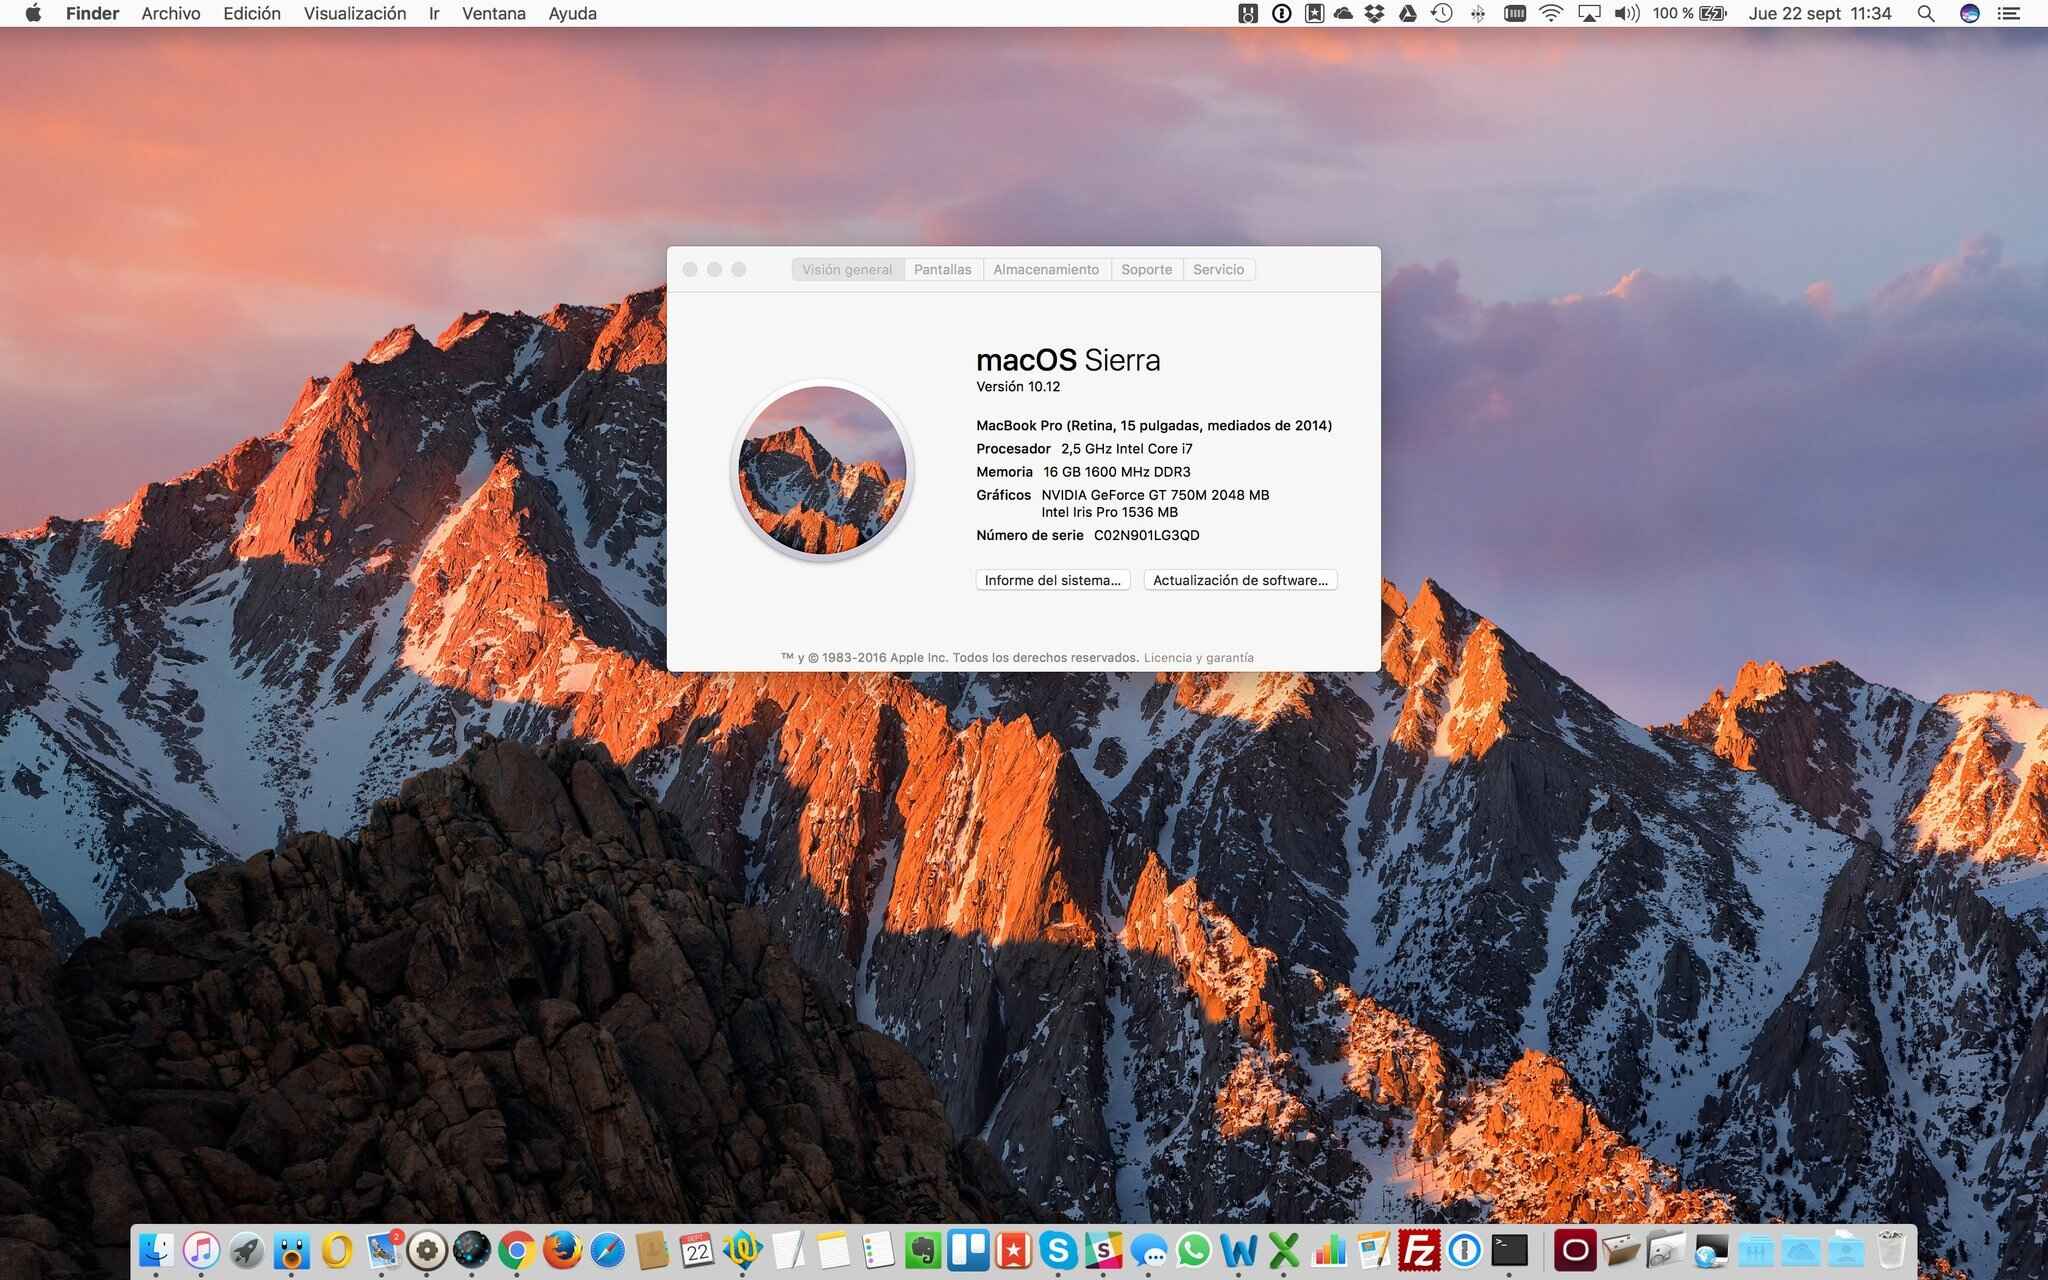
4. macOS Compatibility:
Check your current macOS version to ensure it is up to date. Older versions may need to be updated before installing macOS Sierra. Open the Apple menu, click on “About This Mac,” and view the version number for confirmation. If you need to update, visit the App Store, download the latest version, and follow the prompts to install the updates.
5. Internet Connectivity:
You will need a stable internet connection to download macOS Sierra. Ensure that you have access to a reliable network with sufficient bandwidth to prevent any interruptions during the download process. This will help avoid any issues or corrupted downloads that could hinder the installation.
Verifying these system requirements before downloading macOS Sierra is crucial to ensure a successful installation. By checking your Mac model, processor, RAM, available storage space, and macOS version, you can determine if your device is compatible. Also, make sure you have a stable internet connection to download the operating system without any interruptions. Once you’ve confirmed compatibility, you can proceed with the next steps of preparing for the macOS Sierra download and installation.
Step 2: Backup Your Data
One of the most crucial steps before downloading macOS Sierra is to backup your data. This ensures that you don’t lose any important files or documents during the installation process. Here’s how you can backup your data:
1. Time Machine:
If you have a Time Machine backup set up, it’s the simplest and most comprehensive way to back up your data. Time Machine automatically creates backups of your Mac, including all your files, applications, system settings, and even your Mac’s operating system. Connect an external hard drive to your Mac and let Time Machine handle the rest. Ensure that you have enough storage space on your backup drive to accommodate your data.
2. iCloud Backup:
If you don’t use Time Machine or want an additional layer of backup, iCloud can be a great option. iCloud allows you to back up your important files, photos, and other data to the cloud. Go to the Apple menu, then System Preferences, and click on iCloud. Make sure the “iCloud Drive” and “Desktop & Documents Folders” options are checked for automatic backup. This will ensure that your files are securely backed up in the cloud.
3. External Hard Drive:
If you prefer a manual backup method or have a large amount of data that may exceed your Time Machine or iCloud storage limits, you can manually copy your files to an external hard drive. Connect an external hard drive to your Mac and create a new folder to store your important files. Then, manually copy and paste or drag and drop your desired files and folders into this folder. This method allows for more control over the backup process.
4. Cloud Storage Services:
If you have important files stored locally on your Mac, you can utilize cloud storage services like Dropbox, Google Drive, or OneDrive to back them up. Install the appropriate cloud storage application on your Mac and set it up to sync your files to the cloud. This way, your files will be accessible from any device with an internet connection and will serve as an additional backup.
By taking the time to back up your data before downloading macOS Sierra, you’ll have peace of mind knowing that your files are safe and secure. Whether you rely on Time Machine, iCloud, an external hard drive, or cloud storage services, make sure to regularly update your backups to keep them current. Once your data is securely backed up, you can move on to the next steps in the installation process.
Step 3: Make Sure You Have Enough Storage Space
Prior to downloading macOS Sierra, it’s essential to ensure that you have enough free storage space on your Mac. Adequate storage space guarantees a smooth installation process and prevents any potential issues. Here are a few steps to help you check and manage your storage:
1. Understand Your Current Storage Usage:
Before downloading macOS Sierra, it’s important to have a clear picture of your current storage usage. To check this, click on the Apple menu and select “About This Mac.” Then, navigate to the “Storage” tab. This will provide a visual breakdown of how your storage space is allocated among different types of files, such as apps, documents, photos, and system files.
2. Assess Available Space:
Take note of the amount of free space you currently have on your Mac. If you don’t have enough free space for the installation, you’ll need to make room by removing unnecessary files or applications. Aim to have at least 20% of your total storage capacity free to ensure the smooth functioning of your Mac.
3. Delete Unnecessary Files and Applications:
To free up space, start by removing any files or applications that you no longer need. Look for large files, such as videos, movies, or downloaded installers, that you can delete or move to an external storage device. You can also use built-in tools like the Storage Management feature in macOS to automatically identify and remove unnecessary files.
4. Clear Temporary Files and Cache:
Temporary files and cache can accumulate over time and consume valuable storage space. To clear these files, use third-party applications like CleanMyMac or CCleaner. These tools can safely remove unnecessary files, cache, and temporary data, freeing up space and optimizing your Mac’s performance.
5. Utilize External Storage Devices:
If you still require more space, consider using external storage devices such as external hard drives or USB flash drives. Move infrequently used files, such as old documents or media files, to these devices. This way, you can keep the files accessible while creating more space on your Mac for macOS Sierra.
By ensuring that you have enough storage space before downloading macOS Sierra, you can avoid potential installation issues and ensure a smooth upgrade. Assess your current storage usage, delete unnecessary files, clear temporary files and cache, and utilize external storage devices to make room for the new operating system. With enough free space, you can move forward confidently with the installation process.
Step 4: Create a macOS Sierra Bootable Installer
Creating a macOS Sierra bootable installer is a convenient method to install the operating system on multiple Macs or to have a backup installer on hand. This allows you to install macOS Sierra without the need for repeated downloads. Here’s how you can create a bootable installer:
1. Download macOS Sierra:
Before creating the bootable installer, ensure that you have already downloaded macOS Sierra from the App Store or the Apple website. The installer file should be located in your Applications folder.
2. Prepare a USB Drive or External Hard Drive:
To create the bootable installer, you will need a USB drive or an external hard drive with sufficient storage capacity. Make sure the drive is empty or doesn’t contain any crucial data, as it will be formatted during the process. Aim for at least an 8GB drive to accommodate the macOS installer files.
3. Format the USB Drive:
Connect the USB drive or external hard drive to your Mac and open Disk Utility, which can be found in the Utilities folder within your Applications folder. Select the drive and click on the “Erase” button. Choose a suitable file format, such as “Mac OS Extended (Journaled),” and give it a descriptive name.
4. Create the Bootable Installer:
Launch Terminal, which can be found in the Utilities folder of your Applications folder. Copy and paste the following command into Terminal, then press Enter:
sudo /Applications/Install\ macOS\ Sierra.app/Contents/Resources/createinstallmedia --volume /Volumes/Untitled --applicationpath /Applications/Install\ macOS\ Sierra.app
Replace “Untitled” with the name of your formatted USB drive or external hard drive if you gave it a different name. Terminal will prompt you for your admin password, so provide it when requested.
5. Wait for the Process to Complete:
The creation of the bootable installer may take some time to complete, depending on the speed of your Mac and the device you’re using. Terminal will display the progress of the process, and you should avoid interrupting it until it finishes.
Once the process is complete, you will have a bootable installer for macOS Sierra on your USB drive or external hard drive. This allows you to install the operating system on multiple Macs or have a backup installer readily available. With the bootable installer prepared, you can now proceed to the next steps of downloading and installing macOS Sierra on your chosen Mac device.
Step 5: Download macOS Sierra
Now that you’ve prepared your Mac and created a bootable installer, it’s time to download macOS Sierra itself. Follow these steps to download the operating system and get ready for installation:
1. Open the App Store:
Launch the App Store on your Mac by clicking on the blue App Store icon in your Dock or by going to the Applications folder and selecting App Store from the list.
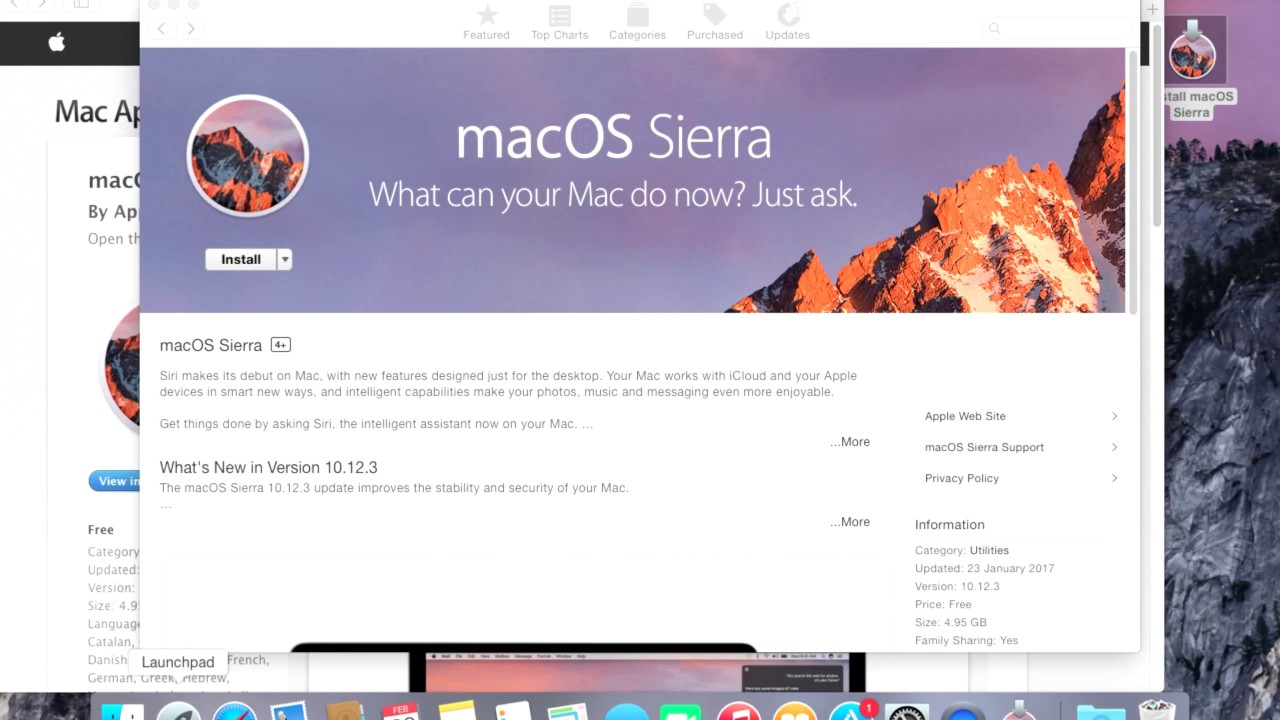
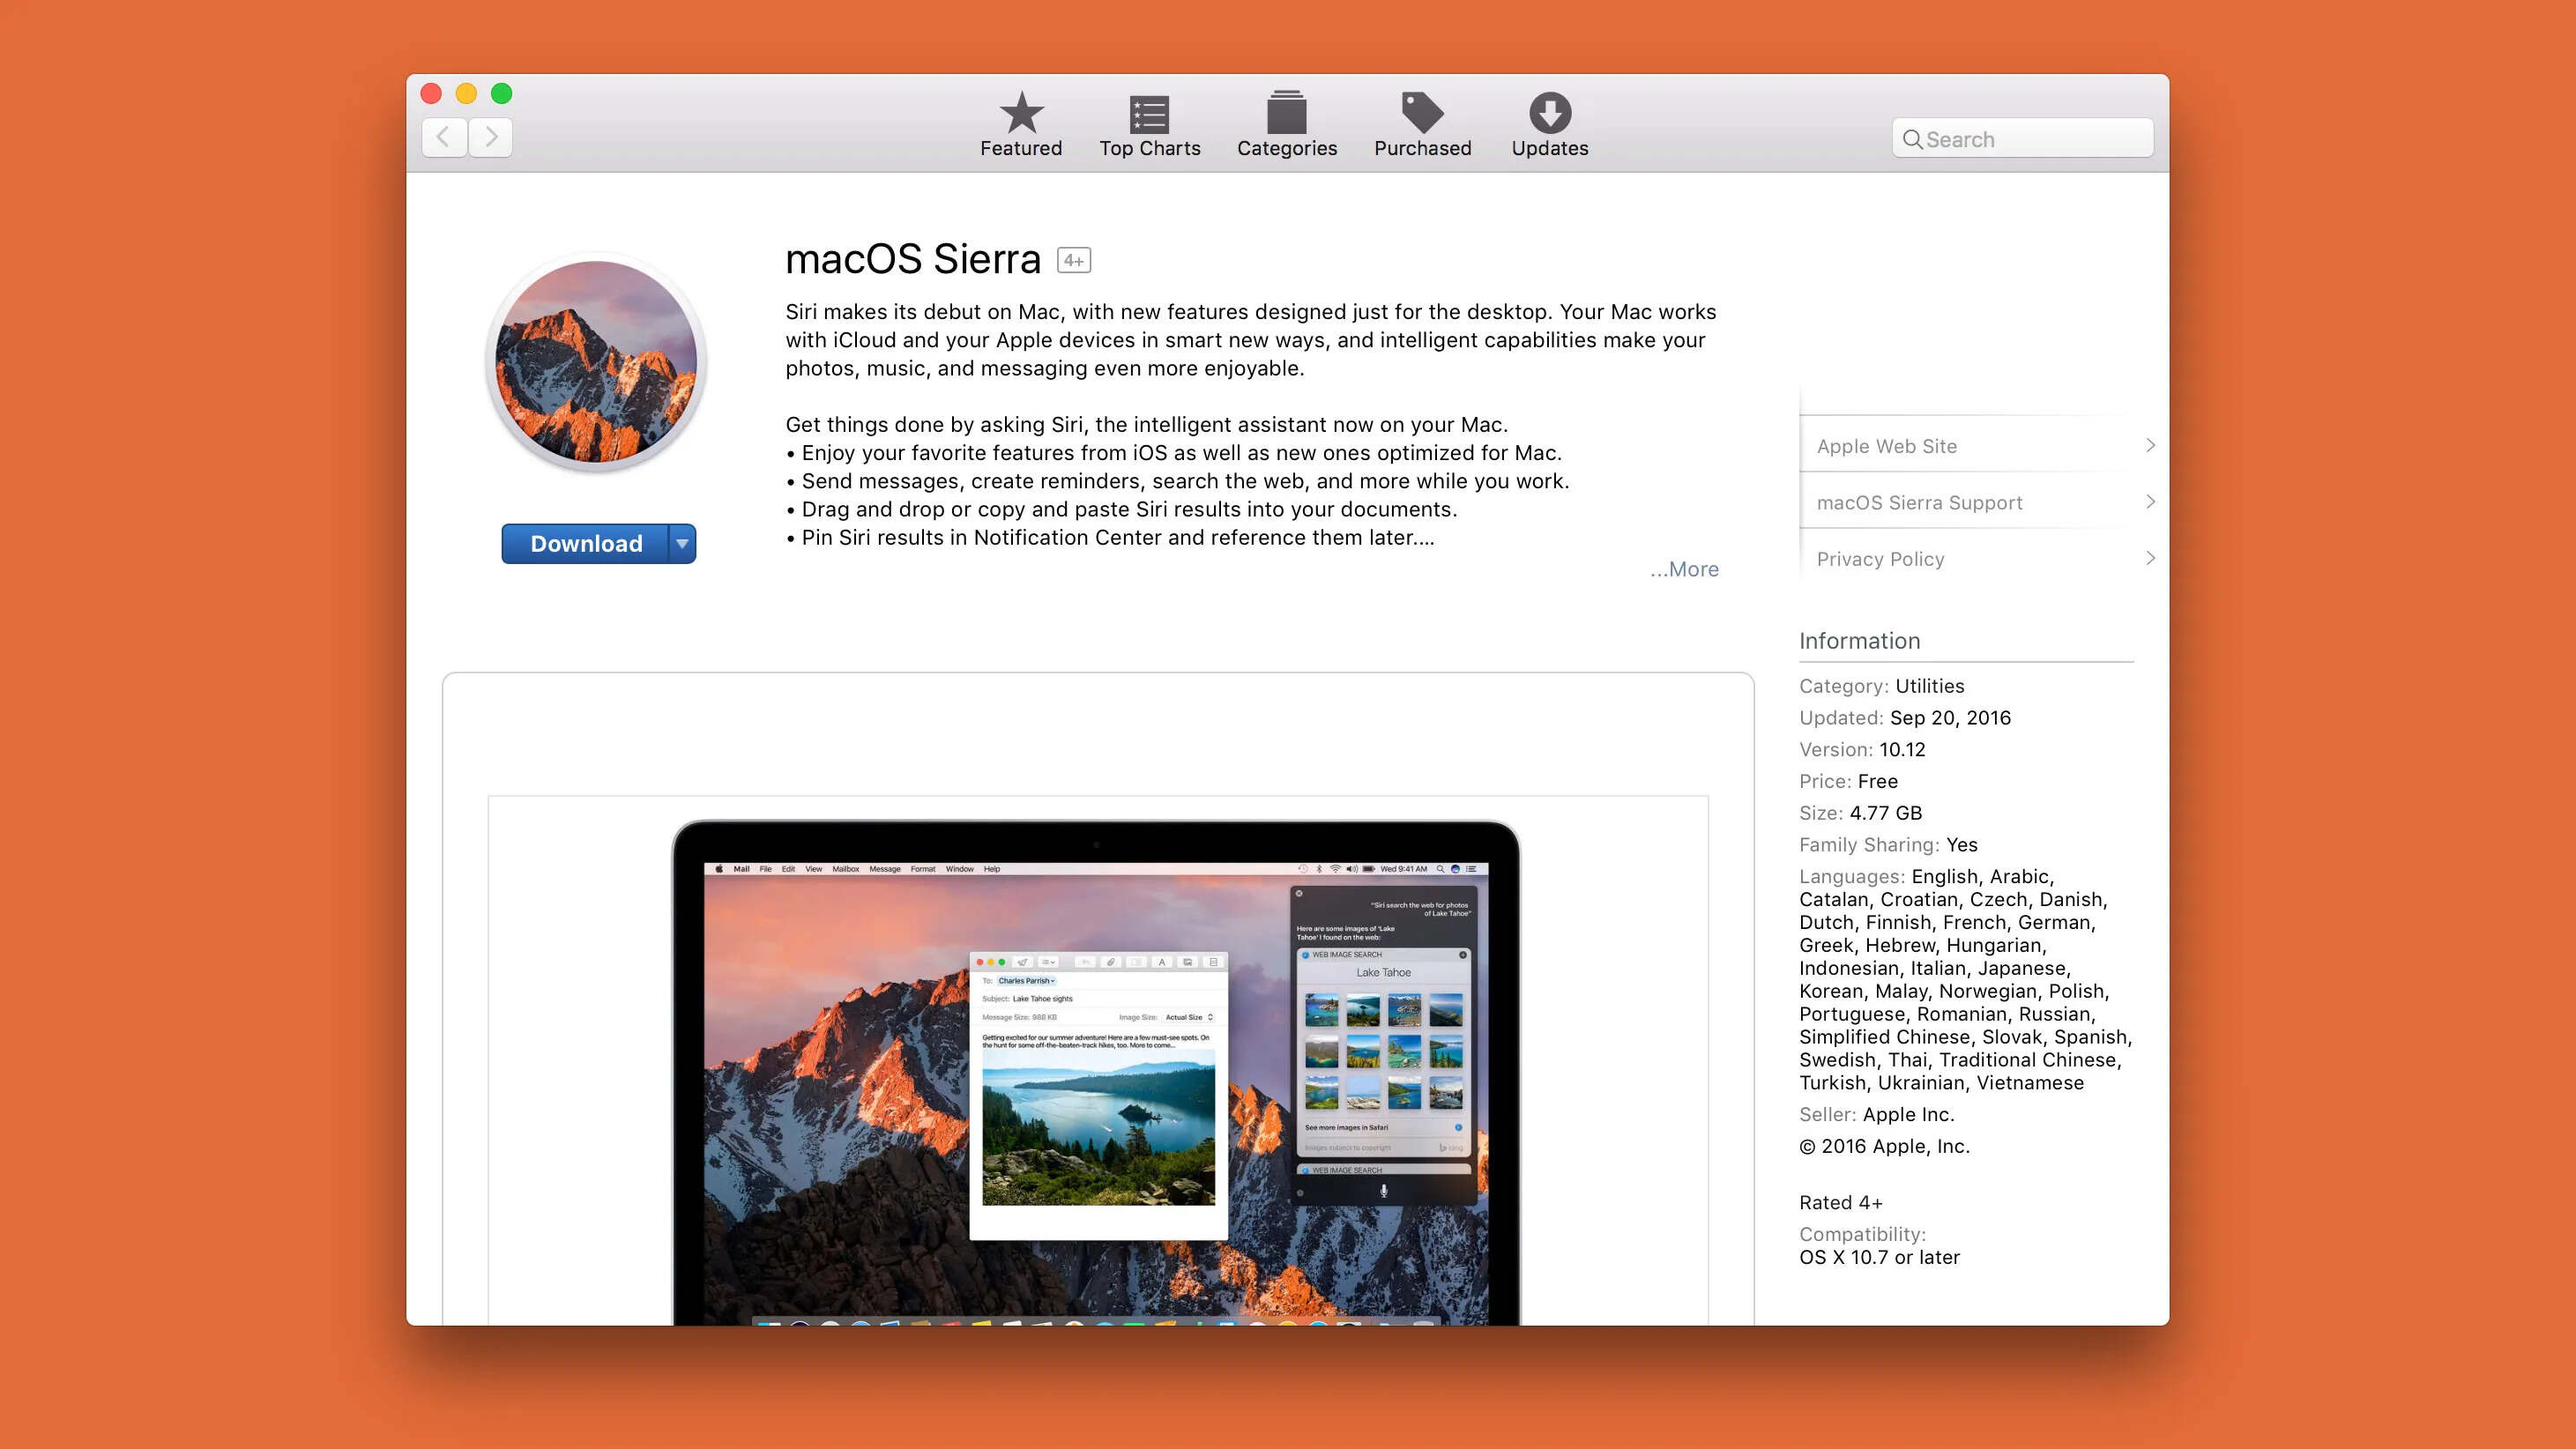
2. Search for macOS Sierra:
In the App Store’s search bar, type “macOS Sierra” and hit Enter. The search results will display the macOS Sierra installer. Click on it to access the macOS Sierra download page.
3. Start the Download:
On the macOS Sierra download page, click on the “Download” button. The download will commence, and the installer file will be saved to your Applications folder. Depending on your internet speed, the download may take some time, so ensure you have a stable internet connection.
4. Monitor the Download Progress:
Keep an eye on the download progress in the Launchpad or the Download section of the App Store. Once the download is complete, the macOS Sierra installer will appear in your Applications folder. Do not interrupt the download or turn off your Mac while the download is in progress.
5. Verify the Downloaded File:
After the download is finished, it’s recommended to verify the downloaded macOS Sierra installer to ensure it hasn’t been corrupted during the download process. Open the Terminal application from the Utilities folder and type the following command:
sudo spctl --assess --verbose /Applications/Install\ macOS\ Sierra.app
Terminal will then verify the installer and provide you with a response. If it shows, “Install macOS Sierra.app: accepted,” the installer is valid, and you can proceed with the installation. If you encounter any issues or receive a different response, it’s best to re-download the installer.
By following these steps, you can successfully download macOS Sierra onto your Mac. Remember to have patience during the download process, ensure a stable internet connection, and verify the downloaded installer to avoid any potential issues. Once the download is complete, you’re ready to move on to the next step of installing macOS Sierra on your Mac.
Step 6: Install macOS Sierra
After successfully downloading macOS Sierra, it’s time to install the operating system on your Mac. Follow these steps to ensure a smooth and hassle-free installation:
1. Quit Unnecessary Applications:
Prior to beginning the installation process, close any unnecessary applications or processes running on your Mac. This can help prevent any potential conflicts and ensure that the installation goes smoothly.
2. Locate the macOS Sierra Installer:
The installer for macOS Sierra will be located in your Applications folder. Launch the Finder, navigate to the Applications folder, and locate the “Install macOS Sierra” file. Double-click on it to start the installation process.
3. Follow the on-screen prompts:
Once you open the installer, you will be guided through a series of on-screen prompts. Carefully read and follow the instructions provided by the installer. It will ask you to agree to the terms and conditions and select the destination for the installation.
4. Choose the installation destination:
The installer will ask you to select the disk or partition where macOS Sierra will be installed. If you have multiple disks or partitions, choose the one where you want to install the operating system. Be cautious when selecting the drive, as the installation process will format and erase the selected disk.
5. Begin the installation:
Once you have selected the installation destination, click on the “Install” button to begin the installation process. macOS Sierra will now be installed on your Mac. This may take some time, and your Mac may restart a few times during the process. Be patient and avoid interrupting the installation.
6. Set up macOS Sierra:
After the installation is complete, your Mac will restart into macOS Sierra. Follow the on-screen prompts to set up the operating system. This includes selecting your country, creating a user account, setting up your preferences, and migrating your data if needed.
7. Restore Your Data:
If you backed up your data before the installation, you can now restore it. Use Time Machine or the backup method you used to back up your files, and follow the instructions to restore your data to the new macOS Sierra installation.
By following these steps, you can successfully install macOS Sierra on your Mac. It’s important to carefully read and follow the on-screen instructions provided by the installer to ensure a smooth installation. Once the installation is complete, you can enjoy all the features and improvements that macOS Sierra has to offer!